Paint can add a pop of color to any fence, and it’s a simple way to refresh an old one. So if your vinyl fence is starting to look a little bit worn, or you just want to change the color, here’s how to do it. It’s a project you can complete in just a few hours, and the results will be beautiful. It’s always a good idea to keep your home in good condition by painting it every so often.
This is especially important if you have a vinyl fence, as neglecting to paint it can lead to some serious damage. The sun can fade the color, and wind and rain can cause it to peel and crack. By painting your vinyl fence regularly, you’ll be able to extend its life and keep it looking like new. Keep reading for step-by-step instructions on how to paint a vinyl fence.
Summary: If you’re thinking of painting your fence, there are a few things to keep in mind. First and foremost, make sure the fence is clean! Dirty paint won’t adhere to the fence as well, so it’s important to clean it before starting. Second, be sure to use the right type of paint for the job. Vinyl fences are usually painted with a semi-gloss finish, but you can also choose a matte or gloss finish. Finally, make sure to use the proper paintbrush and paint. A brush that’s too wide or too short will not work as well, so be sure to find one that’s the right size for the fence. With these tips in mind, painting your vinyl fence is easy and fun!
Types of Equipment You’ll Need
- A bucket of water
- A garden hose
- A power washer (optional)
- TSP cleaner or a similar product
- Painter’s tape
- Drop cloths
- A paintbrush or roller
- Exterior primer
- Exterior paint in the color of your choice
- Dry Brush
- Eye protection
- A dust mask
- Gloves
Step-by-Step Processes of How to Paint a Vinyl Fence
Step 1: Prepare Your Surrounding
First and foremost, you must ensure that the surrounding area where you will be painting is well-prepared. This means that you need to clear the area of any debris or objects that may be in the way. Before beginning your project, you should also ensure that the surface is clean and free of dirt or grime.
Step 2: Clean and Repair Your Fence
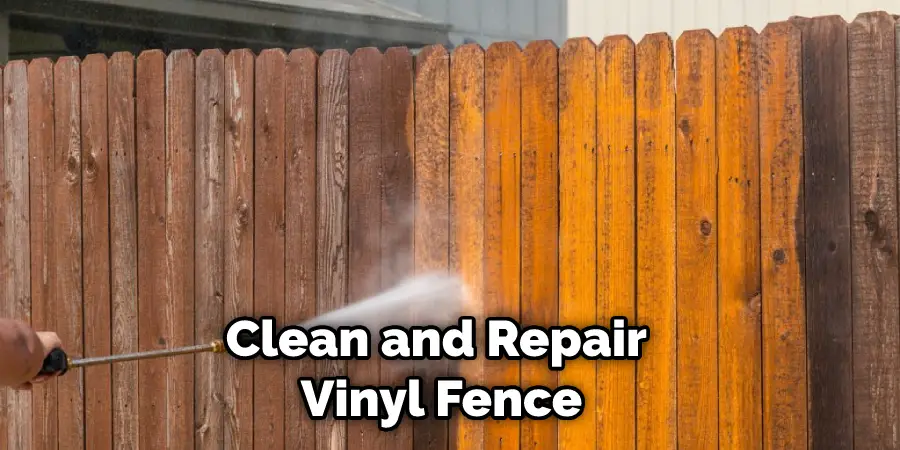
Once you have prepared your surrounding area, you can begin cleaning and repairing your fence. If there are any cracks or holes in your fence, you will need to fill them in with putty or caulk before painting. Once your fence is repaired, you must thoroughly clean it with soap and water. You may also need a power washer to remove any tough dirt or grime.
Step 3: Choose Your Paint
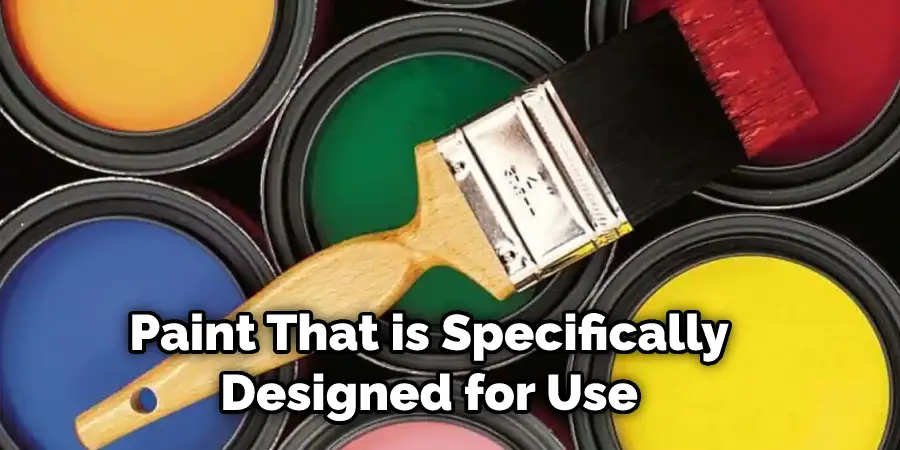
Once your fence is clean and repaired, you can choose the paint you want to use. You will need to make sure that you select a paint that is specifically designed for use on vinyl fences. You may also want to consider choosing a paint that is UV resistant to help keep your fence looking new for longer.
Step 4: Apply Your First Layer of Primer
After you have chosen your paint, you will need to prime the fence. This step is important because it will help the paint adhere to the vinyl better and prevent fading. You can use a spray primer or a brush-on primer for this step.
Step 5: Sand Your Fence
After you have primed your fence, you will need to sand it. This step is important because it will help to create a smooth surface for the paint to adhere to. Again, it would help if you used fine-grit sandpaper for this step.
Step 6: Allow Your Fence to Dry
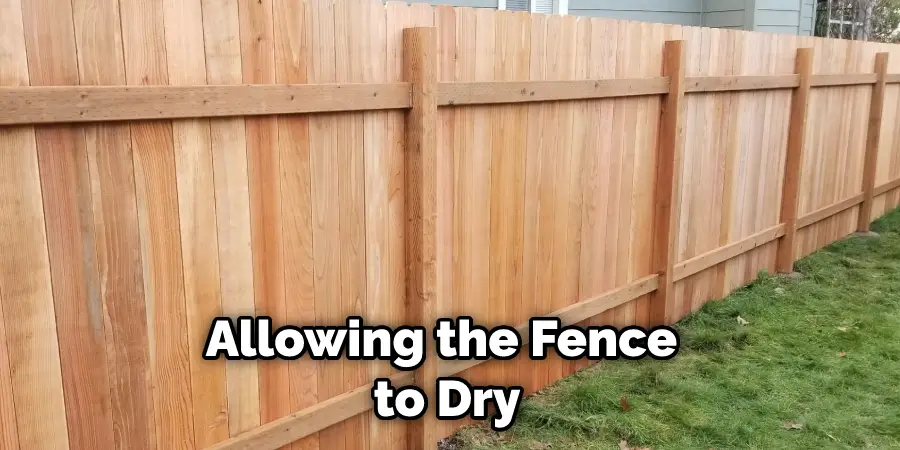
After you have applied your paint, you will need to allow it to dry. This step is important because it will ensure that the paint adheres properly to the fence. Allowing the fence to dry for at least 24 hours is ideal.
Step 7: Apply on First Coat of Paint
After sanding your fence, you can apply the first coat of paint. You will want to use a brush or roller for this step. Make sure to cover the entire fence with paint evenly.
Step 8: Determine if You Need a Second Coat
After applying the first coat of paint, you must determine if you need a second coat. Before making this decision, you should wait for the first coat to dry completely. If the fence is still not evenly covered, you may need to apply a second coat of paint.
Step 9: Remove Plastic Steeling
After your fence is completely dry, you will need to remove the plastic steeling. This can be done with a putty knife or a utility knife. Once you have removed the plastic steeling, you can add any hardware to your fence. This includes things like
Step 10: Clean Your Tools
After painting your fence, you will need to clean your tools. This includes things like your paintbrush, paint roller, and any other painting supplies that you use. You can use soap and water to clean your tools.
What is the Best Way to Paint a Fence?
Painting a vinyl fence is easy and requires little prep work. First, you must purchase quality exterior paint, primer, and painter’s tape. It would help if you also had a putty knife, a utility knife, and a paintbrush on hand. The first step is to clear the area around the fence of any debris. Next, you will need to repair any cracks or holes in the wall with putty or caulk.
Once your fence is repaired, you must thoroughly clean it with soap and water. You may also need a power washer to remove any tough dirt or grime. After your fence is clean, you can choose the paint you want to use. You will need to make sure that you select a paint that is specifically designed for use on vinyl fences. You may also want to consider choosing a paint that is UV resistant to help keep your fence looking new for longer.
You will also need to gather some basic painting supplies, such as a ladder, drop cloths, and brushes. Once you have all of your supplies, you can begin painting your fence.
You Can Check It Out to Get Rid of Old Fence Panels
How Many Coats of Paint Should You Use?
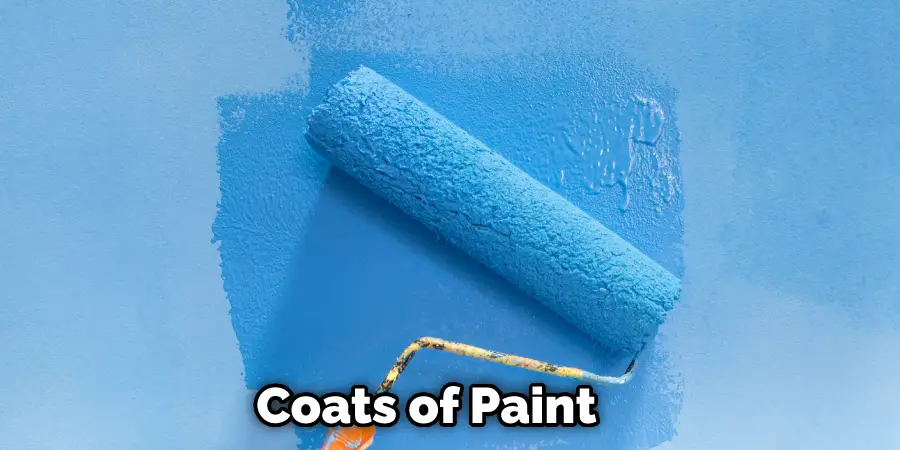
You should use at least two coats of paint when painting a vinyl fence. The first coat of paint will help to prime the fence, and the second coat will provide even coverage. It usually takes about 24 hours for the paint to dry completely.
Now that you know how to paint a vinyl fence, you can give your fence a new look without spending much money. With a little bit of time and effort, you can transform your fence into a work of art.
What is the Fastest Way to Paint a Fence?
The fastest way to paint a fence is to use a spray primer and a brush or roller for the first coat of paint. It would help if you also used paint designed for vinyl fences. After that, you can use a roller or a brush for the second coat of paint. It usually takes about 24 hours for the paint to dry completely.
You should also make sure that you are painting in a well-ventilated area. Of course, if you are sensitive, you shouldn’t be aware of the fastest way to do anything. But you can get the best output in minimum time by devoting some extra time to preparing.
What is the Easiest Way to Paint a Fence?
The easiest way to paint a fence is to use paint that is specifically designed for use on vinyl fences. Nothing is easier than using paint already made for the job. You will also want to ensure that you paint in a well-ventilated area. You may also want to consider choosing a paint that is UV resistant to help keep your fence looking new for longer.
The best time of year to paint a fence is spring or fall. This is because the temperature is not too hot or cold, making painting difficult. If you make it easier, you should paint your fence once every 3 to 4 years.
Some Tips for Painting a Vinyl Fence
- Most importantly, use a primer designed for use on plastic surfaces. This will help the paint to better adhere to the fence and prevent it from chipping or peeling.
- Rinse the fence thoroughly and let it dry completely.
- Use a brush with synthetic bristles rather than natural ones. This will also help to prevent shedding and ensure a smooth finish.
- Use a paintbrush for detailed work and a roller for large, flat surfaces.
- Let the primer dry completely before painting.
- Paint the fence with a brush or roller, using the same method as you used for the primer.
- Start at one end of the fence and work your way down.
- Let the paint dry completely before adding a second coat, if necessary.
Conclusion
Painting a vinyl fence is easy and can be done in a few simple steps. With the right supplies and following the directions above, you should have no problem painting your vinyl fence to give it new life. Now that you understand the necessary steps and have all the materials, it’s time to get paint on your fence.
Don’t forget to clean off the vinyl fence before beginning. Once you are finished, sit back and enjoy your new paint job that will last for years. Reading this article can learn how to paint a vinyl fence effectively. Always ensure the steps discussed here are followed chronologically. Make sure the preventive measures are followed.
You Can Chack It Out Rip Wood Without a Table Saw

