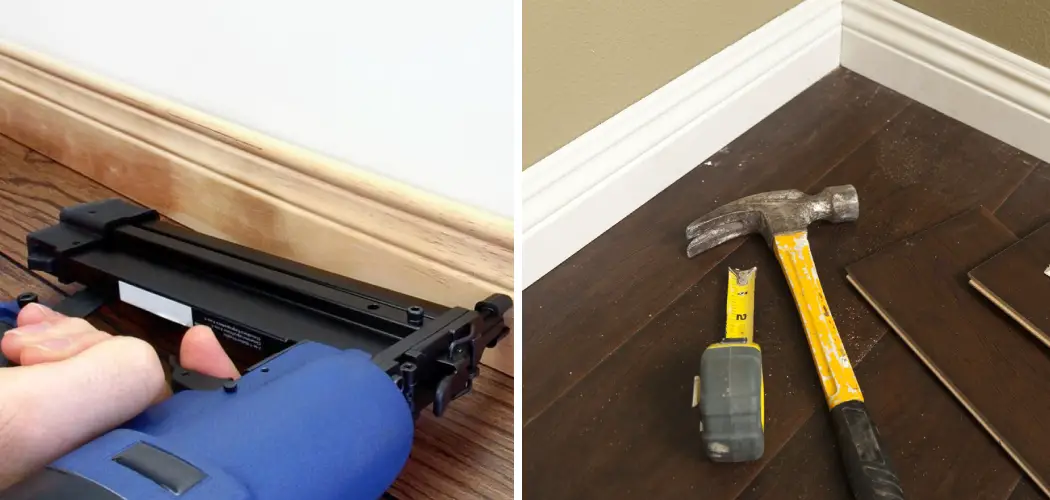
Installing trim without a nail gun is an important skill for any DIY enthusiast or homeowner. Oftentimes, trim work requires delicate precision that cannot be achieved with a nail gun. This type of installation may also require less force than what a nail gun puts out, which can prevent the trim from cracking or splitting when put in place. Moreover, nail guns are sometimes prohibited in certain areas due to noise or safety regulations, so completing trim work without a nail gun can be essential.
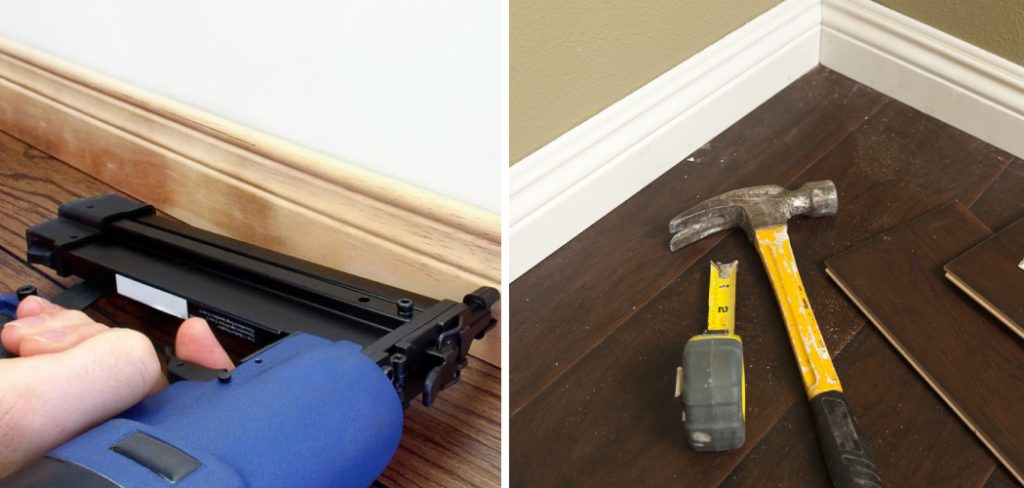
Installing trim without a nail gun has several advantages. For starters, it is less likely to damage the trim or wall surface. This is especially important when installing trim around doors and windows, where a nail gun might cause noticeable gouges and holes in the woodwork. Nails put in without a nail gun can be easier to remove if needed for repairs down the road. In this blog post, you will learn in detail how to install trim without a nail gun.
Tools You Will Need
Installing trim without a nail gun is time-consuming, but it can be done. You will need some basic tools, such as:
- Finishing nails
- Hammer
- Saw or utility knife
- Putty knife
- Sandpaper
- Wood glue
- Caulking
Step-by-Step Processes for How to Install Trim Without a Nail Gun
Step 1: Measure the Length
Before getting started, accurately measure the length of trim you need. Use a sharp saw or knife to cut the trim to your desired size. It’s important that each piece is lined up correctly and fits snugly together.
Step 2: Mark the Wall
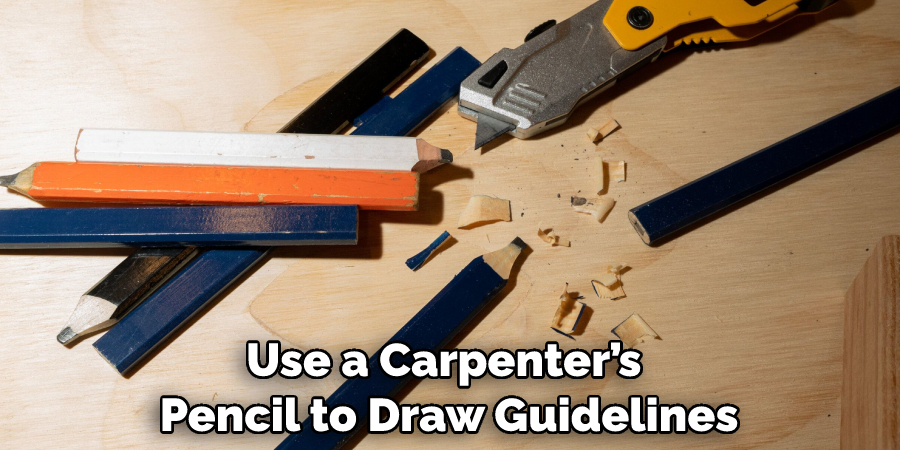
Once you’ve determined how long each trim piece needs to be, mark the wall where it will fit. Use a carpenter’s pencil to draw guidelines for your trim to ensure an even installation. Make sure to double-check any measurements before proceeding.
Step 3: Attach the Trim
For standard trim, you will need to use adhesive glue or caulk. You can also use a combination of both to ensure a secure bond. Apply a thin bead of glue along the backside of the trim and press it into place on your wall. If needed, use a few brads to secure it in place.
Step 4: Use Adhesive Tape
Consider using adhesive tape if you’re installing large pieces of trim or multiple pieces that need to line up perfectly. This will help keep the trim in place until the glue dries and ensure an even installation. This also makes it much easier to remove the trim if needed.
Before moving on, check that all gaps and irregularities have been filled with caulk or glue. If there are large gaps, fill them with wood filler or joint compound before continuing. This will help ensure a professional finish and keep moisture out.
Step 5: Sand the Surface
Once you’ve finished attaching and filling gaps, use fine-grain sandpaper for sanding the trim and surrounding wall lightly. This will help ensure an even painting surface and help the paint adhere better. Wipe away any excess dust before continuing.
Before painting your trim, you’ll need to prime it. This will help the paint adhere better and provide a uniform finish. Choose a primer formulated for wood surfaces and apply it with a brush or roller.
Step 6: Paint the Trim
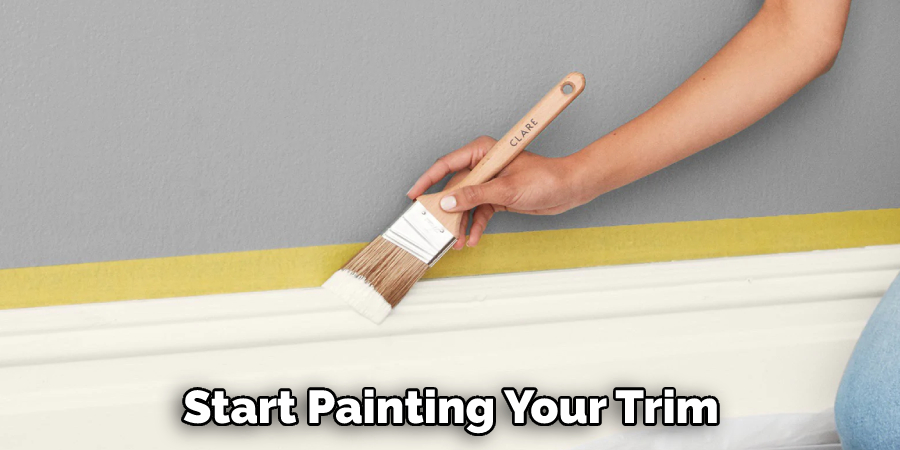
Once the primer has dried, you can start painting your trim. Use high-quality paint made for use on wood surfaces and apply it with a brush or roller. If needed, wait for the first coat to dry before applying a second one. After the paint has dried, consider applying a sealer. This will help protect the paint and make it last longer. Choose a sealer formulated for wood surfaces and apply it with a brush or roller.
You Can Check It Out to Attach a Door Knocker Without Screws
Safety Tips for How to Install Trim Without a Nail Gun
- Wear safety glasses and ear protection when cutting, hammering, or drilling. The noise and flying debris can be hazardous to your eyes and ears.
- Make sure the trim piece is the correct size. Measure the area you are working with before cutting any trim pieces, so they fit properly when installed.
- Pre-drill holes in the trim pieces before hammering to avoid splitting the wood. This will make it easier to install and ensure a clean finish.
- Use galvanized nails or screws when installing, as they are less likely to corrode over time.
- Use finishing nails along the edges of the trim piece to ensure a secure fit without damaging the wood. Finishing nails are usually small and have a rounded head, which makes them easier to hide when painting or staining the trim piece.
Following these instructions will help you install trim pieces safely and securely without a nail gun.
How Can You Avoid Damaging the Walls or Ceiling While Installing Trim Without a Nail Gun?
When installing trim without a nail gun, you need to be extra careful not to damage the wall or ceiling. Here are some tips on how to avoid damaging the wall or ceiling while installing trim:
- Use a stud finder to locate the studs in the wall. Studs are the structural support beams in a wall and will be much stronger than the drywall itself. When attaching the trim to a stud, you will be much less likely to damage the wall.
- Use painter’s tape to create a buffer between the trim and the wall. This will help to prevent scuffs and scratches as you hammer the trim into place.
- Use a plastic putty knife or an old credit card to smooth out any paint chips or cracks that the trim nails may have created. This will help to create a seamless look once the trim is installed.
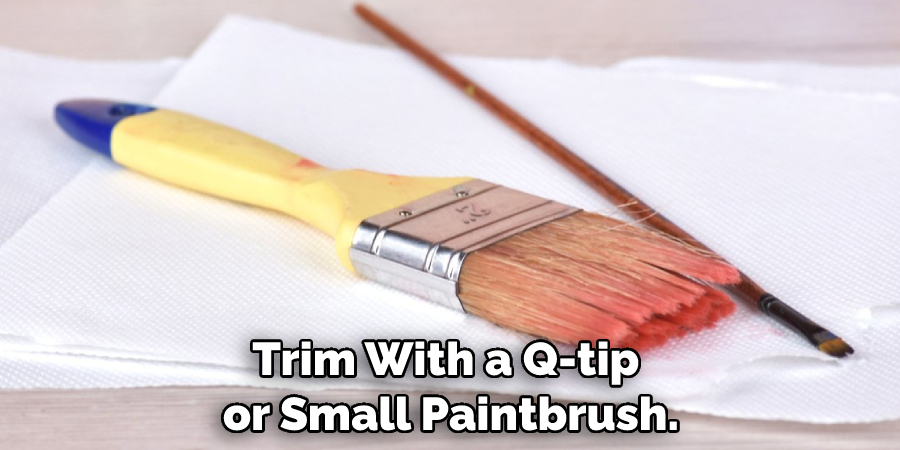
- Finally, touch up the paint around the trim with a Q-tip or small paintbrush. This will help blend in imperfections and give your trim a finished look.
How Much Stronger is Installing Trim With a Nail Gun Compared to Attaching It Without One?
This is a difficult question to answer because it depends on the type and size of the trim, as well as the tools and skills available. With the right tools and some experience, it is possible to install trim without a nail gun in a relatively short amount of time.
However, it could take much longer if you are new to woodworking or do not have the right tools. Generally, it is best to allow at least twice as much time as it would take to install the trim with a nail gun. This will give you ample time to work slowly and carefully, ensuring that the trim is installed correctly.
Is It Necessary to Call Any Professional to Install Trim Without a Nail Gun?
Yes. If you are unsure about installing trim without a nail gun, you should call a professional. Trim installation may require precise measurements, angles, and cutting, which could be tricky without experience. Also, if something goes wrong during the installation process or if you cannot secure the trim with other methods properly, a professional can help.
They will have the right tools and know-how to do the job correctly. So, before trying to install trim without a nail gun, it is best to consult a professional first.
How Much Will It Cost to Install Trim Without a Nail Gun?
The trim installation cost without a nail gun will vary depending on the materials and labor used. Generally, if you’re hiring a professional to do the job, it could cost anywhere from $150-$500. If you plan to do it yourself, the costs will depend upon the type of trim and supplies needed for installation.
You’ll need to purchase trim pieces, fasteners, wall anchors, and a few basic tools such as a tape measure, level, hammer, and screwdriver. Once you’ve gathered all the supplies needed for installation, you can expect to spend anywhere from $50-$100 on materials alone.
Installing trim without a nail gun can be a challenging and time-consuming task, but with the right supplies and tools, it’s an achievable DIY project. Before you begin, research the types of trim available and select one that fits your budget and style. Once you have the materials needed for installation, make sure to measure twice before cutting once to ensure proper fit and alignment. With patience and attention to detail, you can complete the task successfully.
Conclusion
One of the main disadvantages of installing trim without a nail gun is that it requires more time and effort. Nail guns provide an easier, faster way to secure trim in place, but without one, you must use a hammer and nails or screws. This can be difficult if you try to achieve a tight fit with the trims. Additionally, hammering nails into small trim pieces and hard-to-reach areas can be time-consuming because you must manually aim the nail each time.
However, if you do not own a nail gun or cannot access one, it is possible to install trim without one. Using the methods described above, you can securely attach trims without using a nail gun. With patience and careful attention to detail, your trim pieces will be installed properly and securely with no problem, regardless of the tools used. I hope this article has been beneficial for learning how to install trim without a nail gun. Make Sure the precautionary measures are followed chronologically.
You Can Check It Out to Install Kitchen Cabinets on Tile Floor

