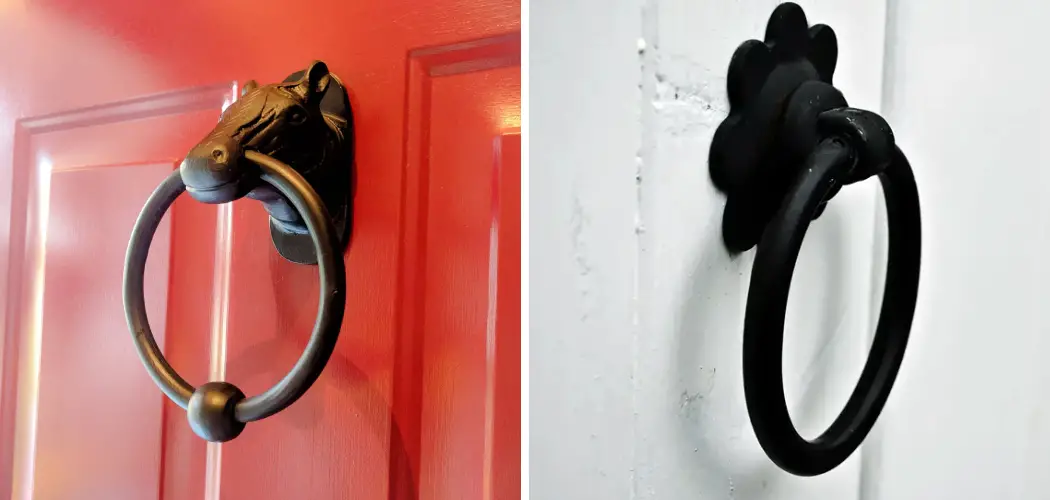
Are you looking for an easy way to add a door knocker to your front door without using screws? If so, you’re in luck. There are several methods that allow you to attach a door knocker without drilling holes into your door or wall.
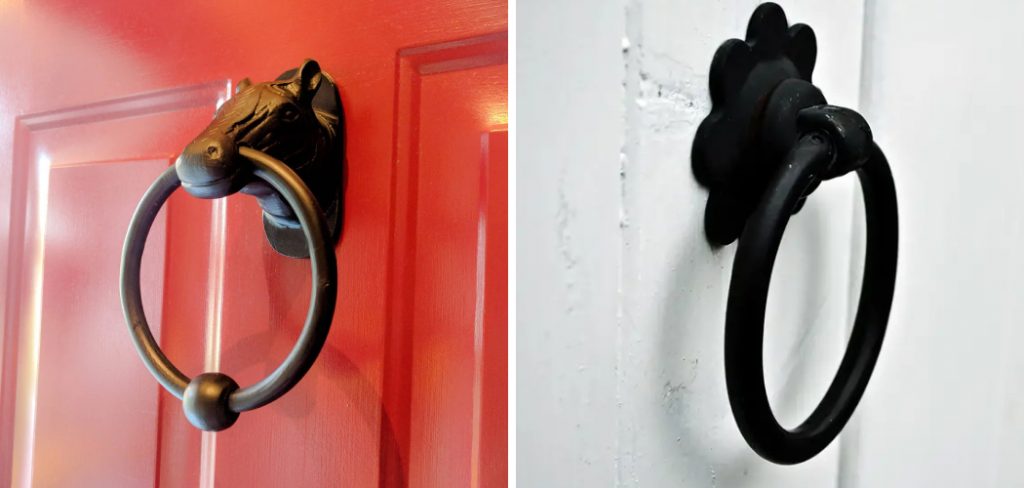
Now, you can learn how to attach a door knocker without screws! A door knocker can be just the right decorative addition to fit any doorway. Perhaps you would like a traditional brass piece or fancy an antique bronze look. Regardless of what style appeals to you, here is an easy step-by-step guide on how to easily secure your newly acquired decorative feature!
Read on for more details about this simple and creative DIY project.
What is a Door Knocker?
A door knocker is an ornamental piece of hardware that is attached to the front door. It serves as a functional and decorative tool, allowing visitors to announce their presence by knocking on the door instead of using the traditional doorbell. From classic designs to modern interpretations, there are endless options when it comes to choosing a door knocker.
It is important to note that door knockers come in various sizes and shapes, so it’s essential to pick one that fits your door style and size. Additionally, you need to ensure that the door knocker is made from durable materials such as brass or bronze to withstand constant use.
Is It Safe?
Yes, you can safely attach a door knocker without using screws or nails. With the right adhesive and knowledge of how to use it, you can make your door knocker adhere securely to any surface.
Additionally, you can also use the two-part epoxy adhesive that is made specifically for most surfaces. This type of adhesive will not only keep your door knocker in place, but it also prevents any further damage to the surface by avoiding nails or screws.
Overall, you can safely and securely attach your door knocker without the need for screws.
What You’ll Need:
To attach a door knocker without using screws, you’ll need the following items:
1. The Door Knocker:
Choose a door knocker that suits your style and preferences.
2. Adhesive:
Select an adhesive that is suitable for the surface to which you are attaching the door knocker. As mentioned earlier, a two-part epoxy adhesive is ideal for most surfaces.
3. Adhesive Remover:
In case you make any mistakes during the installation process, it’s always handy to have an adhesive remover on hand to fix any errors.
4. Masking Tape:
This is optional, but it can come in handy when marking the placement of the door knocker on your door or wall.
Now that you have all the necessary items let’s get started with the installation process!
Once you have these items, you’re ready to begin your project.
10 Easy Steps on How to Attach a Door Knocker Without Screws:
Step 1. Clean the Surface
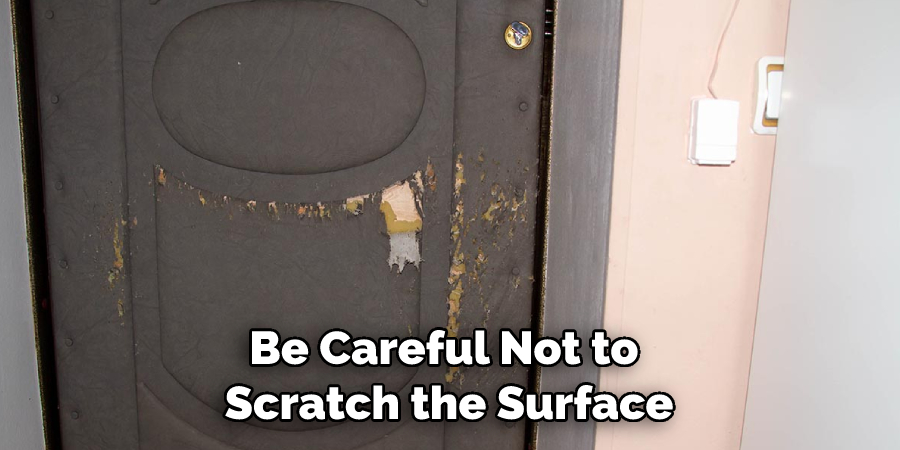
Before you apply the adhesive, it’s important to prepare the surface. This means cleaning any dirt or dust that could affect how well the door knocker adheres. Be careful not to scratch the surface while you’re cleaning. Because you won’t be using screws, it’s important to make sure the surface is smooth. You can use a mild cleaner or rubbing alcohol to clean the surface. You can also use fine-grit sandpaper to roughen up the surface slightly, allowing for better adhesion.
It’s important to note that some adhesives work better on rough surfaces, while others work best on smooth surfaces. Read the instructions on the adhesive packaging before selecting a surface preparation method.
Step 2. Apply the Adhesive
Once the surface is clean, it’s time to apply the adhesive. Use a caulking gun or similar tool to evenly spread the epoxy on the back of the door knocker and onto the prepared surface. Be sure not to use too much adhesive, as this can cause damage to both the door knocker and your wall or door. Follow the instructions on the adhesive packaging for best results. It’s also important to work quickly as some adhesives dry fast.
It’s a good idea to practice the application process on a spare piece of wood or cardboard before applying it to your door or wall.
Step 3. Secure the Door Knocker
Once you have applied enough adhesive, carefully press down your door knocker until it firmly adheres to the wall or door. Make sure you don’t move it around too much as this could cause an uneven bond between the two surfaces. If you need to, you can use an old rag or cloth to press down the door knocker and get a firm grip. Use your level to make sure the door knocker is straight before allowing it to dry.
The drying time for adhesives varies, so be sure to read the instructions on the packaging to determine how long you need to leave it untouched.
Step 4. Allow Adhesive To Cure
Leave your newly installed door knocker to dry overnight to allow the adhesive to set and create a strong bond. You can also read the instructions on your adhesive for more specific curing details. If you’re using a two-part epoxy adhesive, be sure to follow the instructions for how to mix the two parts. It is important that the two parts be mixed in a precise ratio for full curing. It’s best to let the adhesive cure for a full 24-hour period to ensure maximum strength.
You can use a small piece of masking tape to hold the door knocker in place while it cures. It’s important to avoid using the door knocker until the adhesive is completely dry and cured.
Step 5. Test Out Your Door Knocker
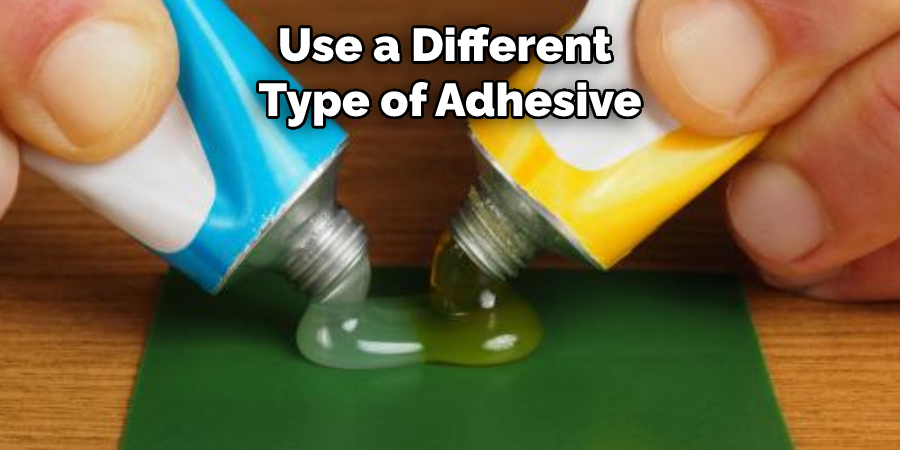
After the adhesive is fully cured, you can test how well it holds up against normal use. Tap on it firmly and see if it stays put. If everything looks good, then you’re done! If not, you may need to replace the adhesive or use a different type of adhesive. Because you didn’t use screws, you can easily remove the door knocker if needed and start the process over. The adhesive will stay on the door knocker, making it reusable.
The key here is to test the adhesive and make sure it’s strong enough to hold the door knocker in place. You don’t want your door knocker falling off at an inopportune time.
Step 6. Monitor Your Door Knocker
It’s important to monitor your door knocker periodically, especially during extreme weather, such as in the winter when temperatures can drop. This will ensure the adhesive is still secure and your door knocker remains firmly in place. You can reapply more if you notice any loose spots or if it seems like the adhesive is weakening. It’s always better to be proactive and check on your door knocker instead of waiting for it to fall off. It could cause damage to your door or wall.
It’s also a good idea to regularly check the door knocker if you live in an area with high humidity, as this can affect the adhesive over time.
Step 7. Keep Your Door Knocker Clean
It’s also important to keep your door knocker clean and free of dirt or grime. This will help it last longer and ensure that the adhesive remains secure. Additionally, it’s a good practice to check that the adhesive is still secure periodically. If needed, you can clean the door knocker with a mild cleaner or soap and water. Just be sure to dry it thoroughly before reattaching it. You can also use a polishing cloth to keep it looking shiny and new.
The cleaner and smoother the surface, the better the adhesive will adhere to it. You can also use a small amount of rubbing alcohol to clean the surface before reapplying any adhesive.
Step 8. Remove Excess Adhesive
If you have any excess adhesive, use a damp cloth to remove it from the surface before it dries and hardens. Use a putty knife to scrape off any remaining adhesive gently. Make sure the surface is clean before you finish up your project. A clean surface will also make the door knocker look more polished and professional. You can also use an adhesive remover to clean up any messes or mistakes. It’s always good to have one on hand in case you need it.
You can also use a razor blade to carefully remove any excess adhesive along the edges of the door knocker for a more precise and clean finish.
Step 9. Replace Door Knocker
If you ever need to replace your door knocker, make sure you completely remove the old one and any adhesive that remains on the surface. Scrape off any remaining adhesive and clean the area before installing your new door knocker. It must be thoroughly cleaned and dried before the adhesive is applied. Follow the same steps outlined above for the best results. The same adhesive can be used multiple times, making it a convenient option for replacing door knockers.
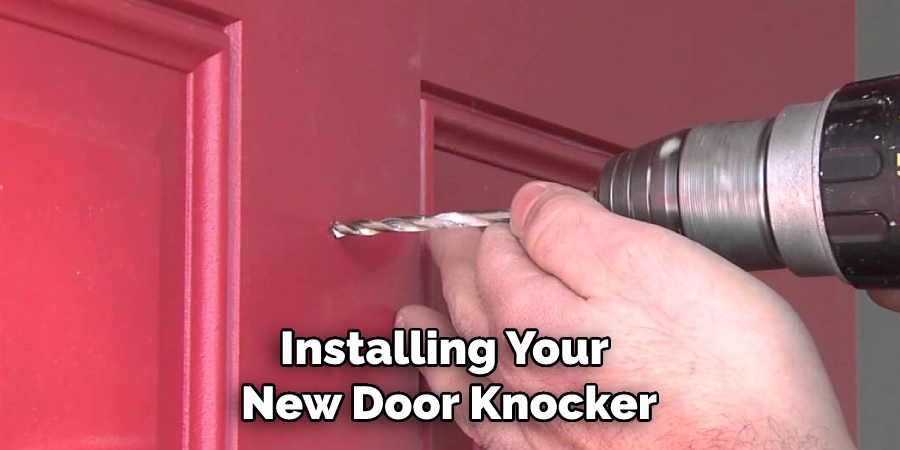
If you’re using a new adhesive, be sure to read and follow the instructions for best results. The adhesive should be applied evenly and sparingly to avoid any damage or mess. Allow the new door knocker to dry overnight before testing its strength.
Step 10. Enjoy Your New Door Knocker
Now that you’ve successfully attached a door knocker without screws, it’s time to admire your handiwork! You can now proudly show off how your door looks with its stylish new accent piece. And don’t forget how easy it was to attach it. With these simple steps, you can easily install a door knocker without the hassle and mess of using screws. You’ll also have the satisfaction of knowing you did it yourself! So go ahead and enjoy the new addition to your door. Happy knocking!
Congratulations on completing this project – it is now in the bag! We hope you are successful with any other home improvement projects. Good luck!
5 Additional Tips and Tricks:
1. Adhesive Strips: Use adhesive strips to attach the door knocker without screws. Make sure that the surface is clean and dry before applying them.
2. Double-Sided Tape: Use double-sided tape for a stronger bond to secure the door knocker in place.
3. Reinforced Magnets: Secure the door knocker with two magnets by attaching one magnet on the back and one on the front side of your door. This will help keep it in place without damaging the surface or creating holes from screws or nails.
4. Liquid Nails: Apply a small amount of liquid nail adhesive to attach the door knocker, ensuring you do not overfill it. Allow plenty of time for this method to dry before using it.
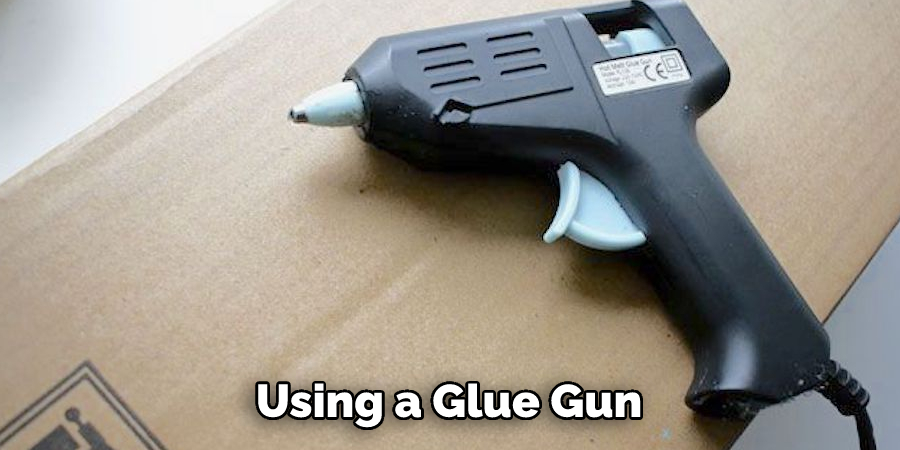
5. Glue Gun: Using a glue gun, apply glue along both sides of the door knocker and press firmly against the surface. Allow enough time for it to cool before testing out the door knocker.
These are five easy ways to attach a door knocker without screws! With these methods, you can create a secure and stylish entrance for your home or business in no time!
5 Safety Precautions:
1. Identify the type of surface you will be working with. Before attaching a door knocker without screws, it is important to ensure that the surface can support the weight of your door knocker.
2. Wear protective eyewear and gloves when attaching a door knocker without screws. Wear safety glasses if something happens while drilling or hammering and gloves to protect your hands from debris or splinters.
3. Choose the right adhesive for your project. Several types of adhesives are available for this task; however, some may not be suitable for certain materials. Be sure to research and select the right one based on your door knocker material and the surface to which you are attaching it.
4. Mark where you will place the door knocker before applying any adhesive. This is important to ensure even placement of the door knocker so that it hangs straight from the surface.
5. Test how well your door knocker adheres by pressing against it lightly after it’s been attached for a few minutes. If the door knocker does not stay in place, reapply more adhesive or choose an alternative attachment method, such as double-sided tape or braces.
Following these safety precautions can help ensure a successful project when attaching a door knocker without screws. For best results, always read and follow the instructions provided on your adhesive packages.
Be sure to take special care when working with power tools and adhesives in order to avoid any accidents or injuries. With proper safety practices in place, you can easily and securely attach a door knocker without screws. Happy attaching!
Frequently Asked Questions:
Q: Can I Attach a Door Knocker Without Screws on Any Surface?
A: While it is possible to attach a door knocker without screws on most surfaces, some materials may not be suitable for adhesive attachment. It’s important to research and choose the right method based on the material of your door knocker and the surface you are attaching it to. Some common materials used for doors include wood, metal, and vinyl.
Q: Are Adhesive Strips Strong Enough to Hold a Door Knocker?
A: It depends on the weight of the door knocker and the strength of the adhesive strips being used. Make sure to use high-quality, heavy-duty adhesive strips for best results. You can also reinforce the adhesive by using double-sided tape or magnets.
Q: How Can I Remove Excess Adhesive From My Door?
A: Use a damp cloth to remove excess adhesive before it dries and hardens. If there is still residue left, gently scrape it off with a putty knife. Make sure to clean the surface thoroughly before finishing up your project.
Q: Can I Reuse Adhesive Strips When Replacing My Door Knocker?
A: It is not recommended to reuse adhesive strips as they may have lost their strength and could result in the door knocker falling off. It’s best to use new adhesive strips or choose a different attachment method for your new door knocker.
Conclusion:
Attaching a door knocker without screws can add a fun and unique element to any door. There are several ways to mount a door knocker without drilling into your property. Using adhesive strips, mounting plaques, and cotter pins are the most popular methods for mounting door knockers without chipping away at the facades of your home or business. In some cases, you may need to enlist an experienced professional to help you with this task.
However, as long as you have the right supplies and some patience, it’s possible for anyone to give their doors an eye-catching upgrade by attaching a beautiful door knocker without screws!
Hopefully, the article on how to attach a door knocker without screws has given you the confidence to tackle this job. Just remember to take your time and follow the steps outlined in this article to ensure a successful project! Good luck! Happy Attaching!
You Can Check It Out to Sand a Door with An Electric Sander

