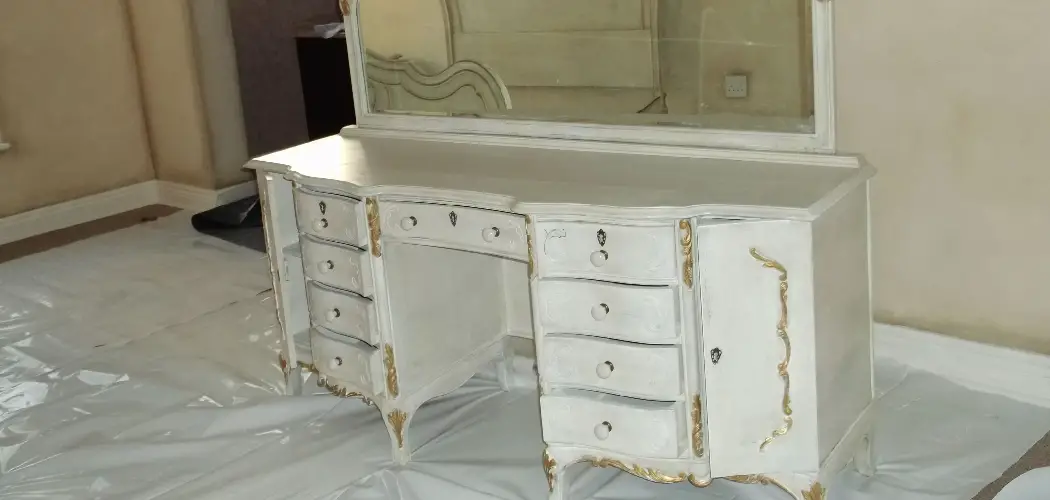
Dressers are an essential part of any bedroom, but they can often be wobbly and unstable. This can be a big problem, especially if you have children or pets who like to climb on furniture. In this blog post, we will show you how to fix a wobbly dresser so that it is stable and safe. Follow these simple steps, and your dresser will be good as new in no time!
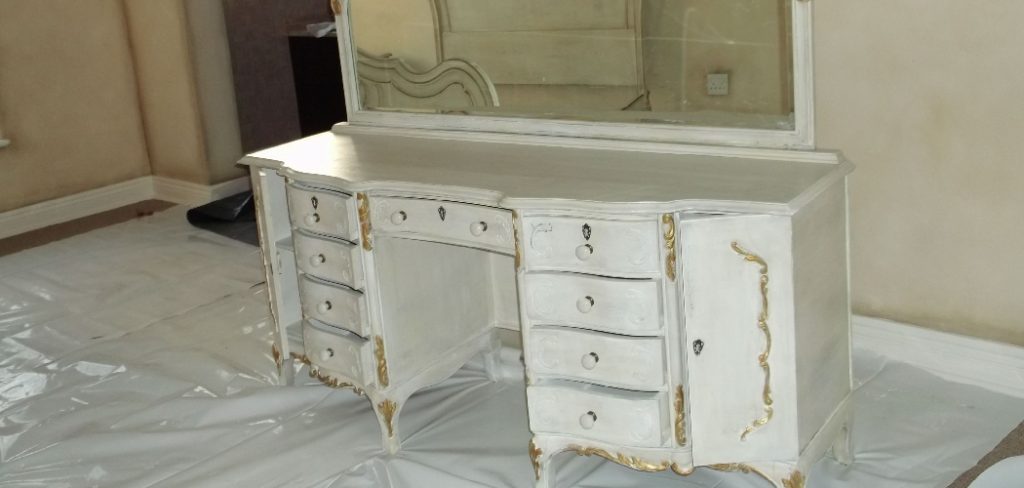
If your dresser is wobbling, it can be a safety hazard. Here are some tips on how to fix wobbly dresser. Dressers that wobble can cause injury if they fall over, so it’s important to fix them as soon as possible. Follow these steps to make your dresser more stable.
What is Causing the Wobbliness?
Before you start fixing your dresser, it’s important to figure out what is causing the problem. In most cases, a wobbly dresser is caused by loose or missing hardware. This can be screws, bolts, or brackets that have come loose over time. Sometimes, the dresser may also be missing a leg, causing it to wobble.
Another common cause of wobbly dressers is uneven floors. If your floors are not level, this can cause your dresser to tilt and become unstable. You may need to adjust the legs of your dresser or place shims under them to make it level.
Why is It Important to Fix the Wobbly Dresser?
1. Safety Hazard
A wobbly dresser could potentially tip over and cause injury. It may also cost you or your insurance company in the long run if it were to cause damage to property. So if you want to protect yourself and your belongings, it’s important to fix the wobbly dresser.
2. Improved Home Aesthetics
A wobbly dresser can make a room look unorganized and messy, taking away from the overall appearance of your home. Fixing it can give your space a cleaner, more put-together look. But make sure to declutter and organize the dresser’s contents for maximum aesthetic impact.
3. Prolonging Dresser Life
Not fixing a wobbly dresser can cause unnecessary wear and tear on the piece of furniture, potentially leading to it breaking or needing to be replaced sooner than necessary. Taking the time to fix the issue can prolong the dresser’s life and save you money in the long run.
4. Improved Functionality
A stable dresser will function better, allowing you to easily open and close drawers without fear of tipping over or causing damage. Fixing a wobbly dresser can improve the overall functionality and usability of the piece of furniture.
Things You May Need to Fix Wobbly Dresser
1. Screwdriver:
The first tool you will need is a screwdriver. This will be used to tighten any loose screws on the dresser.
2. Wood Glue:
You may also need some wood glue to fix any broken or cracked pieces of wood that may be causing the dresser to wobble.
3. Drill:
If your dresser has dowels, you may need to use a drill to create new holes for them to ensure a secure fit.
4. Shims:
Shims are small pieces of wood or plastic that can be used to fill in any gaps between the dresser and the floor, providing added stability.
5. L-Brackets:
L-brackets can be used to secure the dresser to the wall for extra stability. This is especially important if you have children or pets in the house.
How to Fix Wobbly Dresser in 10 Easy Steps
Step 1: Determine the Cause
Before starting any fixing, first, determine the cause of the wobble. The most common causes are uneven flooring or loose screws. Make sure to also check for any cracked or broken parts that may need to be replaced. Otherwise, the dresser may continue to wobble even after fixing. It may also be helpful to remove all items from the dresser to get a better look at the structure.

You may also need to move the dresser to find a flat and stable surface to work on. It may be helpful to have someone assist you with this step.
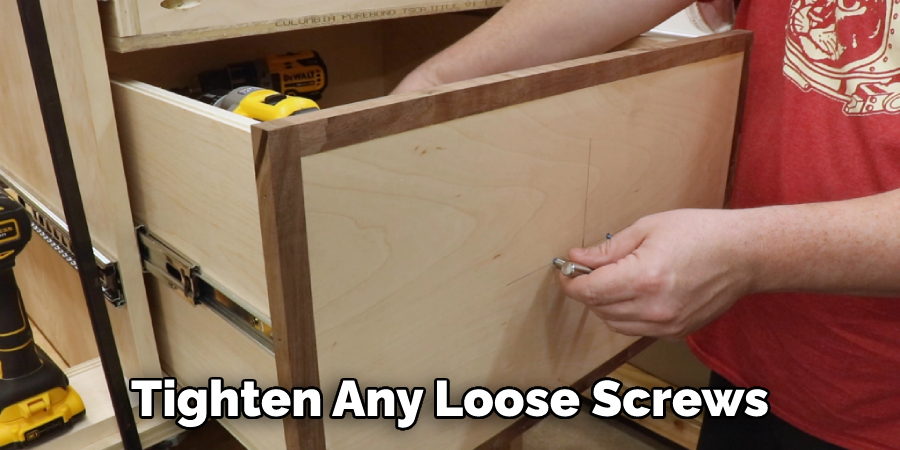
Step 2: Tighten Loose Screws
Use a screwdriver to tighten any loose screws on the dresser. If necessary, add additional screws where needed for added stability. It will ensure the dresser is securely attached to the frame. But make sure not to over-tighten, as it can cause damage to the dresser. The goal is to make the dresser stable not damaged.
If the screws are too damaged or stripped to tighten, you may need to replace them with new ones. You can bring the old screws to a hardware store to find replacements.
Step 3: Use Wood Glue to Secure Joints
If the joints of your dresser are loose or cracked, apply wood glue to securely hold them in place. This will add additional stability and may also make the dresser appear less worn or damaged. Be careful not to use too much glue, as it can cause a mess and potentially damage the dresser.
It may be helpful to use clamps to hold the joints in place while the glue dries. Follow the instructions on the wood glue for drying time.
Step 4: Add Furniture Support Brackets or Dowels
If the above steps did not fully eliminate wobbliness, adding furniture support brackets or dowels can provide extra stability. These can be easily found at any hardware store and are simple to install. The brackets or dowels will reinforce the dresser and prevent any further movement.
You may need to use a drill to create new holes for the dowels or brackets if they do not line up with existing ones. It’s important to make sure they are securely attached and aligned with the dresser.
Step 5: Sand Down Edges (Optional)
If there are rough or protruding edges on the dresser, sand them down for a smooth finish. This can also add to the overall stability and appearance of the dresser. It will help prevent snagging on clothing or causing injury. Thoroughly wipe down the dresser after sanding to remove any excess dust.
You may also want to sand down any areas where the dresser touches the floor for a more even contact. But be careful not to sand down too much, as it can affect the dresser’s stability.
Step 6: Place Back in Position and Test Stability
Carefully move the dresser back into position, making sure it is level and stable. Test out the drawers to ensure they open and close smoothly without wobbling. Make any necessary adjustments until the dresser is securely in place and no longer wobbles.
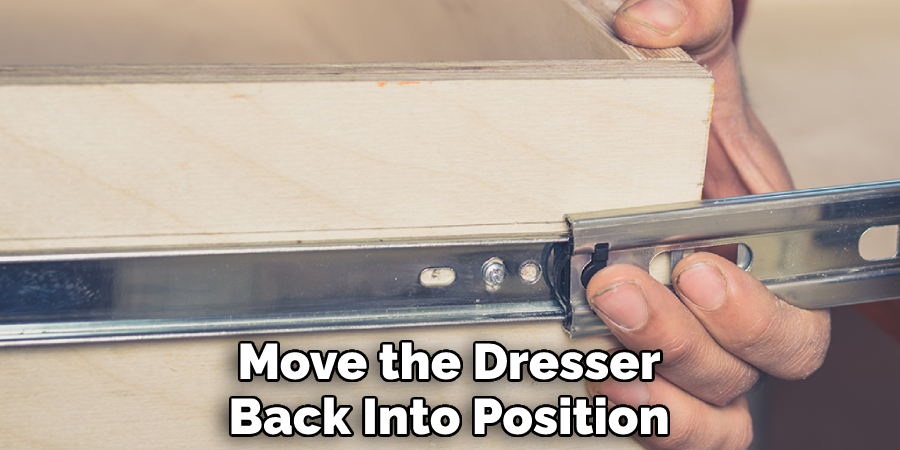
Otherwise, repeat the above steps if there are still areas that need additional reinforcement. It may also be helpful to have someone assist you in checking for stability.
Step 7: Use Shims for Uneven Flooring
If the dresser is still wobbly due to uneven flooring, use shims to fill in any gaps between the dresser and the floor. This will provide additional stability and prevent the dresser from rocking back and forth. If you do not have shims, small pieces of cardboard or folded paper can also work.
You can use a small hammer to gently tap the shims into place until they are secure. Make sure not to force them in too tightly, as it may cause damage. It’s also important to use shims made of a sturdy material, such as wood or plastic.
Step 8: Secure Dresser to Wall with L-Brackets
For added stability, you can secure the dresser to the wall using L-brackets. These are useful for dressers that may be placed on carpet or have uneven flooring. Make sure to attach the brackets to a sturdy part of the dresser and into a stud in the wall. Otherwise, it may not provide enough support.
You may need to use a drill to create holes for the brackets and screws. Follow the instructions on the brackets for proper installation. It’s also important to regularly check the brackets for any signs of wear or loosening.
Step 9: Clean and Declutter Dresser
Before placing items back in the dresser, take this opportunity to clean and declutter it. This will not only make the dresser look more aesthetically pleasing but also ensure its contents are not adding any unnecessary weight or stress to the dresser. You may also want to consider rearranging items for better weight distribution.
It may also be helpful to only keep items that are essential and regularly used in the dresser. This will help prevent overloading it in the future. But if you do need to store heavy items, make sure they are evenly distributed throughout the dresser.
Step 10: Regular Maintenance
To prevent future wobbliness, make sure to regularly check and tighten the screws on the dresser. Also, avoid placing heavy items on top of the dresser or in drawers to prevent unnecessary strain on the piece of furniture. The more frequently you maintain the dresser, the less likely it will wobble again in the future.
It’s also important to regularly clean and declutter the dresser, as it can become unstable if overloaded or unbalanced. Taking these preventative measures will ensure your dresser remains stable and sturdy for years to come.
By following these steps, you can easily fix a wobbly dresser and improve the safety, aesthetics, functionality, and longevity of the piece of furniture. Don’t let a shaky dresser ruin the appearance or function of your home – take the time to fix it properly.
How Much Could It Cost?
The cost of fixing a wobbly dresser will depend on the extent of the damage and the materials needed for repairs. If you have the necessary tools and materials at home, it may only cost a few dollars for new screws or wood glue. However, if you need to purchase additional support brackets or hire someone to assist with repairs, it may cost anywhere from $10 to $100 or more. It’s important to assess the situation and determine the most cost-effective solution for your specific dresser. So, don’t wait any longer and take action today to fix your wobbly dresser!
Not only will it improve the safety and stability of your furniture, but it will also enhance the overall look and feel of your space. With these simple steps, you can easily transform a wobbly dresser into a sturdy and beautiful piece of furniture that will last for years to come.
Some Additional Tips and Tricks to Fix Wobbly Dressers
1. Adjust the Dresser Glides
Dresser glides, also known as leveling feet or adjustable legs, can often be used to stabilize a wobbly dresser. These glides can be adjusted by simply twisting them with a wrench until the dresser is stable and level.
2. Reinforce Joints
A common reason for dressers becoming unsteady over time is loose joints. Reinforcing these joints with wood glue or screws can often solve the issue of wobbly dressers. But make sure to properly measure and mark where the screws should go to avoid damaging the dresser.
3. Use Furniture Grippers
If adjusting the glides and reinforcing joints does not fully solve the problem, furniture grippers can be used as a temporary solution to stabilize wobbly dressers. This gripper is placed under each leg of the dresser to provide added support and stability.
4. Replace Faulty Parts
In some cases, faulty or damaged parts may be causing the dresser to become wobbly. In these situations, it may be necessary to replace these parts in order to fully fix the issue. However, make sure to measure properly and choose the right replacement parts to ensure a successful repair.
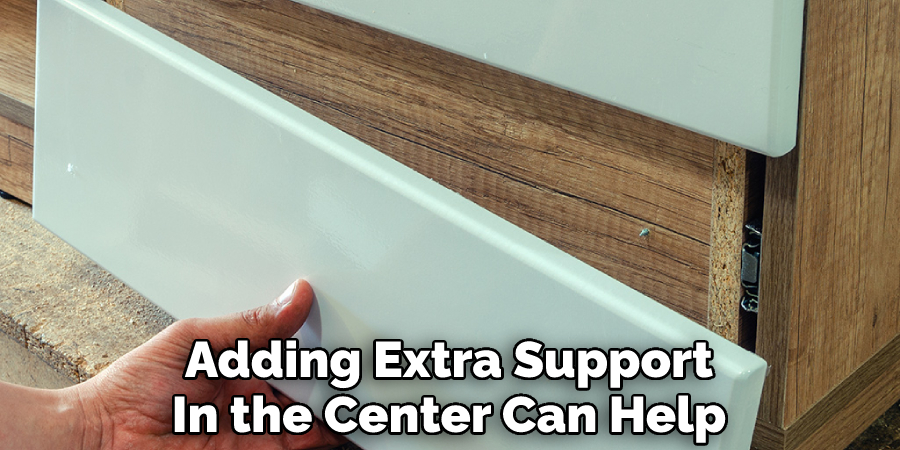
5. Add Extra Support
Depending on the dresser design, adding extra support in the center can help eliminate wobbling. This can be as simple as attaching a wooden board along the back or bottom of the dresser for added stability. Just make sure to securely attach the added support without causing any damage to the dresser.
By using these additional tips and tricks, you can further ensure a stable and sturdy dresser for years to come. It’s important to regularly check and maintain your furniture to prevent any potential safety hazards or damage. With proper care and maintenance, your dresser can remain a functional and stylish piece for you
Overall, fixing a wobbly dresser may require some trial and error in finding the right solution. But with these tips and tricks, you can easily stabilize your dresser and prevent any future wobbling.
Frequently Asked Questions
How Do I Determine the Cause of a Wobbly Dresser?
First, check to see if all of the dresser’s legs are securely attached. If all legs appear to be attached properly, try adjusting the dresser’s glides or levelers. If these adjustments do not solve the issue, it may be necessary to replace damaged or worn-out hardware, such as screws or drawer slides.
What Tools Will I Need?
A screwdriver and adjustable wrench will likely be the most useful tools for this task. It may also be helpful to have a hammer and pliers on hand. Make sure to have replacement hardware available, such as screws or drawer slides.
How Do I Adjust the Glides or Levelers?
If your dresser has adjustable glides, use a screwdriver or wrench to turn them until the dresser is level. If it has adjustable levelers, use a screwdriver or wrench to adjust the height of each leveler until the dresser is stable.
How Do I Replace the Hardware?
First, remove the damaged hardware using a screwdriver or wrench. Then, carefully measure and select replacement hardware of the appropriate size and type. Use a screwdriver or wrench to securely attach the new hardware. It may be helpful to consult a hardware store professional for assistance in selecting the appropriate replacement hardware.
How Can I Strengthen My Dresser?
Regularly check and tighten any loose screws. Use a heavier-duty screw or bolt to replace any damaged hardware. Consider adding extra support, such as braces or dowels, to reinforce the dresser’s structure. It may also be helpful to distribute the weight of items stored in the dresser evenly among all of its drawers.
Conclusion
Now that you know how to fix wobbly dresser, there’s no reason to put off the task any longer. A little bit of time and effort is all it takes to achieve a furniture piece that looks and functions like new. With these methods in your arsenal, you can confidently take on any odd or end tables, bookshelves, or other similarly sized objects in your home.
By now, your dresser should be sturdy and level. If it’s not, go back and check that all the screws are tight. Sometimes, it takes a few tries to get everything just right, but don’t give up – a wobbly dresser is an accident waiting to happen! With these tips, you can fix a dresser yourself without having to call in reinforcements.
You Can Check It Out to Fix Milky Clear Coat on Wood

