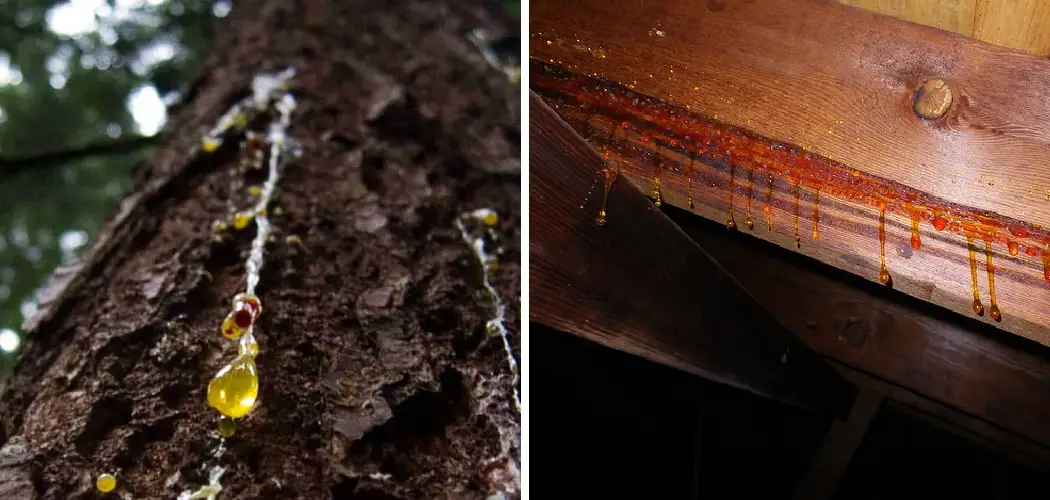
Has this ever happened to you? You’re outside, enjoying a beautiful day, when you suddenly feel something cold and sticky on your forehead. Upon further inspection, you realize that sap is dripping from the tree above you! If this has happened to you before, or if you want to learn how to prevent it from happening, then read on. In this article, we will discuss how to stop wood from leaking sap. Keep reading to learn more.
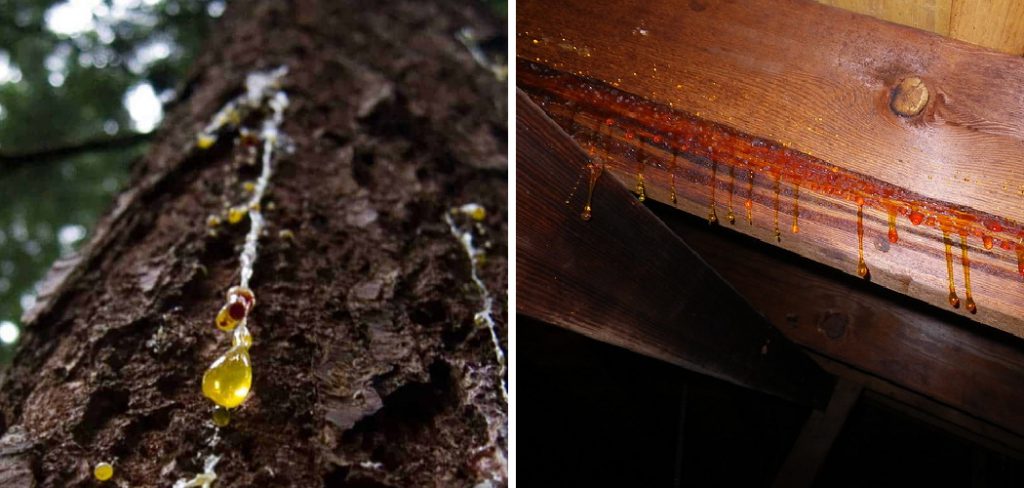
Wood sap is the tree’s lifeblood. It carries nutrients and water from the roots to the leaves, and it helps to protect the tree from injury. However, sometimes trees can leak sap, especially wounded or stressed. Many factors can contribute to a tree’s stress, including drought, excessive pruning, or damage from insects. If you notice that your tree is leaking sap, you can do a few things to stop it.
What is Tree Sap?
Tree sap is a sticky, sweet substance that flows through the veins of trees. It is composed of water, sugar, amino acids, salts, and other minerals. Sap serves several vital functions for trees, including providing nutrients, regulating water balance, and preventing infection.
In most cases, tree sap is clear or slightly yellow. However, it can also be red, orange, or brown if it contains high levels of pigments. While tree sap is often associated with maple trees, it is produced by all types of trees. When tree sap is exposed to air, it slowly hardens and turns into tree resin. This sticky substance is used to make varnishes, adhesives, and incense. Sap can also be boiled down to make syrup or candy.
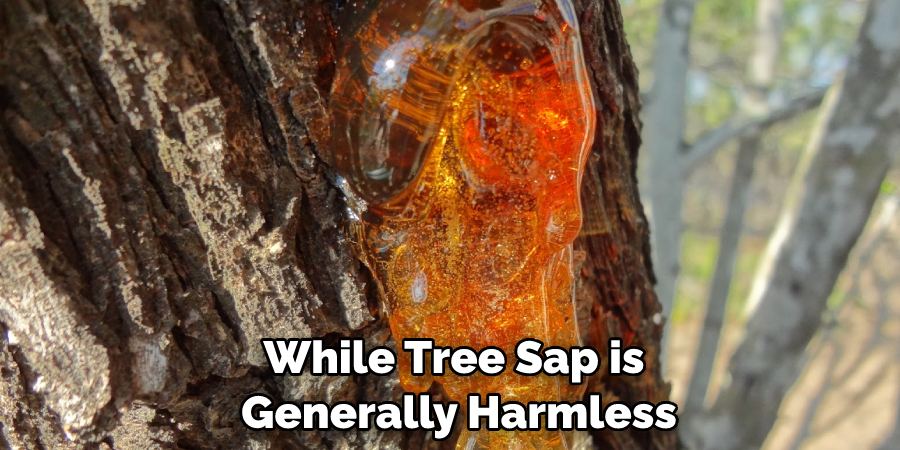
While tree sap is generally harmless, it can cause skin irritation in some people. If you come into contact with tree sap, you may experience redness, swelling, and itchiness. In severe cases, tree sap can cause blistering and second-degree burns. If you react to tree sap, wash the affected area with soap and water as soon as possible. You can also apply a cool compress to the site to help soothe the skin. Unfortunately, it can be difficult to remove if tree sap gets on your clothing.
Why Is Sap Coming Out of the Wood?
Sugar Maple (Acer saccharum) is the most common type of tree sap. If you live in North America, you likely have a few Sugar Maples in your area. In the spring and early summer, these trees produce a sweet sap often used to make syrup. However, if you see sap coming out of the wood, it is most likely due to injury.
Sugar Maples are very sensitive to injuries, and even a tiny wound can cause sap to leak from the tree. The sap acts as a natural bandage, sealing off the wound and protecting the tree from further damage. So if you see Sap coming out of the wood, there is no need to worry – the tree is just doing its best to heal itself.
What Types of Wood Have More Sap?
There are a few varieties of trees that ooze more sap than others. While most hardwoods have some resin, these five, in particular, tend to be the messiest:
-Black Hills spruce
-Balsam fir
-Pines
-Cedar
-Douglas fir
If you have any of these trees on your property, you may want to take extra care when handling them. In some cases, it’s best to avoid them altogether.
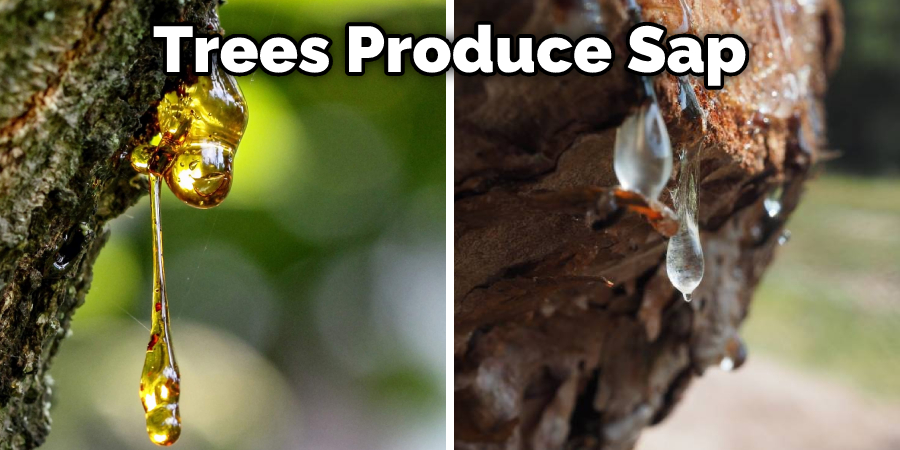
Trees produce sap as a way to protect themselves from injury. If the tree is cut or damaged, the sap will leak out and form a barrier over the wound. This helps to heal the tree and prevent further damage.
11 Step-by-Step Guide on How to Stop Wood From Leaking Sap
Step 1: Choose a Type of Wood That Doesn’t Have High Sap Content
There are certain types of wood that have high sap content. These include pine, spruce, fir, and cedar. If you’re looking to prevent your furniture from leaking sap, it’s best to avoid using these types of wood. Instead, opt for a kind of wood with low sap content, such as oak, mahogany, or cherry.
Step 2: Store the Wood in a Cool and Dry Place
One way to stop wood from leaking sap is to store it in a cool and dry place. If you have timber stored outside, consider bringing it inside during extreme weather conditions. You can also cover the wood with a tarp or plastic sheet to protect it from the elements. If you have wood furniture, keep it away from heat sources such as radiators and fireplaces.
Step 3: Crystalize the Sap
The process of crystallizing the sap is pretty simple. All you need is some time, patience, and a little heat. By gently heating the sap, you cause the water molecules to evaporate. This leaves behind the sugar molecules, which recrystallize into a solid form.
The result is a solid mass of sugar that can be easily removed from the wood. This stops the sap from leaking, but it also prevents it from causing any further damage.
There are a few different ways to crystalize the sap. The most common method is to use a blow dryer. Point the dryer at the sap and turn it on to the highest setting. Move the dryer around so that the heat is evenly distributed.

Another option is to use a heat gun. This is the same principle as the blow dryer, but the heat gun will get the sap much hotter, which will speed up the process.
These methods will work, but they can be dangerous if you’re not careful. Be sure to keep the heat source moving so that you don’t accidentally cause a fire.
Once the sap has crystallized, it can be easily removed with a putty knife or any other sharp object. Just scrape it off and dispose of it properly.
Depending on the size of the leak, this process may need to be repeated several times. But eventually, you’ll get all of the sap out, and your wood will be as good as new.
Step 4: Sealing the Wood
Once you’ve removed all of the sap, it’s time to seal the wood. This will protect it from future leaks and make it look new again.
There are a variety of sealants on the market, so choose one that is right for your project. If you’re not sure what to use, ask a salesperson at your local hardware store for advice.
Sealants can be applied with a brush, roller, or sprayer. Be sure to follow the directions on the label to get the best results.
In most cases, you’ll need to apply two coats of sealant. The first coat should be thin and even. Allow it to dry completely before applying the second coat.
Step 5: Sanding and Staining the Wood (Optional)
Once the sealant has dried, you may want to sand and stain the wood to restore its original appearance. If the wood is unfinished, sanding it will help smooth out any rough edges.
Staining the wood is optional, but it can give it a new lease on life. There are dozens of different stains on the market, so choose one that best suits your taste.
To apply the stain, wipe it on with a clean cloth. Be sure to work in small sections so as not to miss any spots.
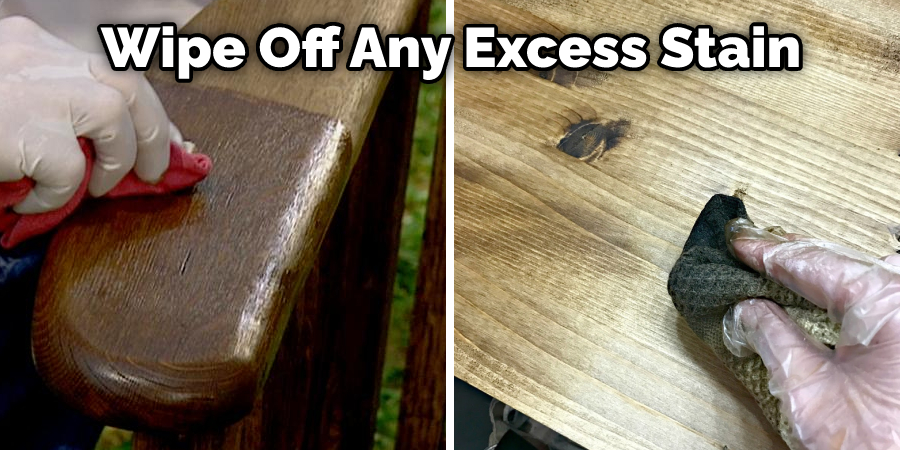
Once you’re finished, wipe off any excess stain with a clean rag. Allow the stain to dry completely before moving on to the next step.
Step 6: Finishing the Wood
Once the stain has dried, you can apply a clear finish to protect it. There are several different types of finishes on the market, so choose one that is right for your project.
Most finishes can be applied with a brush, roller, or sprayer. Be sure to follow the directions on the label to get the best results.
In most cases, you’ll need to apply two coats of finish. The first coat should be thin and even. Allow it to dry completely before applying the second coat. This will ensure that your wood is fully protected and looks great.
Step 7: Cleaning Up
Once you’ve finished working on the wood, be sure to clean up any mess you made. Dispose of any scraps and wipe down your work area.
If you used a heat source to crystalize the sap, be sure to unplug it and let it cool before putting it away. This will prevent any accidents from happening.
You should also properly dispose of any rags or cloths that came into contact with the sap. The sugars in the sap can ferment, which can create a fire hazard.
It’s also a good idea to wash any tools or equipment that you use. This will prevent the sap from hardening and ruining your tools.
Step 8: Preventing Sap Leaks in the Future
Now that you’ve stopped the sap from leaking, it’s important to take steps to prevent it from happening again. One way to do this is to wipe down your wood furniture regularly with a damp cloth. This will remove any residual sap and keep it from building up.
Also, be sure to avoid exposing your wood furniture to extreme heat or cold, as this can cause the sap to melt and leak again.
However, the best way to prevent sap leaks is to choose a type of wood with low sap content. Remember, hardwoods like oak, mahogany, and cherry are less likely to leak sap compared to softwoods like pine, spruce, fir, and cedar.
Step 9: Regular Maintenance
Just like with any other piece of furniture, regular maintenance is key to keeping your wood in good condition. Dusting, polishing, and applying a fresh coat of sealant every few years will help keep your wood looking beautiful and prevent any future sap leaks.
It’s also a good idea to check for any signs of sap leaks every so often, just in case. Catching and addressing them early on will make the cleanup process much easier.
However, with the proper care and maintenance, you can enjoy your beautiful wood furniture for many years to come without any pesky sap leaks.
Step 10: Seek Professional Help
If you’re dealing with a large amount of sap on your wood, or if the wood is damaged beyond repair, it may be best to seek professional help. A carpenter or furniture restoration expert will have the tools and knowledge to properly remove the sap and restore your wood to its original condition. It may cost a bit more, but it will save you time and ensure that your wood is properly taken care of.
It’s also important to seek professional help if you are unsure about any of the steps involved in removing sap from wood. Working with heat sources and chemicals can be dangerous, so it’s best to leave it to the experts if you don’t feel comfortable or confident in tackling the task yourself.
But with the right tools and techniques, removing sap from wood can be a simple and effective process. Just remember to take precautions, follow instructions carefully, and regularly maintain your wood furniture to prevent any future sap leaks.
Step 11: Savor the Fruits of Your Labor
After following all of these steps, you can finally sit back and enjoy your beautifully restored wood. Whether it’s a piece of furniture or a wooden structure, you can take pride in knowing that you were able to stop sap from leaking and bring new life to your wood. So go ahead, invite some friends over and show off your handiwork.
You can also try experimenting with different types of sealants, stains, and finishes to create unique looks for your wood. And don’t forget to share your success story with others who may be struggling with sap leaks on their own wood.
Once the finish has dried, your wood will be protected from leaks and damage. But, thanks to its refreshed appearance, it will also have a new lease on life. These steps will help stop wood from leaking sap.
You Can Check It Out To Make Cardboard Look Like Wood
Effects of Heat on Sap Coming Out of Wood
If you have ever noticed sap coming out of a piece of wood, you may have wondered what causes it. While there are several reasons why this can happen, one of the most common is simply due to exposure to heat. When wood gets too hot, the sap inside begins to expand and eventually leaks out through any cracks or crevices in the wood.
Fortunately, you can do a few things to help prevent this from happening. First, avoid placing your wood furniture in direct sunlight. This will help keep the temperature down and stop the sap from expanding. If you must put your furniture in direct sunlight, try to use a UV-resistant spray or IKEA’s sunscreen protection film to help protect the wood.
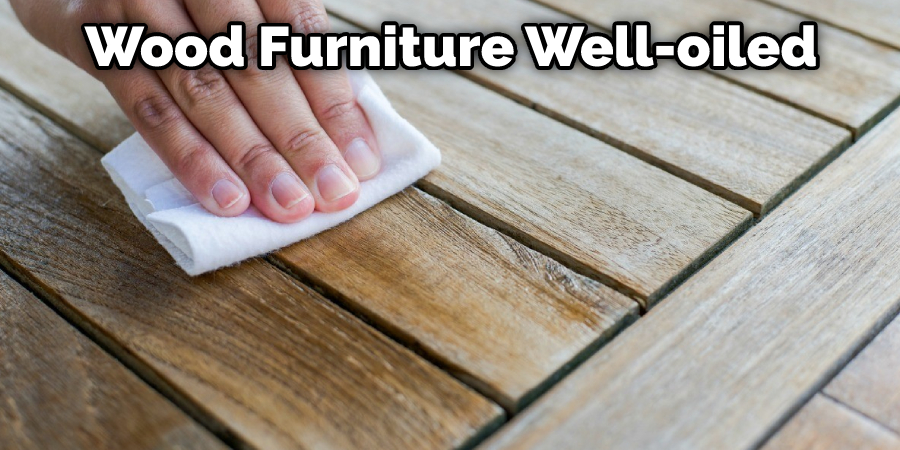
Another option is to keep your wood furniture well-oiled and conditioned. This will help create a barrier against the heat and also help prevent the sap from seeping out. Be sure to use a quality oil or conditioner designed for outdoor use, as this will help ensure it can withstand the elements.
You Can Check It Out to Make Cement Stick to Wood
Frequently Asked Questions:
Q1. Can Sap Leaks Damage the Wood?
A1. Yes, if left untreated, sap leaks can cause discoloration and even rot in the affected area of the wood. It’s important to address them as soon as possible to prevent any further damage. You can also take preventative measures, such as regularly cleaning and maintaining your wood, to avoid sap leaks in the first place.
Q2. Can Sap Leaks Be Harmful?
A2. In most cases, sap leaks are not harmful to humans. However, they can attract insects and cause damage to nearby plants or structures if left untreated. It’s best to clean them up as soon as possible to prevent any potential harm or damage.
Q3. Can I Use Heat to Remove Sap from Wood?
A3. Yes, heat can be an effective method for removing sap from wood. However, it’s important to use caution and follow instructions carefully to avoid damaging the wood or causing any safety hazards. If you are unsure about using heat on your wood, it’s best to seek professional help. Overall, heat can be an effective and safe method for removing sap from wood if used properly.
Q4. Can I Use Chemicals to Remove Sap from Wood?
A4. Yes, there are several types of chemicals that can help remove sap from wood. However, it’s important to use caution and follow instructions carefully to avoid any potential harm or damage to the wood. It’s also recommended to use natural or eco-friendly options whenever possible. If you are unsure about using chemicals on your wood, it’s best to seek professional help.
Conclusion:
If you have a tree that is leaking sap, you can do a few things to stop the flow. First, try scraping off the excess sap with a blunt object like a putty knife. You can also use mineral spirits or paint thinner to break down the sap and help remove it from the surface of the wood. Finally, if all else fails, you can always call in a professional to care for the problem for you. We hope you find this article on how to stop wood from leaking sap helpful.
You May Also Read: How to Paint Cardboard to Look Like Wood

