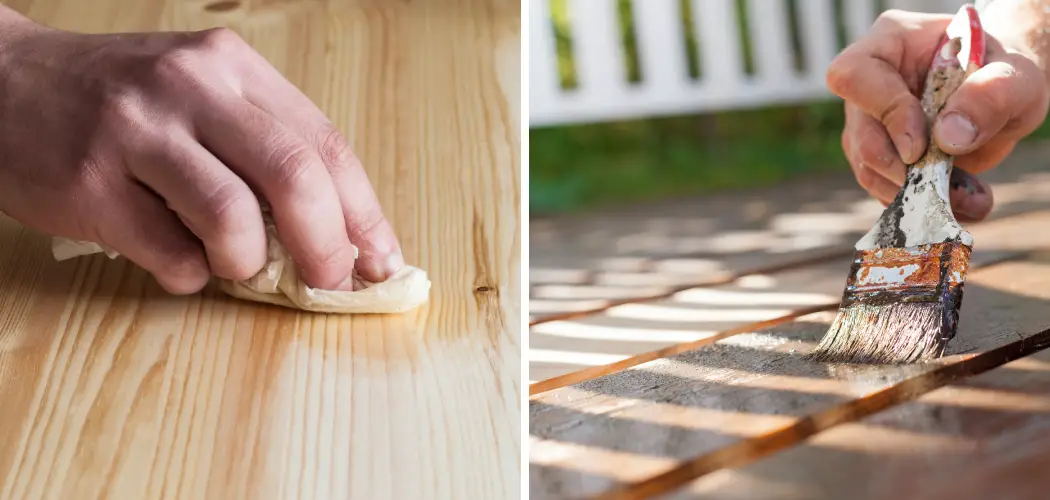
Are you looking for a way to restore the clear coating on your wood furniture? Over time, the finish of wooden furniture can become dull and discolored. In certain cases, it may develop an off-white hue known as milky or cloudy clear coat that detracts from its overall look. Fortunately, this problem is fixable with some elbow grease and knowledge! Read on to learn more about how to fix milky clear coat on wood efficiently and easily.
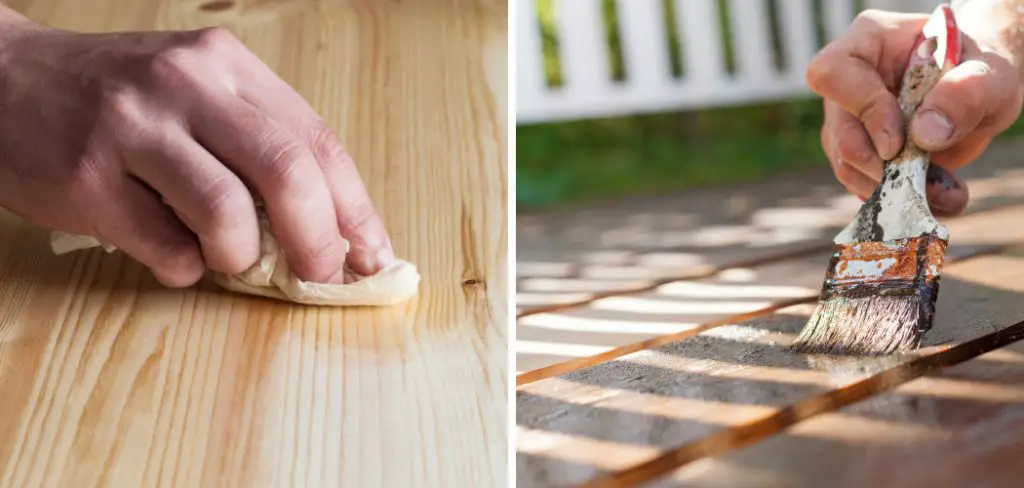
Having a milky or cloudy-looking finish on your woodworking projects can be frustrating and disappointing. You take pride in the time and effort you put into crafting beautiful pieces, and watching them become hazy or opaque is disheartening. While many may think this means they need to start over from scratch, that doesn’t have to be the case! Our blog post will show you how easy it can be to fix any milky clear coat on your wooden furniture without needing a brand-new paint job.
What Causes Milky Clear Coat on Wood?
There are several possible causes of the milky clear coat on the wood. Such as:
1. Improper Application
If the clear coat is not applied properly, it can bubble and peel, leading to a milky appearance on your wood. This may be due to using the incorrect brush or roller size or improperly cleaning your tools before applying the coating.
2. Moisture
If there is any moisture present in the wood when you apply the clear coat, it can cause the clear coat to bead up and become milky. To prevent this, be sure your wood is completely dry before applying the clear coat.
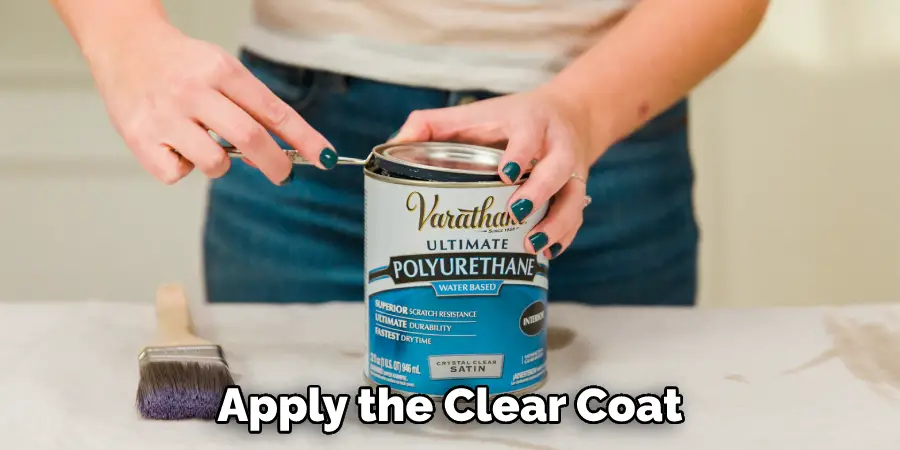
3. Chemical Exposure
Certain chemicals, such as solvents or harsh cleaners, can interfere with the adhesion of the clear coat on your wood, leading to a milky appearance. To prevent this, be sure to use only mild cleaning products when working with wood.
If your wood has a milky clear coat and you are not sure why it is best to consult an expert who can help identify the underlying cause and recommend appropriate solutions. With the right care and maintenance, however, you can usually restore a milky clear coat and prevent it from happening again in the future.
10 Ways About How to Fix Milky Clear Coat on Wood
1. Use a Solvent-based Cleaning Agent
A solvent-based cleaning agent can be used to remove residues and clear up the milky appearance. Be sure to read the manufacturer’s instructions carefully before using this or any other type of cleaning product on your wood surface.

2. Sand the Surface
Sanding down the surface of your wood can help remove excess residue and expose a fresh layer that is more uniform and clear. But you have to make sure to remove all the sanding dust before applying a new layer of clear coat, as it can cause discoloration or streaking.
3. Treat the Surface with a Wood Conditioner
If your wood surface has a milky appearance due to age or exposure to moisture, it may benefit from treatment with a wood conditioner. This will help restore its color and vibrancy, as well as remove any residues that are causing the milky appearance.
4. Apply a New Layer of Clear Coat
If your wood surface has lost its clear coat, or if the existing coating is visibly damaged or weakened, you may need to apply a new layer to restore its shine and clarity. Make sure that the new coating is compatible with any existing protective layers on your wood so that it can achieve the desired results.
5. Polish the Surface to Remove Streaks
If your wood surface has visible streaks caused by residue buildup, simple polishing can often be all it needs to look clear and polished once again. Try rubbing on a small amount of wax or polish with a soft cloth, then buffing it down carefully to remove any remaining streaks.
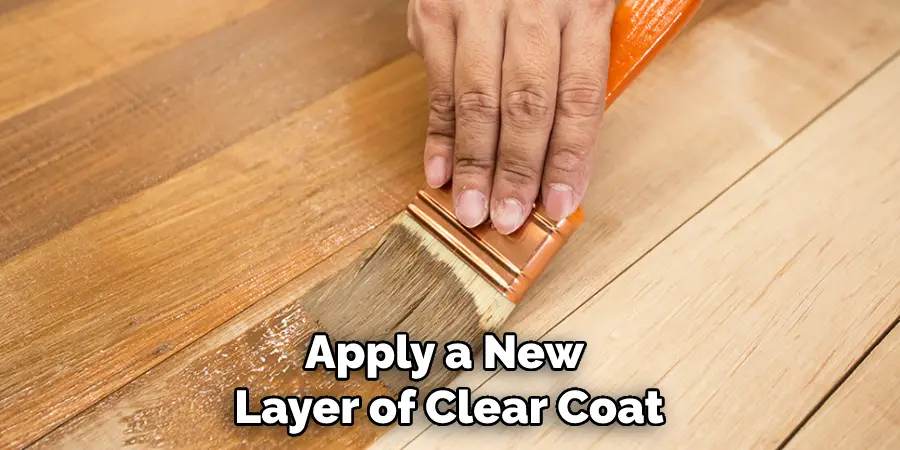
6. Apply a New Clear Coat
If your wood is badly damaged by milky spots, you may need to apply a new layer of clear coat in order to restore its appearance and protect it from further damage. Be sure to apply a thin, even layer of coating that is compatible with the existing finish on your wood.
7. Use a UV Protective Coating
If your wood is likely to be exposed to the sun and other elements over time, you may want to consider applying a protective coating that helps prevent these conditions from causing further damage. Look for coatings that are specially formulated for outdoor use, as they will typically offer better protection against environmental factors like humidity and moisture.
8. Use a Mineral Spirits Solution
If you are dealing with excess residue on your wood surface, try applying a mineral spirits solution directly onto the area and using a soft cloth to help wipe it away. This can be applied in small amounts until your wood appears clear again, giving you an easy and effective way to tackle this common problem.
9. Apply a New Layer of Sealant or Lacquer
If your wood surface has lost its shine and clarity, you may need to apply a new layer of sealant or lacquer in order to restore its appearance and protect it from further damage. Be sure to select a coating that is compatible with any existing protective layers on your wood, and work slowly and carefully to avoid streaking.
10. Seek Professional Help
If your wood surface is badly damaged by milky spots, or if you are having difficulty removing the streaks or residue on your own, it may be worth seeking professional help. A wood finishing specialist can assess the damage on your wood and recommend the best course of action for restoring its shine and clarity.
Some Tips to Prevent Milky Clear Coat on Wood
1. Use an Appropriate Clear Coat
Different types of clear coats can react differently to the wood, so it’s important to choose a clear coat that is compatible with your particular type of wood. Be careful to choose a clear coat that is designed for use on wood, as other types of clear coats may not work as well.
2. Apply Clear Coat Properly
To prevent a milky clear coat on wood, it’s important to apply the clear coat properly. This means making sure you allow enough time for the clear coat to dry completely and using the right type of paintbrush to apply it evenly. If you’re using a spray can make sure to hold it about 8-12 inches away from the wood surface as you apply the clear coat, for an even and smooth finish.
3. Use Quality Materials
When working with wood projects that involve a clear coat, it’s important to use high-quality materials. This means purchasing quality paints and brushes that are designed for use with wood, as these will give you the best results.
4. Perform Regular Maintenance
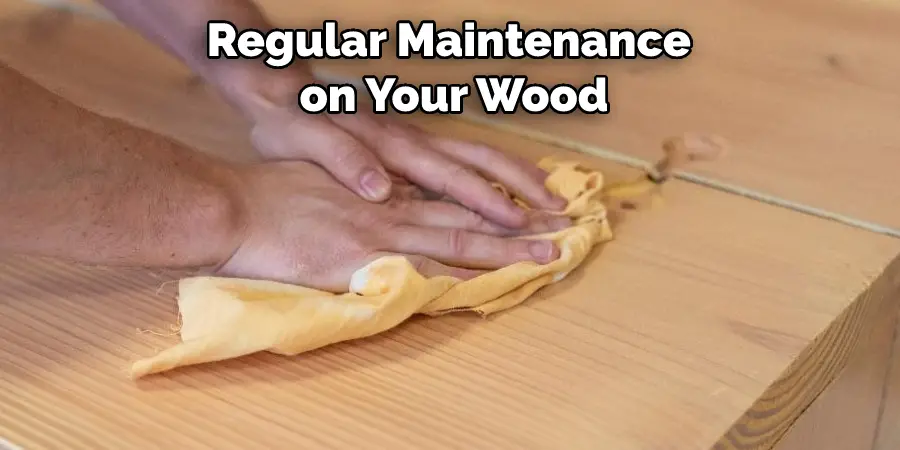
Finally, to prevent a milky clear coat on wood, it’s important to perform regular maintenance on your wood projects. This may mean giving them a thorough cleaning or refinishing them from time to time, depending on the type of wood used and the appearance you’re trying to achieve.
5. Apply Clear Coat in Even Layers
To ensure that your clear coat doesn’t develop a milky appearance, it’s important to apply it in even layers. This means taking the time to carefully brush or spray on a thin, even layer of clear coat, instead of rushing through the process and applying too much at once.
By taking good care of your wood projects, you can help prevent milky clear coats and keep them looking beautiful for years to come.
Conclusion
Now that you know how to fix milky clear coat on wood, you can refinish your furniture with confidence. Be sure to take the time to prep your surface and apply the finish in thin, even layers for the best results. With a little effort, you can achieve a beautiful, professional-looking finish that will last for years.
After trying each of these solutions, your wood should have a beautiful clear coat that shines. Be sure to avoid common mistakes so you don’t end up with furniture that looks worse than it did before. With careful attention and patience, you can achieve great results.
You Can Check It Out to Fix Bubbles in Engineered Hardwood Floor

