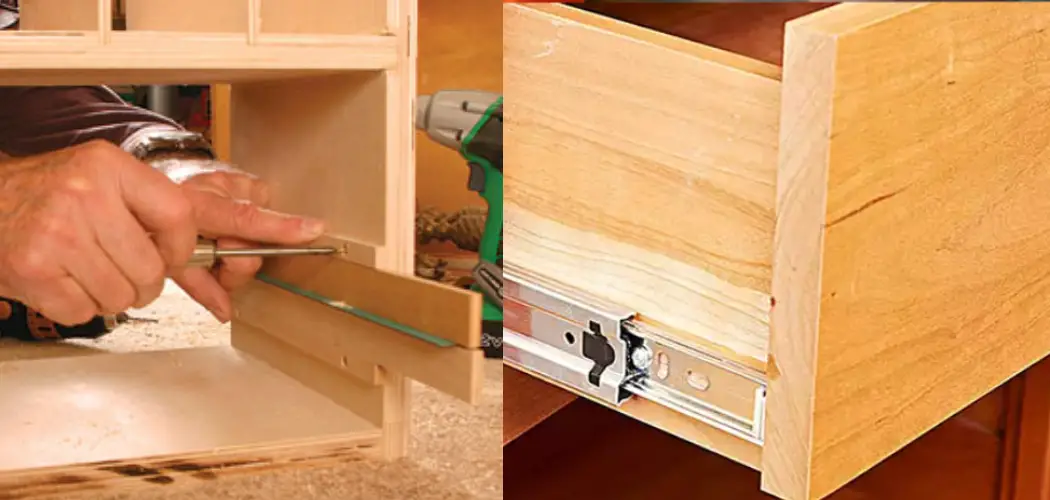
Drawer slides are one of the most important components of a drawer. They allow the drawer to open and close smoothly. However, if your drawer slides are not adjusted correctly, your drawer will not operate properly. This blog post will show you how to shim drawer slides. Shimming the drawer slides will ensure that your drawer operates smoothly and prevent it from getting stuck. So Keep Reading to find out How to Shim Drawer Slides.
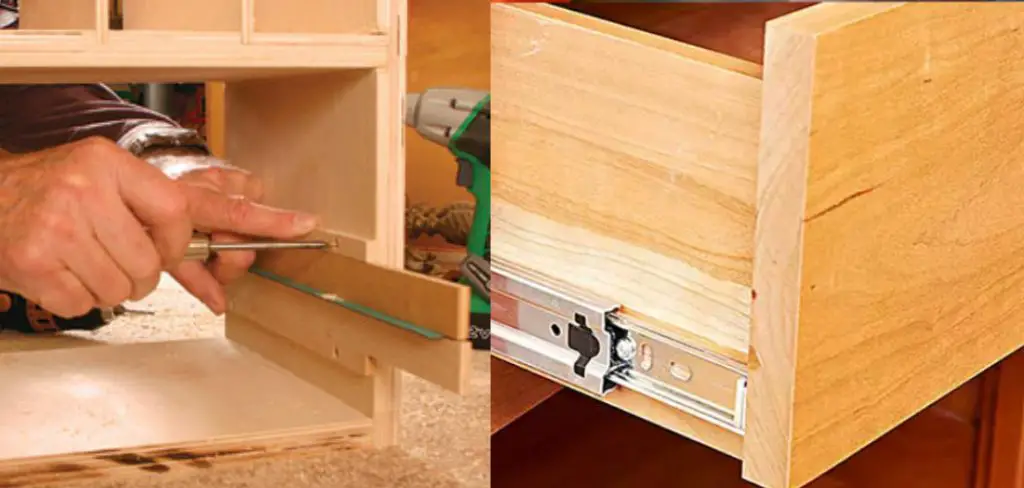
Problems of Misaligned Drawer Slides
When your drawer slides are not aligned properly, you may encounter a few problems. Firstly, the drawer may get stuck while opening or closing, making it difficult to access its contents. Secondly, the drawer may not close all the way and stick out a little bit, making your furniture look uneven.
Lastly, if the misalignment is severe enough, your drawer may even fall off the tracks. These problems can be easily solved by shimming your drawer slides. This guide will help you understand how to shim your drawer slides so that they work perfectly.
What is Shimming?
Shimming is a simple yet effective technique used to level or align two surfaces. In this case, we will use shims to adjust the height of the drawer slide, so it sits flush with the cabinet and operates smoothly. Shims are small pieces of material, usually made of wood or plastic, that can be used to fill in any gaps. It is a quick and cost-effective solution to fix misaligned drawer slides.
What Causes You Shim Drawer Slides?
The most common reason to shim drawer slides is that the slide itself has become misaligned. This can happen over time as the result of normal wear and tear. Another reason you might need to shim your drawer slides is if the drawer box has become misaligned. This can happen if the drawer box is not mounted correctly or if it has been damaged. If the drawer box is misaligned, the drawer slides will not be able to operate correctly.
Needed Tools and Materials:
Before you begin, make sure you have the following tools and materials:
Shims (Wood or Plastic):
Choose shims that are thin enough to fit in the gap between the drawer slide and cabinet but sturdy enough to support the weight of your drawer.
Screwdriver:
You will need a screwdriver to remove and adjust the screws on your drawer slides.
Level:
A level will help you ensure that your drawer slides are aligned correctly.
Measuring Tape:
A measuring tape will come in handy to measure the gap between your drawer slide and cabinet.
Pencil
You may also need a hammer and nails if your shims do not have adhesive backing.
Why Are My Drawers Uneven?
There are several reasons why your drawers may be uneven. The most common reasons are:
1. Slides Are Not Installed Correctly
If your slides are not installed correctly, they will not be able to support the weight of the drawer properly. This can cause the drawer to become unbalanced and uneven. Slides should be installed so that they are level and evenly spaced. If your slides are not installed correctly, you will need to uninstall and reinstall them.
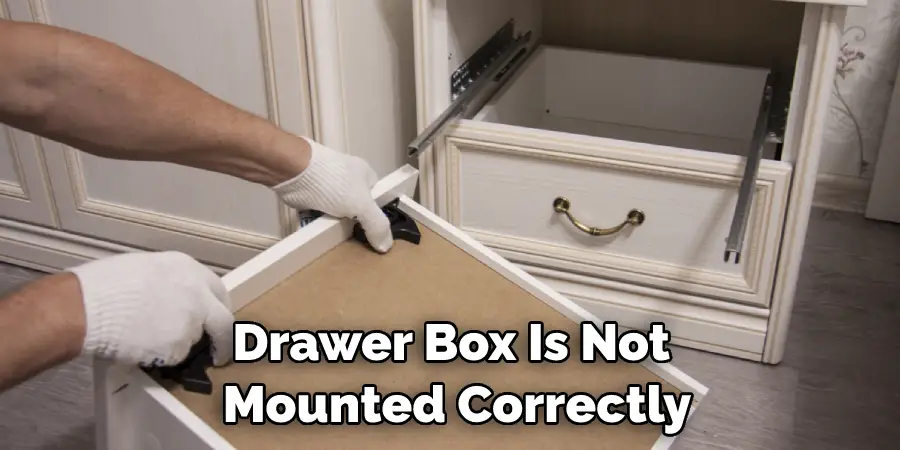
2. The Drawer Box Is Not Mounted Correctly
If the drawer box is not mounted correctly, the drawer slides can bind. The drawer box should be mounted so that the top of the box is level with the top of the cabinet opening. If it is not, shims can be used to level it.
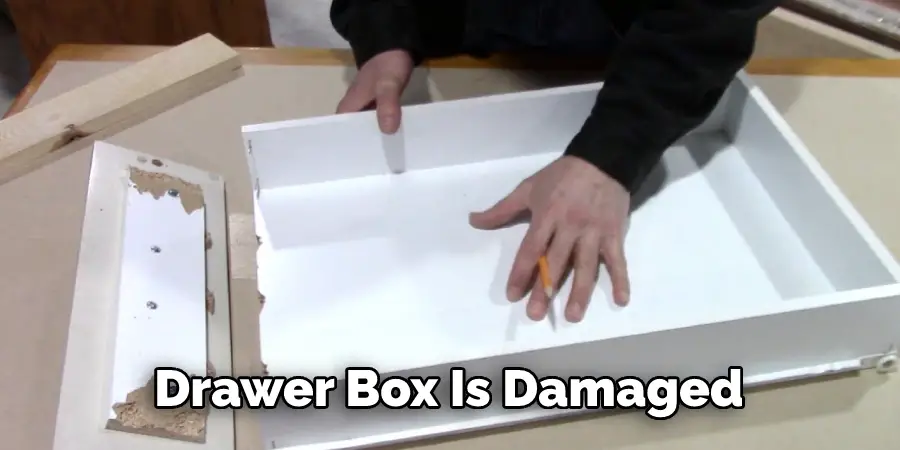
3. The Drawer Box Is Damaged
If the drawer box is damaged, it will not be able to support the drawer’s weight properly. This can cause the drawer to become unbalanced and uneven. The drawer box should be replaced if it is damaged.
4. Drawer Slides Are Worn Out
If the drawer slides are worn out, they will not be able to provide the support that is necessary for the drawer to function properly. Worn-out drawer slides can be replaced with new ones, or they can be shimmed.
5. Cabinet Is Not Square
If the cabinet is not square, the drawer slides will not be able to operate properly. The cabinet should be squared up before the drawer slides are installed. If the cabinet is not square, shims can be used to level it.
6. Cabinet Is Damaged
If the cabinet is damaged, it can cause the drawer slides to bind. The cabinet may need to be repaired or replaced. If the drawer slides are damaged, they will need to be replaced.
7. Something Is Blocking The Drawer
If something is blocking the drawer, it will not be able to open or close properly. Make sure that nothing is blocking the drawer before you try to open or close it.
8. The Drawer Is Overloaded
If the drawer is overloaded, it will not be able to open or close properly. Do not overload the drawer. Try to distribute the weight of the contents inside the drawer evenly.
9. The Slides Are Dirty
If the slides are dirty, they will not be able to operate properly. Clean the slides with a clean, dry cloth. Do not use any cleaners or solvents on the slides.
10. The Latch Is Not Engaging Properly
If the latch is not engaging properly, the drawer will not be able to stay closed. Make sure that the latch is properly engaged before you try to close the drawer.
Step by Step How to Shim Drawer Slides:
1. Remove the Drawer From the Cabinet:
The first step is to remove the drawer from the cabinet. This will allow you to access the drawer slides. Next, use a screwdriver to remove the screws that are holding the drawer in place. If your drawer has knobs or handles, you will need to remove them before you can remove the drawer.
You can place the drawer on a flat surface or workbench for easier access. The drawer slides should be fully extended on both sides.
2. Inspect the Drawer Slides:
Once the drawer is removed, you can now access the drawer slides. First, inspect the slides to see if they are damaged or misaligned. If the slides are damaged, you will need to replace them. If the slides are only misaligned, you can try to adjust them back into place. The gap between the drawer slide and cabinet should be no more than 1/8 inch.
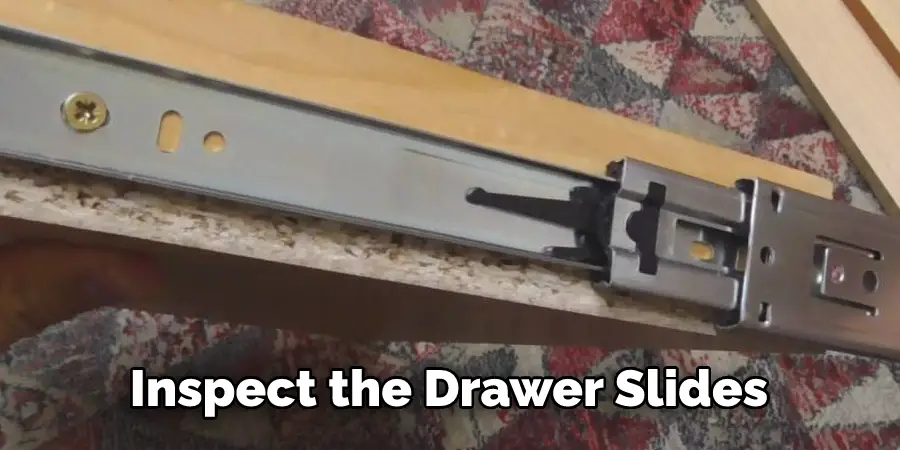
It is important to note that if your drawer slides are damaged or heavily worn, shimming may not be an effective solution. In this case, it would be best to replace the slides.
3. Measure the Gap Between the Slide and the Drawer Box:
The next step is to measure the gap between the drawer slide and the drawer box. This will help you determine how much shimming is required. Use a tape measure to measure the gap between the slide and the drawer box. You will not need to shim the slides if the gap is less than 1/8 inch.
You can also use a level to make sure that the slide is straight and even. If it is not, you may need to adjust the screws on the slide before shimming.
4. Cut the Shim:
Once you have determined how much shimming is required, you can now cut the shims. Shims are thin wood pieces that fill the gap between the slide and the drawer box. You can purchase shims at your local hardware store. Cut the shims to size using a saw. If you are shimming more than one drawer, you will need to cut multiple shims.
You can also use plastic shims, which are easier to work with and do not require cutting. It is important to cut the shims so that they fit snugly into the gap between the slide and drawer box.
5. Remove the Drawer Slide:
The next step is to remove the drawer slide. This will allow you to install the shims. Next, use a screwdriver to remove the screws that are holding the drawer slide in place. Once the screws are removed, you can now pull the drawer slide out.
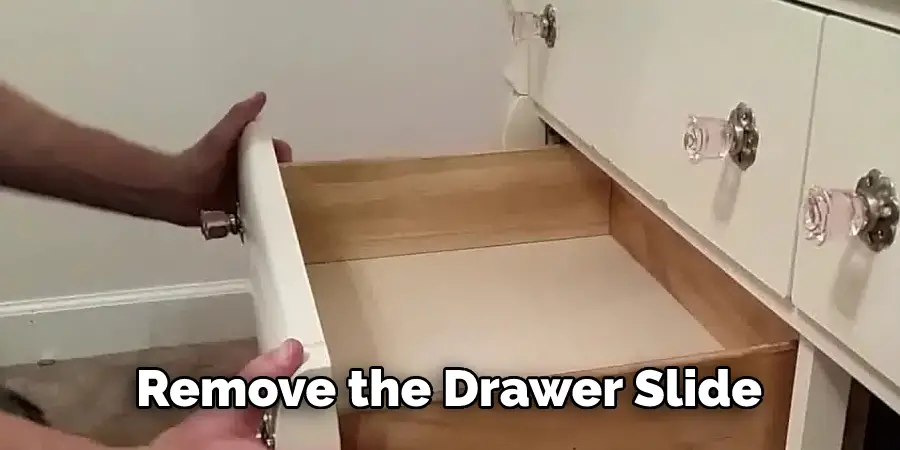
There are two types of drawer slides: side-mounted and under-mounted. If you have side-mounted slides, the outer slide is typically removed first. If you have under-mounted slides, the inner slide needs to be removed first. Make sure to keep track of which slide is the outer and inner one.
6. Use a Level:
Before you install the shims, you will need to use a level. This will ensure that the shims are installed correctly. Place the level on the shims and make sure that they are level. If the shims are not level, the drawer will not operate correctly.
Although it is not necessary, you can also use wood glue or adhesive to secure the shims. This will prevent them from shifting or falling out of place. The adhesive should not be applied to the entire shim; only a small amount should be in the center.
7. Install the Shims:
The next step is to install the shims. Insert the shims into the gap between the slide and the drawer box. Make sure that the shims are inserted snugly and that there is no gap between the shims and the slide. If there is a gap, the shims will not be effective.
It is also important to make sure that the shims are centered in the gap. If they are off-center, it can cause the drawer to be misaligned and not open or close properly. The shims should also be flush with the slide and drawer box.
8. Re-install the Drawer Slide:
Once the shims are in place, you can now re-install the drawer slide. Use a screwdriver or a power drill to screw the screws back in. Be careful not to over-tighten the screws, as this may strip the hole or damage the shims.
It is important to make sure that the slide is straight and even before fully tightening the screws. If the slide is not straight, you may need to adjust it or remove a shim.
9. Adjust the Screws on the Bottom:
The next step is to adjust the screws on the bottom of the drawer. These screws are used to adjust the height of the drawer. If your drawer is too high or too low, you can use these screws to adjust it. If the drawer is too high, turn the screws clockwise. If the drawer is too low, turn the screws counter-clockwise.
You can also adjust the screws on the side of the drawer slides to ensure that they are properly aligned. These screws are typically used to adjust the gap between the drawer and cabinet.
10. Test the Drawer:
Once you have finished shimming the drawer, you can now test it. First, close the drawer and make sure that it is level. Also, ensure that the drawer is not too tight or loose. You may need to adjust the shims again if the drawer is not closing properly. Finally, check to see if the drawer is aligned with the rest of the cabinets. If it is not, you may need to adjust the shims again or use a different type of shim.
Following these steps on how to shim drawer slides will ensure that your drawer slides are properly aligned and functioning correctly. Remember to always use caution when working with power tools and to follow the manufacturer’s instructions for your specific type of drawer slide.
How Do You Fix an Uneven Drawer Slide Without Shim?
If your drawer slide is uneven, you can try to adjust it back into place. To do this, you will need to remove the screws that are holding the drawer slide in place. Once the screws are removed, you can now adjust the drawer slide. To make the drawer slide higher, turn the screws clockwise. To make the drawer slide lower, turn the screws counterclockwise. You may need to experiment with the screws to find the right adjustment. Once the drawer slide is in the correct position, you can now re-install the screws.
Tips and Warnings on How to Shim Drawer Slides:
Tips:
1. Always use a level when shimming drawer slides. This will ensure your drawers open and close smoothly.
2. Use different thickness shims to get the perfect fit.
3. Be patient when shimming drawer slides. It takes time to get it right, but it’s worth it in the end!
Warnings:
1. Do not over-tighten the screws when attaching the shims. This can strip the wood and damage the drawer slide.
2. Make sure the shims are level with each other. Uneven shims will cause the drawer to bind.
3. Do not use too many shims. This can make the drawer difficult to open and close
Frequently Asked Questions:
Q: Can I Use Something Other Than Wood Shims to Shim My Drawer Slides?
A: Yes, you can also use metal or plastic shims. Just make sure they are the correct size and thickness for your drawer slide. It’s important to use a material that is strong and durable enough to support the weight of the drawer. You can also use cardboard or paper as a temporary fix, but they are not recommended for long-term use.
Q: How Do I Know When My Drawer Slide Needs to Be Replaced?
A: If your drawer slide is damaged, bent or broken, it will need to be replaced. You may also need to replace the slide if it is constantly becoming misaligned and difficult to open and close. If you are unsure whether your drawer slide needs to be replaced, consult a professional for advice.
Q: Can I Shim Both Sides of the Drawer Slide?
A: Yes, you can shim both sides of the drawer slide if needed. Just make sure to use equal amounts of shims on each side to keep the drawer level. It may take some trial and error to get the perfect fit, so be patient and make adjustments as necessary.
Q: How Do I Prevent My Drawer Slides From Becoming Uneven Again?
A: To prevent your drawer slides from becoming uneven in the future, make sure to regularly check and tighten the screws that hold them in place. Also, avoid putting too much weight on a single side of the drawer, as this can cause it to become misaligned. Additionally, consider using lubricant on the drawer slides to keep them running smoothly.
Overall, shimming drawer slides are a simple and effective way to fix uneven or misaligned drawers. With the right tools and techniques, you can easily shim your drawer slides and have them operating smoothly in no time. Remember to always use caution when working with tools and to consult a professional if needed. Happy shimming!
Conclusion:
So there you have it! Your complete guide on how to shim drawer slides. It’s not as daunting as it may seem, and with a little practice, you can do it like a pro. So have fun with your projects, and share pictures of your successes with us. We can’t wait to see what you create. Remember to always use caution when working with tools and to consult a professional if needed. Happy shimming!
You Can Check It Out to Use Kreg Drawer Slide Jig

