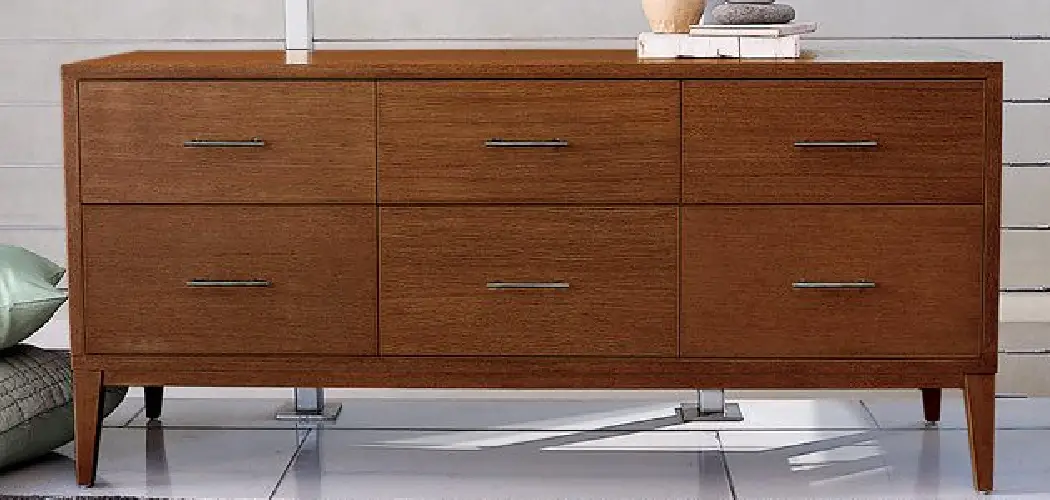
In this post, we’ll discuss an easy way to spruce up a dresser and give it an updated look – by adding legs! If you’ve ever been in the market for new bedroom furniture or have ever walked through the home section of a store, you know that people are paying top dollar for unique, stylish dressers with interesting designs and elements.
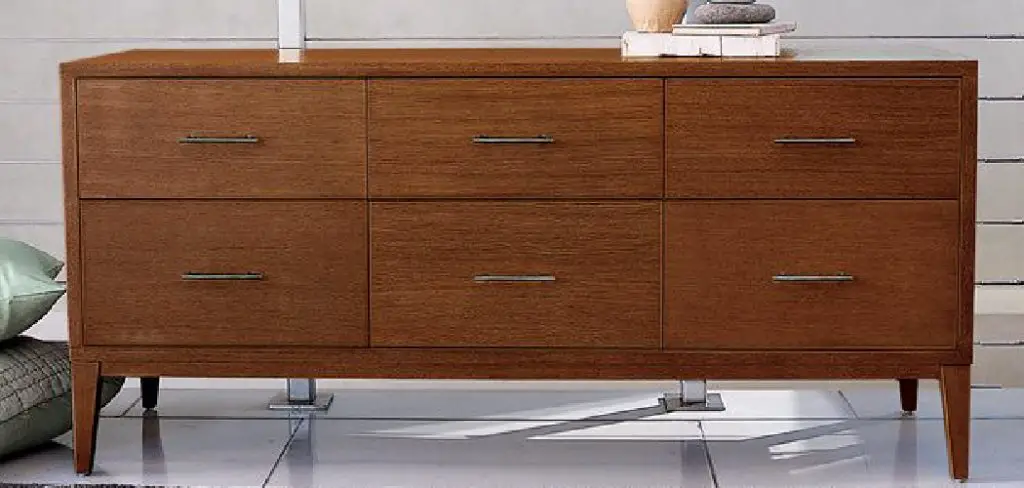
By following just a few simple steps on how to add legs to a dresser outlined below, you can add elegant legs to your existing dresser quickly and inexpensively for an upscale look without breaking the bank. So let’s get started!
Step-by-step Guidelines on How to Add Legs to a Dresser
Step 1: Measure the Length.
Carefully measure the length of your dresser, from one side to the other. It’s important to make sure you get an accurate measurement so that the legs are centered and evenly spaced. If your dresser has a lip, measure from the outside of that to get the most accurate measurements. It’s important to measure twice and make sure that your legs will fit on the dresser without overlapping or coming off of the sides. So make sure to leave yourself enough extra space when choosing the length of your legs.
Step 2: Choose Your Legs.
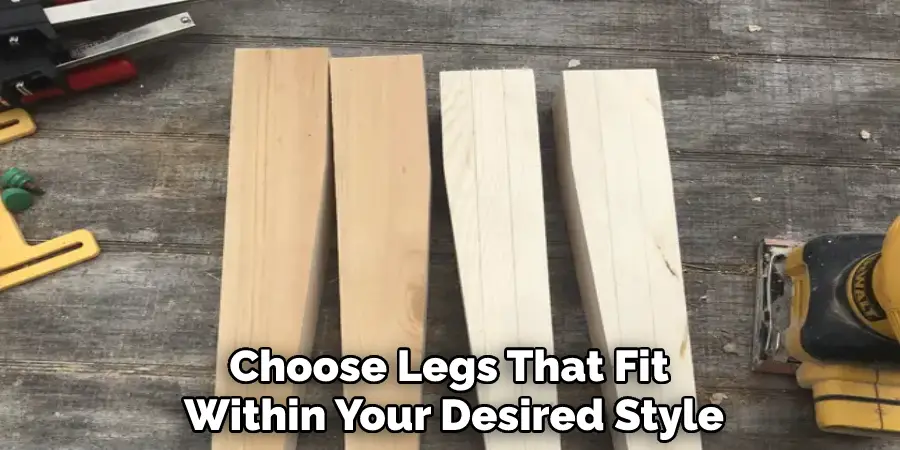
Choose legs that fit within your desired style and are the right size for your dresser. But remember, when it comes to wood legs, you may need to purchase some additional hardware to attach the legs securely. Make sure that your screws and other hardware are long enough to reach through the dresser and into the legs. You may also need a drill to predrill the holes for the screws. You can find legs in a variety of finishes and materials, from wood to metal and even plastic. This is a great way to customize the look of your dresser and make it truly unique.
Step 3: Prepare the Dresser.
Clear off any items that may be on top of or inside the dresser and remove all hardware such as knobs, pulls and handles. If there is any excess wood or varnish, use a sander to even things out. Any rough patches should be sanded down as well. But be sure to remove any remaining dust before beginning the next step. You can use a vacuum to clean up any wood dust that remains. That way, there won’t be any surprises when you attach the legs.
Step 4: Mark for Drilling Holes.
Mark where you will need to drill holes in order to attach the legs. It is usually best to drill two holes in each corner for stability and strength. But make sure that the holes are centered and evenly spaced. This will be easier if you have measured your dresser accurately. If you have a lip, make sure to mark the holes on the outside of that lip. Otherwise, your legs may not be even. This step is crucial, so take your time and be sure to double-check your measurements. It’s better to be safe than sorry when drilling into your dresser.
Step 5: Drill Pilot Holes.
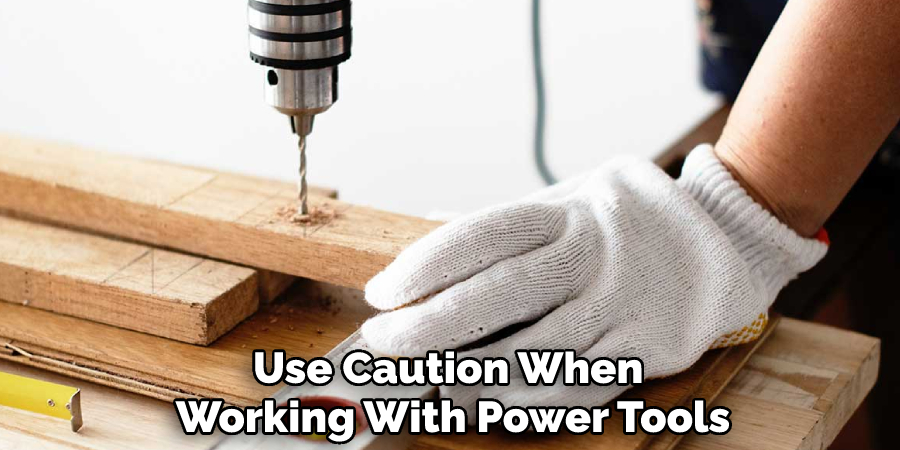
Using a power drill, carefully drill pilot holes in the spots you have marked. It’s important to be sure that the holes are drilled straight and even for a secure fit. Once you have finished drilling, it is time to attach the legs. But make sure that you have the right size screws, as well as any other necessary hardware. If your legs require additional hardware, such as brackets or anchors, make sure to have those ready to go.
Step 6: Attach Leg Plates.
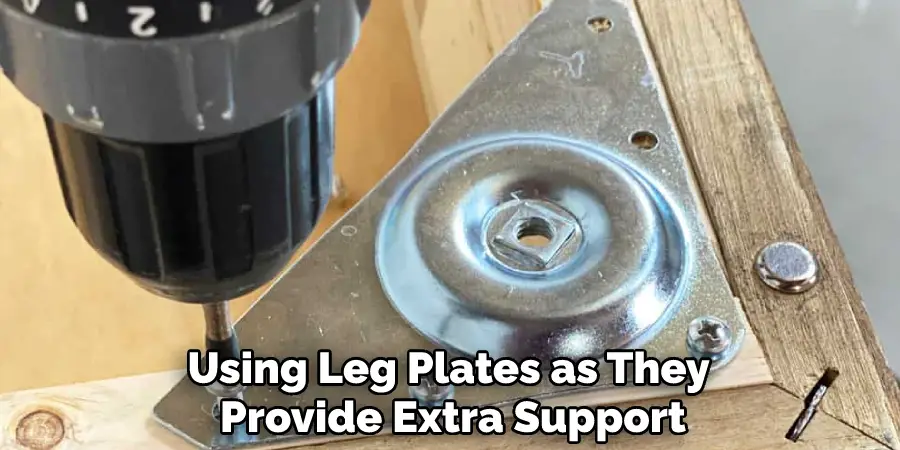
Attach a leg plate to each corner of the dresser by screwing the screws into the pilot hole you drilled. You may need to use a hammer or mallet to tap the screws into place. Once you have securely attached all four leg plates, your dresser is ready to have the legs added. But make sure the legs are tight and secure before moving on to the next step. If the screws are loose, add some wood glue before inserting them.
Step 7: Add Legs.
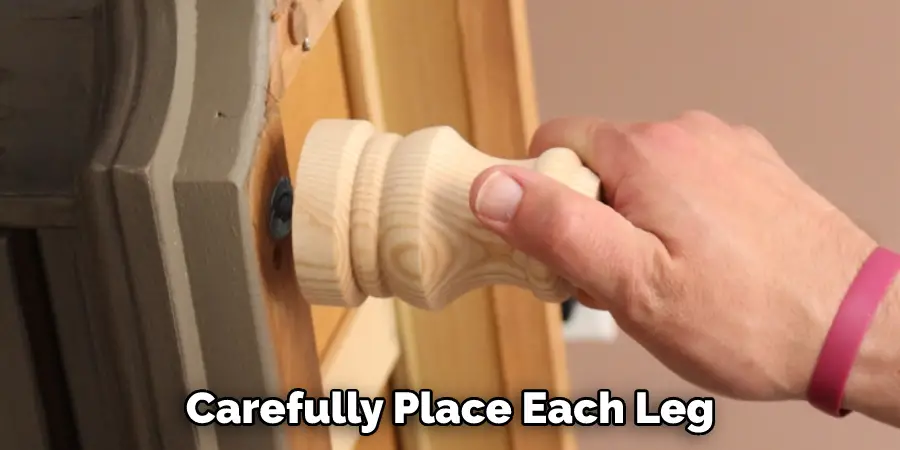
Carefully place each leg onto its designated plate on the dresser, lining up any pre-drilled holes in the legs with those in the plates for extra stability. Securely fasten them together using wood screws or nails.
But be sure to use a power drill or hammer if needed, just be careful not to over-tighten the screws. If you have additional hardware, such as brackets or anchors, make sure to attach them according to the manufacturer’s instructions.
Step 8: Sand and Finish.
Use a medium-grit sandpaper to smooth down any edges and finish it off with your choice of paint, stain or lacquer depending on your desired look. If you used wood screws, now is a good time to cover them with caps or plugs of the same material. Once everything has dried and set, your dresser is ready to be filled and enjoyed. Remember to always use caution when working with power tools and other hardware.
Step 9: Replace Knobs and Pulls.
Reattach any hardware you previously removed, such as knobs and pulls, to give the dresser a complete look. Buying new hardware, such as different knobs or pulls can also be a great way to update your dresser.
It is also important to periodically check your dresser for any wobbling or instability. If you notice anything, make sure to tighten the screws and anchors as necessary. Make sure that your dresser is securely fastened and stable before you use it.
Step 10: Admire Your Work!
Stand back and admire your work – you just added legs to your dresser in no time at all for an upgraded look with minimal effort. Remember, it is important to always use caution when working with power tools and other hardware. Otherwise, adding legs to a dresser is an easy and rewarding process. That’s it, you now know how to add legs to a dresser. Enjoy your newly-transformed piece of furniture!
Congratulations! By following these simple steps on how to add legs to a dresser, you can instantly elevate the overall style of your bedroom furniture without having to break the bank. Give it a try today and enjoy your new look tomorrow!
Do You Need to Use Professionals?
No, you don’t need to use professionals to add legs to your dresser. All the tools and materials necessary for this project can be found at any local hardware store or online. Just make sure you take all safety precautions when drilling holes and attaching the legs. It is also important to make sure the legs are securely attached for a stable dresser. Good luck and happy DIYing!
How Much Will It Cost?
The cost of adding legs to your dresser will depend on the type, size and material of the legs you select. A typical set of four wooden legs can range anywhere from $20-$50 dollars, depending on the quality and style you’re looking for. With that in mind, this is an easy way to give your dresser an updated look without breaking the bank.
Frequently Asked Questions
Q: How Do I Know What Size Legs to Buy?
A: It is best to measure the length of your dresser from one side to the other and choose legs that will fit within those measurements.
Q: What Type of Screws Should I Use for Attaching the Legs?
A: Wood screws or nails are typically used for added stability when attaching the legs.
Q: Can I Just Drill Holes for the Screws Without Using a Leg Plate?
A: We recommend using leg plates as they provide extra support and stability, but it is possible to just drill holes in the dresser if needed. However, this may not be as sturdy overall.
Q: What Type of Paint or Stain Should I Use?
A: The type of paint or stain you use will depend on the look you are trying to achieve. Choose a color that complements your existing decor for a cohesive design.
Conclusion
After completing this task, there’s a feeling of satisfaction like no other. You took an old, forgettable dresser— one that lacked pizzazz— and you turned it into something special. Transforming your furniture is easy, affordable, and requires minimal effort on your part.
Anyone with basic knowledge of tools and materials can take a dull piece of furniture and make it look like a million bucks. It’s an awesome way to satisfy your creative urges without breaking the bank. So get inventive and give your dresser a whole new set of legs!
Now that you know the basics about how to add legs to a dresser, be curious and explore what other customizations you can make. Whether you decide to refinish the surface or continue adding functional features, don’t be afraid to take some chances as you create unique pieces for yourself and others around you. In the end, it is always worth every moment!

