

Carving a wood spoon is one of the most rewarding projects you can take on as a beginner woodworker. It doesn’t require a workshop full of expensive tools, and you don’t need years of experience to get a great result. All it takes is a piece of wood, a couple of carving tools, and a little patience.
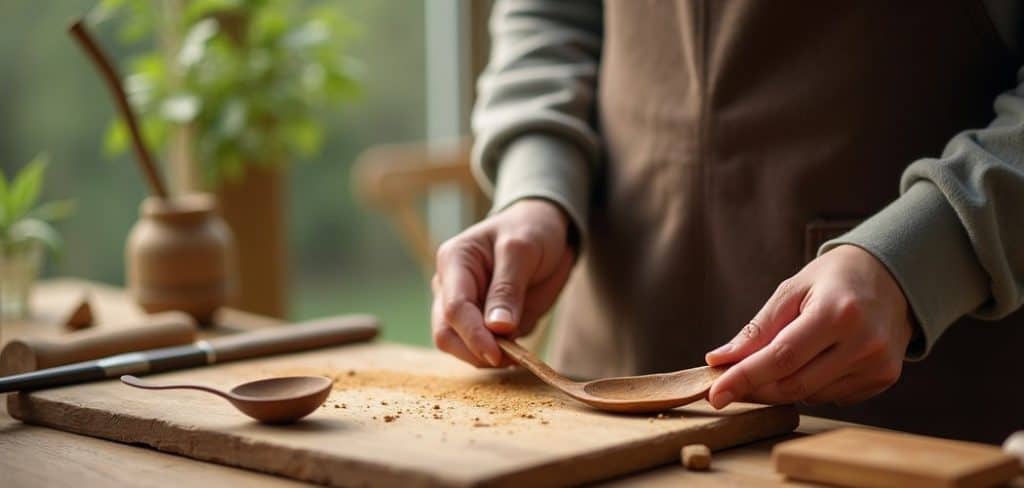
People have been carving wooden spoons for thousands of years. There’s something deeply satisfying about shaping a raw piece of wood into a functional, beautiful object with your own hands.
This guide on how to carve a wood spoon walks you through everything — from the benefits of the craft to the tools you’ll need, step-by-step instructions, common mistakes to avoid, and answers to the questions beginners ask most.
What Will You Need?
You don’t need much to start. Here’s a basic list:
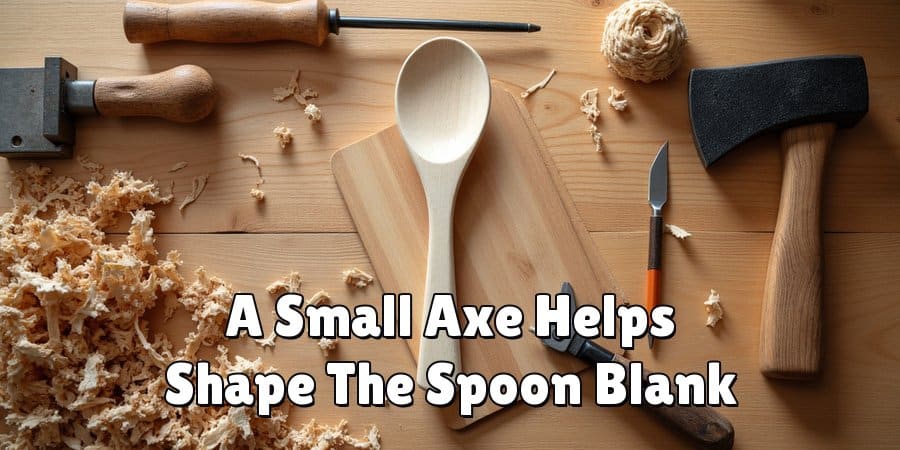
Optional but helpful: a small axe or hatchet for rough shaping, a bench vise or clamp to hold your work steady.
- A piece of wood — Basswood, cherry, walnut, or any green (freshly cut) wood works well. Avoid hardwoods like oak for your first attempt.
- A carving knife — A general-purpose whittling knife handles most of the shaping work.
- A hook knife (spoon knife) — This curved blade is essential for hollowing out the bowl of the spoon.
- A pencil — For drawing your spoon shape onto the wood before you start.
- Sandpaper — Grits 120 and 220 are enough to smooth your finished spoon.
- Food-safe oil or beeswax — For finishing and protecting the wood.
- Cut-resistant gloves — Highly recommended, especially for beginners.
10 Easy Steps on How to Carve a Wood Spoon
Step 1: Choose the Right Wood
The wood you start with will shape your entire experience, so choose carefully. For beginners, basswood is the top recommendation — it’s soft, widely available, and cuts cleanly without much resistance. Butternut and cherry are also excellent choices. If you can get your hands on green wood (freshly cut from a living tree or soaked in water overnight), use it. Green wood still holds moisture in its fibers, which makes it noticeably easier to carve than dry lumber from a hardware store.
Avoid dense hardwoods like oak, maple, or walnut for your first project. They require sharper tools, more technique, and significantly more effort. Also look closely at the grain before you commit to a piece — avoid sections with large knots, cracks, or irregular grain patterns. These spots can cause the wood to split unexpectedly mid-carve and make the whole process frustrating.
A good starter blank is roughly 10–12 inches long, 2 inches wide, and 1.5 inches thick. If you’re working from a branch, split it lengthwise so you have a flat face to work from.
Step 2: Sketch Your Spoon Shape
Before you touch a blade to wood, draw your design. Grab a pencil and sketch the full outline of the spoon directly onto the flat face of your blank. Keep it simple — a gently rounded oval for the bowl and a straight or slightly tapered handle. You don’t need artistic talent here, just a clear guide to carve toward.
Think about proportions as you draw. A spoon that’s too narrow won’t be useful, and a bowl that’s too large compared to the handle will feel unbalanced. A bowl about 2.5 to 3 inches long and 1.5 inches wide is a practical starting point. The handle can be as long or short as you prefer, but 5 to 6 inches gives you good control when cooking.
Also sketch the side profile — how thick the handle will be, where the bowl starts to angle downward, and how deep you want the spoon to sit. This second view helps you visualize the 3D shape before you start removing material you can’t put back.
Step 3: Rough Out the Overall Shape
Now it’s time to remove the bulk of the material you don’t need. If you have a small axe or hatchet, this is where it shines — use it to chop away large sections of wood outside your pencil lines and bring the blank close to your outline. If you’re working with just a knife, use a heavier fixed-blade carving knife for this stage.
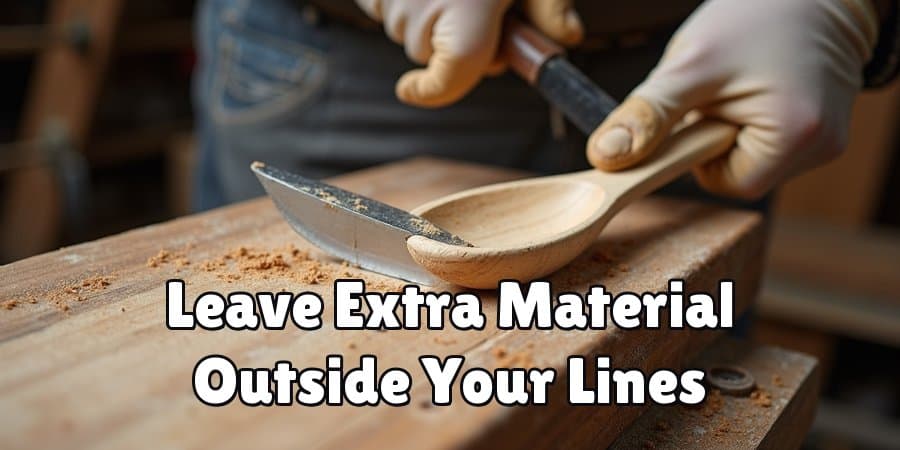
Work on one face at a time. Start with the flat, top-down view and remove wood from both sides of the blank until you’re close to your outline shape. Don’t try to be precise yet — just get the rough silhouette. Leave a few millimeters of extra material outside your lines as a buffer.
Step 4: Shape the Handle
Switch to your carving knife and start refining the handle. The goal here is to take a square or rounded blank and turn it into something that feels natural to hold. Begin by rounding off the sharp corners along the length of the handle, working with long, smooth strokes that follow the grain.
Taper the handle slightly toward the end — this gives it a more refined look and makes it comfortable to grip. The handle doesn’t need to be perfectly round; a slightly flattened oval cross-section actually feels better in the hand than a full circle.
Use the push cut and pull cut techniques depending on the direction of the grain. A push cut involves bracing your thumb against the wood and pushing the blade forward with your fingers. A pull cut (also called a chest lever cut) anchors the handle against your chest or torso and uses your whole arm to pull the blade toward you in a controlled motion. Both are useful here.
Work slowly and take thin shavings. Trying to remove too much at once increases the risk of splitting the wood or losing control of the knife.
Step 5: Define the Outside of the Bowl
Before you hollow the bowl, you need to shape its exterior. Think of the underside of a large soup spoon — it’s a smooth, rounded dome that gradually rises from the edges to the center. That’s what you’re carving here.
Use your carving knife to remove material from the underside of the bowl area. Work from the outer edges toward the center, and always cut with the grain. Cutting against the grain at this stage will cause the wood to tear rather than slice, leaving a rough, uneven surface.
Pay attention to how thin you’re making the walls. The bowl should be no thinner than about 4–5mm at its thinnest point when finished. Keep checking the thickness by pinching the bowl between your fingers as you carve — you’ll feel when it starts getting too thin.
This step also includes shaping the neck of the spoon — the area where the handle transitions into the bowl. Carve a smooth, gradual curve here rather than an abrupt step. This transition point is one of the most visually important parts of the finished spoon.
Step 6: Hollow Out the Bowl
This is the most technically demanding step, and it’s where your hook knife (also called a spoon knife) comes in. The curved blade is specifically designed to scoop material out of a concave surface — there’s no good substitute for it.
Hold the spoon securely with your non-dominant hand, keeping fingers clear of the cutting path. Use short, scooping strokes starting from the center of the bowl and working outward toward the edges. Rotate the spoon frequently so you’re always cutting in the most comfortable direction.
Two useful techniques here:
Remove material gradually. The inside of the bowl doesn’t need to be perfectly smooth at this stage — you’ll refine it later. Focus on getting the depth and shape roughly right first. Aim for a consistent bowl depth of about 8–10mm for a functional cooking spoon.
- Scooping away from yourself — brace the spoon against your leg or a surface and push the hook knife forward in a scooping arc.
- Rotating cut — hold the spoon in one hand and rotate your wrist as you cut, following the curve of the bowl in one smooth motion.
Step 7: Refine All Transitions and Surfaces
Now that the major shaping is done, it’s time to go back over the entire spoon with your carving knife and clean everything up. Look at how each part of the spoon flows into the next — the bowl to the neck, the neck to the handle, the top face to the underside.
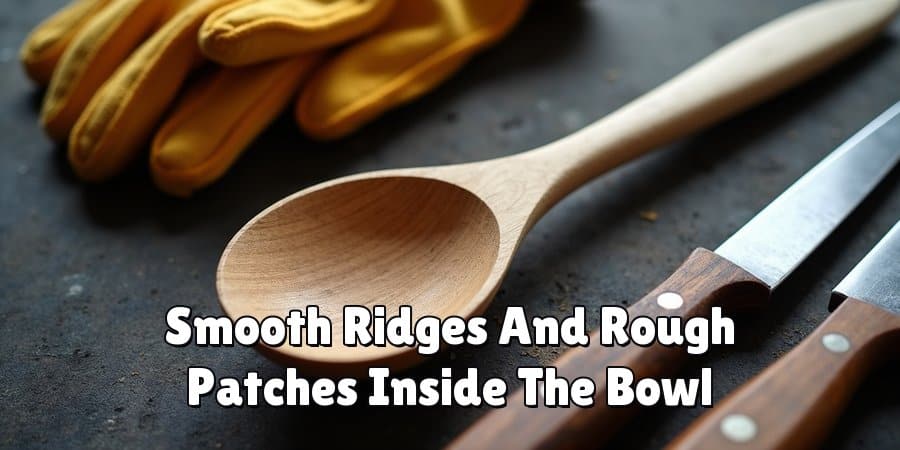
Use short, controlled slicing strokes to smooth out any ridges, flat spots, or uneven areas left from earlier steps. Pay special attention to the inside of the bowl — use your hook knife to clean up any rough patches and make the concave surface consistent in depth from edge to center.
Step 8: Check for Symmetry and Balance
Put the knife down and take a critical look at what you’ve made. Hold the spoon at arm’s length and rotate it slowly. Check these things:
Mark any problem areas lightly with a pencil and go back in with your knife to make small corrections. This step isn’t about perfectionism — it’s about catching anything that would make the spoon awkward to use or noticeably uneven to look at.
Also check the balance point. Hold the spoon between two fingers at the neck area and see how it balances. A well-shaped spoon will sit relatively level. If the handle is too heavy, thin it down slightly. If the bowl end is too heavy, you may need to reduce the bowl depth or wall thickness a little.
- Is the bowl centered on the handle, or does it lean to one side?
- Does the handle look straight when you sight down its length?
- Are both sides of the bowl roughly the same depth and shape?
- Does the spoon sit flat on a table, or does it rock?
Step 9: Sand the Entire Spoon Smooth
Carving leaves tool marks, and sanding is how you remove them. Start with 120-grit sandpaper to level out any remaining ridges, bumps, or facets from the knife work. Fold the sandpaper to reach tight spots like the inside of the bowl and the underside of the neck.
Always sand with the grain, not across it. Sanding across the grain creates visible scratches that show up clearly once you apply a finish.
Once the 120-grit pass is done, move to 220-grit for a final smooth finish. At this stage, you’re polishing the surface rather than reshaping it. The spoon should feel silky under your fingers when you’re done.
After sanding, wipe the spoon down with a barely damp cloth. This raises the grain slightly (the wood fibers swell from the moisture), and once it dries completely — usually 20 to 30 minutes — do one final light pass with 220-grit to knock those fibers back down. This gives you a noticeably smoother final surface.
Step 10: Apply a Food-Safe Finish
The last step protects your work and prepares the spoon for actual use. Raw, unfinished wood will absorb moisture from food and repeated washing, which causes warping and cracking over time. A proper finish seals the wood and keeps it stable.
Use one of these food-safe options:
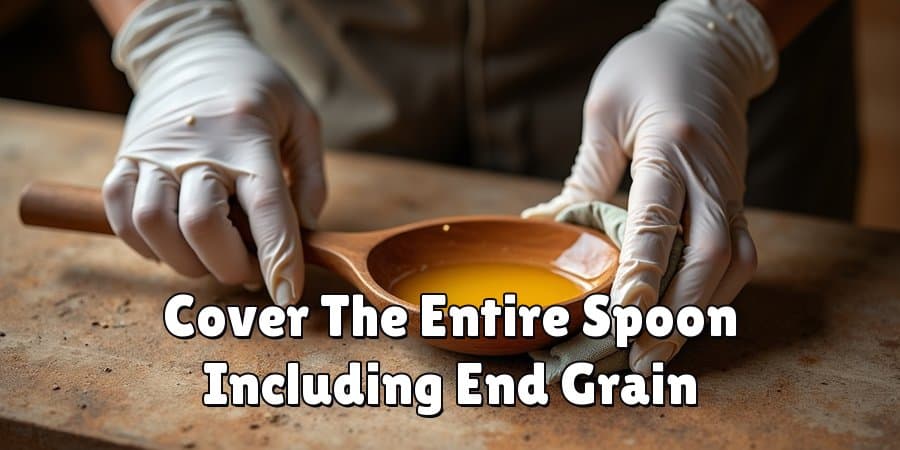
Apply the oil generously with a cloth or your fingers, making sure to cover the entire spoon, including the inside of the bowl and the end grain. Let it soak in for at least 20–30 minutes, then wipe off any excess that hasn’t absorbed. Allow it to dry fully — ideally overnight — before use.
- Food-grade mineral oil — widely available, inexpensive, and very easy to apply
- Raw linseed oil or walnut oil — penetrate deeply and harden slightly inside the wood fibers
- Beeswax or a beeswax and oil blend — provides a light surface coating along with moisture protection
Conclusion
How to carve a wood spoon is one of those skills that feels intimidating until you try it — and then you wonder why you waited so long.
With a simple piece of wood, two basic tools, and the steps laid out in this guide, you have everything you need to create something real and lasting.
Start simple. Carve slowly. And don’t stress about making it perfect on the first try. Each spoon you make teaches you something the last one didn’t. Before long, you’ll have a collection of handmade spoons in your kitchen and a craft you’ll keep coming back to.
