

Attaching a table top to a base without screws is achievable using wood glue, biscuits, dowels, or metal fastener clips. The right method depends on your wood type and whether the table needs to allow for natural wood movement. Done correctly, screw-free joints can be just as strong—and far cleaner-looking—than traditional hardware.
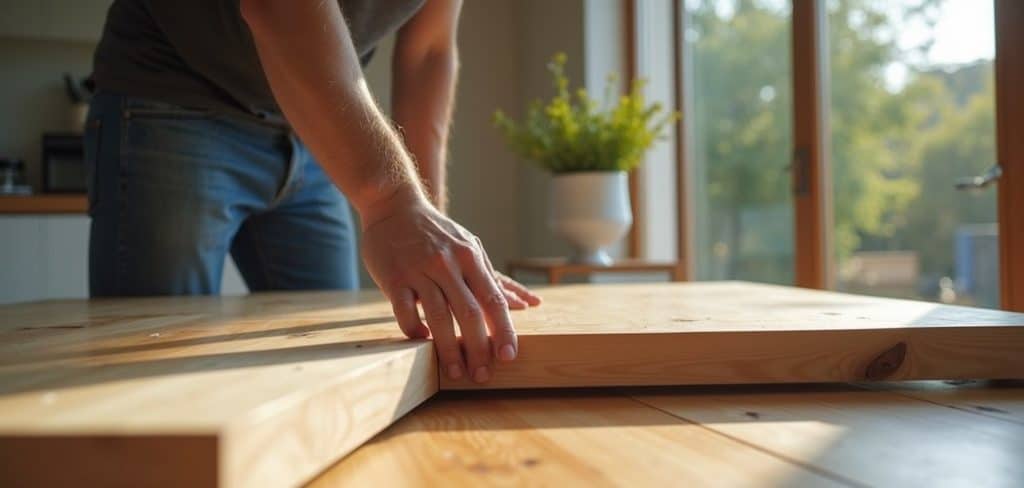
Traditional screws have their place, but they come with real downsides: they can split delicate wood, leave holes that are hard to hide, and do nothing to accommodate the natural expansion and contraction of solid timber. More woodworkers—seasoned and hobbyists alike—are moving away from screws when attaching table tops, and for good reason.
Screw-free methods keep surfaces clean, allow for seasonal wood movement, and often produce a bond that holds up better over time. This guide on how to attach table top to base without screws walks through everything you need to know, from choosing the right method to the final cure, so you can finish your project with confidence.
Factors to Consider Before Choosing a Method
Not every attachment method works for every table. A few things are worth thinking through before you pick up a tool.
Wood type is the first consideration. Solid wood expands and contracts with changes in humidity—sometimes by a surprising amount. Any method you use needs to accommodate that movement, or the top may crack. Plywood and MDF, by contrast, are dimensionally stable, which opens up more options.
Tabletop weight also matters. A thick, solid hardwood top needs more clamping force or stronger fasteners than a lightweight plywood panel. And if there’s any chance you’ll want to disassemble the table later—moving house, storing furniture—that rules out permanent adhesive bonds entirely.
Finally, think about what you’ll see from underneath. Some methods are invisible; others leave small hardware visible through the apron. Neither is wrong, but it’s worth deciding what matters to you before you start.
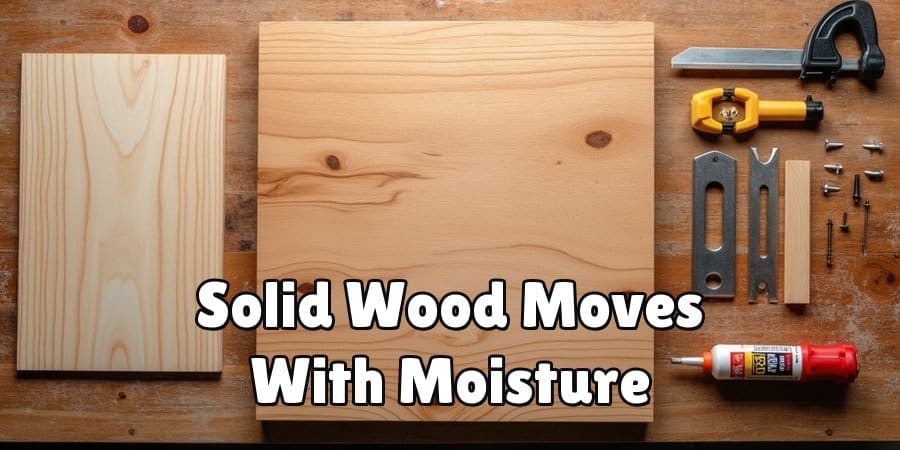
Tools and Materials Needed
Getting everything together before you start saves time—and prevents that mid-project sprint to the hardware store.
Tools
- Tape measure
- Bar or pipe clamps
- Router or chisel
- Drill (for pilot holes, if using clips)
- Rubber mallet
- Pencil or marking tool
- Sandpaper (medium and fine grit)
- Clean cloth
Materials
- Wood glue (PVA or polyurethane-based)
- Figure-8 fasteners or Z-clips
- Wooden dowels or biscuits
- Pocket hole jig (optional)
- Double-sided tape (for temporary positioning)
- Epoxy adhesive (for heavy-duty bonding)
7 Steps on How to Attach Table Top to BASE Without Screws
Step 1: Measure and Align the Table Top
Place the table top face down on a clean, flat surface. Set the base on top of it and center it carefully—use a tape measure to confirm equal overhang on all sides. Mark the base’s position lightly with a pencil. This reference point may seem minor, but getting the alignment right at this stage prevents much bigger headaches once adhesive is involved.
Step 2: Choose Your Attachment Method
This decision shapes everything that follows. For solid wood tops, metal fastener clips—figure-8 fasteners or Z-clips—are typically the right call. They allow the wood to move seasonally without putting stress on the joint. For plywood or MDF, where movement is minimal, biscuits or wood glue deliver a clean, permanent bond. There’s no single “best” method; it depends on your material and how you intend to use the table.
Step 3: Prepare the Surfaces
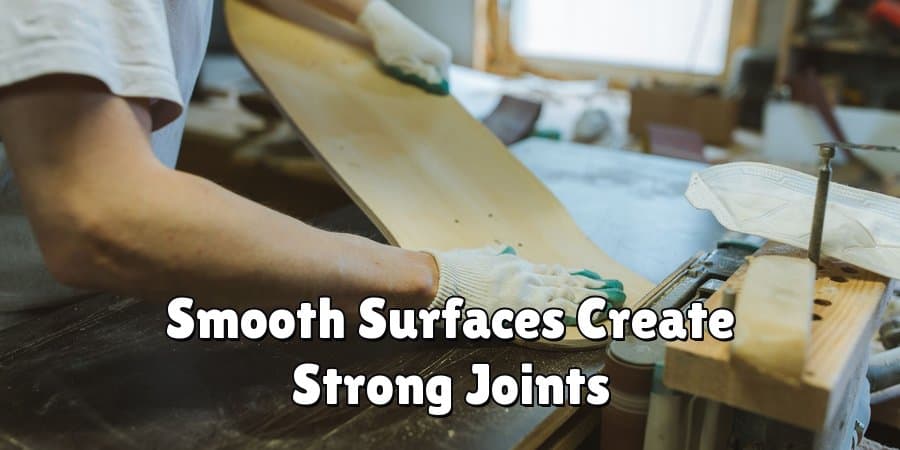
Sand both the underside of the table top and the top edges of the base, where they’ll make contact. Start with medium-grit sandpaper, then finish with fine-grit for a smooth surface. Wipe away all dust with a clean cloth before moving on. Good surface preparation may be unglamorous, but it’s what separates joints that hold for decades from those that fail within a year.
Step 4: Install Fastener Clips or Cut Biscuit Slots
If you’re using figure-8 fasteners or Z-clips, use a chisel or router to create small recesses in the apron so the clips sit flush. Space them evenly—roughly every 8 to 12 inches—around the perimeter.
For biscuits, mark the slot positions on both the base and the table top, then cut them with a biscuit joiner. For dowels, drill corresponding holes in both pieces using a dowel jig to keep everything aligned. Precision here is non-negotiable; a misaligned dowel or biscuit can throw off the entire assembly.
Step 5: Apply Adhesive or Insert Fasteners
For glue-based methods, apply an even layer of wood glue to the biscuits or dowels and insert them into the appropriate slots or holes. Work quickly—most wood glues start to set within minutes. For clip-based methods, screw the fasteners into the recesses on the apron. These clips hook onto the table top from below without breaking through the surface.
Step 6: Join the Table Top to the Base
Carefully flip the table top or lower the base into position, aligning it with your pencil marks. Press firmly and use a rubber mallet to tap dowels or biscuits fully into place. For clips, slide or hook each one securely onto the underside of the top. Double-check the alignment before the adhesive begins to set—this is your last easy chance to adjust anything.
Step 7: Clamp and Allow to Cure
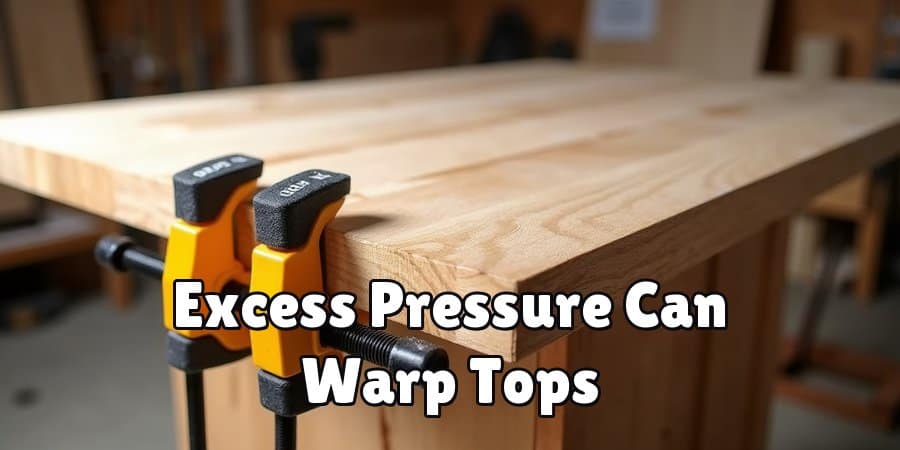
If glue was used, apply clamps evenly across the table top, taking care not to apply so much pressure that the top warps. Most wood glues can be unclamped after one to two hours, but full strength typically takes 24 hours. Clip-based methods require no drying time at all—once the fasteners are secure, the table is ready to use.
Following these steps on how to attach table top to base without screws can be a bit time-consuming, but it is definitely worth the effort in the end. Not only will you have a sturdy and beautiful table, but you will also have learned valuable woodworking skills that can be applied to future projects.
Common Mistakes to Avoid
Even careful woodworkers can stumble on these. Skipping surface preparation is probably the most common error, and it often leads to early bond failure. Too much glue is another: excess adhesive squeezes out and creates a mess that’s hard to remove cleanly once dry.
For solid wood tops specifically, failing to account for wood movement can cause cracking over time—no matter how good the initial bond. And rushing the cure is a risk that’s easy to underestimate. The adhesive may feel firm after an hour, but that’s not the same as fully cured.
Safety Tips
Wear safety glasses when using a chisel, router, or drill—flying debris is a real hazard, not a theoretical one. When working with epoxy or polyurethane adhesives, make sure the space is well-ventilated. Keep clamps stable so the table top can’t shift unexpectedly, and always cut with chisels moving away from your body.
Read the manufacturer’s instructions on any adhesive before applying it; curing times and fume warnings vary more than you’d expect.
Caring for a Screw-Free Table
Maintenance is straightforward. Wipe the surface regularly with a slightly damp cloth and avoid harsh chemical cleaners, which can degrade adhesive bonds over time. A periodic coat of protective finish or wax helps prevent moisture absorption—particularly important for solid wood tops.
If you notice any movement or loosening in the fastener clips, tighten or replace them before the problem worsens.
Frequently Asked Questions
What is the Strongest Way to Attach a Table Top Without Screws?
For solid wood tops, combining figure-8 fasteners with wood glue along the apron joints offers strong results while accommodating seasonal wood movement. For plywood or MDF, biscuits paired with high-quality PVA glue create a very durable, permanent bond.
Can Wood Glue Alone Hold a Table Top to a BASE?
For lighter tops made from plywood or MDF, wood glue can be sufficient—provided the contact surface area is adequate and both surfaces are properly prepared. For solid wood tops, it’s generally advisable to pair glue with mechanical fasteners like clips or biscuits to handle the added stress of wood movement.
How Long Before the Table is Ready to Use After Attaching?
With wood glue, allow at least 24 hours for a full cure before placing any load on the table, even if the clamps can come off after an hour or two. Clip-based attachments like figure-8 fasteners require no curing time—the table is usable as soon as all fasteners are secured.
Will These Methods Work for Outdoor Tables?
Some will, some won’t. Standard PVA wood glue is not waterproof and will fail in outdoor conditions. For exterior projects, use a waterproof polyurethane-based adhesive or rely on stainless steel fastener clips, which resist corrosion. Always check that your chosen adhesive is rated for the conditions it will face.
Conclusion
Attaching a table top without screws is less about avoiding hardware and more about understanding how wood behaves. Choose a method that suits your material, prepare the surfaces properly, and give the adhesive time to cure fully.
Avoid the common mistakes, stay safe with your tools, and the result will be a piece of furniture worth keeping—and worth showing off. Thanks for reading this guide on how to attach table top to base without screws.
