


Introduction
Wood beams bring timeless appeal, warmth, and rustic charm to any home, whether they’re part of a classic design or a modern aesthetic. Over time, however, they can accumulate dust, grime, or stains that diminish their natural beauty. Learning how to clean wood beams will help you maintain their stunning appearance and extend their longevity.
Although cleaning wood beams might seem like a daunting task, it is entirely manageable with the right techniques and tools. Preserving your wood beams takes minimal effort, and with proper care, they’ll continue to enhance your home for years to come. From dusting to deep cleaning and stain treatment, this guide provides a step-by-step approach that makes the process simple and effective, even for beginners.

Why Cleaning Wood Beams is Important
Wood beams experience gradual wear and tear due to their exposure to household conditions. They are often located in high, hard-to-reach areas, making them magnets for dust, cobwebs, and grime. Over time, this buildup can dull the wood’s natural finish, making them appear less attractive. Furthermore, neglecting to clean wood beams can lead to more significant damage, such as moisture absorption, mold growth, or the development of stubborn stains.
Regular cleaning not only preserves the aesthetic appeal of your wood beams but also protects their structural integrity. Dust and dirt particles, although small, can scratch the wood’s surface over time, while moisture can cause it to warp or crack. Additionally, if your beams are untreated or exposed to environmental factors such as smoke or humidity, they require even more attentive maintenance.
On the flip side, keeping your wood beams clean allows their natural grain and texture to shine through, accentuating the beauty of your interior. Whether your beams are decorative or structural, showing them some TLC ensures they remain a striking feature in your space. Consistent care also enhances the durability of the beam, saving you from costly repairs or replacements in the long run.
Step-by-Step Guide: How to Clean Wood Beams
Step 1: Dust the Surface
The first step in how to clean wood beams is removing surface dust and cobwebs. Use a soft cloth, feather duster, or a microfiber mop to gently clean the surface. If the beams are positioned high on the ceiling, an extendable duster makes the task easier and safer, eliminating the need for a ladder.
Move the duster along the length of each beam, ensuring all visible dust is captured. For stubborn cobwebs or corners, lightly tap the area with the duster rather than dragging it, which could spread dirt or scratch the wood. By removing this layer of dust, you’ll have a clean surface to work on and prevent debris from mixing with cleaning solutions further along in the process.
Step 2: Vacuum Between Grooves
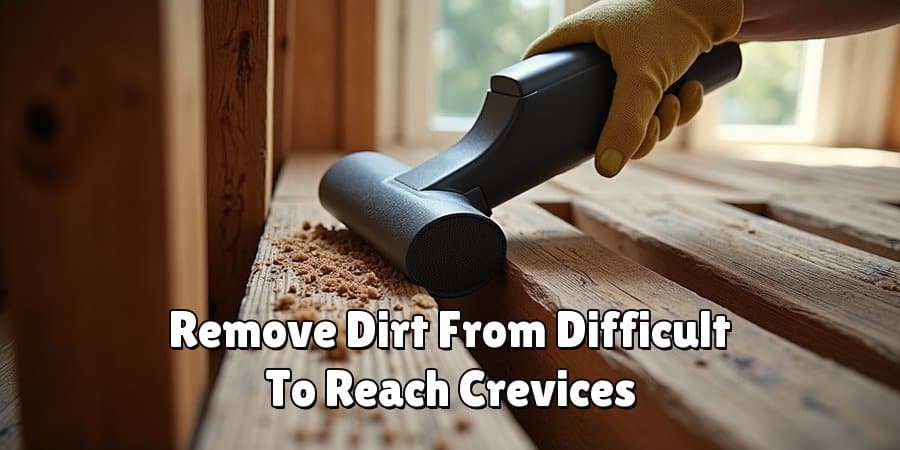
Many wood beams have intricate grooves, carvings, or uneven surfaces that accumulate debris over time. After dusting the surface, use a vacuum cleaner with a soft brush attachment to clean these areas. Work slowly, allowing the vacuum to remove dirt from difficult-to-reach crevices without damaging the wood.
If your vacuum isn’t reaching narrow grooves, try wrapping a microfiber cloth over a thin object, such as a paint stick, and running it along the grooves. This step is essential for maintaining the wood’s detailed craftsmanship and ensuring a thorough clean. Leaving debris in these hard-to-reach areas could trap humidity and lead to long-term damage.
Step 3: Wipe the Surface with a Dry Cloth
After vacuuming, gently wipe down the beams with a dry, lint-free cloth. This step removes any residual dust or fine particles that the vacuum may have missed. Be sure to follow the grain of the wood as you wipe, as this motion helps maintain the smooth finish and prevents streaking.
A dry wipe also gives you a chance to inspect the beams for subtle issues, such as cracks or stains, that might require further attention. This step ensures the beams are fully prepped for deeper cleaning methods while keeping the process gentle on the wood.
Step 4: Spot Clean Stains
To address specific stains on your wood beams, spot cleaning is your next step. Combine a small amount of gentle soap or wood cleaner with warm water to create a mild cleaning solution. Dip a soft cloth or sponge into the mixture and wring out excess moisture before dabbing the stained area.
Work carefully, using circular motions to lift the stain without scrubbing too hard, which might damage the wood. For tougher stains, you can use a mixture of equal parts vinegar and water, though this should be tested on a hidden section first to ensure it doesn’t affect the finish. Spot cleaning is an effective way to target problem areas without treating the entire surface.
Step 5: Use a Natural Cleaning Solution for Deep Cleaning
For a more thorough cleanse, mix a natural cleaning solution of equal parts water and white vinegar or a few drops of mild dish soap. Dip a soft cloth or sponge into the solution, wring it out, and gently wipe down the beams, working along the grain. Avoid oversaturating the wood, as too much moisture can penetrate the surface and lead to warping or discoloration.
Once you’ve cleaned the entire length of the beams, use another clean, damp cloth to remove any remaining soap or vinegar residue. This step restores the wood’s appearance while maintaining its health, effectively removing grime without causing harm.
Step 6: Dry Immediately
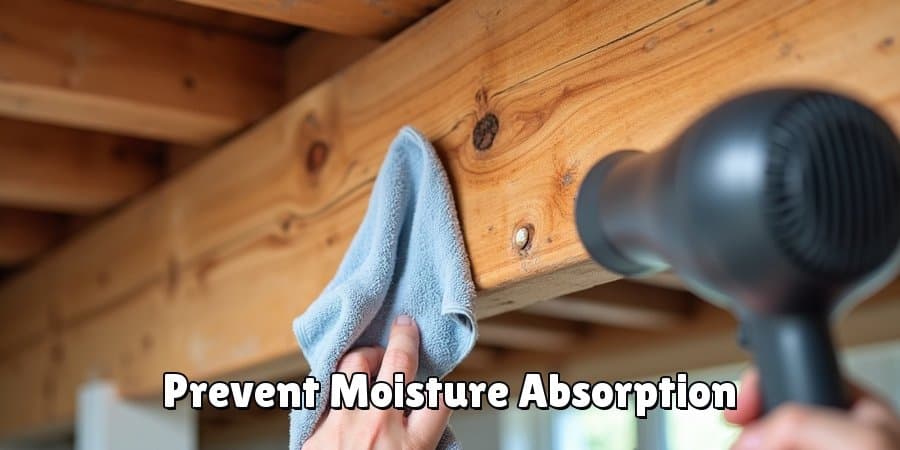
After cleaning, it’s crucial to dry the beams immediately to prevent moisture absorption. Use a clean, dry cloth to gently pat the surface, removing any dampness left behind by the cleaning process. Drying along the grain is once again recommended to preserve the natural texture and prevent streaks.
For large, higher beams, consider using a blow dryer set to a low, cool setting to speed up the drying process. Thorough drying ensures that moisture doesn’t linger on the wood, which could compromise its structural stability or promote mold growth.
Step 7: Apply a Wood Preservative
Once the beams are clean and dry, consider applying a wood preservative or polish to protect them and enhance their appearance. Choose a high-quality, non-toxic product formulated specifically for wood, and apply it with a soft cloth, following the wood’s natural grain.
An appropriate preservative helps maintain the beam’s finish, adds a subtle sheen, and reinforces its resistance against future dirt or damage. This protective layer also minimizes the impact of environmental factors, such as humidity or temperature changes, extending the beam’s lifespan.
Step 8: Conduct Routine Maintenance
Cleaning wood beams isn’t just a one-and-done process. To keep them looking their best, establish a routine maintenance plan. Dust the beams weekly, vacuum the grooves monthly, and perform deep cleans and polish applications as needed, perhaps once or twice a year.
Regular upkeep ensures the beams remain spotless and prevents dirt and grime from building up over time. By sticking to a consistent cleaning schedule, you’ll preserve the beauty and functionality of your wood beams for many years.
Common Cleaning Mistakes
When cleaning wood beams, there are some common mistakes to avoid that could lead to damage or diminish their appearance. One frequent error is using harsh chemicals or abrasive cleaners that can strip the wood’s natural finish or cause discoloration. Another mistake is applying excessive water during cleaning, which can seep into the wood and lead to warping or swelling over time. Neglecting to test a cleaning product in a small, inconspicuous area first can also result in unintended damage. Additionally, failing to remove dust and debris before applying polish or oil can trap particles on the surface, leading to a dull, uneven finish. Being mindful of these pitfalls and using proper cleaning techniques will help maintain the beauty and integrity of your wood beams.

FAQ
How often should I clean wood beams?
Dust wood beams weekly and perform a deeper clean every three to six months. Beams exposed to high traffic areas or kitchens may require more frequent cleaning due to grease and grime buildup.
What type of cleaner should I use on wood beams?
Use gentle cleaners designed for wood surfaces, such as mild dish soap, white vinegar, or specialized wood cleaners. Avoid harsh chemicals like ammonia or bleach, which can damage the wood.
Can I use a pressure washer to clean wood beams?
No, pressure washers can be too intense for wood beams and may strip the finish or force water into the wood, causing damage. Stick to gentler methods like vacuuming and wiping.
How do I remove mold from wood beams?
Mix equal parts water and white vinegar to create an anti-mold solution. Apply it to the affected area using a soft cloth, then dry thoroughly to remove any moisture.
Do wood beams need polishing after cleaning?
Polishing is optional but highly recommended. It revives the natural sheen of the wood, protects the surface, and adds a layer of resilience against environmental wear and tear.
Conclusion
Understanding how to clean wood beams not only protects their structural integrity but also brings out their inherent beauty. By following these easy steps, you can keep your beams looking stunning and lasting for decades.
From dusting to deep cleaning and preservation, regular care maintains wood beams as a defining feature of your home. Start your cleaning routine today and enjoy the warmth and elegance they add to your space!
