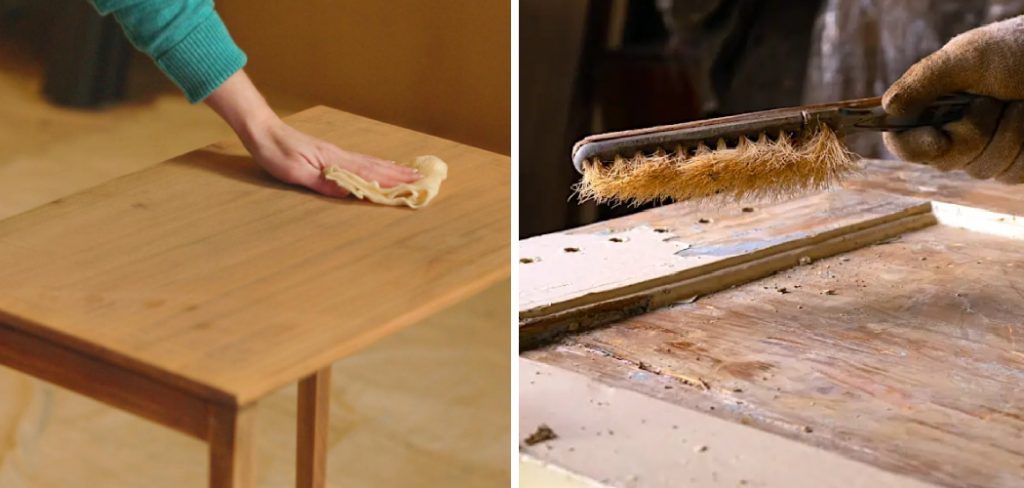
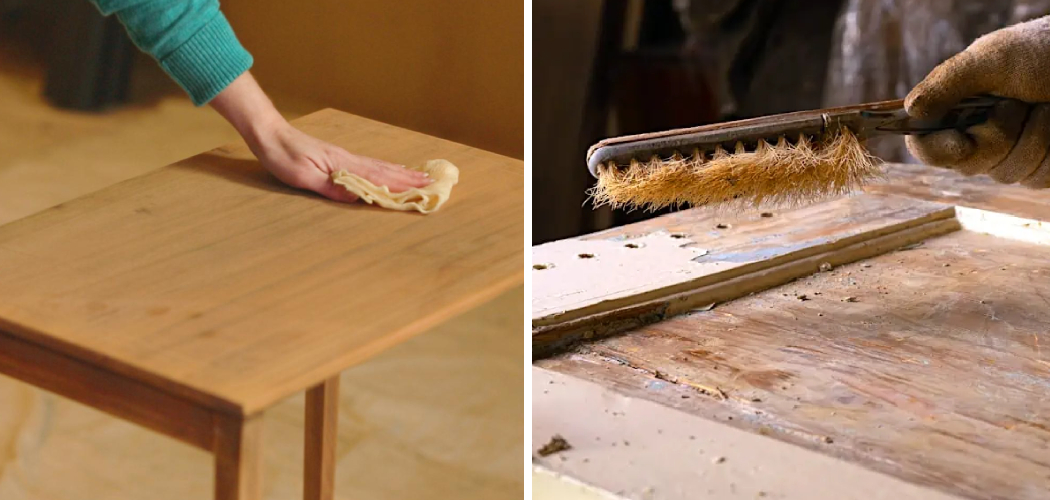
After sanding, wood has been exposed to a variety of dust and debris, which can leave the wood surface looking dull and clogged. This is why it is important that you know to clean wood after sanding. There are several methods for cleaning wooden surfaces depending on what type of debris or dirt needs to be removed.
For example, it is suggested to use a soft cloth dampened with water for general dust and debris. This will help remove any dirt or dust the sanding process has loosened.

Sanding wood is a great way to remove imperfections or finish off a project before adding stain or sealant. Sanding creates dust and debris that can interfere with the quality of your finished product, so it’s important to clean the surface after sanding. Cleaning wood after sanding offers several benefits. You can find step-by-step instructions on how to clean wood after sanding in this blog article.
Tools You Will Need
- Vacuum cleaner
- Dust cloth
- Cleaning rag
- Soft brush
- Mineral spirits
- Tack cloths and paper towels
- Sandpaper (coarse, medium, and fine grits)
- Vacuum bag or filter
- Wood putty or wood filler
- Polyurethane, varnish, or oil finish
Step-by-step Instructions for How to Clean Wood After Sanding
Step 1: Inspect the Wood Surface
After sanding your wood, inspect the surface to ensure there are no remaining bits of debris or dust. If you find any, use a vacuum cleaner or soft brush to remove them.
Step 2: Use a Wood Cleaner
For deeper cleaning, use a wood cleaner formulated specifically for this purpose. Generally, applying the cleaner with a soft cloth dampened with water is best. Wipe the surface in circular motions until all dirt, dust, and grime are removed. Make sure to follow the instructions on your particular wood cleaner for the best results.
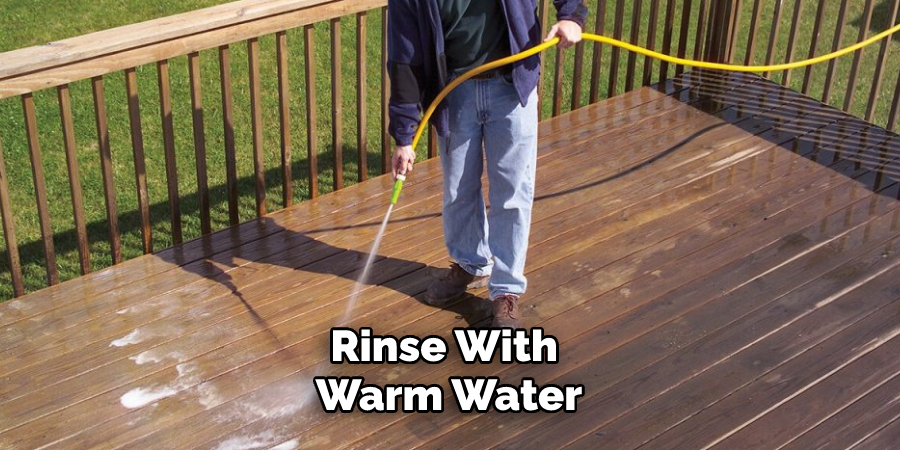
Step 3: Rinse With Water
Once you’ve used a wood cleaner, rinse off the surface with clean water. This will help remove any residue from the cleaner and prevent it from collecting in the wood grain. After rinsing, be sure to use a clean cloth to dry the surface of your wood before proceeding with further cleaning or finishing.
Step 4: Apply an Oil-Based Conditioner
If your wood has been sanded and is ready for a finish, use an oil-based conditioner to help protect the surface from damage. This can also help to create a more even surface. Apply with a clean cloth and wipe off any excess.
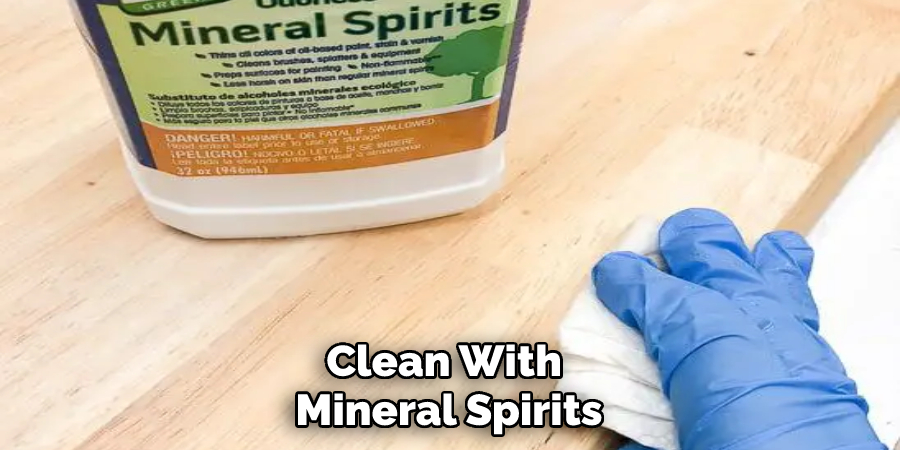
Step 5: Clean With Mineral Spirits
For deep cleaning of really dirty wood, mineral spirits can be helpful. First, test a small area to ensure it won’t damage the finish of your wood. If it’s safe, apply liberally and use a soft cloth to rub in circles over the surface until all dirt is removed.

Step 6: Vacuum Clean Again
After applying oil-based conditioner or mineral spirits, use a vacuum cleaner to get rid of any remaining debris. Once the wood surface is completely free from dirt, dust and grime, you can use a damp cloth to wipe it down. This will help remove any excess oil-based conditioner or mineral spirits.
Step 7: Apply a Wood Finish
Once your wood is completely clean and dry, you can apply a finish to protect the surface. Depending on the type of wood you’re working with, there are various finishes available. Choose one that’s suitable for your project, and make sure to follow the instructions carefully.
After following all these steps, you should have a clean and beautiful wood surface ready to enjoy. Make sure to take proper care of it by regularly dusting and cleaning it with a soft cloth as needed. Proper maintenance will ensure that your wood will stay in excellent condition for years.
Safety Tips for How to Clean Wood After Sanding
- Wear protective gear, such as face masks, gloves, and safety glasses, while cleaning the wood.
- Vacuum your workspace to remove dust created during sanding before proceeding with any other cleaning step.
- Use a damp cloth or soft brush to wipe down the surface of the wood to remove the debris left behind by sanding.
- Stay away from harsh chemicals and abrasive cleaning solutions when dealing with wood, as these can damage it.
- Apply beeswax or mineral oil to the surface of the wood to preserve its natural appearance and texture.
- Be sure to only use a soft cloth for polishing; using something too coarse may cause scratches on the wood’s surface.
- Avoid using too much water when cleaning, as this can warp or damage the wood. Always be sure to dry the wood completely after washing it.

Following these safety tips will help ensure your wood is properly maintained and protected for years.
Are There Any Special Techniques That You Should Use to Ensure a Thorough Clean?
When cleaning wood after sanding, it’s important to make sure that all dust is removed. Dust particles can cause scratches and blemishes when left behind on the wood surface. A vacuum with a soft brush attachment is the best way to ensure a thorough cleaning. This will help to draw out any embedded dirt or debris which may have been missed during sanding.
If you’re cleaning the wood with a cloth or paper towel, make sure that it is clean before starting to avoid any additional dirt being added to the surface. When wiping down the wood, be sure to move in a circular motion to help lift any remaining dust particles. Once you’ve vacuumed and wiped down the wood, use a damp cloth to remove any remaining particles.
Ensure not to soak the wood in water, as this could lead to warping or damage. Once you’re happy with its condition, allow it to dry completely before applying any finish or protective coating.
How Often Should You Clean the Wood After Sanding?
The answer to how often you should clean the wood after sanding depends on the type of wood being worked on and the purpose of the final project. Generally speaking, if you are going to stain or finish the wood, it should be cleaned every time you switch from a rougher grit (40 – 80) to a finer one (100 – 220). This is important because the coarser grits leave more dust and residue that can negatively affect the finish or stain.
For light cleaning, a vacuum with a dusting brush attachment can be used to remove the majority of dust and debris. For more thorough cleanings, use a tack cloth or damp cloth to pick up any residue left behind by the sandpaper. Make sure to avoid getting water into the wood, as this could cause swelling or warping.
Different types of wood require different levels of care when cleaning after sanding. Soft woods like pine are more susceptible to swelling if water is used, so use caution if applying a damp cloth to clean the surface. Harder woods like oak may be able to handle higher levels of moisture and require less wiping with a dry cloth or tack cloth.

Is There Any Way to Avoid Removing Too Much of the Grain or Finish of the Wood During Cleaning?
Yes, there are a few ways to avoid taking too much of the grain or finish of the wood during cleaning. One way is to use a mild detergent and water solution. A simple mixture of soap and warm water will help loosen dirt, dust, and debris without causing any damage to the wood. When using this method, gently scrub the wood in circular motions, and rinse with clean water. Make sure to dry the wood thoroughly afterward.
Another way to avoid removing too much of the grain or finish is to use mineral spirits or denatured alcohol as a cleaning agent. These are both non-abrasive solutions that can help remove dirt, dust, and residue without damaging the wood. When using either of these solutions, make sure to use a clean cloth and gently rub in circular motions. Finally, rinse with warm water and dry the wood thoroughly after cleaning.

Conclusion
When it comes to cleaning wood after sanding, there are some disadvantages that may not be immediately apparent. For one, the process of sanding can cause dust and debris to become embedded in the grain of the wood, which means that even if you do a thorough job of vacuuming and wiping down the surface after sanding, some dust particles may remain.
In conclusion, sanding and cleaning the wood is a process that requires patience and attention to detail. It is important to ensure that all of the dust particles created during the initial sanding are removed properly, otherwise, they will interfere with the finished job. The best way to do this is by using a vacuum cleaner or compressor system and wiping down the project with a damp cloth. I hope reading this post has helped you learn how to clean wood after sanding. Make sure the safety precautions are carried out in the order listed.


