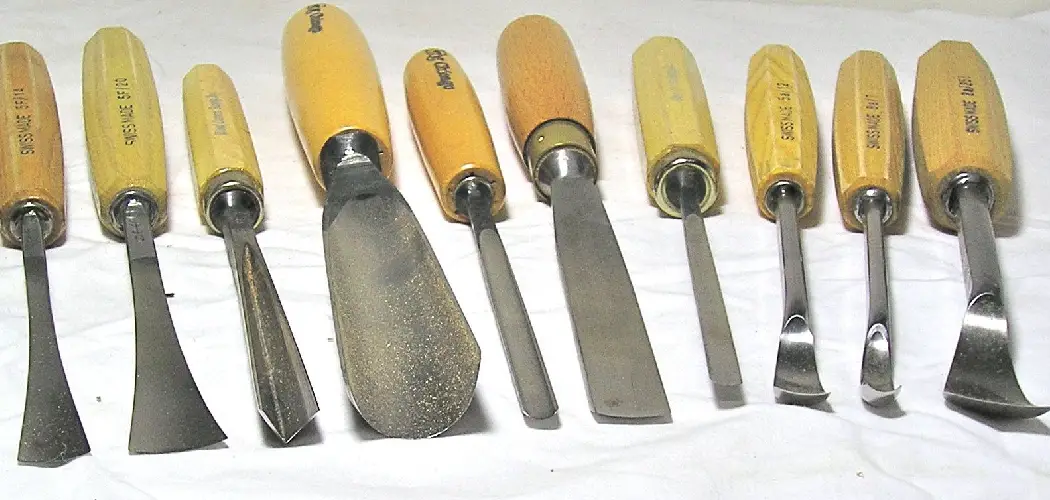
Wood carving is a timeless art form where you can create stunning works of art out of wood. Whether you’re picking up the craft for the first time or have been honing your skills for years, it’s always helpful to know which tools will properly assist in designing and sculpting your project.
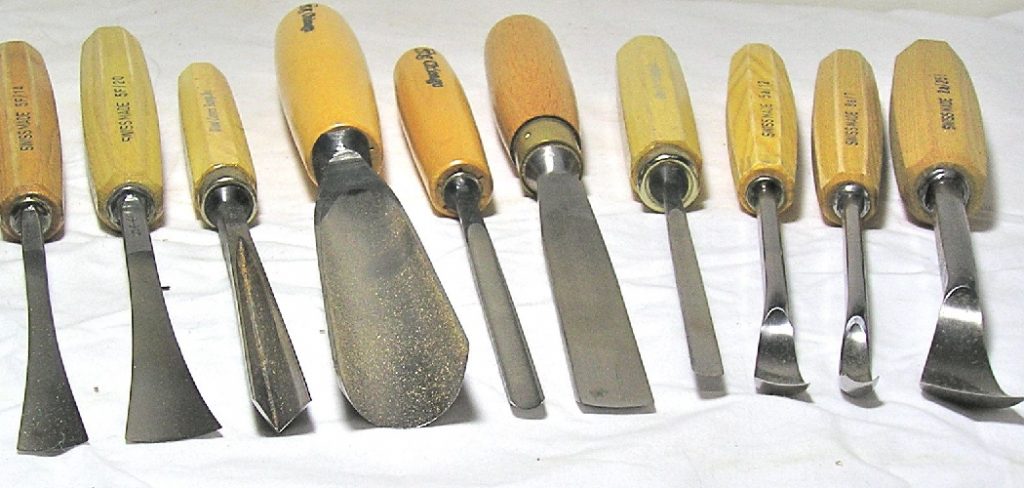
If you’re looking to enter the world of wood carving and need some help navigating the potential variety of tools at your disposal – from chisels to gouges – then this blog post on how to use wood carving tools is for you! Read on as we go through an overview of some essential wood carving tools that will provide both novice carvers and experienced craftsmen with all they need to make beautiful pieces.
The Benefits of Using Wood Carving Tools
1. To Make Designs
There are many benefits to using wood carving tools. For starters, they can be used to create intricate details and designs that would otherwise be difficult or impossible to achieve with traditional hand tools. The edge of a chisel or gouge is much sharper than a standard saw blade, allowing carvers to make precise and clean cuts through the wood without having to worry about any rough edges or uneven surfaces.
2. To Enhance Your Work
Wood carving tools can also be used to refine the overall look of a piece of woodwork, whether that’s rounding off corners or smoothing out rough patches. With the correct tools and techniques, carvers can adjust shapes and contours to create exactly what they had envisioned for their project.
3. To Create Unique Pieces
Finally, wood carving tools can be used to make unique pieces of art. By using different types of chisels and gouges, carvers can create intricate patterns and textures on the surface of their workpiece that are impossible to replicate with traditional hand tools.
The Different Types of Wood Carving Tools
1. Chisels
Chisels are one of the most common and versatile wood carving tools used in the craft. They come in a variety of shapes and sizes, allowing carvers to create fine details on their workpieces or remove large chunks of wood if needed.
2. Gouges
Gouges are another essential tool in any wood carver’s arsenal. They are specially designed to create curved cuts in the wood, allowing carvers to add sculptural elements or shape pieces of wood into intricate designs.
3. V-Tools
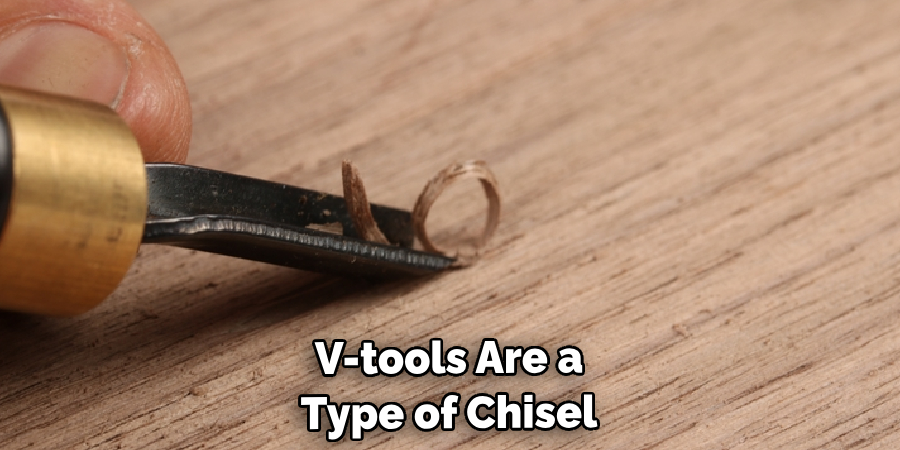
V-tools are a type of chisel that features a V-shaped blade instead of a straight edge. They are excellent for adding intricate details and textures to the surface of your work piece, as well as for carving out narrow grooves and channels.
10 Ways How to Use Wood Carving Tools
1. Start by Choosing the Right Tool
When wood carving, it’s important to choose the right tool for the job. Different tools are designed for different tasks, so make sure you have a good understanding of what each tool can do before beginning your work.
2. Use Quality Wood
In addition to having the proper tools, it’s important to use quality wood for your project. Choose a piece that is free from knots, cracks, and splits, as these can affect the overall look of your finished product.
3. Mark Out Your Design
Once you’ve chosen the right tool and obtained a suitable piece of wood, it’s time to mark out your design with a pencil or marker. Make sure your lines are clear and easy to see, so you can easily follow them when carving.
4. Dull Your Tools
When wood carving, it’s important to always keep your tools sharp for a clean cut. However, if you want to create a more subtle texture or smooth out the surface of your workpiece, it might be helpful to dull the edges of your tools slightly by running them over a piece of sandpaper.
5. Use Safe Wood Carving Techniques
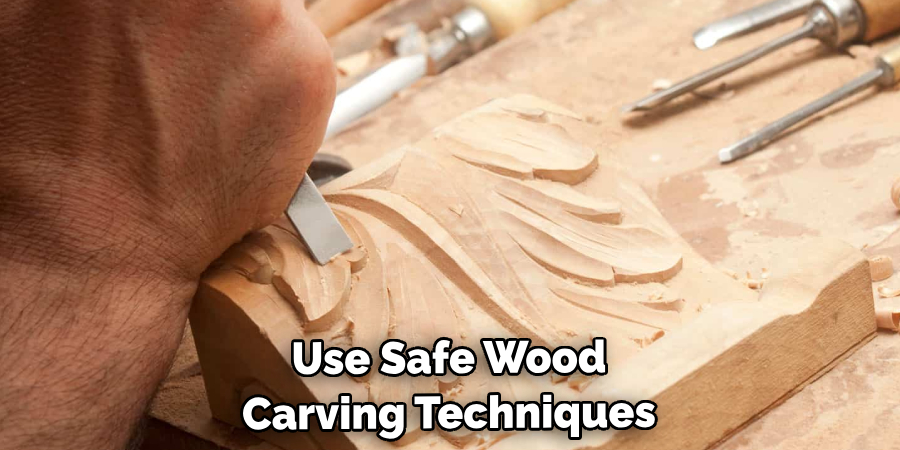
It’s important to use safe wood carving techniques when working with your tools. Always keep your fingers away from the blade and wear protective gloves while carving, as even dulled blades can cause cuts and injuries if not handled properly.
6. Work Slowly and Carefully
When it comes to wood carving, patience is key. Take your time with each cut and make sure you’re following the lines of your design carefully. If you rush through the process, it can result in an uneven surface or even completely ruin your workpiece.
7. Use Correct Hand Positioning
Make sure to use correct hand positioning when using your tools. Place your dominant hand at the end of the tool and keep your other hand close for stability and control. Don’t grip too hard as this can result in fatigue or even cause the tool to slip out of your grasp.
8. Make Shallow Cuts
When making cuts, it’s important to make shallow, controlled cuts rather than deep, forceful ones. This will help you maintain control over the blade and ensure a smoother finish. Shallow cuts also help to reduce the risk of the tool slipping out or damaging your workpiece.
9. Stop When You’re Tired
When wood carving, it’s important to take regular breaks or stop when you start to feel tired. Working while fatigued can lead to mistakes, so make sure you keep an eye on your level of energy and rest when needed.
10. Finish Your Work Piece
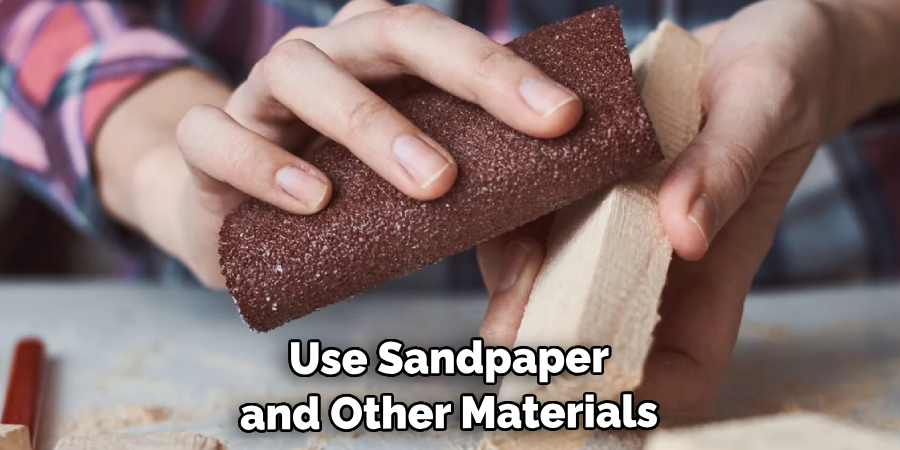
When you’re done carving, don’t forget to give your work piece a finishing touch. Use sandpaper and other materials to refine the surface of your project and make sure all edges are smooth and even. You can also add a protective coating or stain to your finished piece for added protection against wear and tear.
8 Maintenance Tips for Wood Carving Tools
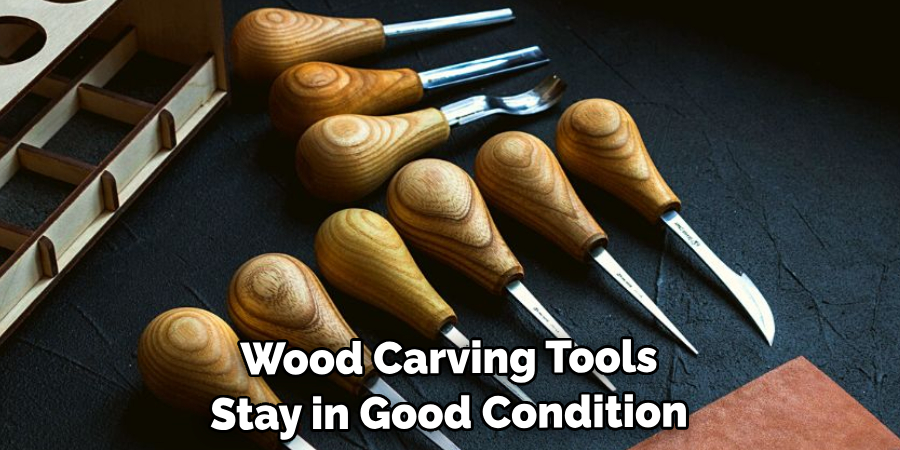
Wood carving tools require careful maintenance and regular cleaning to ensure they stay in optimal condition. Here are 8 tips to help maintain your wood carving tools:
1. Clean the blades regularly with a damp cloth or brush. This will help remove dirt and debris from the blades so that you can get a precise cut every time. Dirt will eventually clog the blades and reduce their effectiveness.
2. Keep your wood carving tools sharp with a honing stone or whetstone. This will help to maintain the edges of the blades for smooth cuts in wood. Make sure to maintain an angle between 45-70 degrees when sharpening your tools, as this is more effective for cutting into wood.
3. After each use, apply a light coating of oil to lubricate the blades and help protect them from rust. Make sure to wipe off any excess oil so it doesn’t accumulate on the blades. Using a lubricant such as WD-40 or 3-in-1 oil can also help to protect your tools from rust and corrosion.
4. Store your wood carving tools in a safe, dry place when not in use. Avoid storing them near water or direct sunlight, which can cause the handles and blades to warp or corrode over time. If possible, store your tools in a wooden box with partitions and pockets to keep them organized.
5. Take the time to inspect your tools before each use. Make sure that the blades are sharp, and check for any loose screws or joints on the handles. If you find any damage, have it repaired immediately so that you don’t risk further injury to yourself or your project when using them?
6. Disassemble your tools when not in use and store them away from other items to avoid contact with any abrasive materials that might damage the blades. Wipe down each piece with oil before reassembling, as this will help protect the metal parts from corrosion.
7. Keep a regular maintenance schedule for your wood carving tools. Check for any wear and tear regularly, and sharpen the blades at least once a month. It’s also important to routinely clean the tools after each use and make sure that they are properly lubricated with oil.
8. Don’t forget to wear safety equipment when using your wood carving tools! Always wear protective gloves, glasses, and masks when working with sharp blades to avoid any potential injuries.
By following these steps on how to use wood carving tools, you can ensure that your wood carving tools stay in good condition for years to come! With proper maintenance and care, you’ll be able to enjoy the precise cuts and smooth carvings that your tools are capable of producing.
Frequently Asked Questions
How Long Will It Take to Finish the Project?
The time it takes to complete the project will depend on how detailed the design is, as well as the size of the piece. Generally, a simple carving, such as a small figurine or bowl, can take several hours to complete. More intricate designs with multiple elements can take days or even weeks to finish.
What Type of Wood Should I Use?
When selecting wood for carving, it is important to consider the type of tool you will be using. Hardwoods such as oak and walnut are good choices for hand tools, while softer woods like pine and cedar work best with power tools. Additionally, the grain of the wood should be considered depending on the desired outcome of your project.
What Tools Should I Use?
The type of tool you should use will depend on the design and size of your project. For basic shaping, a chisel or gouge can be used with a mallet to help remove material from the wood. A coping saw and knife are good for intricate details, while power tools like rotary carvers and grinders make it easier to achieve smooth curves. It is also important to use sharp blades to ensure a clean cut.
Are There Any Safety Precautions I Should Take?
When using wood carving tools, safety should always be the top priority. Wear protective clothing such as gloves and safety glasses while working with power tools, and make sure that all blades are sharp and in good condition. Additionally, it is important to use a steady and comfortable grip while carving to avoid slipping or gouging the wood. Lastly, be sure to properly store and maintain your tools when not in use.

Conclusion
Wood carving is a timeless craft that spans generations, allowing us to create items with our own hands. It’s a great way to relax and let your creative juices flow.
With practice, you can create sculptures, furniture, jewelry, or just works of art that are unique to you. It’s an activity both young and old can enjoy. While tools such as chisels and mallets may look intimidating at first, with the right instruction on how to use wood carving tools and skill, they become part of a true artist’s toolbox.
Remember to always start out with softer woods and work up from there so you can learn how different woods react differently to each type of tool. Despite the challenges that come along with learning something new, the rewards far outweigh them when you see your creation take shape before your eyes.
Whether you’re looking to make a statement piece for home decor or garden art, wood carving will offer endless possibilities for inspiration. So why not give it a try? You never know where it could take you!
You Can Check It Out to Mark Your Tools

