Are you looking for ways to achieve the perfect finish on a piece of furniture or other wooden objects? Sanding is often part of the process, and when it comes to sanding wood, knowing which direction your grain runs is essential. Whether you are a seasoned woodworker with years of experience, or something brand new to the craft, it’s important to understand how to determine the direction of the grain on your projects before you begin any kind of sanding.

Many hobbyists don’t know how to tell what direction their wood grain goes in. Knowing which direction the grain runs can save you time and effort while ensuring that your finished products achieve a high level of quality and look their best. Luckily, determining wood-grain direction isn’t as difficult as you might think! This blog post will teach you how to tell direction of wood grain for sanding easily so that you can address each area with precision and make sure that your finished product looks truly professional. Ready? Let’s get started!
What is the Grain Direction of Wood?
Before we get into how to tell direction of wood grain for sanding, it is important to understand what the grain direction of wood actually means. Grain direction – or, more accurately, the orientation of a board’s growth rings – describes the angle at which the tree’s fibers are laid out. On any given board, these fibers will be oriented either vertically or horizontally, meaning that the grain direction of your board will be either parallel to its length (vertical) or perpendicular to it (horizontal).
Knowing which way your grain runs allows you to sand each surface in the appropriate direction and achieve a smooth, even finish. Sanding wood against the grain can result in an uneven, splintery surface that’s less than ideal. Therefore, it is essential to understand how to tell direction of wood grain for sanding before you begin any kind of sanding process.
Why Knowing the Direction of Wood Grain for Sanding is Important?

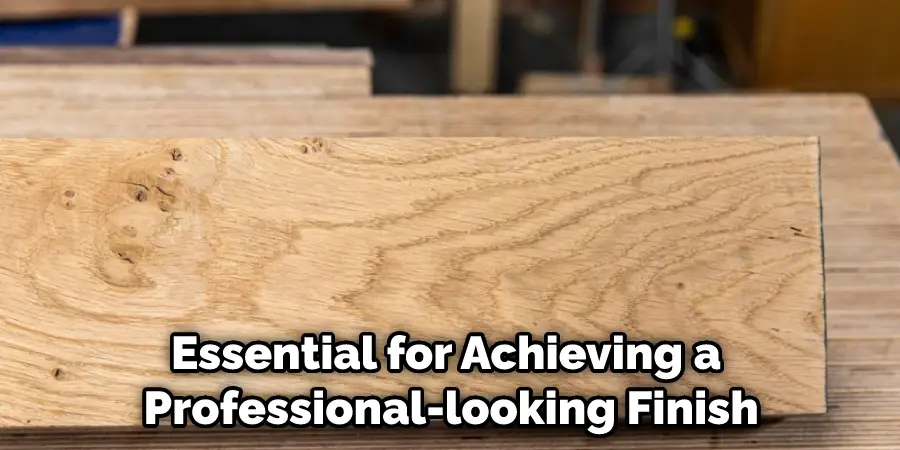
Knowing the direction of wood grain is essential for achieving a professional-looking finish. Sanding against the grain can lead to scratches and gouges that are difficult, if not impossible, to sand out. Additionally, improper sanding can cause fibers in the wood to stand up, creating an uneven surface that requires additional work to fix. Taking time to determine which direction your grain runs can save you a great deal of time and effort in the long run.
Required Materials
Before you begin, you’ll need a few simple materials:
- A soft cloth or brush
- A magnifying glass
- Good lighting
10 Tips for How to Tell Direction of Wood Grain for Sanding
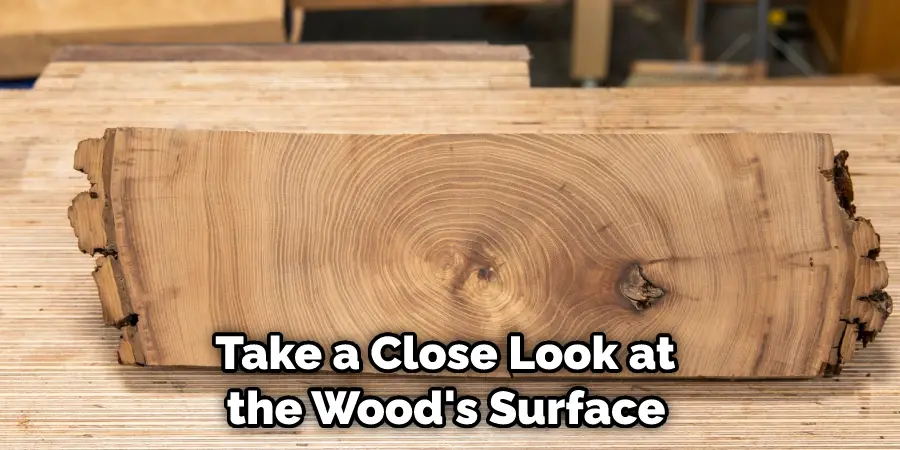
Luckily, determining which direction your wood grain runs is quite simple. First, you’ll want to make sure that the surface of the wood you’re sanding is clean and dry. Once it is, take a close look at the wood’s surface with your eyes or feel it using your fingertips. Here are 10 tips to help you identify wood grain direction:

1. Look for Patterns
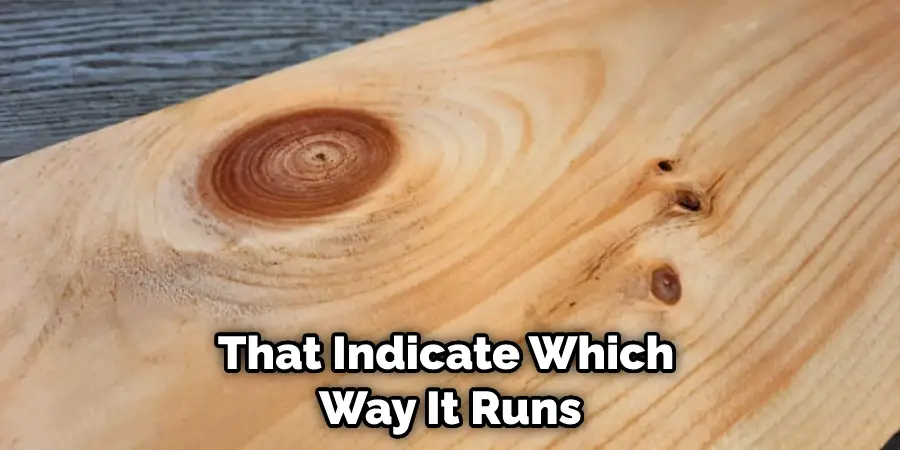
Look for the light and dark patterns in the wood. The darker areas will often indicate where the grain is running. The pattern may be subtle, but with a bit of observation, you should be able to tell which direction it goes in.
2. Feel for Texture
Run your fingers lightly over the surface of the wood and pay attention to any differences in texture. The grain will often create a slightly more textured appearance that can help you determine the direction it’s running.
3. Look for Color Variations
Take a close look at the surface of the wood and see if there are any color variations that indicate which way it runs. The subtle changes in color can be a great indicator of grain direction. Color variation generally will become more prominent when looking at the end grain of the wood.

4. Look for Saw Marks
Look for saw marks along the surface of the wood, as these can indicate which direction the grain runs in. It’s also important to consider any cuts or joints in the wood, as these can give you clues about the grain direction.
5. Use a Magnifying Glass
It can often be helpful to use a magnifying glass when trying to identify the direction of your wood grain. The glass makes it easier to spot subtle variations in texture or color that can help you determine which way the grain is running.
6. Try an Adhesive Test
Take a piece of scotch tape and carefully press it against the wood surface. If there are any fibers caught between the tape and the wood, then these will indicate which direction the grain is running.

7. Shine a Light Source Over It
Shine a flashlight or other light source over the wood surface and look for any variations in reflection that indicate which direction it runs. Shine at different angles to see if this reveals anything about where the grain is going.
8. Check the End Grain
Take a close look at the end grain of the wood and see if you can spot any patterns or variations in color that indicate the direction it’s going. End grain is often a great indicator of grain direction. End grain is the exposed wood fibers at the end of a piece of wood.
9. Consult a Professional
If you’re still having trouble identifying grain direction, then it’s best to consult with a professional who has experience in working with wood. They’ll be able to point you in the right direction and help you identify which way your grain runs.
10. Test Sanding
If all else fails, then the best way to identify grain direction is to test sand it in different directions and see which one produces the smoothest finish. This can serve as an effective way of determining which direction your wood grain runs in.

Once you’ve determined which direction the wood grain goes, it’s important to always sand with the grain. This can help minimize dust production and provide a smooth, professional finish. Understanding how to identify wood grain is an essential skill for any carpenter or woodworker and will come in handy when sanding projects around the home.
8 Common Mistakes to Avoid
1. Sanding Against the Grain
One of the most common mistakes when it comes to sanding wood is sanding against the grain. This can cause ridges and streaks, as well as splinters and chips in the wood. Always make sure to sand with the grain, not against it.
2. Not Using Grits Correctly
Grits are the markings on sandpaper that indicate its coarseness. Coarse grits are used for heavier work, like taking off varnish and paint, while finer grits can be used for lighter tasks, like sanding between coats of finish. Make sure to use the right type of grit for your project.
3. Not Using the Right Sander
Different sanders are used for different types of sanding. Drum and belt sanders are used for heavier work, while orbital sanders can be used for light touch-ups and finishing work. Make sure to use the right type of sander for your job in order to achieve the best results.

4. Not Taking Proper Safety Precautions
When sanding, always wear protective gear such as safety glasses, a dust mask, and ear plugs to protect your eyes, lungs, and ears from any possible debris.
5. Using Pressure Instead of Time
Sanding takes time for the best results—using too much pressure can damage the wood and cause splinters. Make sure to take your time when sanding, and use just enough pressure to get the job done without causing damage.
6. Not Sanding Out Flaws
Make sure to take extra time to sand out any imperfections or flaws in the wood before applying a finish. This will make sure your finished product looks its best. To blend in any scratches or dents, use finer grit sandpaper.
7. Not Vacuuming Often Enough
When sanding, it’s important to vacuum off the wood often in order to remove any dust particles that could cause imperfections in the finish. Make sure to do this often throughout the process in order to get a smooth and even finish.
8. Not Sanding in a Circular Motion
When sanding, make sure to use a circular motion in order to get the best results. This will help prevent the formation of ridges or streaks in the wood. Circular motion will also help you achieve a smoother finish.
Following these tips can help make sure that you get the best results when sanding wood. With proper technique and safety precautions, it’s easy to get great results every time.
7 The Advantages of Knowing the Direction of Wood Grain for Sanding
- It increases the effectiveness of sanding. By knowing which direction to sand in, you will be able to maximize the amount of material that is removed from the surface. This can help reduce the time it takes to finish a project.
- It helps preserve wood grain. When sanding, it’s important to go in the same direction as the grain of the wood. This will help to avoid damaging or distorting the natural pattern that the wood has.
- It reduces surface scratches. Sanding in the wrong direction can cause scratches on the surface of the project and affect its overall appearance and quality. Going in one direction ensures an even result with minimal scratching.
- It helps save time and effort. Going in the same direction as the wood grain helps to minimize the amount of pressure needed when sanding, which reduces fatigue and makes the job easier. Saving time and effort helps to complete projects faster.
- It improves the finish quality. Sanding off too much material in the wrong direction can cause a rippled effect on the surface, which can be difficult to fix and affect the overall look of the finished product. Going in one direction will ensure a smoother result that looks better once it’s finished.
- It helps prevent splintering and tearing. Sanding in the wrong direction can cause wood fibers to splinter or tear, which can ruin a project and make it difficult to repair. Knowing the direction of the grain will help minimize this risk.
- It produces a more professional-looking finish. Sanding with the grain is important for achieving a polished, professional-looking finish. This can help to make any project look more finished and attractive.
Knowing how to tell direction of wood grain for sanding can provide many advantages, from improving the quality of a finish to saving time and effort during projects.
Frequently Asked Questions
How Does Knot Affect Grain Timber?
Wood grain is affected by knots as they can distort the natural pattern of the wood and make sanding more difficult. Knots can also cause splintering and tearing if not sanded properly, so it’s important to recognize them when looking at wood boards and adjust your sanding technique accordingly. It will also be necessary to use coarser grit sandpaper when sanding around knots, as the irregularities can cause finer grit paper to quickly become clogged.
What Are the Different Types of Wood Grain?
The type of wood grain will depend on the species of tree that is used. Most woods have either straight grains or spiral grains, but there are also variations of each that may be found. Other grain patterns can include interlocked, irregular, or wavy. Knowing the type of wood grain can help you determine which direction to sand in for optimal results.
Conclusion
Sanding is a critical part of any carpentry project. Knowing the direction of the wood grain is key in order to getting the best results and achieve a professional finish. Utilizing these simple tips on how to tell direction of wood grain for sanding should help provide an understanding when it comes to sand along the direction of the wood grain.
It’s best to plan your work beforehand and consider how you tackle the task, as this will increase your efficiency and give better results – ultimately saving you time and effort from any potential mistakes! Therefore, it pays off to take a few extra moments to learn about identifying wood grain patterns. With practice, this skill will become second nature, ensuring successful outcomes for all types of carpentry projects.


