

There’s something special about gathering friends and family around a shuffleboard table. The gentle glide of the puck, the friendly competition, and the satisfying click of a well-placed shot make it a game people of all ages enjoy. But have you ever thought about building one yourself?
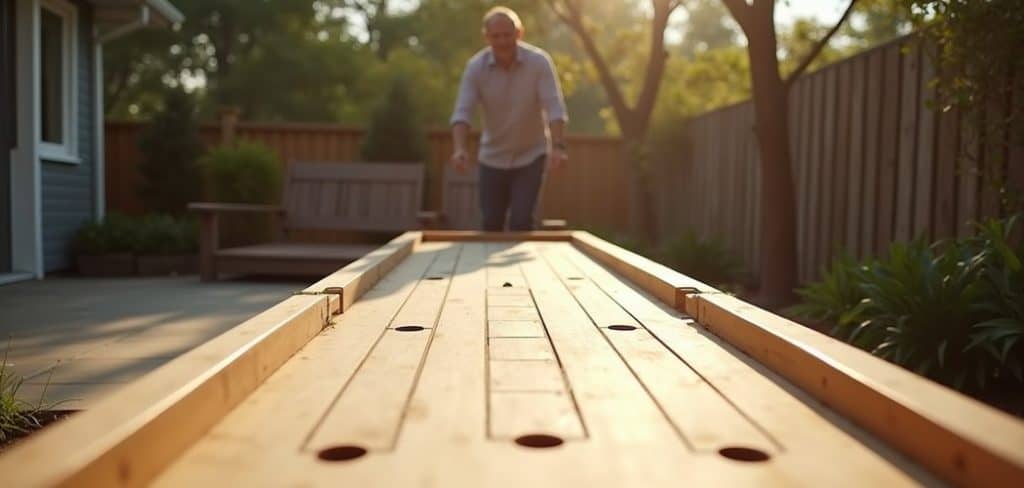
Building your own shuffleboard table might sound like a big project, and honestly, it is. Yet it’s also one of the most rewarding woodworking projects you can take on. With the right plan, some quality materials, and a bit of patience, you can create a table that becomes the centerpiece of your game room for years to come.
This guide on how to build a shuffleboard table walks you through everything you need to know. Whether you’re a seasoned woodworker or someone looking for a fun weekend challenge, you’ll find practical tips to help you succeed. So grab your measuring tape, and let’s get started.
What are the Benefits?
Building your own shuffleboard table comes with plenty of perks. Here are the main reasons people choose the DIY route over buying one off the shelf.
- Save money. A high-quality shuffleboard table can cost several thousand dollars. When you build your own, you pay only for materials and tools. Even if you invest in premium wood, you’ll likely spend far less than the price of a store-bought model.
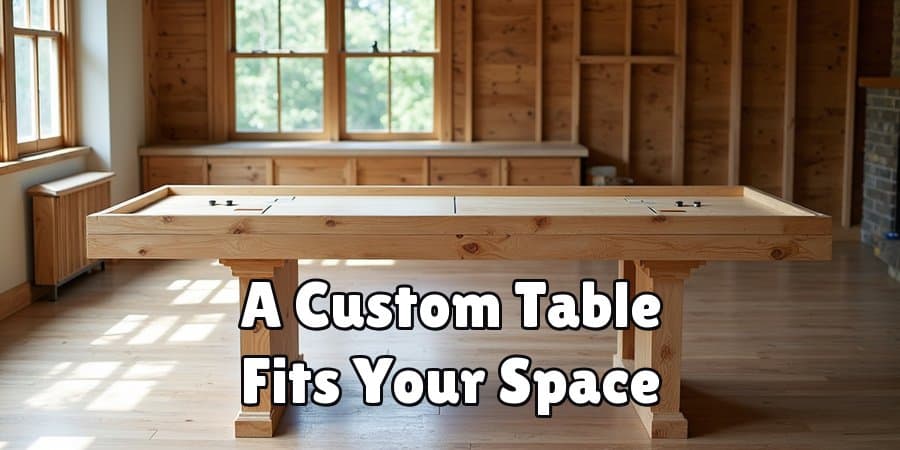
- Customize every detail. When you build the table yourself, you control the size, wood type, finish, and design. Want a rustic farmhouse look? Prefer a sleek modern style? You decide. You can even add your family name, a favorite team logo, or unique inlays.
- Enjoy a rewarding challenge. Few things feel better than stepping back and admiring something you built with your own hands. This project teaches you woodworking skills you can use again and again.
- Build something that lasts. A well-made shuffleboard table can last for decades. You’re creating a piece of furniture that could become a family heirloom, passed down through generations.
- Create quality time. Building a table can be a shared project with a partner, a friend, or your kids. And once it’s finished, it brings people together for game nights, parties, and lazy weekend afternoons.
What Will You Need?
Before you begin, gather all your materials and tools. Having everything ready will save you time and frustration once you start.
Materials:
Tools:
A quick tip: Buy a little extra wood. Mistakes happen, and having spare material means you won’t have to stop mid-project for another supply run.
- Hardwood boards for the playing surface (hard maple is the traditional choice)
- Lumber for the frame and legs (pine, oak, or maple)
- Plywood for the base and support panels
- Wood screws and finishing nails
- Wood glue
- Wood conditioner and polyurethane finish
- Playing surface finish (epoxy or polymerized wax)
- Shuffleboard wax (also called sand or powder)
- Climate adjusters or gutters (optional)
- Sandpaper in various grits (80, 120, 220)
- Wood filler
- Stain (color of your choice)
- Table saw or circular saw
- Miter saw
- Drill and drill bits
- Router
- Clamps (several)
- Measuring tape and square
- Level
- Sander (orbital works well)
- Safety glasses and dust mask
- Pencil and marker
- Paintbrushes and rags
10 Easy Steps on How to Build a Shuffleboard Table
Step 1: Plan Your Design and Dimensions
Start with a solid plan. A regulation shuffleboard table measures 22 feet long, but home versions often range from 9 to 14 feet. Decide what fits your space. Sketch your design on paper, noting the length, width, and height of both the playing surface and the frame. Standard playing surface width is about 20 inches, and table height usually sits around 30 inches. Write down every measurement. A clear plan now prevents costly errors later.
Step 2: Cut the Playing Surface Boards
The playing surface is the heart of your table. Using hard maple boards, cut them to your chosen length with a table saw. You’ll join several boards side by side to reach your desired width. Cut each board carefully, making sure the edges are perfectly straight. The surface must be smooth and flat, so take your time here. Any error in this step will affect how the puck slides.
Step 3: Join and Glue the Surface
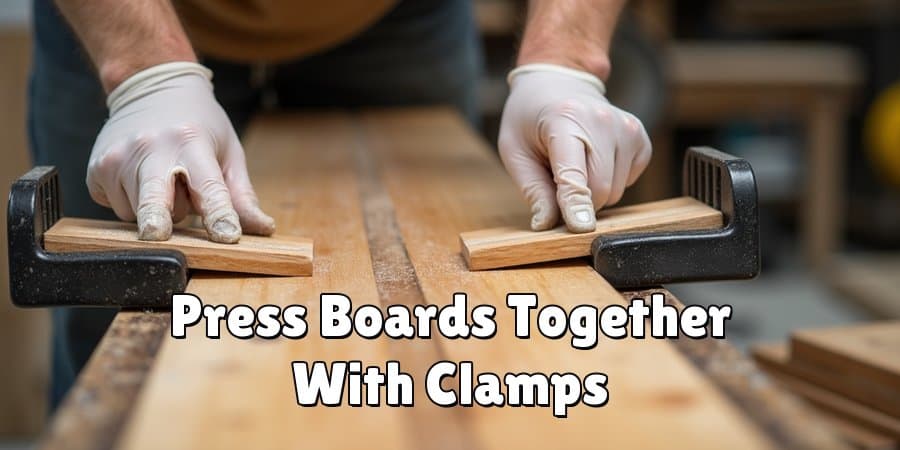
Lay your cut boards side by side and dry-fit them first. Once you’re happy with the arrangement, apply wood glue along the edges. Press the boards together and use clamps to hold them tight. Wipe away any excess glue with a damp rag. Let the surface cure for at least 24 hours. This creates one solid, seamless playing area that feels smooth under the puck.
Step 4: Sand the Playing Surface
After the glue dries, remove the clamps and sand the entire surface. Start with 80-grit sandpaper to level any uneven spots, then move to 120-grit, and finish with 220-grit for a glass-smooth feel. Sand in the direction of the wood grain. Wipe away all dust with a clean, damp cloth. A perfectly smooth surface is essential for a good glide, so don’t rush this stage.
Step 5: Build the Frame
Now construct the frame that supports the playing surface. Cut your frame lumber to size using a miter saw. Assemble the long sides and end pieces into a rectangle, joining them with wood glue and screws. Use a square to check that every corner sits at a perfect 90 degrees. The frame must be sturdy and level, since it carries the weight of the entire surface.
Step 6: Add the Cradle and Gutters
The cradle holds the playing surface and includes side rails, or gutters, that catch pucks that slide off. Attach the gutters along both long sides of the frame. These raised edges keep pucks from flying onto the floor. Measure carefully so the gutters sit flush and even. Secure them with screws and glue for a tight, lasting fit.
Step 7: Attach the Playing Surface
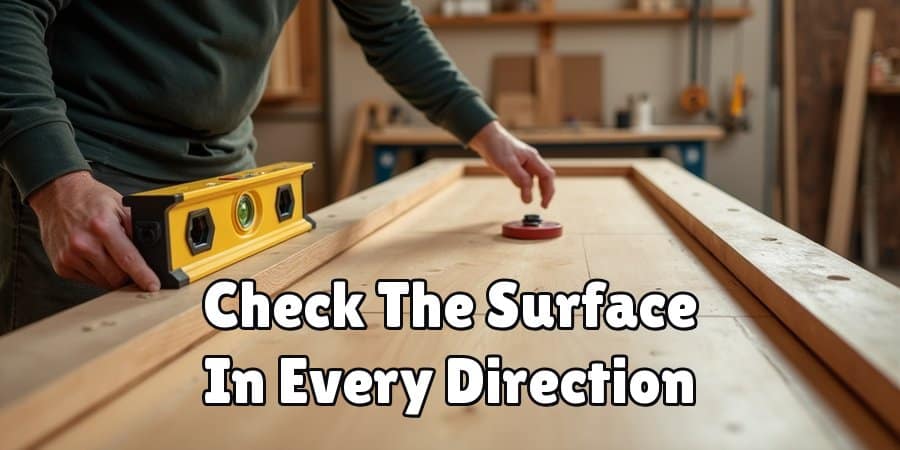
Carefully place the playing surface onto the frame. Center it so equal space remains on all sides. Fasten it from underneath using screws, being careful not to drill all the way through the top. Check that the surface is level in every direction using a level tool. If needed, add shims to correct any dips. A level surface ensures fair, consistent play.
Step 8: Build and Attach the Legs
Cut four legs to your planned height, usually around 30 inches. For extra stability, you can add cross braces between the legs. Attach each leg securely to the frame corners with heavy-duty screws and glue. Make sure all four legs are the same length so the table doesn’t wobble. Stand back and check that everything is straight and steady.
Step 9: Apply Stain and Finish
Now for the fun part. Wipe the entire table clean, then apply wood conditioner to the frame and legs. Once dry, brush on your chosen stain and let it soak in. Wipe away excess and allow it to dry fully. Next, apply several coats of polyurethane to the frame for protection and shine. Let each coat dry before adding the next.
Step 10: Seal the Playing Surface
The playing surface needs a special finish so the puck glides smoothly. Apply a food-safe epoxy or several coats of polymerized wax across the top. Follow the product instructions closely and allow proper drying time between coats. Once cured, buff the surface to a slick finish. Finally, sprinkle shuffleboard wax across the top, grab your pucks, and your table is ready to play.
5 Things You Should Avoid
Even careful builders make mistakes. Watch out for these common pitfalls to keep your project on track.
1. Rushing the drying times. Glue, stain, and finish all need time to cure. If you rush, you risk warping, uneven surfaces, and a finish that never sets properly. Patience pays off with a better result.
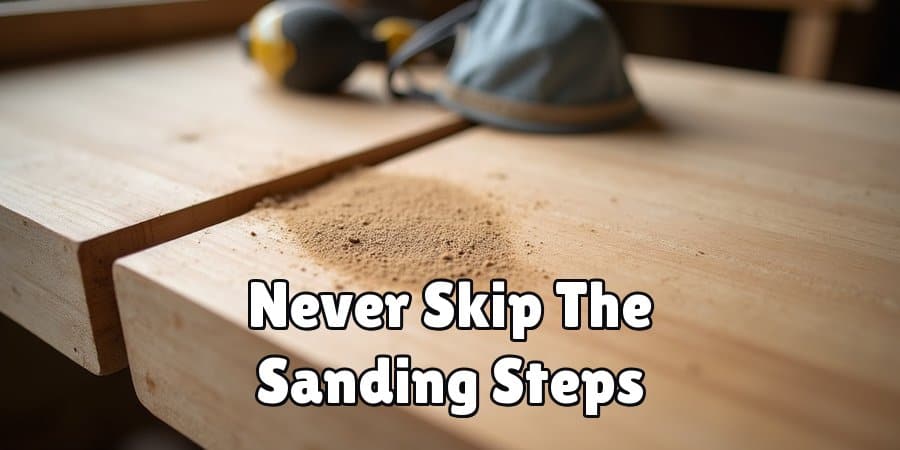
2. Skipping proper sanding. A rough or uneven playing surface ruins the game. Never skip sanding steps or jump straight to a fine grit. Work through each grit level for the smoothest possible glide.
3. Using the wrong wood. Soft or low-quality wood warps over time and doesn’t hold up to play. Hard maple is the gold standard for the playing surface because it’s dense and durable.
4. Ignoring level checks. A table that isn’t level makes the puck drift to one side, ruining fair play. Check the level often during assembly, not just at the end.
5. Applying finish in a dusty area. Dust and debris ruin a smooth finish. Work in a clean, well-ventilated space and let the finish dry away from foot traffic and pets.
Conclusion
How to build a shuffleboard table is a project worth every bit of effort. You save money, gain valuable woodworking skills, and end up with a custom piece that fits your space and style perfectly. More than that, you create something built to last, a table that will host countless game nights and bring people together for years.
We’ve walked through the whole process, from planning your design to sealing that final smooth surface. Remember the key lessons: choose quality hardwood, take your time with sanding, keep everything level, and never rush the drying stages. Avoid the common mistakes, and your table will play beautifully and look stunning.
The best part comes at the end, when you sprinkle on the wax, line up your pucks, and take that first slide across a surface you built with your own hands. So gather your tools, follow these steps, and enjoy the satisfaction of creating something truly special. Your perfect game night is just a few steps away.
