

Few things spark joy in a child’s day like a dedicated space to build, create, and imagine. A Lego table gives your little builders exactly that. It keeps the bricks in one place, protects your floors and feet, and turns scattered chaos into organized fun. Whether you’re a weekend DIY enthusiast or someone picking up a drill for the first time, building your own Lego table is a rewarding project you can finish in an afternoon.
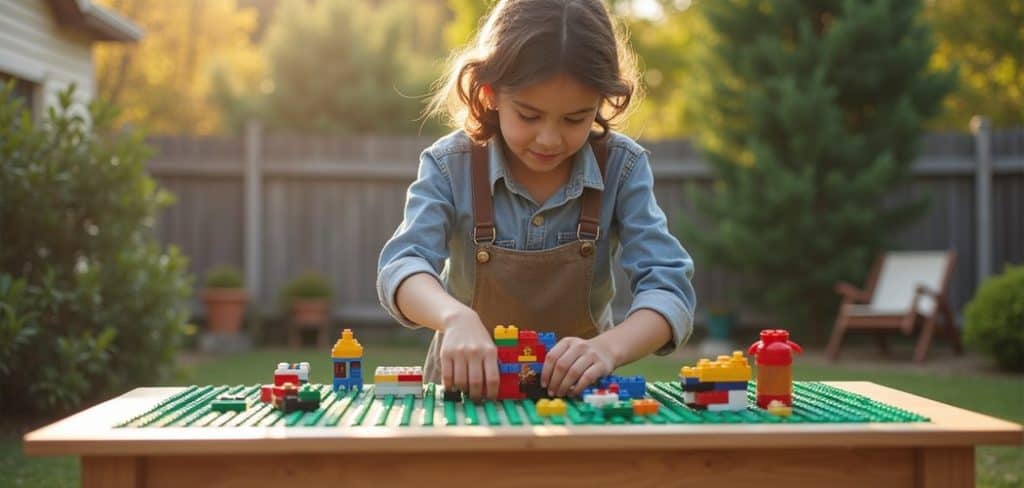
The best part? You don’t need fancy carpentry skills or a workshop full of tools. With a bit of planning, a few basic materials, and some patience, you can create a sturdy, custom table that fits your home and your child’s needs.
This guide on how to build a Lego table walks you through everything, from the benefits and materials to a clear ten-step process. Let’s get building.
What Are the Benefits?
A Lego table is more than just a piece of furniture. It solves problems you may not even realize you have. Here’s why so many families find them worth the effort.
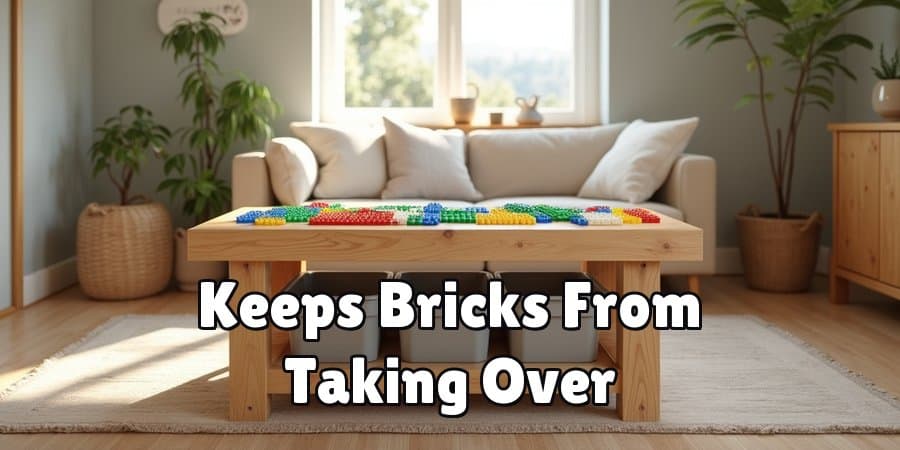
- Say goodbye to stray bricks. Anyone who has stepped on a Lego knows the pain. A dedicated table keeps pieces contained and off the floor, which means fewer surprises for bare feet and less time crawling around to find lost parts.
- Better organization. Many Lego tables include built-in storage bins or drawers. Sorting bricks by color or size makes building faster and teaches kids to tidy up after themselves. Cleanup becomes part of the play instead of a battle.
- A stable building surface. Baseplates attached to a flat table give kids a solid foundation. Their creations won’t wobble or fall apart when carried across the room, and they can leave projects out to finish later.
- Encourages creativity and focus. Having a special place just for building signals that this is a space to concentrate and imagine. Kids often spend more time engaged when they have a comfortable, purpose-built spot.
- Grows with your child. A well-made table can double as a craft station, homework desk, or board game surface as your child gets older. That flexibility makes it a smart long-term investment.
- A fun family project. Building the table together can be an activity in itself. It’s a chance to teach basic tool skills and spend quality time before the Lego fun even begins.
What Will You Need?
Before you start, gather your materials and tools. Having everything ready makes the process smooth and enjoyable. Here’s your shopping and supply list.
Materials:
Tools:
You can adjust this list based on whether you’re modifying an existing table or building one entirely from scratch. Either way, keep everything within reach so you’re not hunting for a screwdriver mid-project.
- A small table or a flat wooden board (an IKEA LACK table works well for many people)
- Lego baseplates (green or gray, sized to fit your tabletop)
- Strong adhesive (double-sided tape, construction adhesive, or a hot glue gun)
- Storage bins or drawers (optional, for holding bricks)
- Wood screws (if building a table from scratch)
- Table legs (if you’re not using a pre-made table)
- Sandpaper (medium grit)
- Wood paint or sealant (optional, for finishing)
- Measuring tape
- Pencil
- Screwdriver or power drill
- Level
- Clean cloth
- Scissors or a utility knife
- Safety glasses
10 Easy Steps on How to Build a Lego Table
Follow these steps in order, and you’ll have a finished table before you know it. Take your time with each stage for the best results.
Step 1: Choose Your Base Table
Start by deciding what your table will be built on. The easiest route is to use a pre-made table with a flat, smooth top. A low coffee table or a children’s activity table works perfectly. Consider the height so your child can sit or stand comfortably. If you have young kids, a lower table around 16 to 18 inches tall is ideal. Measure the surface area to know how many baseplates you’ll need. A sturdy table prevents wobbling and keeps your builder safe and focused.
Step 2: Gather and Measure Your Baseplates
Lego baseplates come in standard sizes, most commonly 10 by 10 inches. Lay them out on your tabletop to see how many fit. Arrange them side by side, leaving as little gap as possible so bricks can bridge across plates. Use your measuring tape to mark the exact area they will cover. If your table is larger than the plates, decide whether to leave a border around the edges or cover the full surface. Measuring now saves you from crooked placement later.
Step 3: Clean the Table Surface
Adhesive sticks best to a clean, dry surface. Wipe down the entire tabletop with a damp cloth to remove dust, grease, and grime. If the table has a glossy or slick finish, lightly sand it with medium-grit sandpaper to help the glue grip better. Wipe away any dust from sanding and let the surface dry completely. This step feels minor, but skipping it is the most common reason baseplates peel up over time.

Step 4: Plan Your Layout
Before you glue anything down, do a dry run. Position all the baseplates exactly where you want them and check the alignment. Use a pencil to trace light guidelines around the plates so you know precisely where each one goes. This is also the moment to decide if you want to leave space for storage bins or a border. A little planning here prevents you from gluing a plate in the wrong spot, which is hard to fix once the adhesive sets.
Step 5: Prepare Your Adhesive
Choose the adhesive that fits your commitment level. Double-sided tape is great if you might want to remove the plates later. Construction adhesive or a hot glue gun creates a permanent, rock-solid bond. If using tape, cut strips to fit the back of each plate. If using glue, work in small sections so it doesn’t dry before you place the plate. Always work in a well-ventilated area and wear safety glasses when handling strong adhesives.
Step 6: Attach the First Baseplate
Begin at one corner or edge of your traced layout. Apply your adhesive evenly across the back of the first baseplate or directly onto the table within your pencil lines. Press the plate down firmly, starting from one side and smoothing across to push out any air bubbles. Line it up carefully with your guidelines. Hold it in place for a minute to let the bond start setting. Getting this first plate straight sets the standard for all the others.
Step 7: Continue Attaching the Remaining Plates
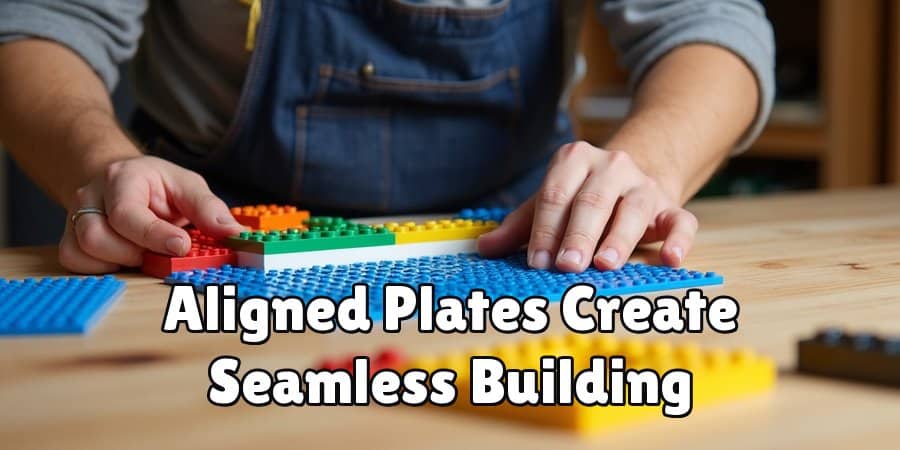
Work outward from your first plate, adding the rest one at a time. Push each new plate snugly against the previous one so the stud grid lines up perfectly across the seams. This alignment matters because it lets bricks span two plates without gaps. Press each plate down firmly and check your work as you go. Keep a level nearby to confirm everything stays flat and even. Patience here pays off in a seamless building surface.
Step 8: Let the Adhesive Cure
Resist the urge to start building right away. Give the adhesive time to cure fully according to the product instructions. Hot glue sets in minutes, but construction adhesive may need several hours or even overnight. Place a few heavy books on top of the plates to keep steady pressure while the glue dries. A proper cure ensures the plates won’t lift or shift once your child starts snapping bricks into place.
Step 9: Add Storage Solutions
Now make the table truly functional. Attach or place storage bins along the sides or underneath. Some people hang bins on the table legs, while others use rolling drawers that slide beneath. Sort the Lego bricks by color or size to make building easier and cleanup faster. If your table has a shelf underneath, that’s a perfect spot for larger sets. Good storage keeps the play area tidy and extends the life of your project.
Step 10: Test and Finish
Give everything a final check. Snap a few bricks onto different areas of the plates, especially across the seams, to confirm they hold securely. Wipe down the surface one more time to remove any fingerprints or glue residue. If you painted or sealed the table legs, make sure they’re fully dry. Once you’re satisfied, invite your little builder over and let the fun begin. You’ve officially built a Lego table.
5 Things You Should Avoid
Steer clear of these common mistakes to make sure your table lasts and works well.
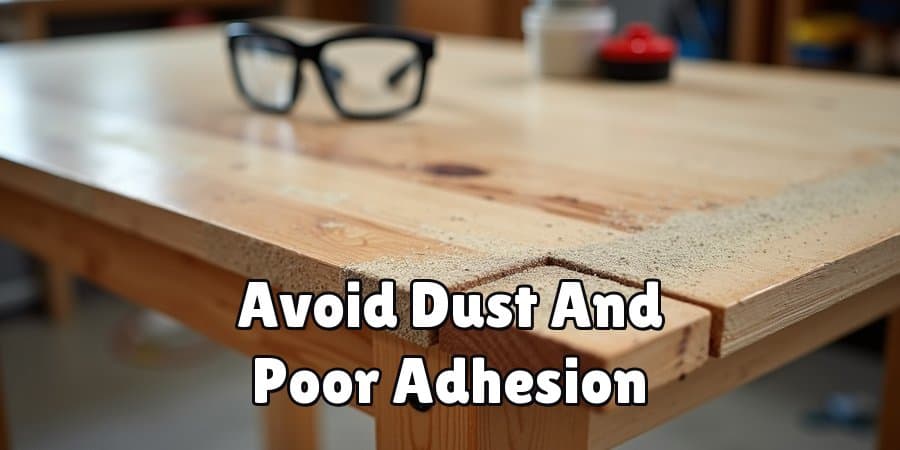
- Rushing the surface prep. Gluing baseplates to a dusty or glossy surface almost guarantees they’ll peel. Always clean and, if needed, sand the tabletop first.
- Misaligning the baseplates. If the stud grids don’t line up across plates, bricks won’t bridge the seams. Take your time positioning each plate to keep the grid continuous.
- Using weak adhesive. Regular white glue or flimsy tape won’t hold up to daily play. Invest in construction adhesive or strong double-sided tape for a lasting bond.
- Picking the wrong table height. A table too tall or too short leads to discomfort and less play. Match the height to your child’s size.
- Forgetting about storage. Without bins or drawers, bricks end up scattered again. Plan your storage from the start so the table stays organized.
Conclusion
How to build a Lego table is one of those projects that pays off every single day. You’ve learned the benefits, gathered your materials, followed ten simple steps, and picked up tips to avoid common mistakes. The result is a sturdy, organized space where your child’s imagination can run wild without the mess and stray bricks taking over your home.
The beauty of this project is how personal you can make it. Add more storage, paint it a favorite color, or size it to fit any corner of your home. Once it’s done, you’ll wonder how you ever managed without it.
So grab your tools, roll up your sleeves, and start building. Your little architect is going to love their new creative headquarters.
