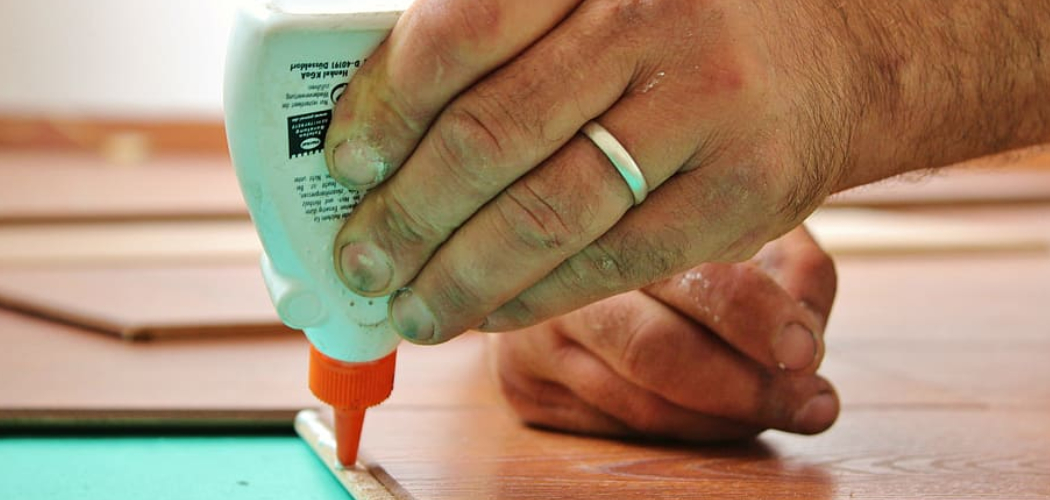
Wood glue is a very useful adhesive for securely connecting pieces of wood and providing strength to the end product. However, with its many advantages comes one issue – excess glue! When too much glue is applied, it can dry and create an ugly mess. Fortunately, there are several techniques that you can use to remove this unwanted adhesive and get your wood project looking its best again.
One of the main advantages of learning to remove excess wood glue is that it allows you to repair broken or damaged wood easily. Wood glue is a great way to combine two pieces of wood, but sometimes too much of it can be used, and not all of it will be absorbed into the wood. If this happens, removing the excess glue is essential so that the pieces can be joined together properly. In this blog post, You will learn in detail how to remove excess wood glue.
Tools You Will Need
- Safety goggles
- Dust mask
- Cleaning rags
- Masking tape
- Scraper
- Sponge and warm soapy water
- Chemical stripper (if needed)
- Putty knife
- Sandpaper or sanding block
- Mineral spirits (for oil-based glue)
Step-by-Step Processes for How to Remove Excess Wood Glue
Step 1: Inspect the Area
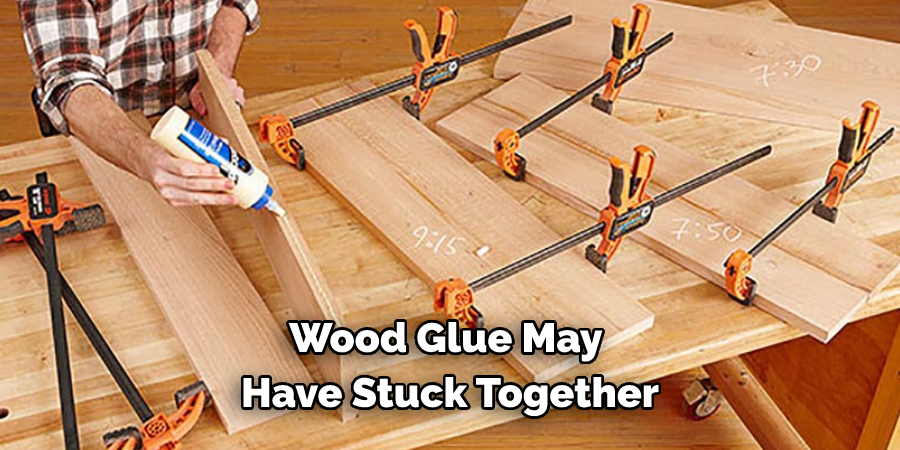
Before attempting to remove any excess wood glue, make sure to check the area for any other materials that the wood glue may have stuck together. Doing so will ensure there won’t be any further damage when you start removing it.
Step 2: Gather Supplies
You will need rubbing alcohol, a cloth rag, and possibly a putty knife, depending on how much glue needs to be removed. To start, soak the cloth rag with rubbing alcohol and apply it directly to the area where the excess glue is located. Let it sit for a few minutes before moving on to the next step.
Step 3: Scrape Away At The Excess Glue
With a putty knife or similar tool, begin carefully scraping away at the excess glue. Make sure you go slow and take your time not to damage any other materials that may have been stuck together. Once you’ve removed most of the excess glue, rub the cloth rag over the area to remove any smaller pieces.
Step 4: Reapply Rubbing Alcohol
If there is still some remaining glue in the area, reapply to rub alcohol to help break down the glue particles. Repeat the above steps until the area is clear of any excess wood glue. Once all of the excess glue has been removed, take a dry cloth and wipe down the entire area to remove any leftover residue or particles. If still some stubborn spots of glue remain, you can use fine-grit sandpaper to help remove them.
Step 5: Clean the Area
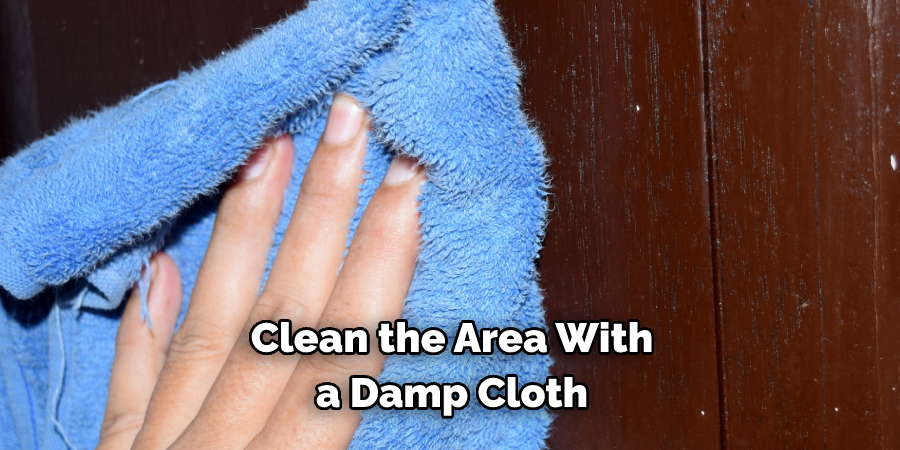
Once all of the excess wood glue has been removed, thoroughly clean the area with a damp cloth and mild cleaner or soap. This will ensure that no traces of the glue will remain on the surface. Following these steps will help you successfully remove any excess wood glue from surfaces without causing any damage to the materials.
Safety Tips for How to Remove Excess Wood Glue
- Wear protective gloves to keep your skin safe from the chemicals used in wood glue removal.
- Ventilate the area where you are working by opening windows and using a fan or exhaust system.
- Use products designed for removing wood glue, like a scraper, putty knife, or solvent-based product.
- Avoid inhaling the fumes when using solvents, and keep away from open flames.
- Use a damp cloth to wipe up any excess glue or solvent-based residue after use.
- Take frequent breaks while working with wood glue removal products and tools to ensure your safety.
- Dispose of any rags, sponges, and other materials that have been exposed to wood glue or solvents in an appropriate manner.
Following these safety tips can ensure the removal of excess wood glue and help prevent potential accidents or injury while working with wood glue.
How Can You Prevent Excess Wood Glue From Getting on Your Workpiece When Applying?
Practicing proper application techniques is the best way to prevent excess wood glue from getting on your workpiece. Before applying the glue, make sure that all surfaces are clean and free of any dirt, dust, or debris.
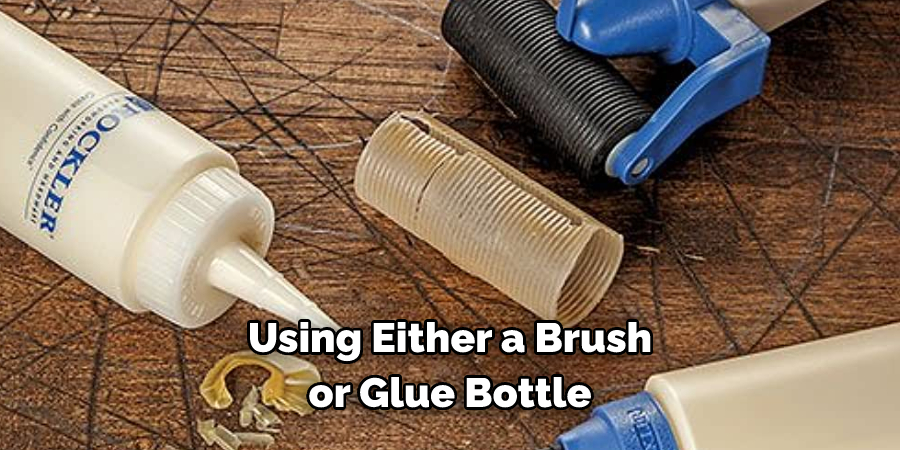
Apply a thin film of glue evenly over both surfaces of the materials you are gluing together, using either a brush or glue bottle. Wipe away any excess glue with a damp cloth or paper towel before the adhesive dries and hardens. When clamping, use just enough pressure to ensure that the glued surfaces stay in contact until fully dried.
If too much pressure is applied, excess glue may be forced out, leaving an unwanted mess on your workpiece. Finally, if you are using a quick-drying glue, work quickly and efficiently to avoid the possibility of glue setting before all surfaces have been properly aligned. With these tips in mind, you can ensure that your wood projects come out looking neat and tidy with no unwanted adhesive residue.
How Long Will the Wood Glue Take to Dry and Cure Before It is Completely Set?
The curing time of wood glue depends on the glue you are using and the temperature and humidity of your work area. Generally, most wood glues will take 24 to 48 hours to dry completely before they are set. Some specialty glues may take longer or shorter times to cure. It is important to read the instructions that come with the glue to determine the setting time for your specific product.
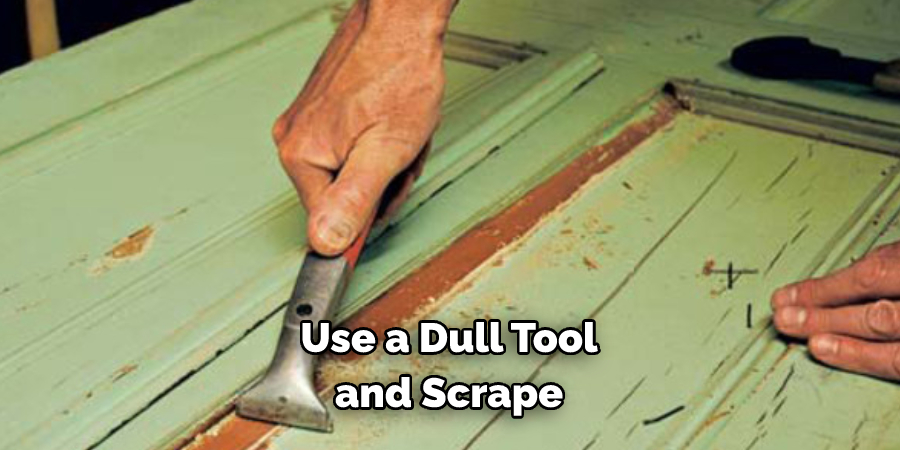
Once the wood glue has cured, you may be able to remove any excess by scraping it off with a chisel or putty knife. To avoid damage, always use a dull tool and scrape in the direction of the grain. If this does not work, you may need to use a solvent to loosen and remove the glue. Solvents such as acetone, mineral spirits, or lacquer thinner are often recommended for removing excess wood glue.
The directions on the glue container should indicate if any of these can be used, or if an alternative product is needed for removal. It is important to take safety precautions when using solvents, such as ventilating the area, wearing eye protection and gloves, and following all of the manufacturer’s instructions.
What Are Some Techniques for Removing Excess Wood Glue Quickly and Efficiently?
Removing excess wood glue from a project can be a daunting task. However, it doesn’t have to take forever! There are several techniques for quickly and efficiently removing excess wood glue which include:
- Lightly sanding away the glue with a fine-grit sandpaper. Sand lightly in order not to damage the wood.
- Use a heat gun to soften the glue, and then carefully scrape it away using a putty knife or similar tool.
- If you’re dealing with dried-up glue, try soaking a cloth in warm water and gently rubbing the area to loosen the glue.
- Use mineral spirits or acetone on a rag to break down and dissolve the glue.
- Use a solvent specifically designed for wood glues if available.
No matter which method you choose, make sure to wear protective gear such as gloves, eye protection, and a respirator when necessary. Be careful not to damage the wood or finish while removing excess wood glue! If all else fails, you may need to sand or plane the entire surface to remove any remaining glue.
Is It Possible to Sand Away the Excess Wood Glue Without Damaging the Workpiece?
Removing excess wood glue can be tricky, especially if you want to avoid damaging the workpiece. Sanding away the excess is an option, however, it must be done correctly in order to ensure that no damage is inflicted on the surface of the wood.
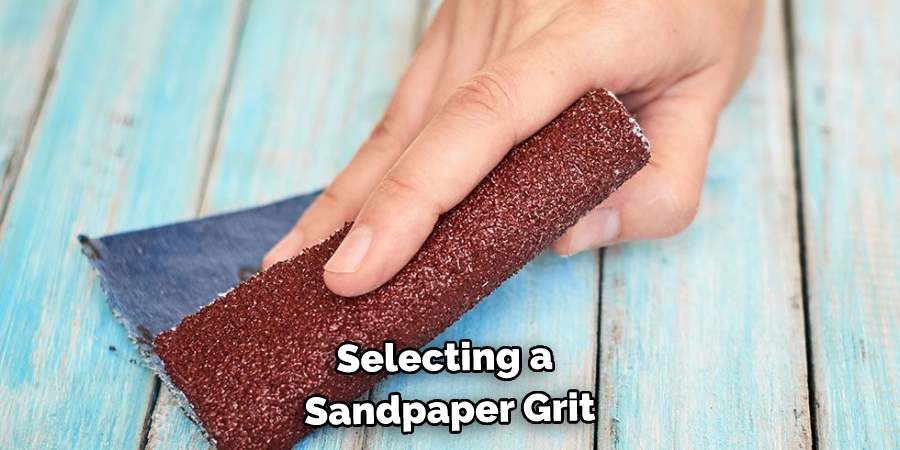
The best way to approach this task is by selecting a sandpaper grit that is suitable for the type of wood you are working with. Generally, start with an 80-grit sandpaper and then progress to a finer 100 or 120-grit paper if needed. When sanding away excess glue, it’s important to work slowly and evenly so no divots or grooves are created on the surface of the wood.
Additionally, you should use a damp cloth to wipe away any dust created from the sanding process and take care not to apply too much pressure when sanding as this could unintentionally damage the wood. If done correctly, this method can effectively remove excess wood glue without leaving behind any undesirable marks on the workpiece.
Once the sanding process is complete, you can apply a finishing product such as varnish or paint to help protect the surface of the wood. This will ensure that your workpiece looks great and lasts many years.
Conclusion
The main disadvantage to removing excess wood glue is that it can take considerable time and effort to complete. The glue must be completely removed, or the area may become weak and structurally unsound. Moreover, some types of wood glue are difficult, if not impossible, to remove with certain methods; this requires specialized techniques and tools.
In conclusion, removing excess wood glue is a tedious but necessary process when working with wood. It’s important to take your time and use the right supplies, such as acetone or denatured alcohol, in order to get the job done correctly. If you don’t have either of these products available, you can also use hot water and soap to help loosen the glue.
Be sure to use a putty knife or other scraping tool when removing the glue in order to prevent further damage. I hope this article has been beneficial in learning how to remove excess wood glue. Make Sure the precautionary measures are followed chronologically.

