

Pine is one of the most popular woods for furniture, and it’s easy to see why. It’s affordable, widely available, and has a warm, rustic charm that fits into almost any home. Whether you’ve picked up a secondhand table at a flea market or built one yourself, a pine table top can become a beautiful centerpiece in your kitchen, dining room, or workshop.
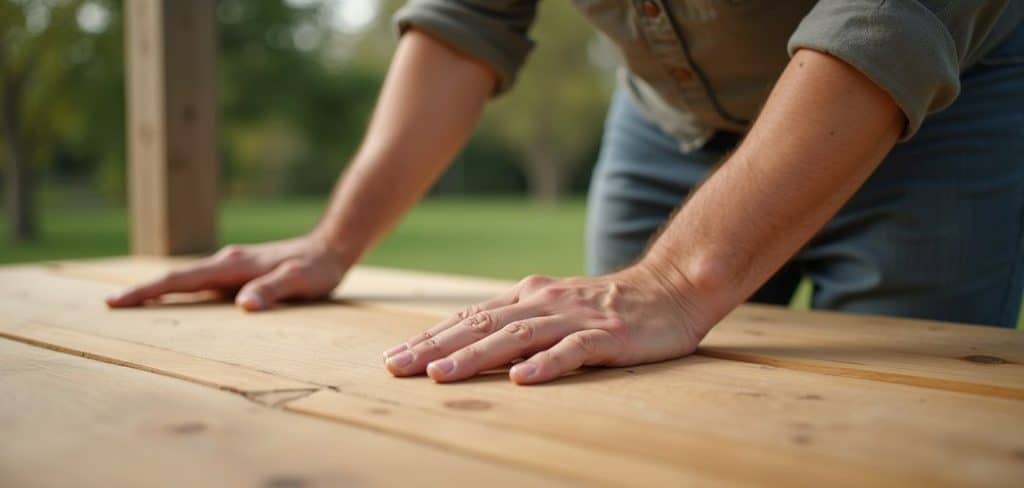
But here’s the thing about pine: it’s a softwood. That means it’s more prone to scratches, dents, stains, and water damage than harder woods like oak or maple. Left untreated, a pine table top can quickly look tired, absorb spills, and develop unsightly marks. Treating the surface protects it, brings out the natural grain, and helps your table last for years.
In this guide on how to treat a pine table top, we’ll walk you through everything you need to know. You’ll learn the benefits, gather your supplies, and follow ten simple steps to get a smooth, durable finish. Let’s get started.
Benefits of Treating a Pine Table Top
Treating your pine table top does more than just make it look nice. There are several practical reasons to put in the effort.
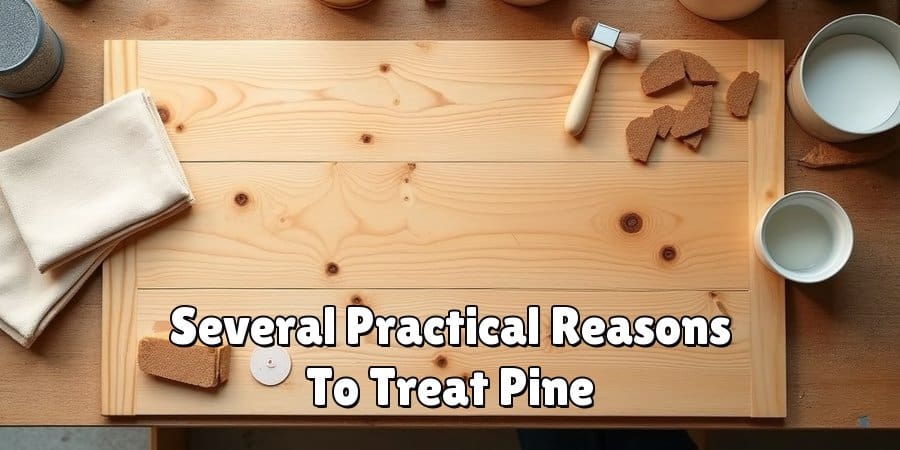
- Protection against moisture. Pine soaks up liquid quickly. A proper finish seals the wood so spills, condensation from glasses, and everyday moisture don’t cause stains or warping.
- Resistance to scratches and dents. While no finish makes pine indestructible, a good topcoat adds a layer of defense. It helps prevent minor scuffs from turning into permanent damage.
- Enhanced natural beauty. A well-chosen stain or oil brings out the warm tones and character of the wood grain. Pine has lovely knots and patterns, and treatment makes them stand out.
- Easier cleaning. A sealed surface wipes clean with a damp cloth. Untreated wood traps dirt, grease, and grime in its pores, making it much harder to keep tidy.
- Longer lifespan. Ultimately, treating your table means it lasts longer. You protect your investment and reduce the need for costly repairs or replacements down the line.
- A custom look. Treatment lets you personalize your table. You can go for a natural matte finish, a rich dark stain, or a glossy sheen. The choice is yours.
What Will You Need?
Before you begin, gather everything you’ll need. Having your supplies ready makes the whole process smoother and faster. Here’s your checklist:
Work in a well-ventilated space, ideally a garage or outdoor area. Some finishes give off strong fumes, so fresh air is important for your safety.
- Sandpaper in various grits (80, 120, 220, and 320)
- Sanding block or an orbital sander for larger surfaces
- Tack cloth or a lint-free rag for removing dust
- Wood filler for any cracks, gaps, or knots
- Putty knife to apply the filler
- Wood stain (optional, if you want to change the color)
- Wood conditioner to help pine absorb stain evenly
- Finish such as polyurethane, tung oil, Danish oil, or wax
- Foam brushes or high-quality bristle brushes
- Clean cloths for applying oil finishes
- Protective gloves and a dust mask
- Drop cloth or newspaper to protect your work area
- Mineral spirits for cleanup (if using oil-based products)
10 Easy Steps on How to Treat a Pine Table Top
Step 1: Prepare Your Workspace
Start by setting up a clean, well-lit area with plenty of ventilation. Lay down a drop cloth or old newspaper to catch dust and drips. Move the table to a comfortable height if you can, so you’re not bending over the whole time. Put on your gloves and dust mask before you begin. Good preparation now saves you a lot of frustration later. A tidy space also helps you avoid dust settling into your finish, which is one of the most common problems people run into.
Step 2: Clean the Surface
Before you touch it with sandpaper, give the table a thorough clean. Wipe away any dust, grease, or old grime with a damp cloth. If the table has been used for a while, you may need a mild soap solution to cut through built-up dirt. Let the surface dry completely before moving on. Cleaning first means you’re not grinding dirt into the wood when you sand, which can create scratches and an uneven finish.
Step 3: Sand the Surface
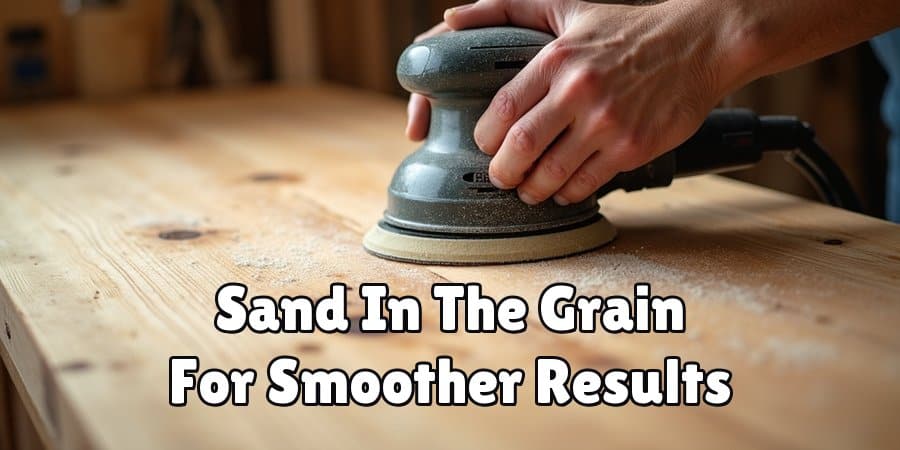
Sanding is the foundation of a smooth finish. Begin with a coarse grit, around 80, to remove any old finish, rough spots, or deep scratches. Always sand in the direction of the grain, never against it. Work your way up to a medium 120 grit to smooth things out further. Take your time here. An orbital sander speeds up the job on large tops, but a sanding block works fine for smaller tables. The surface should start to feel noticeably smoother as you go.
Step 4: Fill Cracks and Gaps
Pine often has knots, small cracks, and gaps that need attention. Use a putty knife to press wood filler into any imperfections. Choose a filler that matches your wood tone if you plan to leave it natural, or a stainable filler if you’ll be adding color. Smooth it flush with the surface and wipe away the excess. Let the filler dry fully according to the product instructions before you sand again. This step gives you a clean, even base to work with.
Step 5: Sand Again for Smoothness
Once the filler is dry, sand the whole surface with a finer 220 grit. This removes any leftover filler ridges and smooths everything into one even plane. Follow the grain as before. Run your hand over the surface to check for rough patches. For a truly professional feel, finish with a 320 grit. The smoother your surface now, the better your stain and finish will look in the end.
Step 6: Remove All Dust
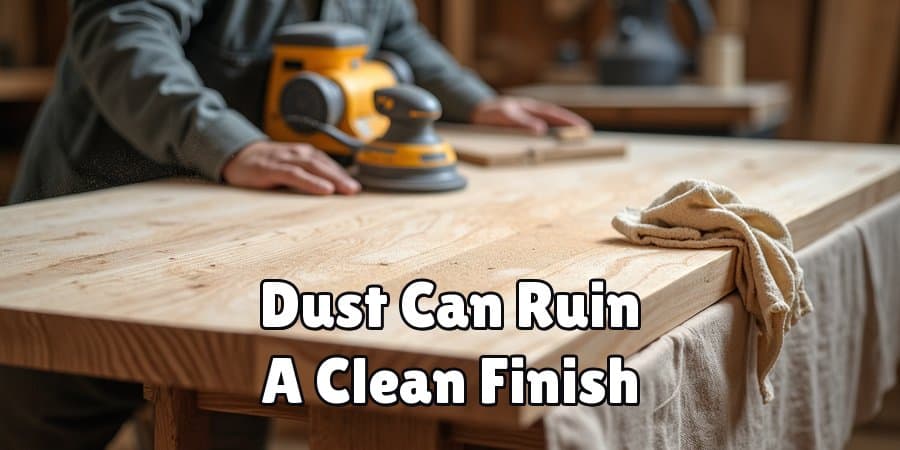
Dust is the enemy of a clean finish. Wipe the entire table with a tack cloth or a slightly damp lint-free rag. Get into every corner, edge, and crevice. Any dust left behind will show up in your finish as tiny bumps. Some people vacuum the surface first, then follow up with a tack cloth. Take a moment to check the whole table in good light before moving on.
Step 7: Apply Wood Conditioner
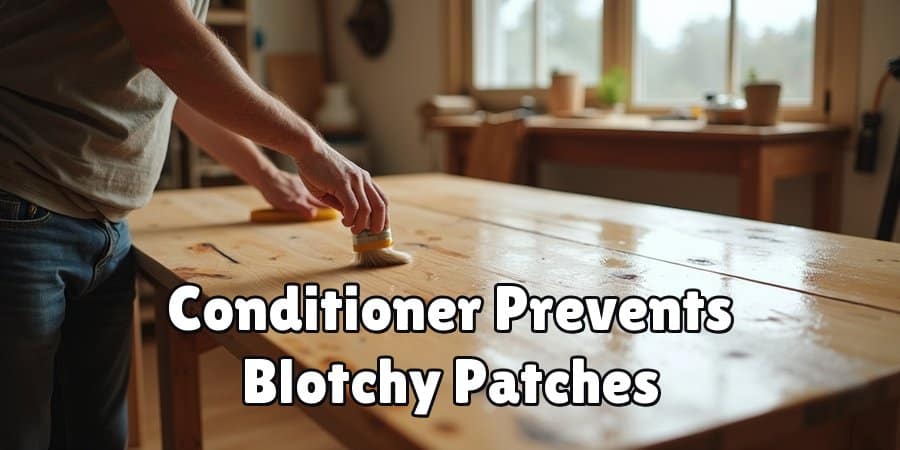
Pine is famous for absorbing stain unevenly, which can leave blotchy patches. A wood conditioner solves this problem. Brush a thin, even coat over the entire surface. It partially seals the wood so it takes stain more evenly. Let it sit for the time recommended on the label, usually 15 to 30 minutes, then wipe off any excess. This small step makes a huge difference in the final look, especially if you’re staining.
Step 8: Apply the Stain
If you want to change the color of your table, now’s the time. Stir your stain well and apply it with a brush or cloth, working in the direction of the grain. Cover a manageable section at a time. After a few minutes, wipe off the excess with a clean rag. The longer you leave it, the darker the color. Test on a hidden spot first to make sure you’re happy with the shade. Let the stain dry completely, often overnight, before continuing.
Step 9: Apply the Finish
The finish is your protective topcoat. Polyurethane offers tough, durable protection and is great for high-use tables. Oil finishes like tung or Danish oil give a natural, low-sheen look and are easy to apply. Wax adds a soft glow but needs regular reapplication. Apply your chosen finish in thin, even coats using a foam brush or cloth. Let each coat dry fully, then lightly sand with 320 grit between coats. Two to three coats usually give the best results.
Step 10: Cure and Final Touches
After your final coat, resist the urge to use the table right away. Finishes need time to cure and harden fully. This can take anywhere from a few days to a couple of weeks, depending on the product. Keep the table in a dust-free area during this time. Once cured, buff the surface gently with a soft cloth for a smooth feel. Then step back and admire your work. Your pine table top is now protected and ready to enjoy.
5 Things You Should Avoid
Even with a solid plan, mistakes happen. Here are five common pitfalls to steer clear of.
- Skipping the wood conditioner. This is the biggest mistake with pine. Without conditioner, your stain will likely turn out blotchy and uneven. Don’t skip it if you want a smooth, professional result.
- Sanding against the grain. Always sand with the grain. Going against it creates scratches that become very obvious once you apply stain or finish. Those marks are hard to fix later.
- Applying thick coats. It’s tempting to slather on a thick layer to speed things up, but thick coats dry unevenly, drip, and take forever to cure. Thin coats always look better and last longer.
- Rushing the drying time. Patience pays off. Using the table before the finish cures leads to fingerprints, dents, and a tacky surface. Give each coat the time it needs.
- Working in a dusty area. Dust settling on wet finish ruins that smooth look. Clean your space, and avoid sanding nearby while your finish is still drying.
Conclusion
How to treat a pine table top is a rewarding project that anyone can tackle with a bit of time and care. You don’t need fancy skills or expensive tools. Just follow the steps, take your time, and pay attention to the details. From sanding and filling to conditioning, staining, and sealing, each stage builds toward a finish that looks great and lasts.
Remember the key points: prepare your workspace well, always sand with the grain, never skip the wood conditioner, and be patient with drying and curing. Avoid the common mistakes, and you’ll be rewarded with a smooth, durable surface you can be proud of.
So gather your supplies, set aside an afternoon, and give your table the care it deserves. You’ll be amazed at the difference a little effort makes.
