

Introduction
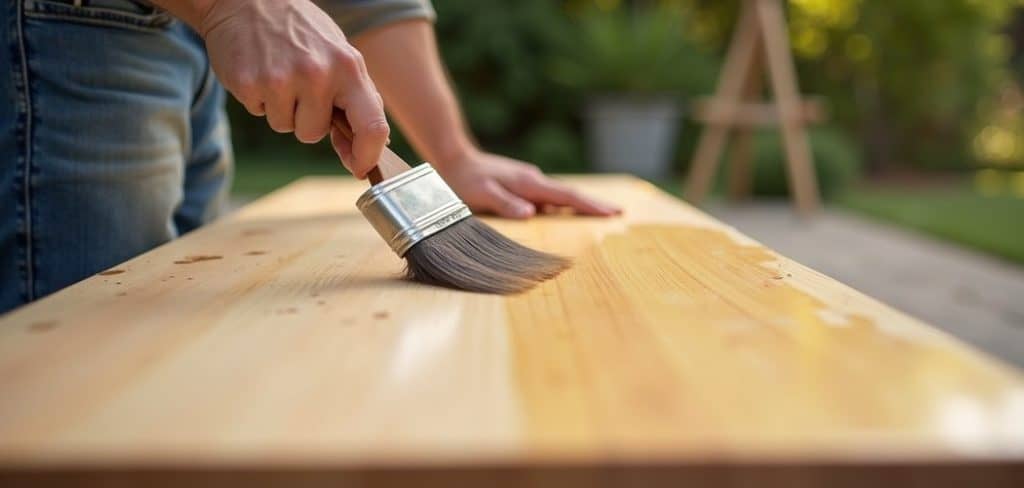
Knowing how to apply lacquer to wood is a fundamental skill for anyone looking to enhance and protect their wooden surfaces. Lacquer provides a beautiful, smooth finish that not only highlights the natural grain and texture of wood but also offers a durable and long-lasting protective coating. Whether you’re working on a furniture restoration project, a DIY decor piece, or even a hardwood floor, applying lacquer can elevate the overall appearance and durability of wooden items.
The process may seem intimidating to beginners, but with the right tools and techniques, it’s easier than you think. From prepping the surface to achieving a flawless finish, this guide will take you step-by-step through the process. You’ll learn the essentials needed to perfect this art and create stunning results on any wooden project.

Why Applying Lacquer to Wood is Important
Applying lacquer to wood isn’t just about aesthetics—it’s a vital step in preserving the lifespan and functionality of wooden surfaces. Lacquer acts as a protective layer, shielding the wood from moisture, scratches, and everyday wear. This protective barrier is especially important for items subjected to frequent use, such as tables, chairs, or cabinetry.
Beyond its functional benefits, lacquer enhances the visual appeal of wood by creating a glossy or satin finish that brings out its natural beauty. The versatility of lacquer allows it to complement a variety of wood types, from light pine to rich mahogany. It also highlights intricate grain patterns and adds depth and richness to the wood’s color.
For DIY enthusiasts and professionals alike, mastering the art of applying lacquer opens up endless possibilities for furniture refinishing and creative woodworking projects. It empowers you to transform simple wooden pieces into elegant, polished works of art.
Step-by-Step Guide: How to Apply Lacquer to Wood
Step 1: Prepare the Wood Surface
The first step in how to apply lacquer to wood is ensuring that your surface is clean, smooth, and ready for finishing. Start by removing any old finishes, paint, or residue using a chemical stripper or sandpaper. Gradually work up to a higher grit sandpaper, such as 220-grit, for a perfectly smooth base.
Wipe down the wood with a soft, lint-free cloth to remove dust generated during the sanding process. Use a tack cloth for finer particles that are hard to spot. If the surface has cracks or imperfections, fill them with wood putty and sand again once it has dried. A well-prepared surface ensures that the lacquer adheres evenly and creates a professional finish.
Step 2: Choose the Right Lacquer
Selecting the appropriate lacquer for your project is critical. Lacquer is available in various finishes, including gloss, satin, and matte, so consider the look you want for your wood. Additionally, decide between brush-on or spray lacquer depending on your tools and application comfort.
Opt for high-quality lacquer from trusted brands, as they provide better coverage and durability. Check the product instructions to ensure compatibility with your type of wood and project size. Choosing the right lacquer can make a significant difference in the final outcome.
Step 3: Apply a Sanding Sealer
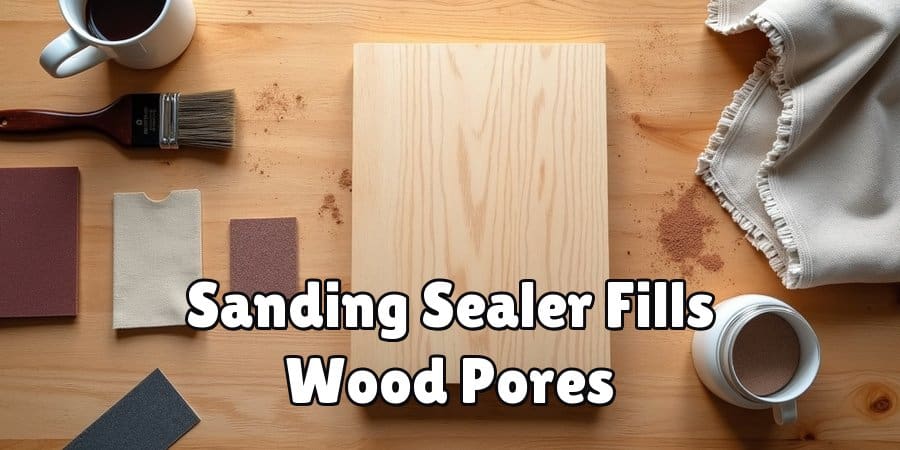
Before applying lacquer, use a sanding sealer to create a smooth, sealed surface. Sanding sealer is designed to fill the pores of the wood and improve the adhesion of the lacquer. Apply a thin, even coat of sealer using a brush or cloth and allow it to dry completely.
Once dry, lightly sand the surface with fine-grit sandpaper to remove any raised fibers or uneven textures. Remove all dust with a tack cloth before moving on to the next step. By priming the wood with a sealer, you set the foundation for a durable, professional-grade lacquer finish.
Step 4: Apply the First Coat of Lacquer
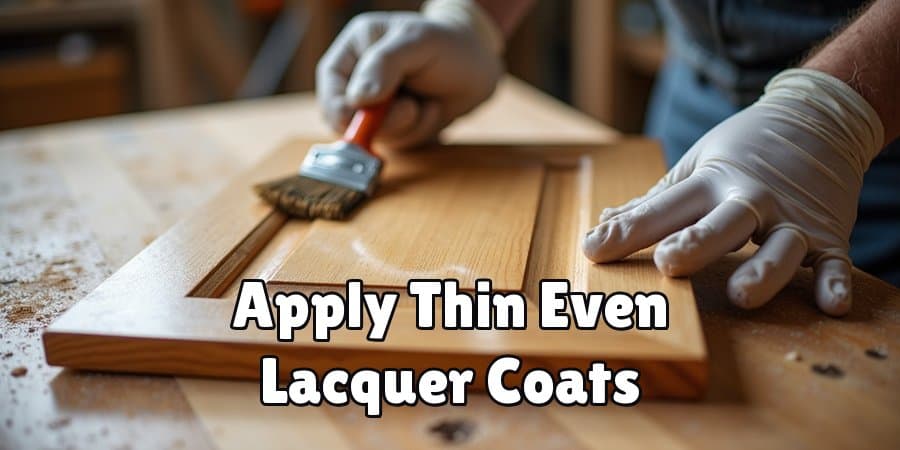
Start the lacquering process by applying the first thin coat of lacquer. If using spray lacquer, hold the can at a consistent distance of 8–12 inches from the surface and apply in even, sweeping motions. For brush-on lacquer, use a high-quality brush designed for lacquers and apply long, smooth strokes in line with the wood grain.
Avoid overloading your brush or creating thick layers, as this can lead to drips or uneven finishes. Allow the first coat to dry thoroughly, which typically takes 30 minutes to an hour depending on the product. Patience is key in this stage to achieve the best results.
Step 5: Sand Between Coats
Once the first layer has dried, it’s time to sand the surface to eliminate any imperfections. Use very fine sandpaper, such as 320-grit, to lightly sand the lacquer in circular motions. This step smooths out inconsistencies and provides a better surface for the next coat to adhere to.
After sanding, wipe the surface clean with a tack cloth to remove dust and debris. Skipping this step can result in a rough finish, so don’t rush through it. Sanding between coats creates a flawless base for additional layers.
Step 6: Build Up Additional Coats
Repeat the process of applying lacquer and sanding between coats until you achieve the desired finish. Most projects require three to four coats for optimal durability and appearance. Each new coat should be applied as evenly as the first, following the same careful technique to prevent streaks or drips.
Allow adequate drying time between each coat according to the manufacturer’s recommendations. Building up layers gradually produces a smooth, professional-grade finish that enhances the natural beauty of the wood.
Step 7: Buff the Surface
Once all the lacquer coats have been applied and dried, it’s time to buff the surface for added smoothness and shine. Use ultra-fine steel wool (0000 grade) or a polishing pad to gently buff the wood in circular motions. This step removes minor imperfections and ensures the lacquer finish is consistent.
After buffing, clean the surface with a tack cloth to remove any residue. If you’re aiming for a high-gloss finish, consider applying a fine polishing compound to elevate the shine even more. Buffing is the final touch that perfects your lacquered wood surface.
Step 8: Apply a Protective Topcoat
For long-lasting durability, consider finishing your project with a protective topcoat. While lacquer itself is a strong sealant, adding a clear polyurethane layer can enhance resistance to moisture, scratches, and everyday wear. Apply the topcoat using the same technique as the lacquer and allow it to dry completely.
The topcoat not only protects your work but also adds depth and richness to the wood, ensuring the finished piece remains beautiful for years to come.
Step 9: Care for Your Lacquered Surface
Caring for your lacquered wood involves regular cleaning and maintenance to keep it looking new. Use a damp, lint-free cloth to wipe away dust and avoid harsh chemicals that can damage the finish. Reapply a fresh coat of lacquer every few years as needed to restore its luster.
Proper care preserves the look and functionality of your wooden surfaces, making it a worthwhile investment of your time and effort.
Common Lacquer Application Mistakes
Avoiding these mistakes helps ensure a flawless and long-lasting lacquered surface.
- Skipping Surface Preparation – Failing to properly sand and clean the surface can result in an uneven finish or poor adhesion.
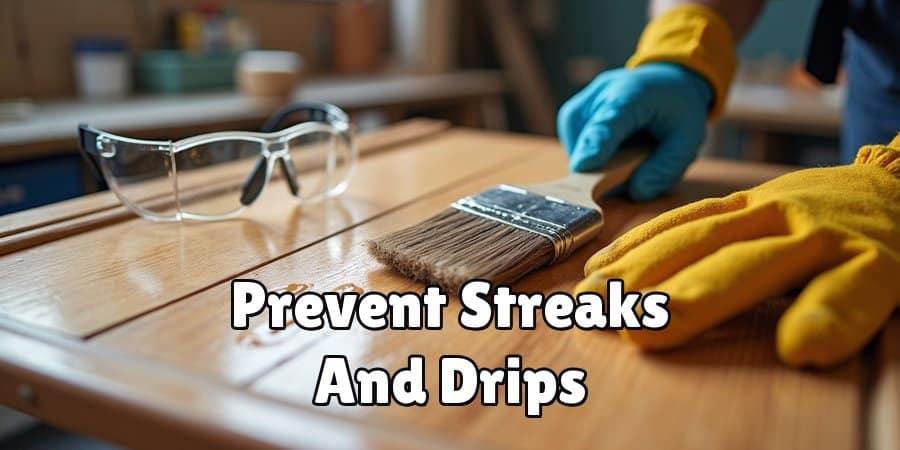
- Applying Too Thick a Coat – Using excessive lacquer can cause runs, drips, or extended drying times, leading to a less polished result.
- Not Allowing Adequate Drying Time – Rushing between coats may trap moisture or solvents, creating a cloudy or uneven appearance.
- Using the Wrong Tools – Applying lacquer with inappropriate brushes or sprayers can lead to streaks, air bubbles, or an inconsistent finish.
- Overlooking Proper Ventilation – Working in a poorly ventilated area can affect drying and may pose health risks due to strong fumes.
- Ignoring Temperature and Humidity Concerns – High humidity or low temperatures can hinder proper drying and curing, negatively impacting the final result.
- Neglecting to Sand Between Coats – Skipping this step can prevent a smooth finish and reduce adhesion between layers.
FAQ
What is the difference between lacquer and polyurethane?
Lacquer dries quicker and provides a smooth, glossy finish, while polyurethane is more resistant to moisture and scratches. Lacquer is ideal for decorative projects, whereas polyurethane is better for high-traffic surfaces.
Can I apply lacquer over an old finish?
Lacquer can be applied over an old finish if it is sanded and cleaned properly. However, ensure the existing finish is compatible with lacquer to prevent peeling or adhesion issues.
Should I use spray lacquer or brush-on lacquer?
Spray lacquer is ideal for achieving an even finish on large surfaces, while brush-on lacquer offers more control for detailed work or smaller projects. Choose based on your comfort level and project requirements.
Is lacquer safe for outdoor wood projects?
Lacquer is not typically recommended for outdoor use due to its vulnerability to UV rays and extreme weather. Consider exterior-grade finishes for outdoor wood projects.
How long does lacquer take to fully cure?
Although lacquer dries quickly, it can take up to 30 days to fully cure. Avoid heavy use or exposure to moisture during this time to prevent damage.
Conclusion
Learning how to apply lacquer to wood allows you to achieve stunning and durable finishes on your woodworking projects. By following these steps, you’ll create a smooth, professional-grade surface that enhances the wood’s beauty and protects it for years to come.
Whether you’re refinishing an heirloom or adding flair to a DIY piece, the process is both rewarding and practical. Start exploring lacquer techniques today and transform your wood projects into polished masterpieces!
