

A wooden office desk brings warmth and character to any workspace. But raw or worn wood won’t stay beautiful for long without a proper finish. Finishing does more than make your desk look good. It protects the surface from spills, scratches, and daily wear while sealing the grain and adding a smooth, professional feel.

The good news? You don’t need to be a master woodworker to finish a desk well. With a bit of patience, the right supplies, and a clear plan, you can transform a plain or tired piece of furniture into something you’ll be proud to work at every day.
This guide on how to finish a wooden office desk walks you through every stage, from prep to final coat. Let’s get your desk looking its best.
What are the Benefits?
Finishing your wooden office desk offers plenty of rewards beyond good looks. Here’s why the effort pays off:
Put simply, finishing turns a functional slab of wood into a durable, attractive centerpiece for your workspace.

- Protection from damage. A finish forms a barrier against moisture, coffee rings, ink stains, and everyday scratches. This keeps your desk in top shape for years.
- Enhanced appearance. The right stain or oil brings out the natural grain and deepens the wood’s color. A finished desk simply looks richer and more polished.
- Easier cleaning. Sealed wood wipes clean with a quick swipe. Dust, spills, and smudges lift away instead of soaking into bare wood.
- Longer lifespan. Wood that’s protected from moisture and sun resists warping, cracking, and fading. Your investment lasts much longer.
- Custom style. You control the final look, from a light matte oil finish to a glossy, hard-wearing lacquer. You can match your desk to your office decor.
- Added value. A well-finished piece holds its worth. If you ever sell or pass it on, a quality finish makes a strong impression.
What Will You Need?
Gather your supplies before you start. Having everything on hand keeps the process smooth. Here’s your checklist:
Tools:
Materials:
Work in a well-ventilated space, ideally a garage or a room with open windows. Cover the floor and nearby surfaces to catch drips and dust.
- Orbital sander (or sanding block for hand sanding)
- Clean lint-free rags or cloths
- Natural bristle or foam brushes
- Tack cloth
- Vacuum with a brush attachment
- Painter’s tape
- Plastic sheeting or drop cloth
- Safety glasses, gloves, and a dust mask
- Fine steel wool (0000 grade)
- Sandpaper in various grits (80, 120, 220, and 320)
- Wood filler (if needed for cracks or holes)
- Wood conditioner (optional but recommended for softwoods)
- Wood stain (your chosen color)
- Wood finish (polyurethane, lacquer, tung oil, or varnish)
- Mineral spirits or wood cleaner
- Paste wax (optional, for extra shine and protection)
10 Easy Steps on How to Finish a Wooden Office Desk
Follow these ten steps in order. Take your time with each one, and you’ll get a finish that looks like it came from a pro.
Step 1: Prepare Your Workspace
Set up in a clean, dry, and well-ventilated area. Lay down a drop cloth or plastic sheeting to protect the floor from dust and drips. Clear the space around your desk so you can move freely on all sides. Good lighting matters too, since it helps you spot flaws in the wood and check your work as you go. Put on your safety glasses, gloves, and dust mask before you begin. A tidy setup makes the whole job easier and safer, and it prevents dust from ruining your final coats later on.
Step 2: Clean the Desk Surface
Start by wiping down the entire desk to remove dust, grease, and grime. Use a cloth dampened with mineral spirits or a gentle wood cleaner. Pay attention to corners, edges, and any decorative details where dirt likes to hide. If your desk has old wax or polish buildup, clean it thoroughly, since new finish won’t stick to a dirty or greasy surface. Let the desk dry completely before moving on. A clean base is the foundation of a smooth, even finish, so don’t rush this step.
Step 3: Repair Any Damage
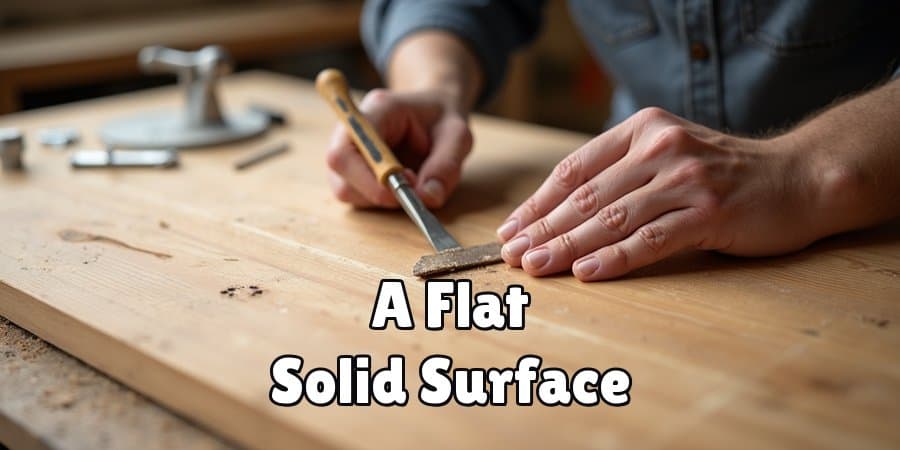
Inspect the desk for cracks, dents, gouges, or nail holes. Fill these imperfections with wood filler, pressing it firmly into each spot with a putty knife. Slightly overfill the area, since filler shrinks a little as it dries. Once it’s fully cured, you’ll sand it flush in the next step. If you’re working with an old desk, tighten any loose joints or hardware now too. Addressing damage early gives you a flat, solid surface and stops small flaws from showing through your stain and finish.
Step 4: Sand the Wood
Sanding is one of the most important steps. Begin with coarse 80-grit sandpaper to remove old finish or rough spots, then work up through 120-grit and 220-grit for a smoother surface. Always sand with the grain, never against it, to avoid scratches. An orbital sander speeds up flat areas, while hand sanding handles edges and corners. Keep the sander moving so you don’t dig into the wood. When you’re done, the surface should feel smooth and uniform to the touch. Good sanding is the secret to a flawless finish.
Step 5: Remove All Dust
After sanding, your desk will be covered in fine dust. Vacuum the whole surface using a brush attachment, then wipe it down with a tack cloth to catch every last particle. Don’t skip the crevices and edges. Even a little leftover dust can settle into your stain or finish and leave a gritty, bumpy result. Take your time and inspect the surface under good light. A perfectly clean, dust-free desk sets you up for smooth, even coats in the steps ahead.
Step 6: Apply Wood Conditioner
If your desk is made from softwood like pine, or a wood that absorbs stain unevenly, apply a pre-stain wood conditioner. Brush it on evenly and let it soak in according to the product instructions, usually around 15 minutes. Wipe away any excess. Conditioner helps the wood take stain more uniformly, preventing blotchy patches and dark spots. This step is optional for hardwoods like oak or maple, but for softwoods it makes a big difference. When in doubt, use it, since the smoother, more even color is worth the extra time.
Step 7: Apply the Stain
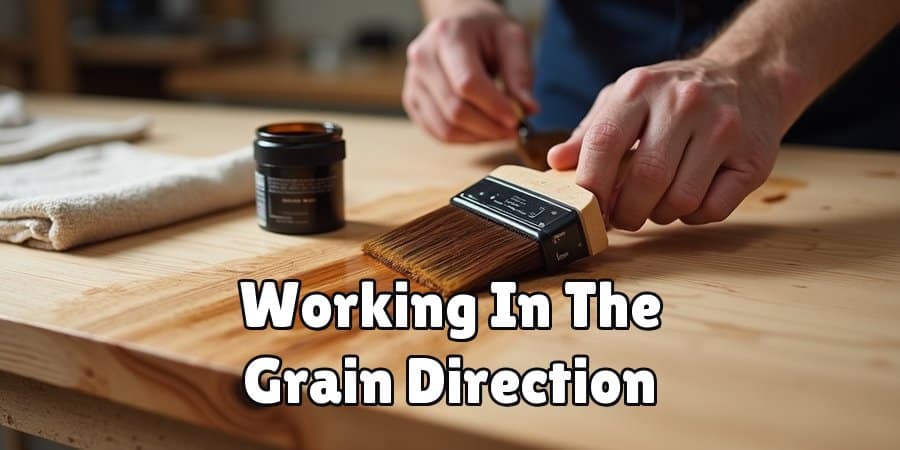
Now for the fun part. Stir your stain well, then apply it with a brush or cloth, working in the direction of the grain. Cover small sections at a time so the stain stays wet and blends evenly. After a few minutes, wipe off the excess with a clean rag. The longer you leave the stain before wiping, the darker the color. Test on a hidden spot first to check the shade. Apply a second coat if you want a deeper tone. Let the stain dry fully before continuing.
Step 8: Apply the First Coat of Finish
Once the stain is dry, it’s time to seal and protect the wood. Choose your finish, such as polyurethane, varnish, or oil. Using a clean brush, apply a thin, even coat along the grain. Avoid overloading the brush, which causes drips and bubbles. Work steadily and keep a wet edge to prevent overlap marks. Cover the entire surface, including edges and legs. Then let this first coat dry completely, following the drying time on the product label. Thin coats always beat thick ones for a smooth, professional result.
Step 9: Sand Lightly and Add More Coats
After the first coat dries, lightly sand the surface with fine 320-grit sandpaper or 0000 steel wool. This knocks down any raised grain or bumps and helps the next coat bond better. Wipe away the dust with a tack cloth. Then apply your second coat of finish, just like the first. For heavy-use desks, three coats give the best durability. Sand lightly between each one. This layering builds up a tough, glass-smooth surface that stands up to daily wear and looks fantastic.
Step 10: Cure and Polish
After your final coat, let the desk cure fully. Drying to the touch is not the same as fully hardened, so give it the recommended curing time, often several days. For extra shine and protection, buff on a coat of paste wax with a soft cloth once the finish has cured. Polish it gently in circular motions, then buff to a warm glow. Now your desk is ready to use. Move it back into your office and enjoy the fresh, professional finish you created yourself.
5 Things You Should Avoid
Steer clear of these common mistakes to keep your finish flawless:
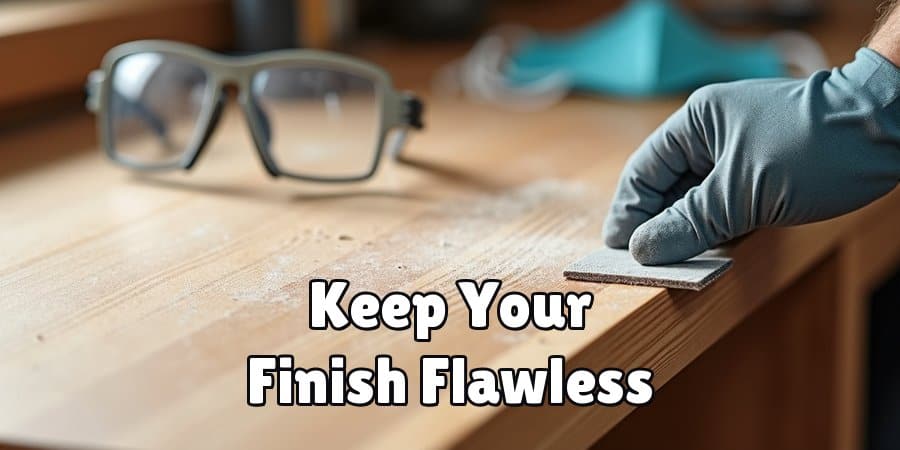
- Skipping the sanding. Rushing or skimping on sanding leaves rough patches and uneven color. Take the time to sand properly through each grit.
- Applying thick coats. Heavy layers of stain or finish cause drips, bubbles, and long drying times. Thin, even coats always look better and last longer.
- Working in a dusty area. Dust settling on wet finish creates a bumpy, gritty surface. Keep your workspace clean and let dust settle before you start.
- Ignoring drying times. Applying the next coat too soon ruins the layers below. Always follow the product’s recommended drying and curing times.
- Forgetting ventilation and safety gear. Fumes from stains and finishes can be harmful. Always work in a ventilated space and wear a mask, gloves, and glasses.
Conclusion
How to finish a wooden office desk is a rewarding project that pays off every single workday. With the right tools, a little patience, and the ten steps in this guide, you can protect your desk and give it a look you’ll love. From careful sanding to that final buff of wax, each stage builds toward a smooth, durable surface that stands up to daily use.
Don’t worry if it’s your first time. Take it slow, follow each step in order, and remember that thin coats and clean prep make all the difference. The result will be a desk that feels custom-made for your space.
So gather your supplies, set up your workspace, and get started. Your beautifully finished office desk is waiting, and you have everything you need to make it happen.
