

A bowed table top can turn a beautiful piece of furniture into a frustrating problem. Maybe you noticed your dining table starting to curve upward in the middle, or perhaps your workbench no longer sits flat against your tools. Wood is a living material, even after it’s cut and finished. It responds to changes in moisture and temperature, expanding and contracting over time. When one side of a board absorbs more moisture than the other, the wood cups, warps, or bows.
The good news? A bowed table top is often fixable at home. You don’t always need to buy a new table or hire a professional. With the right approach, some patience, and a few common tools, you can bring your table back to a flat, usable surface.
This guide on how to fix a bowed table top walks you through everything you need to know, from understanding the benefits of the repair to a detailed 10-step process.
What Are the Benefits?
Fixing a bowed table top offers more than just a nicer-looking surface. Here are the key reasons it’s worth your time.
- You save money. Replacing a solid wood table can cost hundreds or even thousands of dollars. A DIY repair usually costs only a fraction of that, since you’re mostly working with tools and materials you may already own.
- You preserve sentimental and antique value. Many tables carry stories and history. Repairing a family heirloom keeps its character intact instead of tossing it out. Refinishing or replacing might strip away what makes it special.
- You restore full function. A flat table top matters for daily use. Whether you’re eating dinner, working on a project, or setting down a laptop, a level surface makes everything easier and safer. A bowed top can cause items to slide or wobble.
- You prevent further damage. A bow tends to worsen if left alone. The stress on the joints and fasteners can crack the wood or loosen the frame. Fixing it early stops small problems from becoming big ones.
- You build valuable skills. Learning to correct wood movement teaches you a lot about how furniture behaves. These skills carry over to future projects and repairs, making you a more confident woodworker.
- You reduce waste. Repairing rather than replacing keeps a solid piece of furniture out of the landfill. It’s a small but meaningful way to be kinder to the environment.
What Will You Need?
Before you begin, gather your tools and materials. Having everything ready saves time and keeps the process smooth.
Tools:
Materials:
Optional but Helpful:
Not every repair needs all of these. The exact list depends on how badly your table is bowed and which method you choose. Read through the steps first, then collect what fits your situation.
- Moisture meter (to check wood moisture levels)
- Straightedge or long level (to measure the bow)
- Clamps (bar clamps or pipe clamps work best)
- Two or more flat, straight wooden boards or metal bars (called cleats or battens)
- Drill and screws
- Screwdriver
- Sandpaper (various grits, 80 to 220)
- Damp cloths or towels
- Spray bottle with water
- Plastic sheeting
- Heavy weights (bricks, books, or sandbags)
- Wood glue (if repairing splits)
- Wood conditioner or sealer
- Finishing oil, wax, or polyurethane
- Painter’s tape
- Heat source (iron or heat gun)
- Wood stabilizer or humidity control products
- Work gloves and safety glasses
10 Easy Steps on How to Fix a Bowed Table Top
Step 1: Assess the Bow
Start by understanding exactly what you’re dealing with. Lay a straightedge or long level across the table top in several directions. Look for gaps between the straightedge and the wood. These gaps show you where and how much the surface curves. Measure the largest gap so you have a reference point. Note whether the bow runs along the length, the width, or both. A slight bow may only need clamping, while a severe one might require moisture treatment. Take photos so you can track your progress later.
Step 2: Check the Moisture Content
Wood bows because of uneven moisture, so this step is crucial. Use a moisture meter to test both the top and bottom of the table. Compare the readings. If one side is much wetter than the other, that difference is likely causing the bow. Ideal indoor wood moisture sits around 6 to 8 percent. If your readings are far higher, you’ll need to balance the moisture before anything else. Understanding this helps you pick the right repair method instead of guessing.
Step 3: Prepare Your Work Area
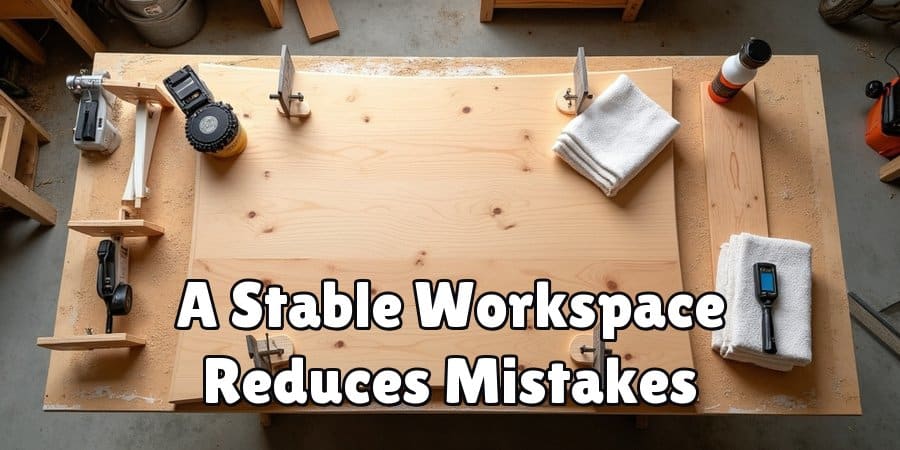
Clear a flat, stable surface to work on, such as a garage floor or sturdy workbench. Make sure you have enough room to move around the table. Lay down plastic sheeting to protect the floor from water or finish. Good ventilation matters, especially if you’ll use finishes or heat. Gather all your tools within reach. A well-organized space makes the whole job faster and reduces mistakes.
Step 4: Add Moisture to the Concave Side
If the bow comes from the wood being drier on one side, you can add moisture to the concave (curved-in) side to help it expand. Dampen towels with water and lay them across the concave surface. Cover the towels with plastic sheeting to trap the moisture. Leave this in place for several hours, checking often. The goal is to let the dry side slowly absorb moisture and relax. Never soak the wood completely, as too much water causes new problems.
Step 5: Apply Gentle Heat if Needed
For stubborn bows, heat combined with moisture speeds up the process. Place a damp cloth over the concave side and run a warm iron over it in slow passes. You can also use a heat gun held at a safe distance. The heat and steam make the wood fibers more flexible. Keep the heat moving to avoid scorching. Work in short sessions and check the wood often. This step needs patience, so don’t rush it.
Step 6: Clamp the Table Top Flat
Once the wood is more flexible, it’s time to flatten it. Place your table top between two straight, flat boards (cleats), one on top and one underneath. Position clamps along the length to press the boards together. Tighten the clamps slowly and evenly, watching the bow flatten. Don’t force it all at once, as sudden pressure can crack the wood. Aim for steady, gradual pressure across the whole surface.
Step 7: Let It Dry Under Pressure
Leave the table clamped for at least 24 to 48 hours. This gives the wood time to dry and set in its new flat shape. Keep the clamps in a room with stable humidity and temperature. Resist the urge to check too often. The longer the wood stays flat and dries evenly, the better it holds its shape. Rushing this step is the most common reason repairs fail.

Step 8: Add Support Battens Underneath
To keep the top flat for good, attach support battens to the underside. Cut two or more straight wooden or metal bars slightly shorter than the table’s width. Position them across the grain, spaced evenly. Drill pilot holes and attach them with screws, allowing slightly slotted holes so the wood can still move with seasonal changes. These battens act like a backbone, resisting future bowing while letting the wood breathe.
Step 9: Sand and Smooth the Surface
After removing the clamps and adding battens, check the surface again with your straightedge. If it’s flat, sand the top to smooth out any rough spots or raised grain caused by the moisture. Start with 80-grit sandpaper for uneven areas, then move to finer grits like 120, 180, and finally 220. Sand with the grain, not against it. Wipe away dust with a clean cloth. A smooth surface prepares the wood for a fresh finish.
Step 10: Seal and Finish the Wood
The final step protects your hard work. Apply a wood conditioner if you’re using stain, then add your chosen finish, oil, wax, or polyurethane. Sealing both the top and bottom is key, because it keeps moisture from entering unevenly again. That’s often what caused the bow in the first place. Apply thin, even coats and let each one dry fully. A good finish keeps your table flat, protected, and looking great for years.
5 Things You Should Avoid
1. Rushing the drying process. Wood needs time to settle into its new shape. Removing clamps too soon almost guarantees the bow will return. Give it a full day or two under pressure.
2. Adding too much moisture. More water is not better. Over-wetting the wood can cause swelling, cracking, or even mold. Add moisture slowly and check often.
3. Applying uneven clamping pressure. Tightening one clamp all the way while others stay loose creates stress points. This can crack the wood. Tighten gradually and evenly across the whole surface.
4. Ignoring the underside. Many people finish only the top of a table. When one side is sealed and the other isn’t, moisture enters unevenly and the wood bows again. Always seal both sides.
5. Using excessive heat. Too much heat scorches wood and damages the finish. Keep heat sources moving and work in short sessions to protect the surface.
Conclusion
A bowed table top might look like the end of a good piece of furniture, but it rarely is. With the right approach, you can bring your table back to a flat, functional surface and save yourself the cost of a replacement. The key lies in understanding why wood moves, treating the cause rather than just the symptom, and giving the repair enough time to hold.
We covered the full process, from assessing the bow and checking moisture levels to clamping, drying, and sealing. Along the way, you learned which mistakes to avoid and how to keep the bow from returning. The most important lessons? Go slow, seal both sides, and never rush the drying stage.
Hopefully, this guide on how to fix a bowed table top has given you the confidence to tackle any warped or bowed wood surface in your home.
