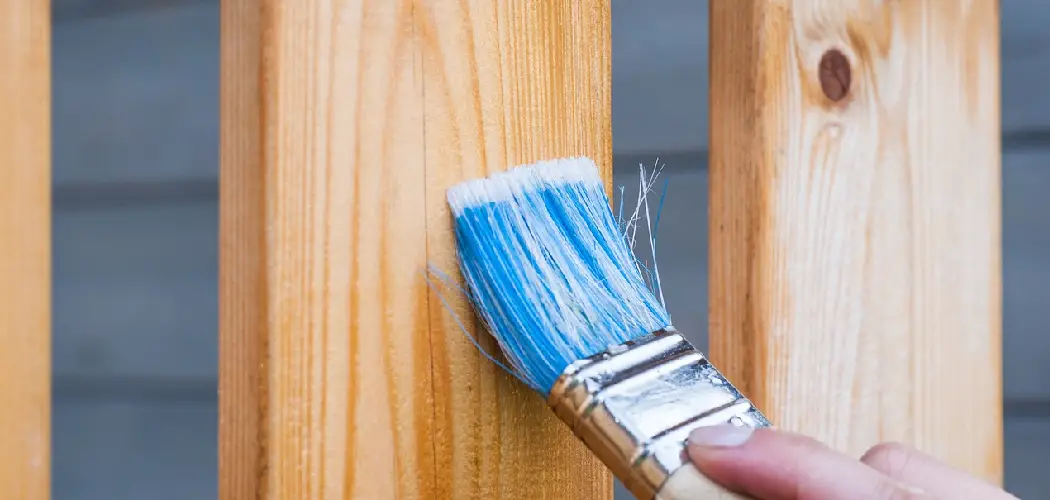
Painting wood is a great way to give it a new look and protect it from the elements. But in order for your paint job to last, you need to know how to properly seal it. Sealing paint on wood prevents moisture from getting into the grain of the wood, which can cause discoloration or warping over time.
It also gives your painted surface an attractive glossy finish that will make it stand out from the rest. The key is knowing what type of sealant works best for each type of paint and application method, as well as understanding how long you should wait before sealing after painting. With this guide, you’ll learn all about how to seal paint on wood so that your project looks its best!
Step-by-step Guidelines on How to Seal Paint on Wood
Step 1: Prep Work
Before you start sealing, it’s important to make sure that your work surface is clean and free of any dust, dirt, or debris. Use a damp cloth to wipe down the wood and let it dry completely before beginning. It’s also a good idea to apply a coat of primer first, as this will help the sealant adhere better. Make sure to allow the primer to dry thoroughly before proceeding.
Step 2: Select Sealant
Next, select your sealant. There are a variety of options available for different types of finishes and applications. If you’re unsure which one to choose, consult the manufacturer of your paint or a professional at a hardware store for advice. That way, you can be sure to get the best protection and longest-lasting results. It’s important to note that some sealants are not compatible with certain paints, so be sure to check the label first.
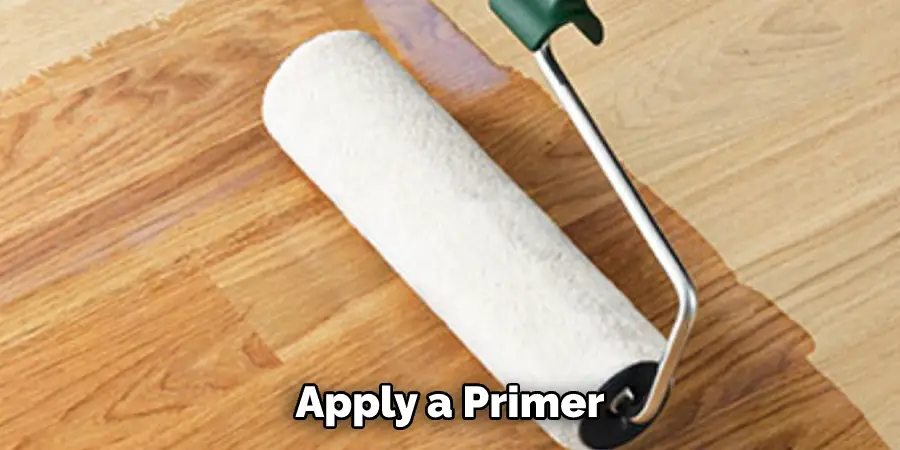
Step 3: Apply Primer
Once you’ve selected the right sealant, the next step is to apply a primer. This will help protect the wood from moisture while also providing an extra layer of protection against discoloration or fading over time. You can use a paintbrush, roller, or sprayer to apply the primer. Make sure you follow the directions on the label carefully and allow it to dry completely before proceeding.
Step 4: Paint Wood
Now it’s time to paint! Using either a brush or roller, apply your chosen paint in even strokes across the surface of the wood. Allow it to dry completely before moving on to the next step.
Remember to use a primer before you apply the paint and allow it to dry completely. You should also clean the wood before you start painting to make sure any dust or dirt doesn’t get trapped in the paint.
Step 5: Sand the Wood
Once the paint is dry, use fine-grit sandpaper to lightly sand the surface of the wood. This will create an even base for your sealant and help ensure that it adheres properly. That said, don’t sand too much as you don’t want to remove any of the paint. This is especially important if you’re using a water-based sealant, as the paint needs to be intact for it to be effective.
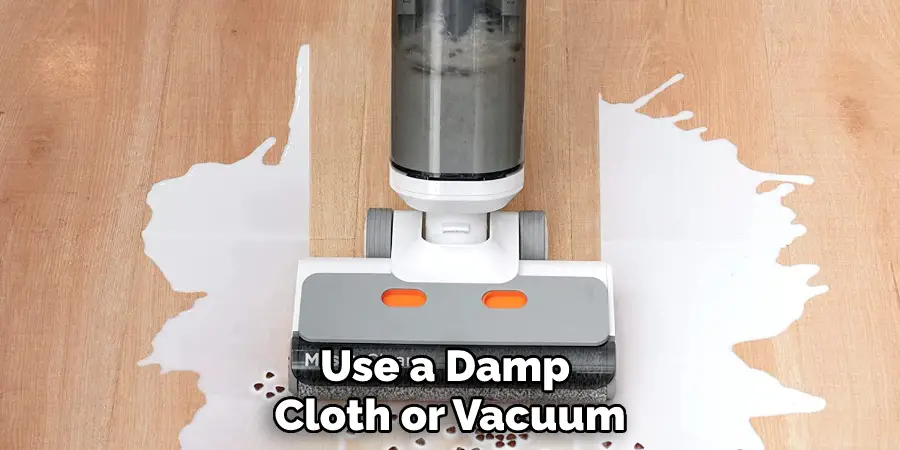
Step 6: Clean off the Dust
After you’ve finished sanding, use a damp cloth or vacuum to clean off any dust particles that may be present. Allow the wood to dry completely before continuing. It’s important to make sure that the surface is completely free of dust and dirt before applying the sealant. That way, the sealant will be able to adhere properly.
Step 7: Apply Sealant
Now you’re ready to apply your sealant! Depending on which type of sealant you chose, you may need to thin it out slightly with water for easier application. Use a brush or roller to evenly spread the sealant over the wood surface. It’s important to remember that sealants should never be applied too thickly, as this can cause them to crack or peel off over time.
Step 8: Allow Sealant to Dry
Let the sealant dry for at least 24 hours before moving on to the next step. Remember to keep the area well-ventilated during this time, as sealants can release toxic fumes that may be harmful if inhaled. But once it’s dry, the sealant will form a protective barrier over your paint job that should last for years to come.
Step 9: Sand Again
Once the sealant is dry, use fine-grit sandpaper to lightly sand the surface of the wood again. This will help create an even base for your paint and ensure that it adheres properly. But remember, you don’t want to sand too much and remove the sealant or paint. It’s better to be gentle and take your time.
Step 10: Clean off the Dust Again
Use a damp cloth or vacuum to clean off any dust particles that may be present after sanding. Let the wood dry completely before continuing. That way, the paint will be able to adhere properly. It’s also important to note that you should never apply paint directly to wood without sealing it first, as this can cause the paint job to chip and wear away over time.
Step 11: Reapply the Paint
Now you’re ready to reapply your paint. Using either a brush or roller, apply a thin layer of your chosen paint in even strokes across the surface of the wood. Allow it to dry completely before moving on to the next step. Remember to use a sealant before you apply the paint and allow it to dry completely.
Step 12: Apply Topcoat
Once your paint is dry, it’s time to apply a topcoat over the entire surface of the wood. This will give your project an attractive glossy finish and provide an extra layer of protection against moisture and discoloration. Depending on which sealant you chose, you may need to thin it out slightly with water for easier application.
Step 13: Let Dry Completely
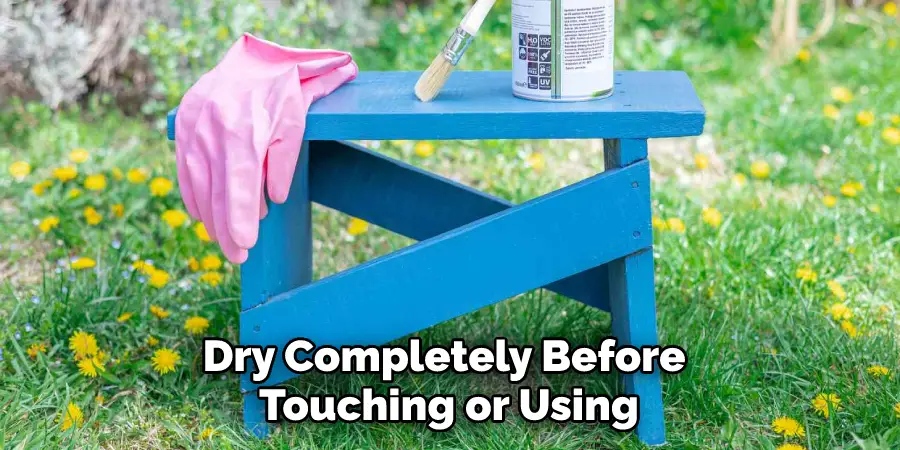
Finally, let everything dry completely before touching or using your project. It’s important to remember that sealants and paint can take anywhere from a few hours to several days to dry completely, so be patient while you wait. But once it’s dry, your project will be ready to enjoy for years to come!
Following these steps on how to seal paint on wood will ensure that your project looks its best and lasts for years to come. With the right sealant, you can give any painted surface an attractive glossy finish that will make it stand out from the rest! Good luck and happy sealing!
Do You Need to Use Professionals?
If you’re not sure how to properly seal paint on wood, or if your project is too large for you to handle yourself, it might be best to call in the professionals. Professional painters and sealers have the knowledge and experience needed to ensure that your project looks its best and lasts for years to come.
Plus, they’ll be able to give you advice on which sealants will work best for your particular situation. Contacting a professional is always the safest way to go when dealing with larger projects that involve paint or sealants.
Sealing paint on wood can seem like a daunting task at first, but with the right knowledge and supplies, it’s actually quite simple. By following these steps and using the proper sealants, you can make sure your projects look their best for years to come!
Frequently Asked Questions
Q: Is Sealant Necessary for Painted Wood?
A: Yes, sealants are important because they provide an extra layer of protection against moisture and discoloration. They will also help to protect the paint, which can chip and wear away over time if not properly sealed.
Q: How Long Does Sealant Take to Dry?
A: It depends on the type of sealant you use, but it can take anywhere from a few hours to several days to dry completely. Be sure to give it plenty of time before touching or using your project.
Q: How Many Coats of Paint Should I Apply?
A: It’s best to start with one coat of paint and then add a second coat if necessary. Remember to always use a sealant before painting and allow it to dry completely. This will help ensure that your paint job looks its best and lasts for years to come.
Q: Can I Paint Over an Unsealed Surface?
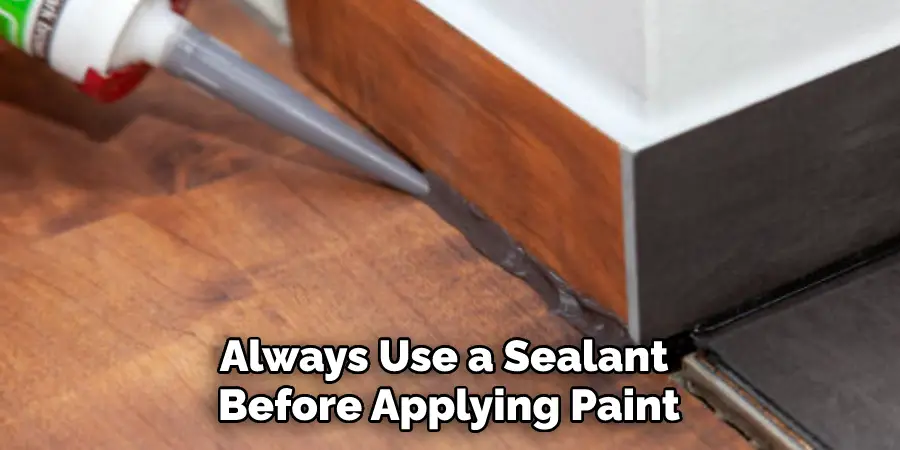
A: No, you should always use a sealant before applying paint. This will help to create an even base for the paint and ensure that it adheres properly. It will also provide extra protection against moisture and discoloration. Without a sealant, the paint could chip and wear away over time.
Conclusion
Sealing paint on wood is an important step for any DIY project, as it helps to protect the surface from moisture and discoloration. It also provides a better base for applying your chosen paint and ensures that it adheres properly. With these steps on how to seal paint on wood, you should be able to seal paint on wood with ease.
Be sure to give each layer of sealant or paint enough time to dry before moving on to the next one, and don’t forget about adding a topcoat at the end! Following these tips will help ensure that your project looks its best and lasts for years to come.

