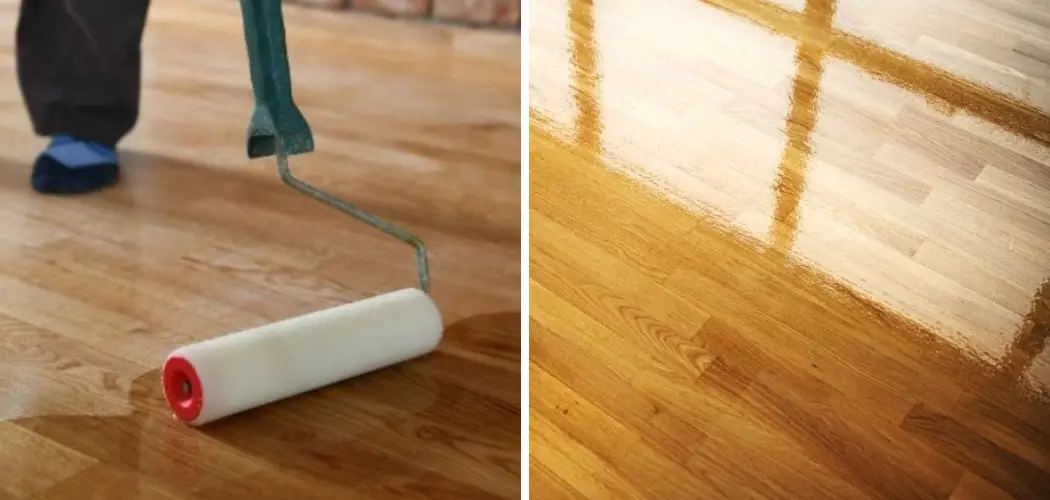
Wooden floors can enhance a room’s appearance, and wood is such a versatile material that it can be used in many different ways.
If you’re looking for an alternative to solid wood flooring, engineered wood may be your solution. It’s made from layers of natural wood that are bonded and compressed together, so it’s a more affordable option than solid wood.
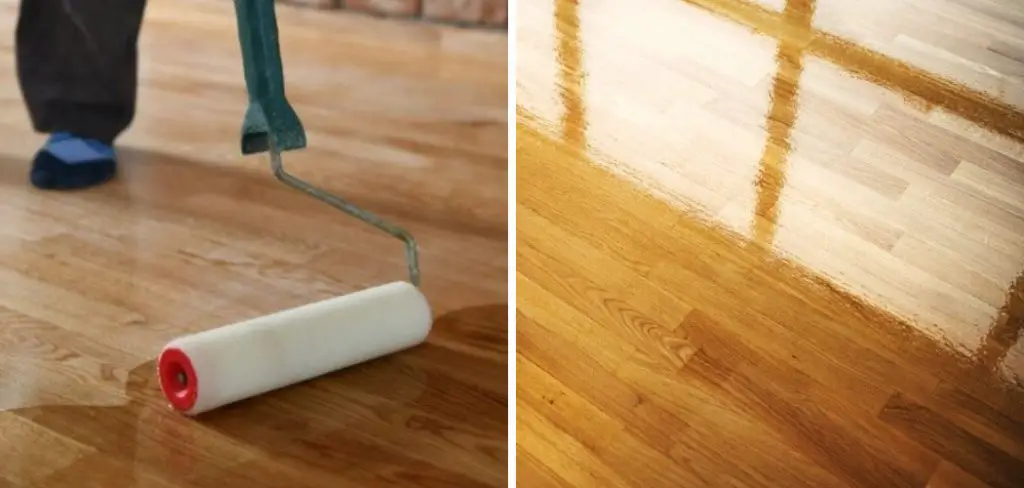
Paint is a great way to update the look of your home, and it can be especially effective when used on engineered wood. Painting your engineered wood may be the perfect solution if you want to give your home a fresh look. However, taking the necessary steps is important to ensure a smooth, flawless finish.
In this blog post, we’ll show you how to paint engineered wood so that you can add a touch of personality to your space. Keep reading for tips and tricks on how to paint this material!
What is Engineered Wood?
Before we dive into the steps for how to paint an engineered wood, let’s first discuss what it is exactly.
Engineered wood, also known as composite wood or artificial wood, is a versatile material that can be used for flooring, cabinets, furniture, and more. It’s made from layers of real wood that are compressed and bonded together, making it a more affordable option than solid wood.
While engineered wood can’t be sanded and refinished like solid wood, it can still be painted to give it a fresh new look. Just keep in mind that because the surface is not as smooth as solid wood, the finished result may not have as perfect of a finish.
10 Easy Steps on How to Paint Engineered Wood
1. Preparing the Surface for Painting:
The first step in painting engineered wood is to prepare the surface. Start by sweeping and vacuuming any dirt or debris from the floor, and then use a damp cloth to wipe down the wood. Let it dry completely before moving on to the next step.
2. Sanding and Priming the Surface:
Using medium grit sandpaper, lightly sand the surface of the engineered wood to ensure that the paint adheres well. Wipe off any excess dust with a damp cloth and let it dry completely before applying primer.
When choosing a primer, make sure to pick one specifically designed for use on wooden surfaces. Apply a thin, even coat and let it dry before moving on to the next step.
3. Use Painters Tape:
Using painters tape, tape off any areas that you don’t want to paint, such as baseboards or trim. This will ensure clean lines and a professional looking finish. You can get painters tape from any hardware store.
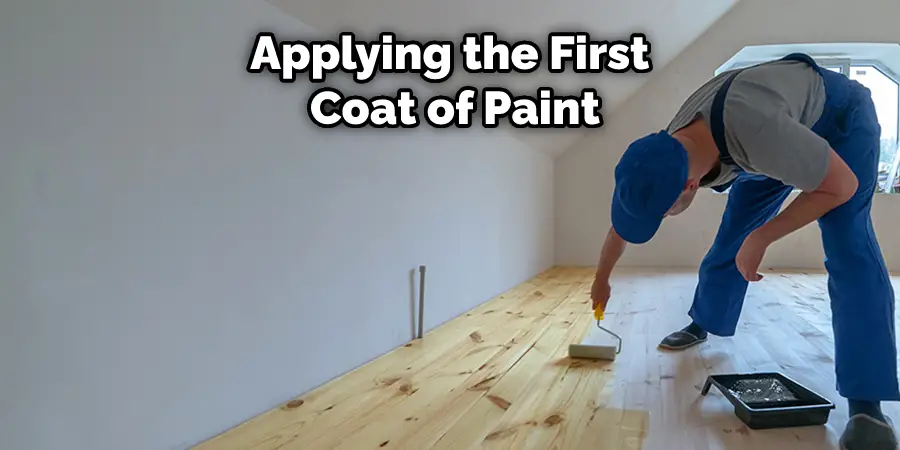
4. Apply the First Coat of Paint:
Now it’s time for the fun part- applying the first coat of paint! Use a paint roller or brush to apply the paint in thin, even coats. Let it dry before moving on to the next step. Don’t forget to also paint the edges and corners with a brush for complete coverage.
5. Sand Between Coats:
After the first coat has dried, lightly sand the surface with fine-grit sandpaper and wipe off any excess dust with a damp cloth. This will help create a smooth, professional finish for the next coat of paint. Be careful not to sand too vigorously, as this can damage the wood.
6. Apply Additional Coats:
Apply additional coats of paint until you’re satisfied with the coverage and finish. Make sure to let each coat dry completely before applying the next one and don’t forget to lightly sand and wipe down in between coats. This step may require some patience, but it will be worth it in the end!
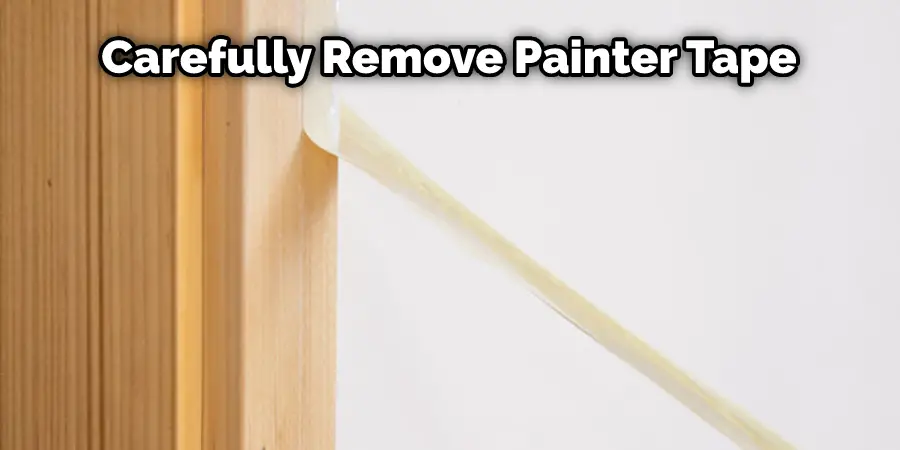
7. Remove Painters Tape:
Once the final coat has dried, carefully remove the painters tape to reveal clean, straight edges. You can use a putty knife to help with any paint that may have seeped under the tape. Once all of the painters tapes have been removed, take a close look at the surface for any touch-ups that may be needed. Use a small brush to apply paint to any spots that may have been missed.
8. Apply a Clear Coat:
For added protection, apply a clear coat of polyurethane to seal the paint and protect against wear and tear. Let it dry completely before using the floor. This step is optional but highly recommended to ensure that your painted engineered wood lasts for years to come.
9. Finishing Touches:
Once you’re satisfied with the paint coverage, let it dry completely before adding any finishing touches, such as a clear topcoat or stenciled designs. Then, depending on your desired look, these designs can be applied with painter’s tape and a small brush or stencils.
10. Enjoy Your Newly Painted Engineered Wood:
Sit back and admire your newly painted engineered wood floor! With some patience and attention to detail, you can transform any room with a fresh coat of paint on your engineered wood floor. Enjoy the fruits of your labor and show off your beautifully painted floor to friends and family.
Remember, preparation is key for a smooth and long-lasting finish when it comes to painting engineered wood.
Now that you know how you can paint an engineered wood, it’s time to start your next home improvement project. Make sure to take your time and follow these steps carefully for a professional looking finish.
You Can Check It Out to Paint a Coffee Table With Chalk Paint
Additional Tips and Tricks
- If possible, paint your engineered wood in a well-ventilated area or outside to prevent inhaling any fumes.
- Instead of using a roller for the first coat of paint, try using a sprayer for quicker and more even coverage.
- Before starting any project involving paint, make sure to cover any furniture or appliances with plastic or old sheets to prevent any accidents.
- For a unique look, try mixing different colors of paint or using a fun stencil design on your engineered wood floor. Have fun with it, and let your creativity shine!
- For best results, finish with a clear sealant to protect your newly painted engineered wood.
- Take care when painting around any trim or hardware on the engineered wood to ensure a clean finish.
- Always read and follow the instructions on your chosen paint and primer products.
I hope these tips and tricks help you achieve a beautiful painted finish on your engineered wood! Happy painting!
How Can You Take Care of Painted Engineered Wood?
To keep your painted engineered wood looking its best, regularly sweep and vacuum the surface to remove dirt or debris. Avoid using harsh cleaning chemicals or excessive water, as this can damage the paint and wood.
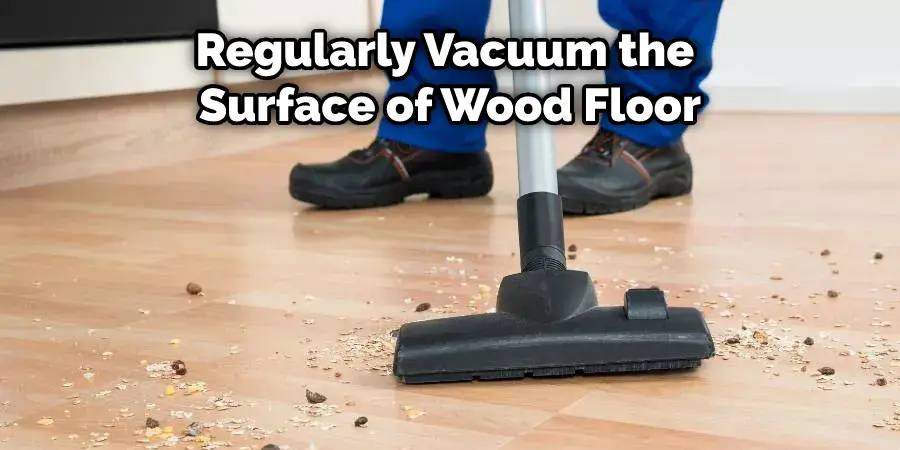
When moving furniture across the floor, use protective pads to prevent scratches and scuffs on the paint. Touch up any dings or imperfections with a matching paint color as soon as possible to maintain a cohesive look.
If you plan on repainting the engineered wood, lightly sand the surface before applying primer and new paint for the best results. This can also refresh the appearance of the wood and give it a smooth finish.
Overall, proper maintenance and care will ensure that your painted engineered wood looks beautiful for years to come.
What Kind of Paint Can You Use?
For best results, use an oil-based paint designed specifically for wooden surfaces. Make sure to choose a paint that is durable and suitable for the amount of foot traffic in the area.
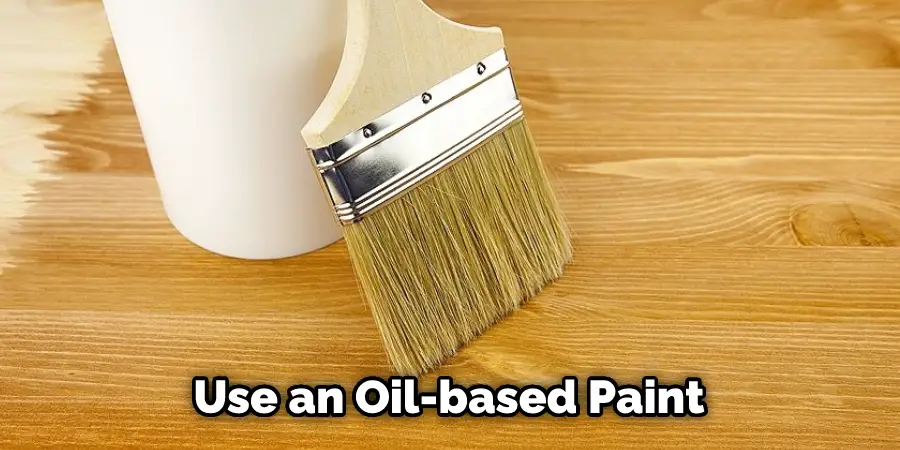
Another option is to use a wood stain instead of traditional paint for a more natural, rustic appearance. As with paint, be sure to choose a stain made specifically for wooden surfaces and that is appropriate for the level of wear and tear on the floor.
You can also use a paint and primer combo for convenience but follow the instructions carefully to ensure proper adhesion and coverage on the engineered wood.
If you want to add shine or protection, finish with a clear polyurethane topcoat. This may change color slightly and need to be reapplied every few years. No matter which type of product you choose, test it on a small inconspicuous area before committing to the entire floor.
Consult a professional or read product labels carefully before selecting your paint to ensure that it is suitable for your engineered wood and desired look.
Conclusion
While painting engineered wood can be a bit tricky, following these simple steps should give you great results that will last for years. Be sure to take your time and prep the surface well before getting started, and remember to use a quality paint designed for adhesion to engineered wood products. With just a little effort, you can easily achieve professional-looking results that will make all your friends and family jealous.
You now know how to paint engineered wood by following these simple steps. For the best results, always follow the manufacturer’s recommendations and be sure to take proper safety precautions.
Hopefully, this article has inspired you to turn your engineered wood into a work of art. Happy painting!
You Can Chack It Out Clean Redwood Deck

