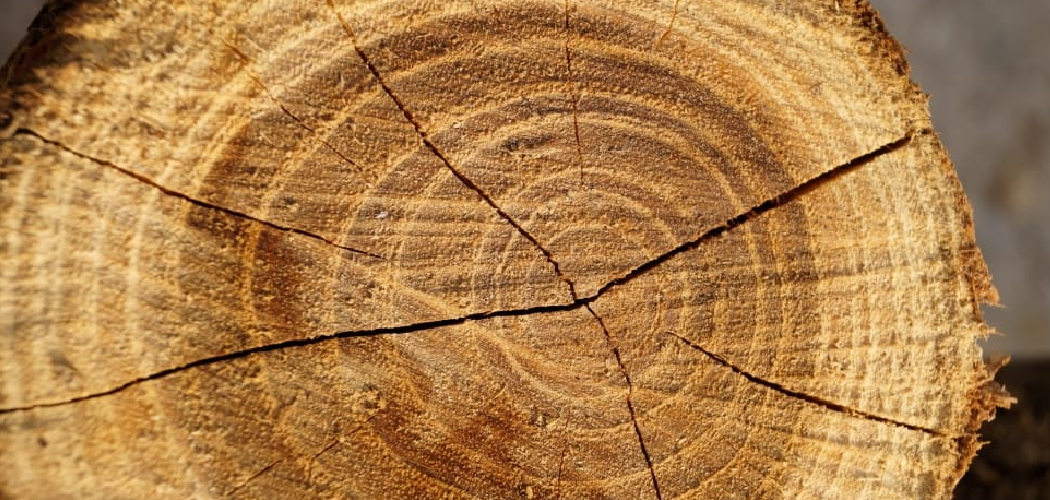
Wood is a beautiful and versatile material, but over time it can become damaged due to environmental factors like humidity or wear and tear. One of the most common problems with wood is cracking, which can make furniture look unsightly and weaken its structure. Fortunately, there are steps you can take to stop a crack in wood from spreading further and restore the appearance of your furniture.
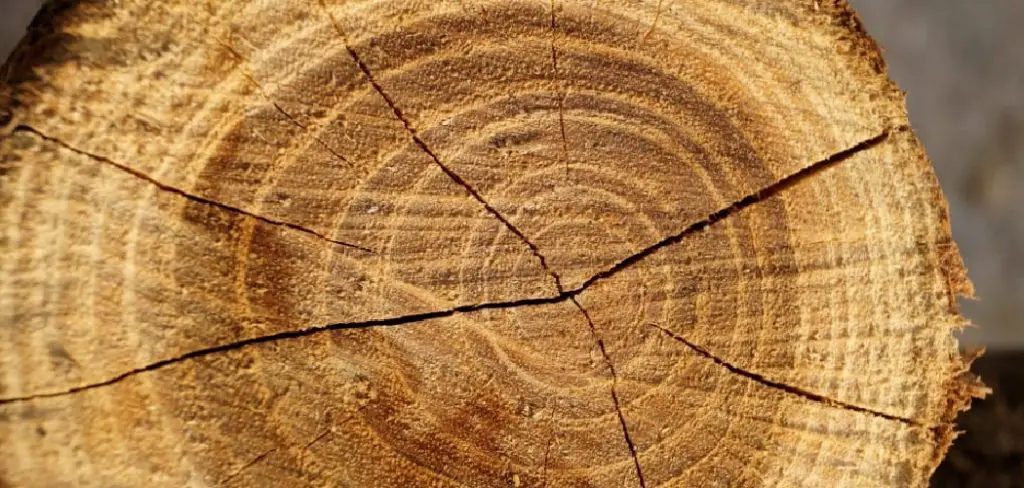
This guide will discuss some of the best techniques for stopping cracks in wood from getting worse so that you can keep your favorite pieces looking their best for years to come. So read this article on how to stop a crack in wood from spreading to get complete knowledge.
12 Step-by-step Guidelines on How to Stop a Crack in Wood From Spreading
Step 1: Inspect the Area
Carefully examine the area surrounding the crack, looking for any signs of discoloration or splintering of the wood. Make sure that the crack is not too deep and has not spread to adjacent areas of the wood. It is also important to determine the cause of the crack so you can take steps to prevent it from happening again in the future. You may need to consult an expert if the cause is not immediately apparent.
Step 2: Clean the Wood
Remove any dirt or dust from the area around the crack with a vacuum cleaner. Wipe down the wood with a damp cloth to remove any debris or residue. It is important to make sure the surface of the wood is clean before you begin any repair work. But make sure not to use any harsh chemicals or abrasive cleaning products. This could damage the wood and cause further cracking.
Step 3: Fill the Crack
Use a wood filler product to fill in the crack and level off the surface of the wood. Make sure that you don’t overfill it, as this can make it difficult to sand later on. Allow the filler to dry completely before continuing. But if the crack is too deep, you may need to use a wood epoxy first. It is also important to choose a filler that matches the color of your wood as closely as possible.

Step 4: Sand the Area
Once the filler has dried, use sandpaper or an electric sander to smooth out the area around the crack. This will help ensure that your repair is even and uniform. You may need to sand the area multiple times. It is important to use fine-grit sandpaper to avoid damaging the wood further. But if you are dealing with a deeper crack, use medium-grit sandpaper to get the job done.
Step 5: Reinforce with Glue
Apply a strong epoxy glue such as gorilla glue along both sides of the crack and allow it to dry for several hours. This will help reinforce the wood and prevent the crack from spreading any further. It is important to use thick, high-quality glue that is designed specifically for wood. But also keep in mind that some glues can leave a stain on the wood, so make sure to test it in an inconspicuous area first.
Step 6: Seal with Wood Varnish
Once the glue has dried, apply a thin layer of wood varnish over the area to seal it and protect it from further damage. Allow it to dry completely before continuing. If desired, you can also apply a clear coat of polyurethane for additional protection. You may need to repeat this step a few times to ensure the best results. You can also use an aerosol varnish for convenience.
Step 7: Paint if Necessary
If desired, you can also paint over the repaired area to make it blend in better with the rest of the piece of furniture or wooden object. Choose a color that matches as closely as possible for the best results. You can also use a wood stain if desired. But it is advisable to use a sealant over the top of the stain for added protection. But do not paint over an area that has already been stained.

Step 8: Buff the Surface
Once the paint has dried, use a soft cloth to buff the area to make it shine. This will help hide any remaining imperfections in the wood and give it a more finished look. You can also use liquid wax if desired. It will make the wood shine and help seal it against moisture. It is important to use a soft cloth and only buff it in one direction. It is also a good idea to test the wax on an inconspicuous area first.
Step 9: Check for Weak Spots
Carefully inspect the area around the crack again to make sure that there are no weak spots or areas where the crack could potentially spread further. If necessary, you can apply additional glue or filler to strengthen any weak points. It is also a good idea to keep an eye on this area in the future and check regularly for any signs of further damage. That’s all about how to stop a crack in wood from spreading.
Step 10: Refinish if Necessary
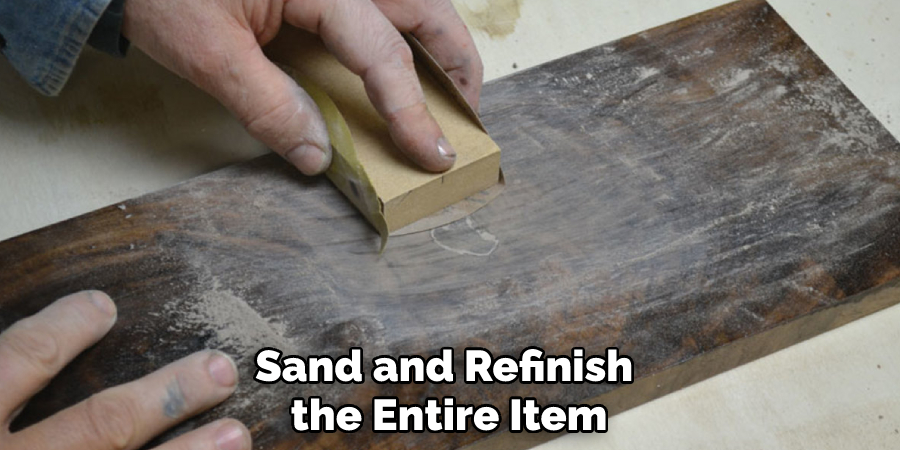
If desired, you can also refinish the entire piece of furniture or wooden object with a clear coat of varnish to restore its original beauty and protect it from future damage. That way, the crack will be less noticeable and the wood will last longer. You may need to sand and refinish the entire item, depending on the severity of the damage. The process can be time consuming, but it is well worth the effort.
Step 11: Monitor the Crack
Be sure to keep an eye on the crack and inspect it periodically for signs of further spreading or weakening of the wood. Take prompt action if necessary to stop the crack from spreading anymore. But if it is not causing any further damage, you can leave it as is. It is also a good idea to repair any cracks in wood as soon as they appear before they have a chance to deepen or spread.
Step 12: Prevent Future Cracks
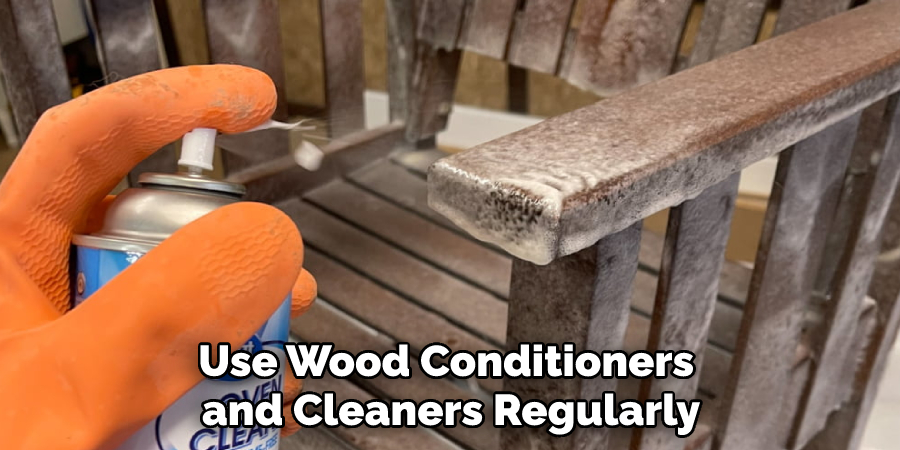
Take steps to prevent future cracks from forming in your wooden furniture or objects. This could include using wood conditioners and cleaners regularly, avoiding extreme temperatures, and keeping the wood away from moisture. This will help ensure that the piece remains in good condition for years to come.
Following these steps will help you how to stop a crack in wood from spreading so that your favorite pieces look their best for years to come! If you have any questions about this guide or repairing cracked wood furniture, feel free to reach out for further assistance.
Why Do You Need to Stop Cracks in Wood From Spreading?
Cracks in wood can weaken the structure of furniture, doors, windows and other wooden objects. Left unchecked, cracks can spread and cause more extensive damage. In some cases, the crack can also lead to rot and decay if moisture enters the wood. This is why it is important to take steps to stop cracks in wood from spreading. Repairing the crack as soon as possible can help prevent further damage and restore the strength of the wood. That way, your furniture and other wooden items will remain in good condition for years to come.
Do You Need Professional Support?
If the crack in your wood is beyond the scope of a DIY repair, or if you just don’t have time to do it yourself, then it may be best to reach out for professional help. A qualified woodworker or carpenter can assess the damage and take the appropriate steps needed to repair the wood and help it look like new again.
How Much Will It Cost?
The cost to repair a crack in wood will depend on the size of the crack and the type of damage. The complexity of the repair can also affect the cost. In general, smaller cracks are usually easy to repair and can be done on a budget. However, larger cracks may require more extensive work which can be more expensive.
It’s important to remember that repairing a crack in wood is much less expensive than replacing an entire piece of furniture or object. Taking the time to stop a crack from spreading and repairing it as soon as possible will save you money in the long run.
Frequently Asked Questions
Q: How Do I Stop a Crack in Wood From Spreading?
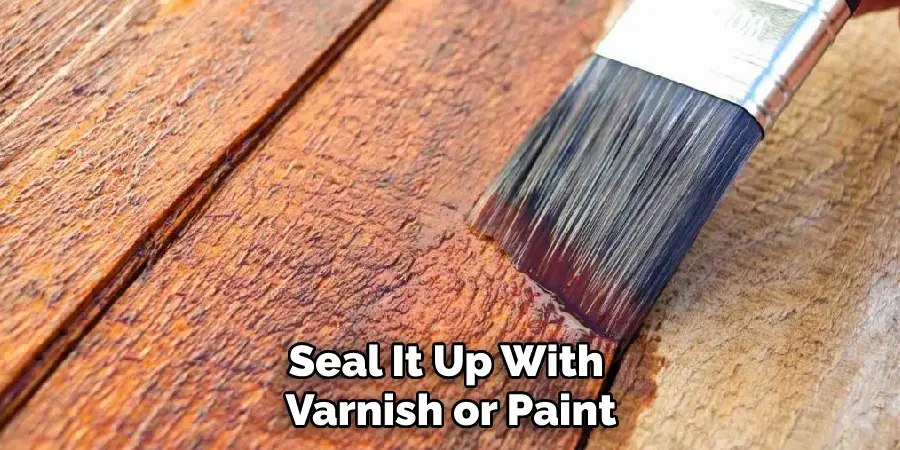
A: To stop a crack in the wood from spreading, you’ll need to fill the crack with wood glue or filler, seal it up with varnish or paint, and buff the surface for a finished look. You can also prevent future cracks by using wood conditioners and cleaners regularly, avoiding extreme temperatures, and keeping the wood away from moisture.
Q: What Can I Use to Fill a Crack in Wood?
A: You can fill a crack in wood with wood glue, wood filler, or a combination of both. Be sure to apply the filling material as evenly and smoothly as possible so that it blends in with the rest of the wood. Then allow it to dry completely before sealing or painting over it.
Q: Can I Paint Over a Crack in the Wood?
A: Yes, you can paint over a crack in the wood. However, make sure to wait until the filling material has completely dried before painting. You may also need to sand the area first or apply a primer to help the paint adhere better, before finishing off with two coats of paint.
Q: How Do I Protect My Wood From Cracking?
A: To protect your wood from cracking, make sure to use wood conditioners and cleaners regularly, avoid extreme temperatures, and keep the wood away from moisture. Additionally, inspect your furniture or objects periodically for signs of damage and take prompt action to repair any cracks that appear.
Conclusion
By following the steps outlined in this article, you can successfully stop a crack from spreading and keep your wooden furniture or objects looking their best for years to come. From applying glue and wood varnish to painting and buffing the surface, these simple tips on how to stop a crack in wood from spreading will help protect your favorite pieces of wood from further damage.
Additionally, it is important to monitor any cracks that may appear in order to prevent them from worsening over time. With regular maintenance such as using cleaners and conditioners on the wood, avoiding extreme temperatures, and keeping moisture away, you can ensure that your items remain beautiful for many years!

