Painting wooden Easter eggs is a fun and creative way to bring some color into your holiday decorations. It’s also easy enough for children of all ages to do, so it can be a great family activity. With the right supplies and techniques, you can create beautiful painted wooden Easter eggs that will last for many years. Read the complete article to gather knowledge on how to paint wooden easter eggs.

Step-by-step Guidelines on How to Paint Wooden Easter Eggs
Step 1: Gather the Supplies
You will need some basic supplies to paint wooden Easter eggs. You will need:
- Wooden Easter eggs
- Paint – acrylic, tempera or craft paints work best
- Brushes – a variety of sizes and shapes
- Pencils, markers, crayons or other drawing implements
- Waterproof sealer (optional)
- Mod Podge or other glue for sealing the eggs (optional)
Step 2: Prepare the Eggs
Before you start painting, prepare the eggs. Wipe off any dust and dirt with a damp cloth. If desired, sand down any rough spots. This will ensure a smoother surface for painting. You can also use Mod Podge or other glue to seal the eggs. To do this, brush a thin layer of glue over the egg, and allow it to dry overnight.
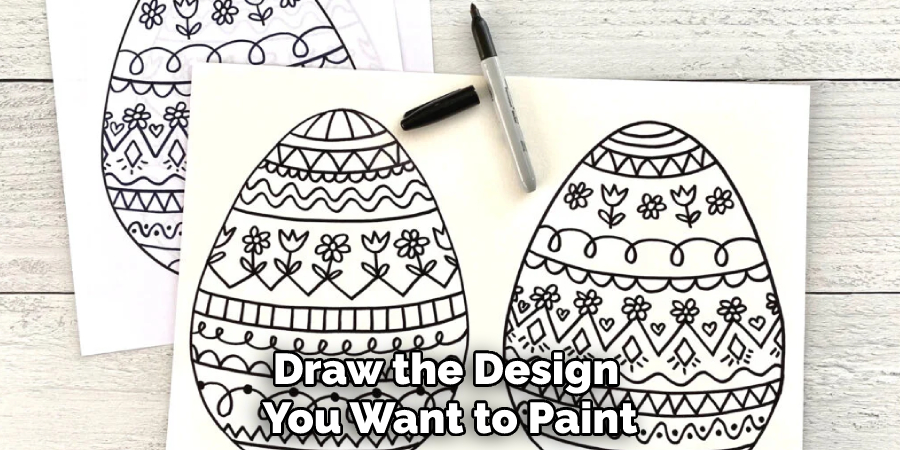
Step 3: Draw a Design
Using pencils, markers, crayons or other drawing implements, draw the design you want to paint on the egg. You can also use stencils or pre-printed patterns if desired. That way, you can be sure that your design will turn out the way you want it. You may need to use a ruler or other straight-edge tool to ensure that your lines are crisp and precise.
Step 4: Choose the Colour Palette
Decide on your colour palette. You can use similar shades or several contrasting colours. Make sure to have enough paint available for the entire design. It can help to create a colour chart for yourself, so you know what colours you will need. If you are unsure of what colours to use, consult a colour wheel for inspiration.
Step 5: Paint the Design
Using your paint and brushes, begin painting in the design you drew. Allow each coat of paint to dry completely before adding another layer. That way, the paint won’t run or blend together. If desired, you can use a waterproof sealer to make sure your design stays in place. It may take several coats of paint to get the effect.
Step 6: Add Details
Once the base colours are painted, add details such as stripes, dots or other embellishments if desired. If necessary, use a smaller brush to help create these details. You can also use a pencil to make small lines or dots. But be sure to use a light touch, so the pencil lines don’t smudge. So, with a few simple steps and supplies, you can create beautiful painted wooden Easter eggs.
Step 7: Allow the Paint to Dry Completely
Allow the paint to dry completely before moving on with additional steps. This could take several hours depending on humidity levels, but it’s important to make sure the paint is completely dry before handling or displaying the eggs. You may also want to spray a clear sealer on the eggs to help protect them from moisture.
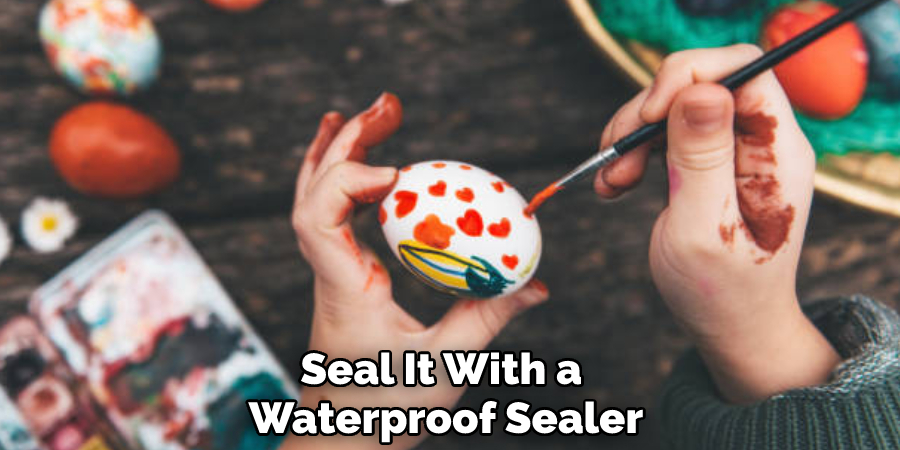
Step 8: Seal the Egg
To protect your painted egg from damage, it is best to seal it with a waterproof sealer such as Mod Podge or other glue. This will keep it looking its best for many years to come. Apply the sealer according to package directions and allow it to dry thoroughly before displaying your finished wooden Easter eggs.
Step 9: Hang the Eggs
Once your eggs are painted and sealed, you can hang them up with string or ribbon. This is an easy way to display your creations and will add some extra color to your Easter decorations. You can also use your painted wooden Easter eggs as part of a gift basket or table centerpiece. They make a great addition to any holiday decorating project.
Step 10: Quality control
Once your wooden Easter eggs have been painted, it’s important to do a quality check. Make sure the colors are consistent and that there are no areas that need touching up. You should also check for any drips or runs in the paint. This will ensure that your painted wooden Easter eggs look their best when displayed. It’s important to take the time to do a quality check before displaying your finished product.
Step 11: Enjoy Your Artwork
Once your wooden Easter eggs are finished, you can enjoy admiring your artwork. You can also use them as decorations for the holiday season or give them away as gifts. Remember that with a little bit of time and effort, you can create beautiful pieces that will last for years to come. So go ahead, get creative and start painting those wooden Easter eggs!

Take the time to enjoy your beautiful artwork and the satisfaction of knowing you created something unique.
After reading this article on how to paint wooden easter eggs that you can display and enjoy for years to come. Have fun experimenting with colours, designs and textures to make each egg unique! Good luck and happy crafting!
Pros and Cons
Pros:
- Simple and easy to do
- Low cost materials and supplies needed
- Can be used as decorations or gifts
- An enjoyable activity that can be shared with others
Cons:
- Can take a long time to complete if you are intending on adding details or sealing the eggs.
- The process can be messy.
- Can be time consuming if you are making multiple eggs.
- The paint may not last long and will need to be reapplied often.
Do You Need Professional Support?
If you are unsure of how to paint wooden Easter eggs or would like the help of an expert, consider hiring a professional. A professional painter can provide valuable guidance and advice on what supplies and techniques to use for your project. They can also offer helpful tips on perfecting your craft and ensuring that the design is flawless. With their expertise, you can create beautiful wooden Easter eggs that will be sure to impress your friends and family. So if you are looking for help with this project, consider hiring a professional.
How Much Will It Cost?
The cost of hiring a professional to paint your wooden Easter eggs will depend on the size, complexity, and resources needed for the project. Most painters charge an hourly rate or by the square foot, so you can expect to pay anywhere from $50-$100 per hour.
In addition to this labor fee, you may also need to purchase additional materials such as paints, sealants, and other supplies. Keep in mind that the cost of hiring a professional will depend on the scope of your project, so make sure to get an accurate estimate before proceeding.
Frequently Asked Questions
Q: What Type of Paint Should I Use for Wooden Easter Eggs?
A: Acrylic or craft-grade paints are best for painting wooden Easter eggs. You can also use spray paint if desired.
Q: Can I Use a Glitter Paint on Wooden Easter Eggs?
A: Yes, glitter paints are a great way to add some sparkle to your wooden Easter eggs. Make sure you use a sealer to help protect the glitter from fading or flaking off.
Q: How Can I Hang Up My Painted Wooden Easter Eggs?
A: You can use ribbon, twine, string or fishing line to hang up your eggs. Make sure you tie a knot at the top of each egg and attach it securely so that it won’t fall off.
Q: How Should I Store My Painted Wooden Easter Eggs?
A: Make sure you store your painted eggs in a cool, dry place away from direct sunlight. You may also want to wrap them in tissue paper or bubble wrap for extra protection. This will help ensure that your eggs look their best for many years to come.

Q: What Other Materials Can I Use to Decorate Wooden Easter Eggs?
A: You can use a variety of craft materials to decorate your wooden Easter eggs. This could include fabric scraps, pipe cleaners, buttons or beads. Have fun experimenting with different textures and colors!
Conclusion
Painting wooden Easter eggs is a fun and creative way to make unique holiday decorations. With the right supplies, some patience, and attention to detail you can create beautiful pieces that will last for years to come.
We hope this article has given you an overview of how to paint wooden easter eggs as well as answered any questions you may have had about what type of paints or sealers are best suited for your project. Now it’s time to get creative and start experimenting with different colors, designs, and textures!

