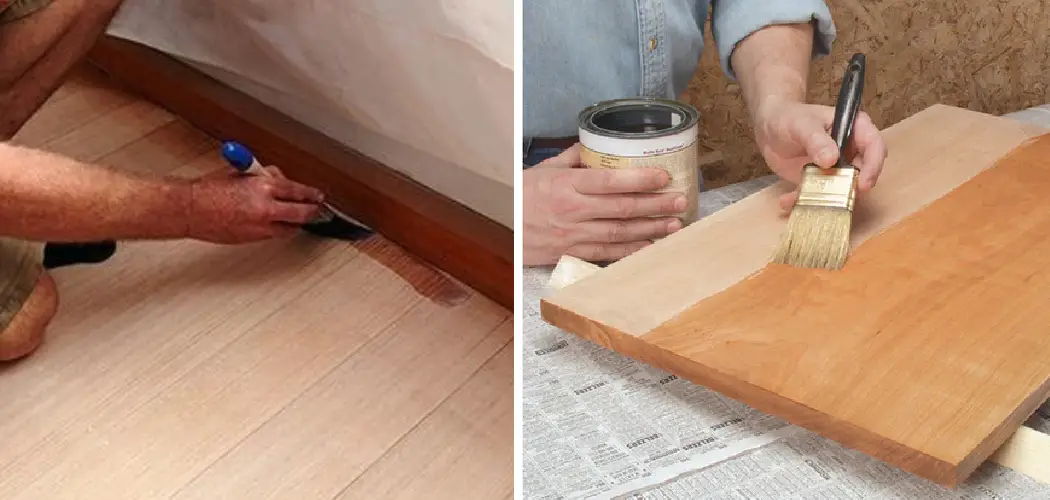
Marine plywood is a versatile and durable material widely used in boat building and other applications where water resistance is crucial. To ensure its longevity and prevent water damage, proper sealing is essential.
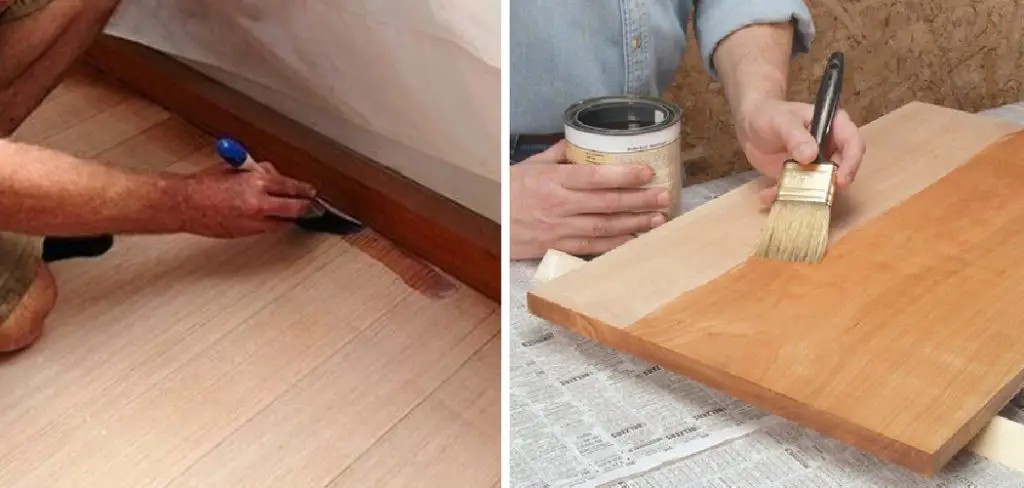
Sealing marine plywood creates a protective barrier against moisture, enhancing its resistance to water-related deterioration. It’s a crucial step in maintaining the structural integrity of marine plywood and extending its lifespan. In this article, we’ll delve into effective methods for how to seal marine plywood, allowing you to make the most out of this remarkable material in aquatic environments and beyond.
Importance of Sealing Marine Plywood
Marine plywood is a type of high-quality, durable plywood specifically designed for use in marine environments. It is made with waterproof glue and treated with chemicals to resist rotting, making it the perfect choice for boat building, docks, and other outdoor structures that are constantly exposed to moisture. So why is sealing marine plywood so important? Let’s take a closer look at some of the reasons.
Protection against Moisture
The primary purpose of sealing marine plywood is to protect it from moisture. As the name suggests, marine plywood is intended for use in wet or damp environments. However, even with its waterproof glue and treatment, it is still vulnerable to water damage if left unsealed.
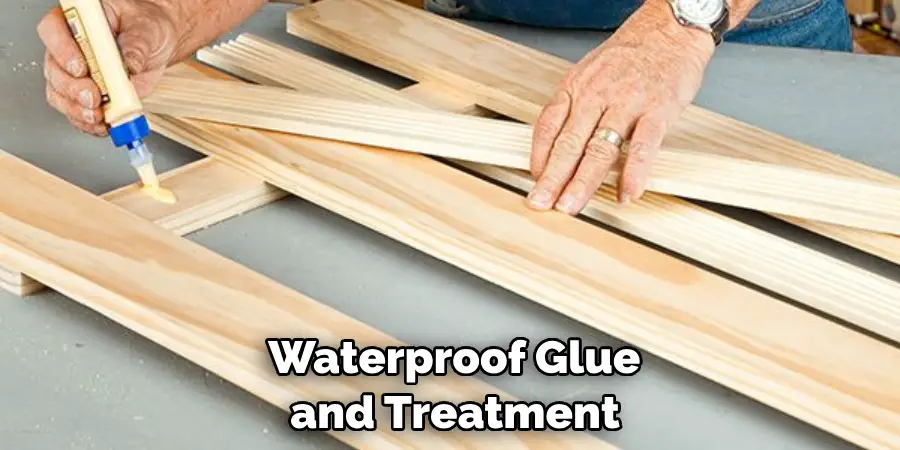
If not properly sealed, water can seep into the plywood and cause swelling and warping, leading to structural weakness and potential failure of the project. Additionally, moisture can also create an ideal environment for the growth of mold and mildew, which can further compromise the integrity of the plywood and pose health risks.
By sealing marine plywood, you create a barrier that prevents water from penetrating into the wood. This helps to maintain its strength and durability over time.
Protection against UV Rays
Another critical element that can damage marine plywood is exposure to UV rays. Sunlight can cause the wood fibers to break down, leading to discoloration, cracking, and weakening of the plywood.
Sealing marine plywood with a UV-resistant sealant helps to protect it from the damaging effects of prolonged sun exposure. This is especially important for boat building projects that are constantly exposed to sunlight while out on the water.
Enhanced Aesthetics
Sealing marine plywood not only adds an extra layer of protection but also enhances its appearance. Untreated plywood can have a dull, unfinished look that may not be aesthetically pleasing for certain projects.
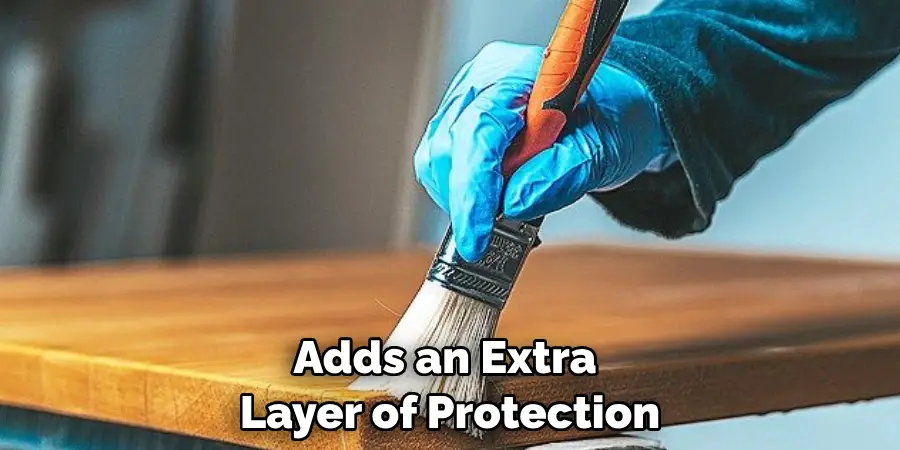
With the right sealant, you can enhance the natural beauty of the wood while also adding a glossy or matte finish depending on your preferences. This makes sealed marine plywood a more visually appealing option for projects that require both durability and an attractive finish.
Improved Longevity
Properly sealing marine plywood can significantly extend its longevity. By preventing water, UV rays, and other elements from damaging the wood, you can ensure that your project remains strong and intact for many years to come.
This is especially important for structures or vessels that are constantly exposed to harsh marine conditions. Sealed marine plywood can withstand the wear and tear of saltwater, humidity, and extreme temperatures much better than untreated plywood.
10 Methods How to Seal Marine Plywood
1. Apply a Primer
The first step in sealing marine plywood is to apply a primer. A primer will help to protect the wood from moisture and will also provide a good base for the sealant to adhere to. When choosing a primer, make sure that it is specifically designed for marine use and is suitable for the type of wood you are using.
2. Sand the Surface
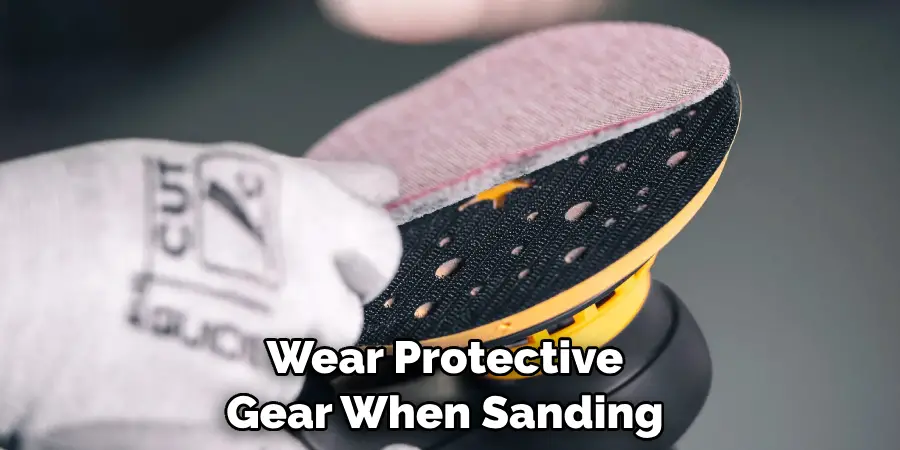
Once the primer has dried, you should sand the surface with fine-grit sandpaper. This will help to remove any imperfections in the wood and create a smooth surface for the sealant to adhere to. Make sure that you wear protective gear when sanding as it can be hazardous if done incorrectly.
3. Clean off Dust and Debris
Once you have finished sanding, you should clean off any dust or debris with a damp cloth or sponge. This will ensure that there are no particles left on the surface that could interfere with the adhesion of the sealant. You may also want to use an air compressor or vacuum cleaner to get rid of any stubborn dust particles.
4. Apply Sealant
Once the surface has been prepped, you can begin applying your sealant of choice. There are many different types of sealants available, so make sure that you choose one that is suitable for marine use and is compatible with your type of wood. Be sure to follow all instructions provided by the manufacturer when applying your sealant as this will help ensure optimal results.
5. Allow Adequate Drying Time
Once you have applied your sealant, it is important that you allow adequate drying time before moving on to other steps in sealing your marine plywood project. Depending on what type of sealant you are using, this could take anywhere from several hours up to several days before it has fully cured and hardened off completely.
6. Reapply Sealant If Necessary
If after allowing adequate drying time, there are still areas where water can penetrate through, then it may be necessary for you to reapply more sealant over those areas until they are completely sealed off from water penetration. Just be sure not to overdo it as too much sealant can cause bubbling and other issues when curing off completely so always best practice is less is more!
7. Sand Between Coats
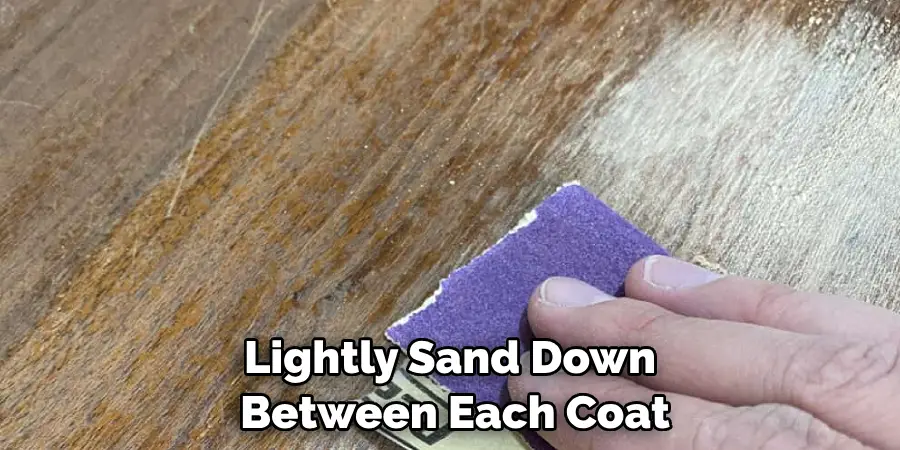
In order for each layer of sealant applied onto your marine plywood project to bond together properly, it’s important that you lightly sand down between each coat before applying another layer on top of it; this helps ensure better adhesion between layers which results in even better protection against water penetration into your project!
8. Use an Appropriate Roller or Brush
When applying your chosen sealants onto your project, make sure that you use an appropriate roller or brush depending on what kind of finish look/feel you’re going for; generally speaking most people tend towards using either synthetic brushes or foam rollers as these provide good coverage without leaving behind unsightly streaks or brush marks!
9. Allow Proper Curing Time
After all layers have been applied and allowed time for proper curing (which again depends on what kind of product/sealant used), then finally comes time for testing out how well protected your marine plywood project really is; simply pour some water onto different parts/areas and check if any liquid seeps through – if so then go back over those areas with additional coats until no more leakage occurs!
10. Regular Maintenance & Care
Last but not least don’t forget about regular maintenance & care; just like anything else wooden projects require periodic cleaning & upkeep in order keep them looking their best – this includes things such as wiping down surfaces w/ damp cloths every few months in order remove dirt build-up as well as treating wood w/ special oils every year or two depending on conditions exposed too (sunlight etc).
Things to Consider When Sealing Marie Plywood
Marine plywood is widely used in the construction of marine vessels, docks, and other structures that are constantly exposed to water. This type of plywood is specially designed to withstand the harsh conditions of saltwater and extreme weather. However, even with its high durability, marine plywood still needs protection from moisture and rotting.

One way to protect marine plywood is by sealing it. Sealing marine plywood helps to prolong its lifespan and maintain its structural integrity. In this document, we will discuss some important considerations when it comes to sealing marine plywood.
Types of Sealants
Before choosing a sealant for your marine plywood, it is important to understand the different types available. The two main types of sealants are oil-based and water-based.
Oil-based sealants provide better waterproofing and are more durable compared to water-based ones. However, they can be difficult to clean up and may emit strong fumes during application. On the other hand, water-based sealants are easier to clean up and have less harmful fumes, but they may not provide as much protection against moisture.
Application Method
When it comes to sealing marine plywood, the method of application is crucial. It is recommended to use a brush or roller to apply the sealant evenly and thoroughly. This ensures that all surfaces of the plywood are covered and protected.
It is also important to follow the manufacturer’s instructions on how many coats are needed for optimal protection. Applying too few coats may leave some areas vulnerable to moisture, while too many coats can create an uneven and thick layer that may crack over time.
Drying Time
After applying the sealant, it is important to allow enough drying time before using the marine plywood. This usually takes between 24-48 hours, depending on the type of sealant used.

It is crucial not to rush this process as premature use of the plywood may compromise the effectiveness of the sealant. Additionally, exposing the plywood to water before it is completely dry may lead to moisture getting trapped under the sealant and causing damage.
Maintenance
Sealing marine plywood is not a one-time process. It requires regular maintenance to ensure that its protective barrier remains intact. This includes inspecting the plywood for any cracks or damages and reapplying sealant as needed.
Additionally, avoiding harsh chemicals and abrasives when cleaning the plywood can also help prolong its lifespan. It is best to use mild soap and water for routine cleaning.
Conclusion
Sealing marine plywood is essential, and following the above steps is a crucial part of how to do it properly. The sealing process should be done with precise care and in an organized manner in order to make sure no time or materials are wasted. No matter how difficult it may seem at times, understanding how to seal marine plywood will provide long-term benefits that will make any project worth the effort.
With a few simple tools and the right technique for applying sealant, anyone can ensure their marine plywood finish lasts against harsh weather conditions, drastic temperature changes, and heavy use.
All it takes now is for you to comfortably familiarize yourself with the process and start your next project with confidence! Don’t forget: taking care of your advanced projects now by utilizing effective sealing solutions will save time and money down the line when dealing with maintenance needs or repairs.

