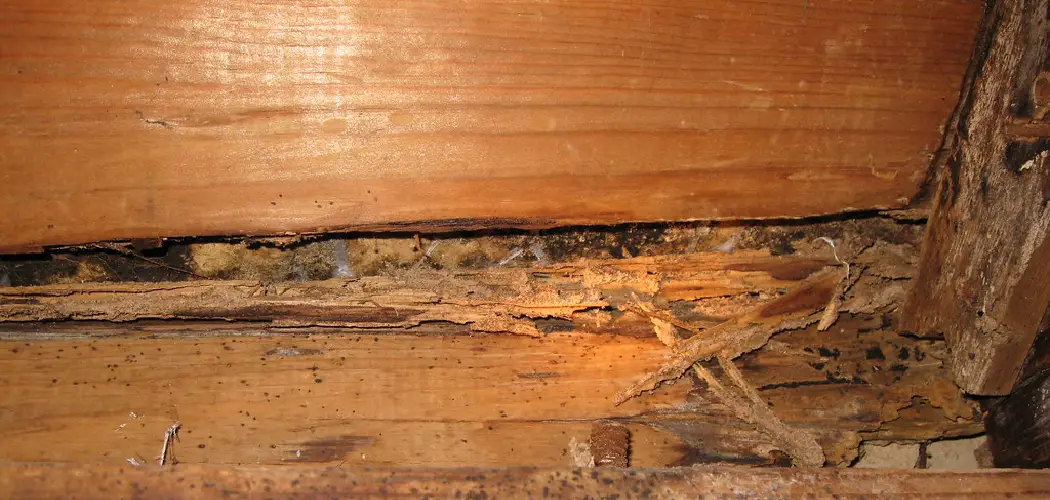
Termites can cause a lot of damage to wooden structures and objects. If you have termites in your home, it is important to get rid of them as soon as possible. In addition to getting rid of the Termites, you may also need to repair any damage that they have caused. This blog post will teach you how to repair termite damaged wood.
Termites are a common pest found all over the United States. These tiny insects can cause a lot of damage to your home, especially if they’re left untreated. If you have termite damage, don’t worry – it can be repaired!
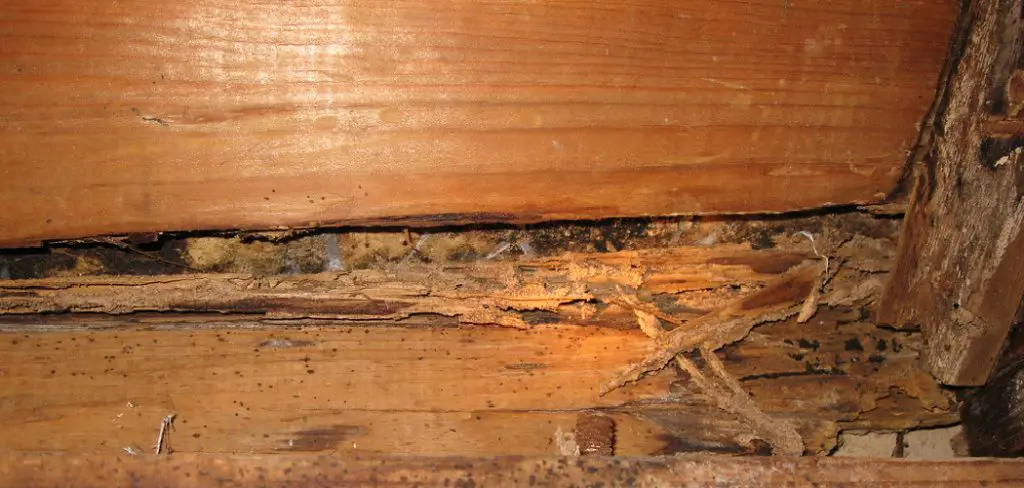
What Problem Can Be Caused by Termite Damaged Wood?
1. Prevent Damage to Wooden Structures
Termites can cause significant damage to wooden structures, leaving them weak and potentially unsafe. So keep safe by repairing termite-damaged wood.
2. Loss of Property Value
Termite-damaged wood can also lead to a decrease in property value if not properly repaired. So if you want to maintain or increase your property’s value, it is important to address any termite damage.
3. Expensive Repairs
Ignoring termite damage or delaying repairs can lead to more extensive damage, resulting in costly repairs. So if you want to avoid breaking the bank, it’s important to address termite damage as soon as possible.
4. Maintain the Appearance or Value of Wooden Furniture
In addition to structural concerns, termite damage can also impact the appearance and value of wooden furniture or home. Repairing termite damage can help maintain both aesthetic appeal and financial value.
Things You Will Need to Repair Termite Damaged Wood
- Sandpaper
- Wood filler or putty
- Paint or stain
- Putty knife
- Primer (if using paint)
How to Repair Termite Damaged Wood in 7 Steps
Step 1: Identify and Remove Termites/termite Damage
Before beginning repairs, it is important to make sure that all termites have been completely removed from the damaged wood. This can be accomplished by hiring a professional exterminator or using DIY methods such as baiting and trapping.
Step 2: Remove Damaged Wood
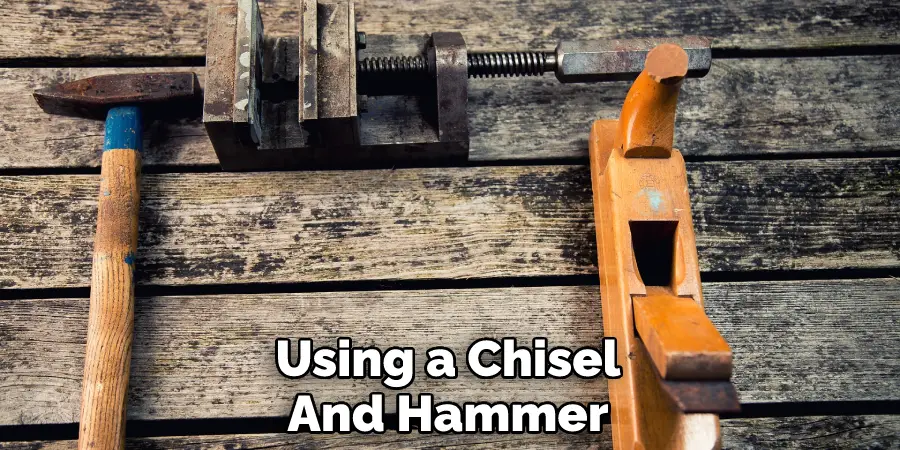
Using a chisel and hammer, carefully remove any visibly damaged or crumbling wood pieces until only solid wood remains. It is a very important step to ensure the integrity and stability of the repaired wood.
Step 3: Sand Down the Damaged Area
Use a handheld or an electric sander to smooth down the damaged area and create a flat surface for repairs. It can be helpful to use a sanding block for hard-to-reach areas. Make sure to wear a dust mask and goggles during this step.
Step 4: Apply Wood Filler
Using a putty knife, apply wood filler to the damaged area and smooth it out until it is flush with the surrounding wood. Allow the filler to dry fully before moving on to the next step. Be careful not to overfill, as it may require extra sanding later on.
Step 5: Sand-Filled Area
Use sandpaper to smooth out the filled area, blending it with the rest of the wood surface. Be careful not to sand too much, as this could cause the filler to become uneven. Or else, you can use a wood putty knife to smooth out any bumps or irregularities.
Step 6: Stain and Finish
Stain the repaired area to match the surrounding wood, and apply a protective finish for added longevity. So make sure to match the type of finish already present on the rest of the wood surface. Otherwise, the repaired area may stand out.
Step 7: Monitor for Future Damage
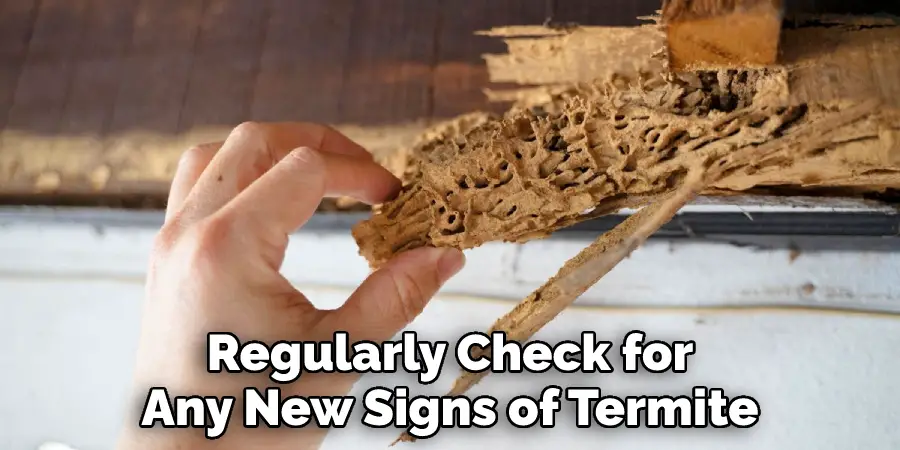
It is important to regularly check for any new signs of termite damage and address them immediately. Taking preventative measures such as removing moisture sources and maintaining a clean, clutter-free environment can also help prevent future infestations.
Some Additional Tips to Repair Termite Damaged Wood
1. Use a Wood Hardener
Wood hardener helps to strengthen and reinforce damaged wood by filling in holes and crevices. It should be applied before repairing the wood with putty or filler. So make sure to apply it to any affected areas before moving on to the next step.
2. Use Wood Putty or Wood Filler
After applying a wood hardener, use putty or filler to fill in any remaining holes or cracks left by termites. Match the putty or filler to the color of the wood for a seamless repair. Be careful not to overfill the area, and allow plenty of time for it to dry before sanding it down for a smooth finish.
3. Sand and Stain
After allowing the putty or filler to dry, sand down any uneven areas and apply stain to match the rest of the wood. But You have to make sure the wood is completely dry before staining to ensure the best results.
4. Seal with Polyurethane
Finally, seal the repaired area with polyurethane to protect the wood from future damage. It is very important to use a good quality sealant, as this will ensure long-lasting protection for the repaired wood.
5. Prevent Future Infestations
To prevent future termite damage, regularly inspect your home or property for any potential entry points and address them accordingly. Also, consider having a professional pest control company treat your property with pesticides to deter termites.
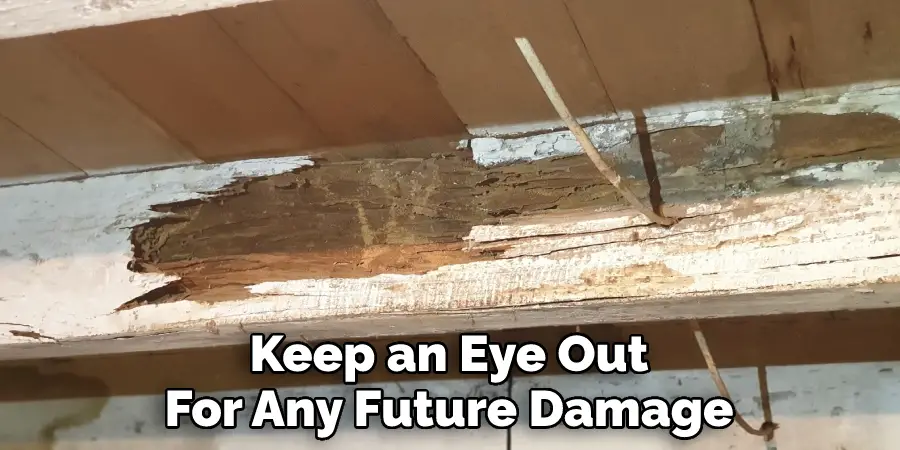
6. Keep an Eye Out for Future Damage
Even after repairing the damage, it’s important to keep an eye out for any future damage from termites or other pests. Regular inspections and proper pest control measures can help prevent further damage to your wood.
Remember, it is always best to consult with a professional if you are unsure about how to properly repair termite-damaged wood. Safety should always be your top priority.
Frequently Asked Questions
Should I Replace Termite Damaged Wood?
It depends on the extent of the damage. If the wood is structurally compromised, it is best to replace it for safety reasons. However, if the damage is minimal and only superficial, repair may be a viable option.
How Do You Fill in Termite Holes?
First, remove any loose or splintered wood. Then, fill the holes with a wood filler or putty and let it dry before sanding it down to blend in with the surrounding wood.
Can Termites Return to Repaired Wood?
There is always a possibility of termite infestations returning, but taking proper preventative measures such as regular inspections and removing potential food sources can help deter them. Additionally, treating the repaired wood with a termite repellent can provide added protection.
What Can I Use to Protect Wood from Termites?
There are various products available for termite prevention such as liquid termiticides and bait systems. Consult with a professional for the best option for your specific situation. Additionally, removing moisture sources and keeping wood piles away from the home can also help prevent termites.
You Can Check It Out to Remove Rotten Fence Post from Concrete
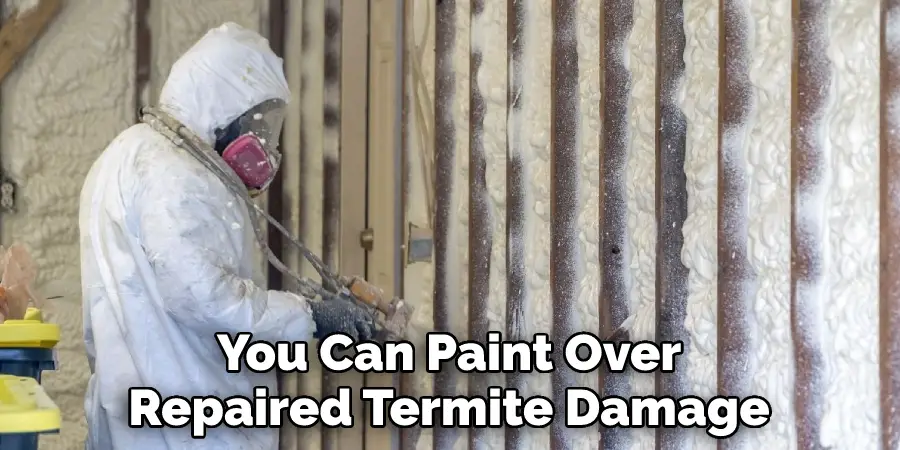
Can You Paint Over Termite Damage?
Yes, you can paint over repaired termite damage as long as the repair is properly done and the wood is completely dry before applying paint. But remember that painting does not protect the wood from future damage. It is important to also take preventative measures and regularly inspect for any signs of infestation.
You Can Check It Out to Make Weathered Wood Look New Again
Conclusion
Now that you know how to repair termite damaged wood, be sure to do regular inspections of your home and property so that you can catch any damage early. These tips should help you keep your home in tip-top shape and free of termites!
Although termites are small, they can cause a lot of damage to your home if they’re not dealt with quickly. If you have termite-damaged wood in your home, it’s important to repair it as soon as possible to prevent further damage. Following these steps will help you repair the damaged wood and keep your home termite-free.

