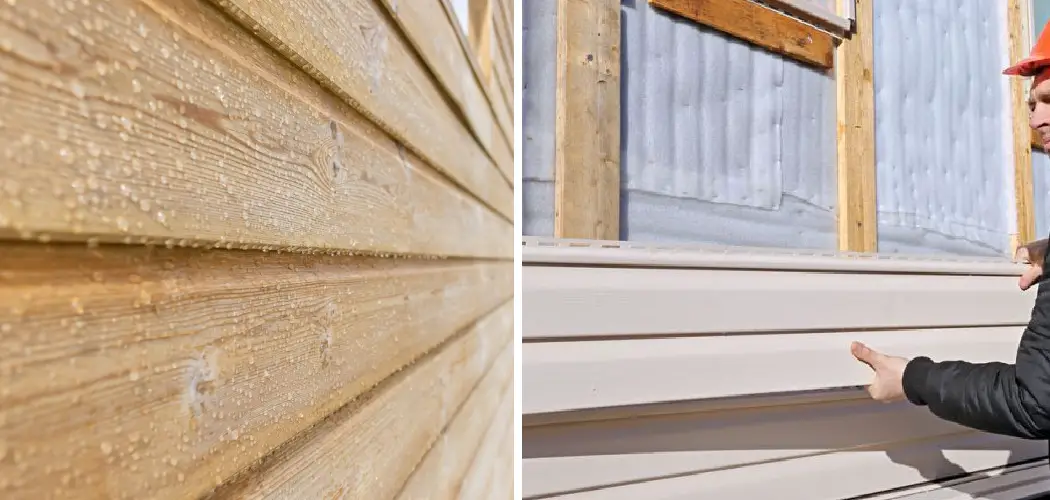
Are you looking for ways to waterproof the wood siding of your home? Whether you’re trying to protect your investment from the elements or just want a more solid defense against the dropping temperatures, waterproofing wooden siding is an excellent choice. Not only does it help keep moisture out and increase longevity, but it also helps improve curb appeal.
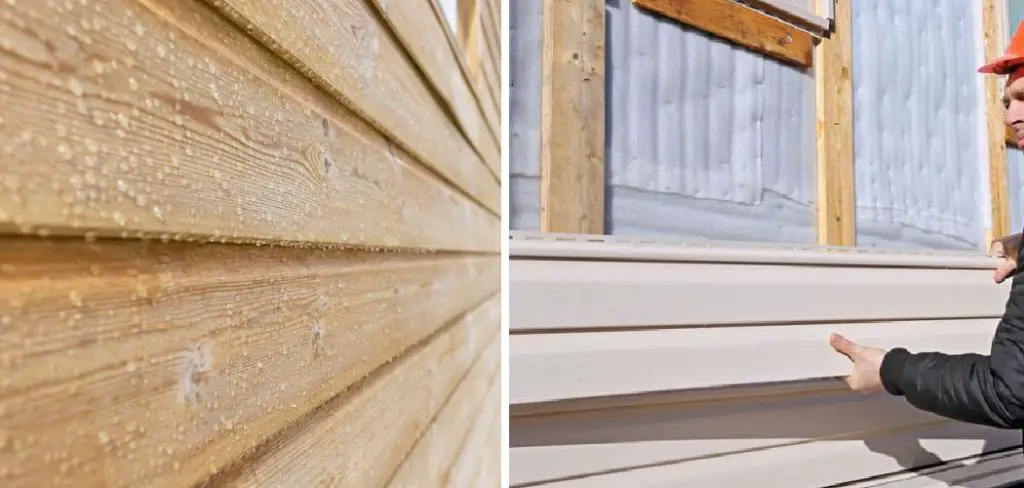
In this blog post, we’ll be exploring exactly how to waterproof wood siding so that you can do it yourself – quickly, easily, and effectively.
10 Steps on How to Waterproof Wood Siding
1. Choose the Right Sealant:
When it comes to waterproofing wood siding, you have to start by choosing the right sealant for your project. There are many different types of sealants available on the market, including oil-based and water-based options. Oil-based sealants are better at repelling water, while their water-based counterparts are more environmentally friendly. Choosing the right sealant for your project depends on factors such as climate, budget, and personal preference.
2. Prepare the Wood Siding:
Before you start applying any sealant, it’s essential to prepare the wood siding properly. Start by removing any dirt or debris from the surface using a stiff-bristled brush. If there are any stains or discoloration, you may need to use a mild detergent and water solution to clean the wood siding thoroughly. Once the surface is clean and dry, sand down any rough or splintered areas to create a smooth surface for the sealant to adhere to.
3. Apply a Water Repellent:
Once the wood siding is prepared, it’s time to apply a water repellent. This will help prevent water from seeping into the wood and causing damage. You can choose a clear or pigmented water repellent, depending on your preference. Clear repellents allow the natural grain of the wood to show through, while pigmented ones add a touch of color to the wood. Make sure to follow the manufacturer’s instructions for application and drying times.
4. Use a Waterproofer:
After the water repellent has dried, it’s time to use a waterproofing product specifically designed for wood siding. These products contain ingredients that penetrate deep into the wood fibers, creating a barrier against moisture. They also often include UV protection to prevent fading and discoloration from sunlight exposure. Using a waterproofer will further enhance the waterproofing of your wood siding.
5. Consider Using Primer:
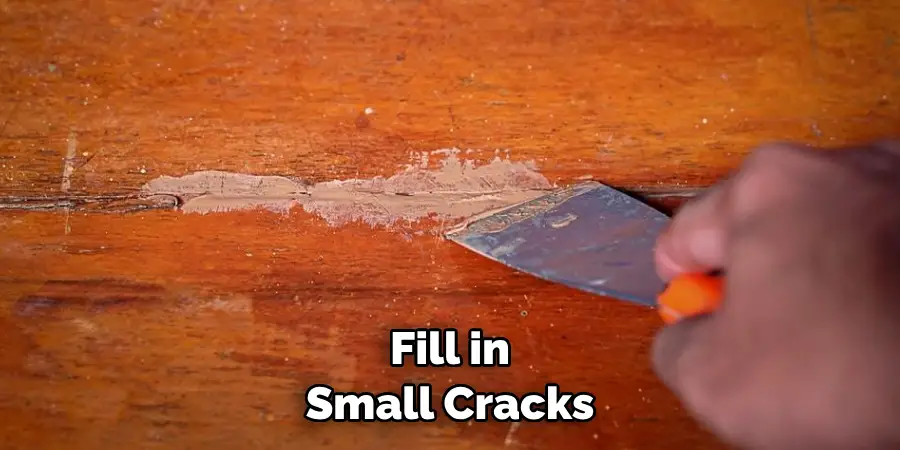
For maximum protection, you may want to consider using a primer before applying any sealants or waterproofers. Primers provide a strong base for the sealant to adhere to and help extend its lifespan. They also fill in small cracks or imperfections in the wood, ensuring a more even application of the sealant.
6. Pay Attention to Joints and Seams:
When waterproofing wood siding, it’s crucial to pay extra attention to joints and seams where water can easily seep in. Use a caulking gun and high-quality caulk to seal any gaps or cracks between boards, around windows and doors, or at the corners of your house. This will help prevent water from entering these vulnerable areas and causing damage.
7. Apply Multiple Coats:
Applying multiple coats of sealants or waterproofers is an excellent way to ensure maximum protection for your wood siding. After each coat has dried, sand down any raised fibers or rough spots before applying the next layer. This will create a smoother and more even surface for the next coat to adhere to.
8. Consider Using a Wood Preservative:
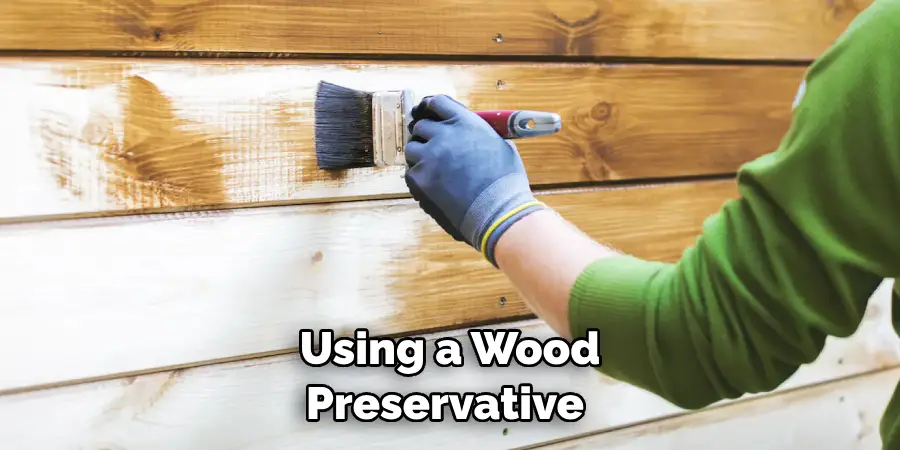
In addition to waterproofing, you may want to consider using a wood preservative on your siding. These products contain fungicides and insecticides that help prevent mold, mildew, and insect damage. They can also provide extra protection against decay and rot. This is especially important for areas with high humidity or moisture levels.
9. Regularly Inspect and Maintain:
Even with proper waterproofing and preservation, it’s essential to regularly inspect and maintain your wood siding. Check for any signs of damage or wear, such as cracks, peeling sealant, or discoloration. Address these issues promptly to prevent further damage and lengthen the lifespan of your wood siding. If necessary, reapply sealant or waterproofers every few years to maintain maximum protection.
10. Reapply Waterproofing as Needed:
Over time, the water-repellent and waterproofing products on your wood siding will wear off and need to be reapplied. How often this needs to be done depends on factors such as climate, exposure to sunlight, and the quality of the original product. Be sure to regularly check for any signs of wear and reapply sealant or waterproofer as needed to maintain the waterproofing of your wood siding.
Following these 10 steps will help you effectively waterproof your wood siding and protect it from the elements for years to come. Remember to always follow the manufacturer’s instructions and safety precautions when working with sealants and other products. With a little effort, you can ensure that your wood siding stays looking beautiful and in top condition. Happy waterproofing!
Additional Tips and Tricks to Waterproof Wood Siding
- Regularly inspect and maintain the wood siding to catch any potential issues before they become major problems. This can include checking for cracks, rot, or damage caused by pests.
- Consider applying a sealant or stain to further protect the wood from water damage. Sealants can provide an extra layer of protection against moisture, while stains can add color and enhance the natural beauty of the wood.
- Don’t forget to properly seal any joints or gaps in the siding, as these areas are more prone to water infiltration. This can be done with caulk or weather stripping.
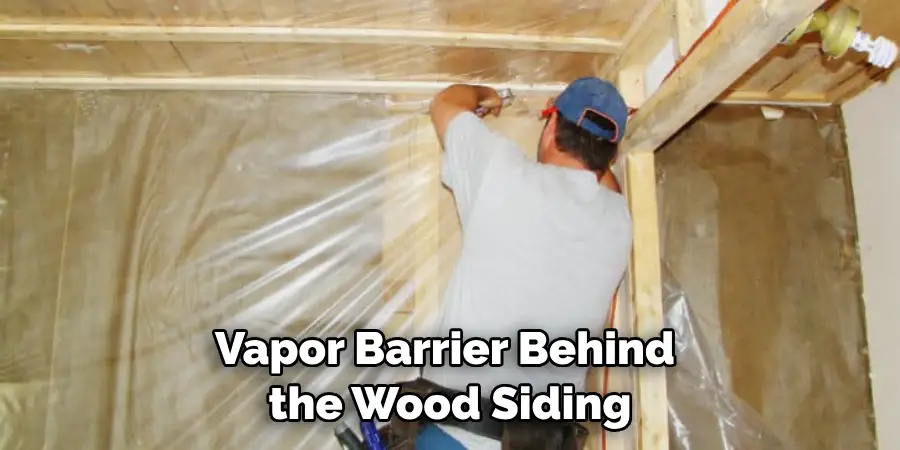
- If you live in an area with high humidity or frequent rain, consider using a vapor barrier behind the wood siding to prevent moisture from seeping through.
- Be mindful of the direction your wood siding faces. If it is constantly exposed to harsh weather conditions, such as direct sunlight or heavy rain, it may require more frequent maintenance and waterproofing.
- When applying any product to waterproof wood siding, always follow the manufacturer’s instructions and safety precautions.
- In addition to water damage, wood siding can also be susceptible to UV ray damage. Consider using a sealant or stain with UV protection to prevent fading and discoloration.
- If you are planning on painting your wood siding, make sure to use a high-quality exterior paint that is specifically designed for wood surfaces. This will provide an extra layer of protection against water and other elements.
- Finally, if you are unsure about how to properly waterproof your wood siding or if you are experiencing significant issues, it is best to consult a professional for advice and assistance. They can provide personalized recommendations based on your specific situation and ensure the job is done correctly.
Following these tips and tricks can help keep your wood siding in top condition and protect it from water damage. By staying vigilant and taking preventative measures, you can prolong the lifespan of your wood siding and maintain the beauty of your home’s exterior. Remember, proper maintenance is key to preventing costly repairs down the road. So don’t neglect your wood siding – take steps to waterproof it today!
Precautions Need to Follow for Waterproofing Wood Siding

- Proper preparation is essential before you start waterproofing your wood siding. Make sure to remove any old coatings, dirt, or mildew from the surface by using a scraper or pressure washer.
- Allow the wood to dry completely before applying any waterproofing products. This will ensure that the product adheres properly and provides maximum protection.
- Check for any cracks or gaps in the wood siding and seal them with caulk or putty. This will prevent water from seeping into the wood.
- Before applying any waterproofing product, make sure to protect nearby areas such as windows, doors, and plants. Cover them with plastic sheets or tape to avoid any accidental damage.
- Wear protective gear such as gloves, goggles, and a mask while applying waterproofing products. These products can contain strong chemicals that can irritate the skin, eyes, and respiratory system.
- Follow the instructions provided by the manufacturer carefully while applying the waterproofing product. Each product may have different application methods and drying times.
- Apply multiple thin coats of waterproofing product instead of one thick coat for better adhesion and coverage. Allow each coat to dry completely before applying the next one.
- Once you have finished waterproofing, regularly inspect your wood siding for any signs of damage or wear. Touch up any areas that may have been missed or damaged to maintain the waterproof barrier.
Following these precautions will not only ensure that your wood siding is properly waterproofed but also keep you safe during the process. It is important to take these precautions seriously to prevent any potential damage or harm. Now, let’s dive into some additional information about waterproofing wood siding.
Frequently Asked Questions
What is Wood Siding?
Wood siding is a type of exterior material used to cover the walls of a building. It is made from thin, overlapping boards or shingles that are attached to the exterior wall.
Why Should I Waterproof My Wood Siding?
Waterproofing your wood siding helps protect it from water damage, rot, and mold. It can also extend the lifespan of your siding and improve the overall appearance of your home.
How Can I Tell if My Wood Siding Needs Waterproofing?
There are a few signs that indicate your wood siding may need waterproofing, including discoloration, warping, or peeling paint. You may also notice an increase in moisture inside your home or a musty smell.
Can I Waterproof My Wood Siding by Painting it?
While painting your wood siding can provide some level of protection, it is not a substitute for waterproofing. Paint can help seal the surface and prevent some water damage, but it does not create a barrier against moisture like a proper waterproofing treatment.
What are the Different Types of Waterproofing Treatments?
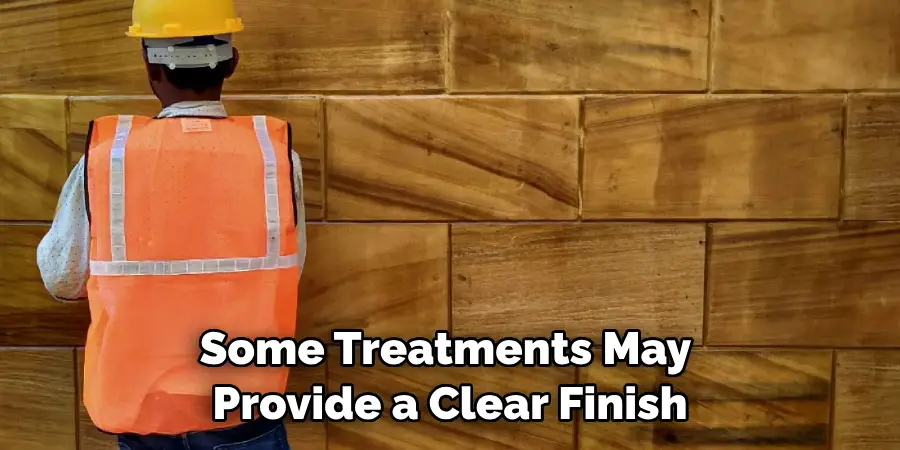
There are a variety of waterproofing treatments available for wood siding, including sealants, stains, and oils. Some treatments may provide a clear finish while others may have a color tint to enhance the appearance of your siding.
Conclusion
Taking the necessary steps to waterproof your wood siding should be a priority. Knowing what products to use and how to complete the task properly are key to making sure that the protection you are giving lasts. Many people think that waterproofing wood siding is a difficult process, but with knowledge of what resources to use and with some patience, anyone can complete this job in a short amount of time.
To ensure optimal results, always make sure you focus on using quality materials when you’re waterproofing your wood siding. Prepare your surface for waterproofing by taking the same kind of care you would in preparing for painting any other surface like scraping off old paint, getting rid of dirt or rust spots, and filling in holes and cracked sections.
Now you have all the information needed to successfully waterproof wood siding; follow this guide on How to Waterproof Wood Siding and it’ll be looking great in no time! Go forth with confidence and watch as people admire your newly waterproofed outside walls!

