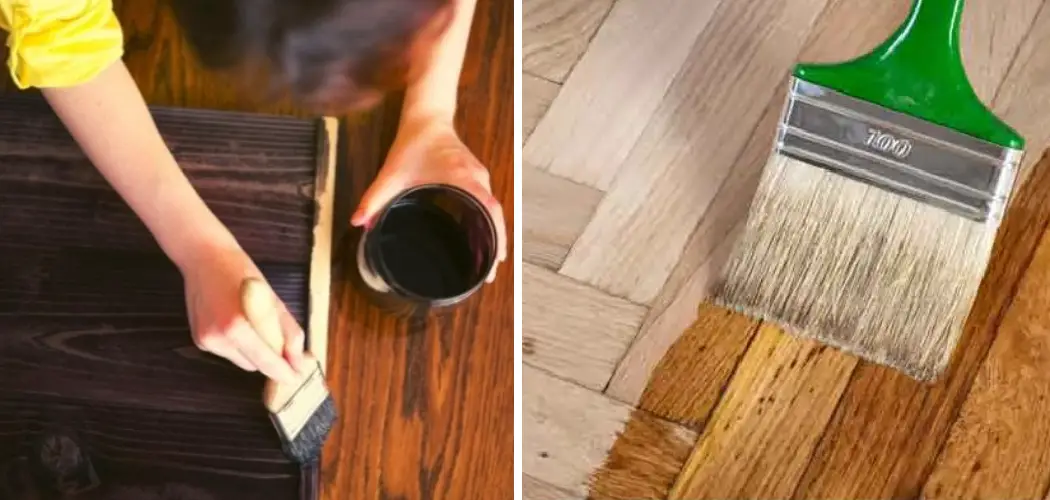
Restoring the natural beauty of stained wood without resorting to the laborious process of sanding is an enticing prospect for many woodworking enthusiasts and DIYers. Over time, wood may darken or acquire stains due to various factors, such as exposure to sunlight or aging. However, there are effective ways to lighten stained wood without the need for extensive sanding.
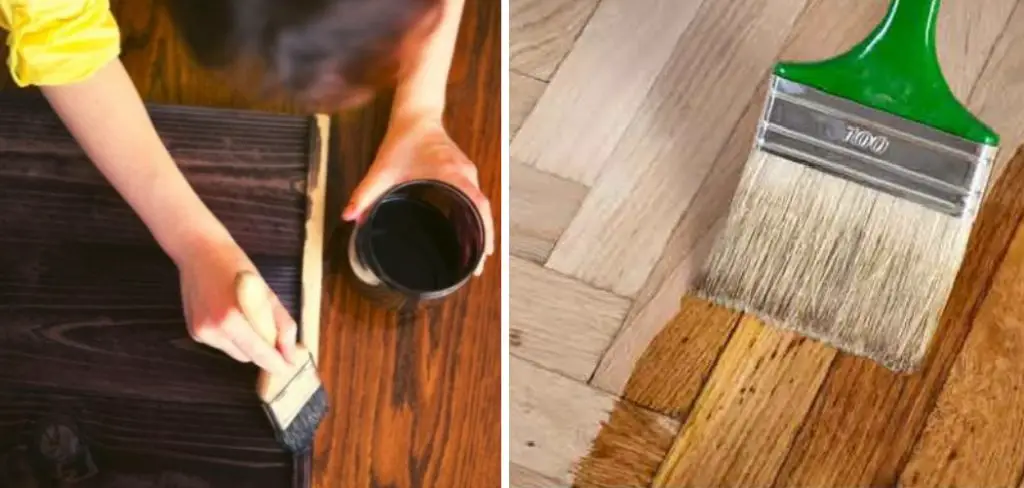
Whether you’re seeking to refresh furniture, cabinetry, or any wooden surface, employing non-sanding techniques can save time and effort while achieving impressive results.
This article delves into how to lighten stained wood without sanding, presenting alternative methods and step-by-step approaches that allow you to breathe new life into your wooden projects and restore their original luster. Discover the secrets to revitalizing your stained woodwork with ease and precision, keeping your projects looking fresh and vibrant.
The Need to Lighten Stained Wood without Sanding
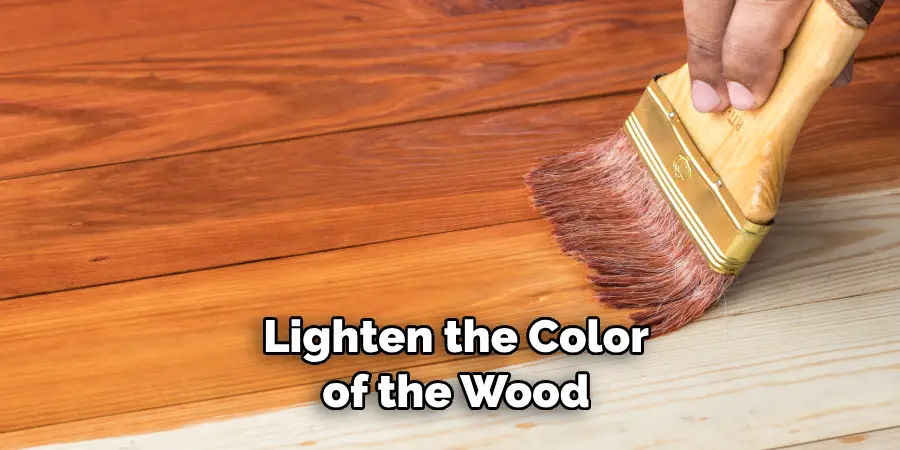
Often times, homeowners and woodworkers find themselves in a situation where they need to lighten the color of their stained wood without sanding. It is not always easy to make this happen as some staining methods are more resistant to change than others.
Luckily, there are a few tricks you can use to help lighten stained wood without sanding. The first and most important is to use a diluted bleach solution. You can create this mixture by mixing equal parts of bleach and water into a spray bottle and spraying it onto the wood surface. Be sure to wear protective gloves and safety glasses when handling bleach as it can be hazardous to your skin and eyes.
The second trick you can use is to apply a chemical stripper to the surface of the wood. This will help remove some of the existing stain and can help lighten the underlying wood. Make sure to wear protective gloves and a respirator when working with chemical strippers as they can be dangerous if ingested or inhaled.
The last technique you can use is to apply a coat of paint over the stained wood. This will not only help to lighten the color of the wood, but it will also protect it from further damage. Be sure to use a paint that is compatible with the type of wood you are working with so that it adheres properly and does not cause any damage.
Benefits of Preserving the Wood’s Original Finish
Preserving the wood’s original finish can have many benefits. For starters, it can help to maintain the integrity of the piece. Not stripping away layers of paint or other finishes may help preserve its structural strength and protect it from further damage. It also allows you to create a more consistent look throughout your home since there won’t be patches of lighter or darker areas where the finish has been completely removed.
Additionally, by preserving the original finish of the wood, you can keep it looking its best and protect it from further fading or discoloration due to exposure to sunlight. All in all, lightening stained wood without sanding can be an effective way to maintain its integrity and improve its overall appearance.
Another benefit of not sanding is that it helps reduce the amount of dust created. Sanding creates a lot of airborne particles, which can be harmful to your health when breathed in. To avoid this, try lightening wood with only cleaning supplies and household materials instead of sandpaper or power tools. This way you don’t have to worry about creating a huge mess or inhaling dangerous particles. Additionally, because you don’t have to use any power tools, it’s also easier and faster than sanding.
Preserving the wood’s original finish can also help keep its value intact. While lightening stained wood may improve its appearance, drastically stripping away layers of paint or other finishes could result in an inferior product with less overall value. Therefore, if you’re looking to keep the value of your wood piece intact, it’s wise to try lightening stained wood without sanding first.
10 Steps How to Lighten Stained Wood without Sanding
Use a Wood Cleaner
The first step in how to lighten stained wood without sanding is to use a wood cleaner. This will help to remove any dirt, dust, or grime that may be on the surface of the wood. Be sure to use a cleaner that is specifically designed for wood surfaces and follow the manufacturer’s instructions for proper application. Once you have finished cleaning the surface of the wood, allow it to dry completely before proceeding to the next step.

Apply Stripper Solution
Once the surface of the wood has dried completely, it is time to apply a stripper solution. This solution will help to loosen any remaining stain or finish on the surface of the wood so that it can be removed more easily. Be sure to apply an even coat of stripper over the entire surface of the wood and let it sit for 10-15 minutes before wiping off with a clean cloth.
Scrub Away Remaining Stain or Finish
After you have allowed the stripper solution to sit for 10-15 minutes, it is time to scrub away any remaining stain or finish on the surface of the wood using steel wool or another abrasive material.
Be sure to work in small circular motions until all of the stain or finish has been removed from the surface of the wood. Once you have finished scrubbing, wipe off any excess residue using a damp cloth and allow it to dry completely before proceeding with further steps.
Bleach Wood Surface
The fourth step in how to lighten stained wood without sanding is bleaching its surface with either chlorine bleach or oxalic acid, depending on what type of stain was used initially on your piece of furniture (oil-based stains should be treated with chlorine bleach, while water-based stains should be treated with oxalic acid).
When using either product, make sure that you wear protective gloves and goggles and follow all safety instructions provided by manufacturers carefully, as these products can be hazardous if not used properly.

Neutralize Wood Surface
After bleaching your piece of furniture, it’s important that you neutralize its surface by applying a mixture containing one part white vinegar and four parts water over its entire area and letting it sit for at least five minutes before wiping off any excess liquid with a clean cloth; this will help prevent discoloration due to too much oxidation from either product used previously during this process (bleach/oxalic acid).
Rinse With Water
Rinsing your piece of furniture with warm water after neutralizing its surface will help remove any remaining residue from both bleaching and neutralizing steps as well as prepare its area for further refinishing processes such as staining or sealing later down this process if desired by the user at hand (for example: if wanting your piece back into original color).
Dry With Cloth
Once your piece has been rinsed thoroughly with warm water, use a clean cloth and dry its entire area; this step helps ensure no moisture remains prior to moving on to the following steps, which involve staining/sealing processes later down this process if desired by the user at hand (for example: if wanting your piece back into original color).
Apply Stain If Desired
If you wish for your piece to back into its original color, then now would be an appropriate time to apply an appropriate stain onto its entire area.
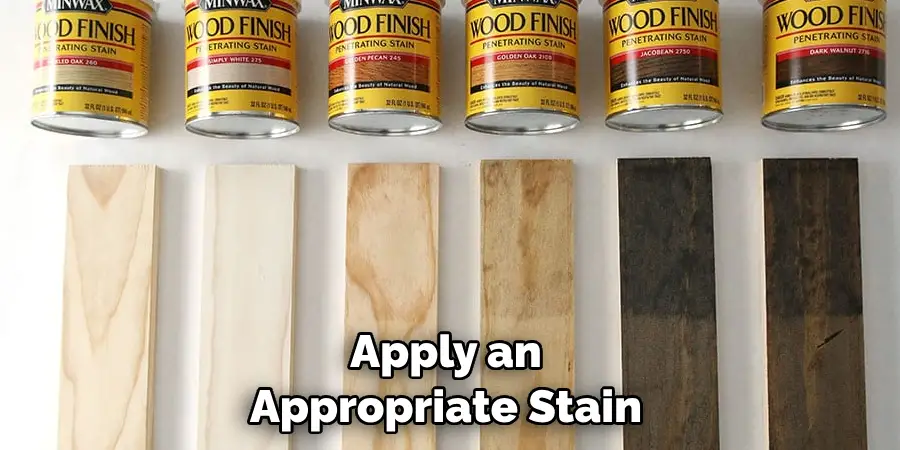
make sure when doing so that you are using a brush specifically designed for applying stains onto wooden surfaces as other brushes may leave behind unwanted marks/streaks which could ruin overall look once finished product has been completed later down this process (for example: if wanting your piece back into original color).
Seal Piece Of Furniture
Once an appropriate stain has been applied onto wooden surfaces, then now would be an appropriate time to seal them off; make sure when doing so that you are using an appropriate sealant specifically designed for sealing wooden surfaces, as other sealants may not provide desired protection level needed once finished product has been completed later down this process (for example: if wanting your furniture protected from future damages caused by everyday usage).
Buff To Shine
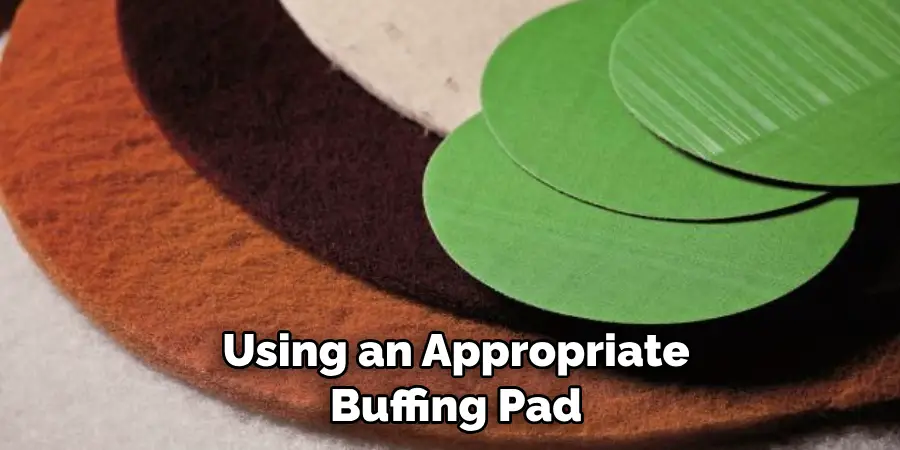
The last step in how to lighten stained wood without sanding would involve buffing out newly sealed surfaces in order to give them their final shine; make sure when doing so that you are using an appropriate buffing pad specifically designed for buffing wooden surfaces as other pads may leave behind unwanted marks/streaks which could ruin overall look once finished product has been completed earlier down this process (for example: if wanting your furniture looking shiny/new again).
Things to Consider When Lightening Stained Wood without Sanding
- Always wear protective gear such as masks, eye protection and gloves when working with chemicals.
- Consider how to protect yourself in the event of an accidental spill or splash. Have a safety plan in place for dealing with chemical exposure, including access to emergency medical help if needed.
- Make sure you are working in a well ventilated area; fumes from certain chemicals can be hazardous to your health.
- Always read and follow the manufacturer’s directions for use when working with any product.
- Test a small and inconspicuous area of the wood before proceeding with the entire project.
- Be sure to protect any areas adjacent to the stained wood you are lightening from potentially harmful overspray or runoff.
- Be mindful of the environment when disposing of any chemicals that you used in the lightening process. Follow all local regulations regarding disposal of such items.
- Take your time with the project and be careful not to rush, as mistakes can end up being costly or irreversible. Double check measurements before applying products, and make sure you’re using the right tools for the job.
Some Common Mistakes to Avoid
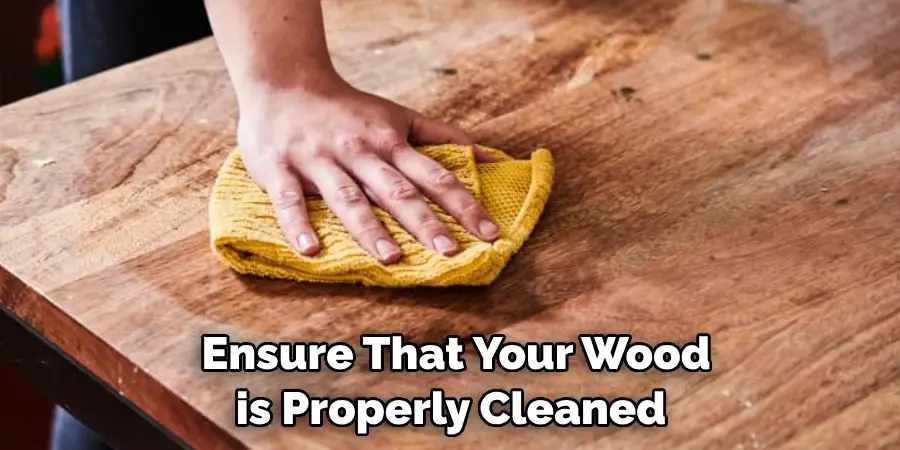
When lightening stained wood without sanding you should take extra care to avoid some common mistakes. Not prepping the surface correctly is one of the most common issues. Before beginning any staining process, ensure that your wood is properly cleaned and smoothed out. If there are any blemishes or nicks in the wood, it’s important to make sure that those are filled in and sanded down before beginning.
Another common mistake is using too much lightening agent. Depending on the type of wood you’re working with, it may take multiple rounds of bleaching to achieve the desired results. Applying too much lightening agent can have undesirable effects, so make sure to follow directions closely when using any type of bleaching agent.
It’s also important to watch for uneven application of the lightening agent, as this can lead to a patchy finish. Make sure that you are evenly and thoroughly coating all surfaces with the bleach and applying it in a consistent manner. If necessary, use a brush or cloth to help ensure even coverage.
Finally, don’t forget to use a wood conditioner after lightening your stained wood in order to protect and seal it. This will help prevent the wood from drying out or fading too quickly. Taking the time to properly condition your wood after bleaching is key for achieving good results.
Conclusion
As you have seen, there are many different ways to lighten stained wood without having to sand it down. From using vinegar and baking soda to bleach, each of these methods provides a way to reduce the dark stains on the wood while preserving its overall structure.
By investing in some simple materials and familiarizing yourself with these techniques, you can quickly lighten the stained wood in your home and improve the look of your wood furniture without spending endless hours sanding it down.
So why not try one of these methods today and see how much satisfaction you can get from knowing that you were able to lighten stained wood without sanding? Now that you know how to lighten stained wood without sanding, you can make your wood pieces look their best once again!

