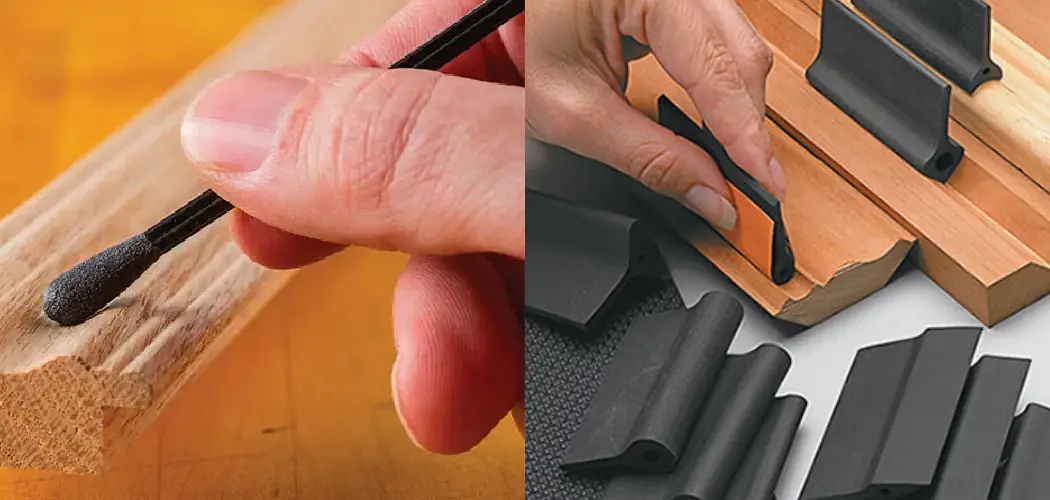
Sanding in grooves can be difficult, but it can be a breeze with the right tips and tricks. This blog post will discuss how to sand in grooves and give you some helpful tips to make the process easier. There are a few different ways to sand in grooves, each with its own benefits and drawbacks.
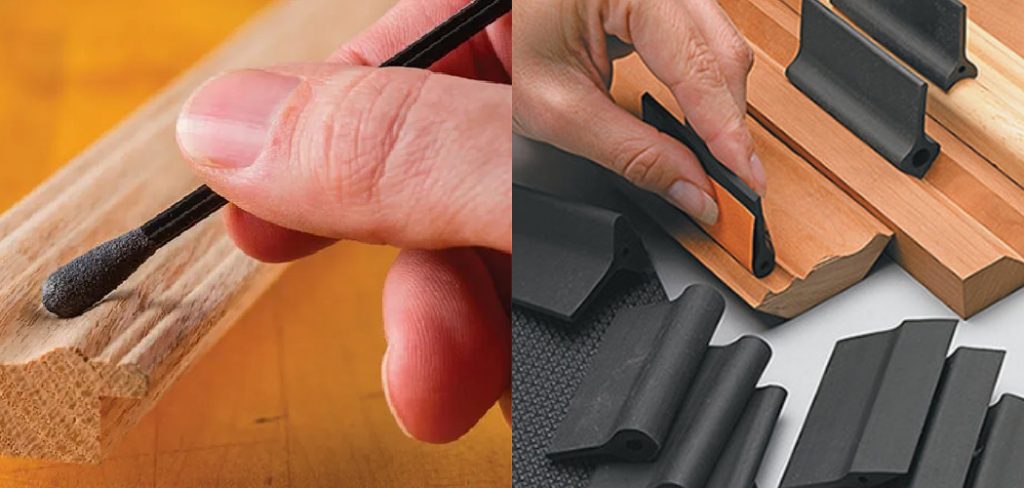
In this article, we will discuss the most common methods of sanding grooves: a standard belt sander, a contour belt sander, and a random orbital sander. We’ll also look at each method’s pros and cons to help you choose which is best for your needs. Read on for more information.
Why Should You Sand in Grooves?
Grooves are often difficult to reach with a standard belt sander. The small, narrow space can be hard to maneuver, and the sander can easily miss the groove. Contour belt sanders are explicitly designed for sanding in tight spaces like grooves. They have a small, cylindrical build that allows them to fit perfectly into the groove.
This type of sander helps you to achieve an even, consistent finish. Sanding your grooves helps create a smooth, professional finish on your project. Taking your time and sanding evenly is important to avoid damaging the wood. If the groove is too deep, you may need to use a router to remove some of the material before sanding.

13 Effective Ways on How to Sand in Grooves:
1. Use a Standard Belt Sander
One of the most common ways to sand in grooves is using a standard belt sander. This method is effective and can be done relatively quickly. However, it can be difficult to control the sander and avoid sanding too much of the surrounding area.
2. Use a Contour Belt Sander
A contour belt sander is a specialized tool designed to sand in grooves and other tight spaces. This type of sander can be more difficult to control than a standard belt sander, but it will produce better results. When using this belt, ensure the pressure is set to light, so you don’t gouge the wood.
3. Use a Drum Sander
A drum sander is another common tool used to sand in grooves. This type of sander is very effective but can be difficult to control. When using a drum sander, make sure that the sander is moving in the same direction as the wood grain. Otherwise, you could end up with a very uneven surface. Ensure the sander moves slowly and smoothly to avoid gouging the wood.
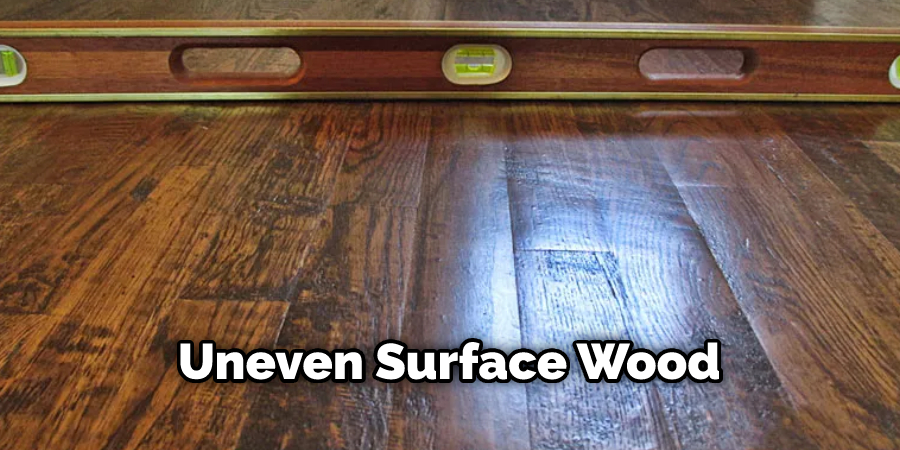
4. Detail Sanding Cones:
Detail sanding cones are small, cone-shaped pieces of sandpaper that fit into tight spaces. This is a great way to get into small grooves and crevices. Insert the cone into the space and twist it back and forth to remove the paint or finish. Using the cone method, use a light touch and go slowly to avoid damaging the wood.
5. Use a Sanding Block:
A sanding block is a small piece of wood or foam that you can wrap sandpaper around. This is a great way to get into tight spaces and corners. Insert the sandpaper into the block and wrap it around. Ensure the block is tight against the sandpaper, so it doesn’t slip. If you’re using a foam block, be careful not to press too hard, or you’ll end up with uneven sanding.
6. Use a Spindle Sander:
A spindle sander is a great option for sanding in tight spaces. This sander is designed to fit into small areas and can be rotated to get into the nooks and crannies. When using a spindle sander, make sure to go slowly and use light pressure to avoid damaging the wood. When using this type of sander, it is also important to keep the sandpaper moving to avoid creating any deep scratches.

7. Use Sanding Detailers:
Sanding detailers are small, handheld sanders that are great for getting into tight spaces. These sanders are very easy to control and can be used to remove paint or finish from small areas. Insert the sander into the space and move it back and forth to remove the material. When using a type of sander, use a dust mask to avoid inhaling any particles.
8. Use an Orbital Sander:
Orbital sanders are handheld power tools that are used to sand large surfaces. These sanders are circular and can quickly remove paint or finish from a surface. It is important to keep the sander moving when using this type of sander to avoid damaging the surface. Be sure to keep the sander moving in a back-and-forth motion as well.
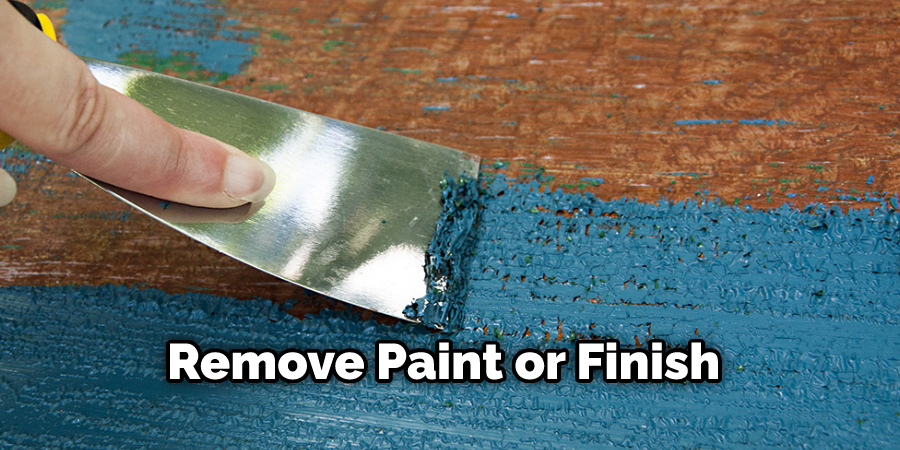
9. Applying Oscillating Tools:
Oscillating tools are handheld power tools that have a back-and-forth motion. These types of tools can be very effective for sanding in tight spaces. When using this tool, use a light touch and keep the tool moving to avoid damaging the wood. While using this tool, you may find it helpful to use a guide attachment to keep the tool moving in a straight line.
10. Large Contour Sanding Pads:
Large contour sanding pads are another great option for sanding in tight spaces. These pads are designed to fit into small areas and can be rotated to get into all the nooks and crannies. When using a large contour sanding pad, go slowly and use light pressure to avoid damaging the wood. If the contour sanding pad is too big for the area you’re working on, try using a smaller one.
11. Spindle Sander:
A spindle sander is a great tool for sanding in tight spaces. It consists of a cylindrical drum that spins and an abrasive sleeve that fits over the drum. You’ll need to secure the workpiece in a vise or clamp to use a spindle sander.
Make sure the workpiece is level before you start sanding. Then, slowly lower the sander onto the surface of the workpiece and move it back and forth until the entire surface is evenly sanded. If the workpiece is small, you may need to hand-hold it.
12. Using a Woodworking File:
A woodworking file is another great option for sanding in tight spaces. This type of file is designed to remove material from small areas. You’ll need to secure the workpiece in a vise or clamp to use a woodworking file.
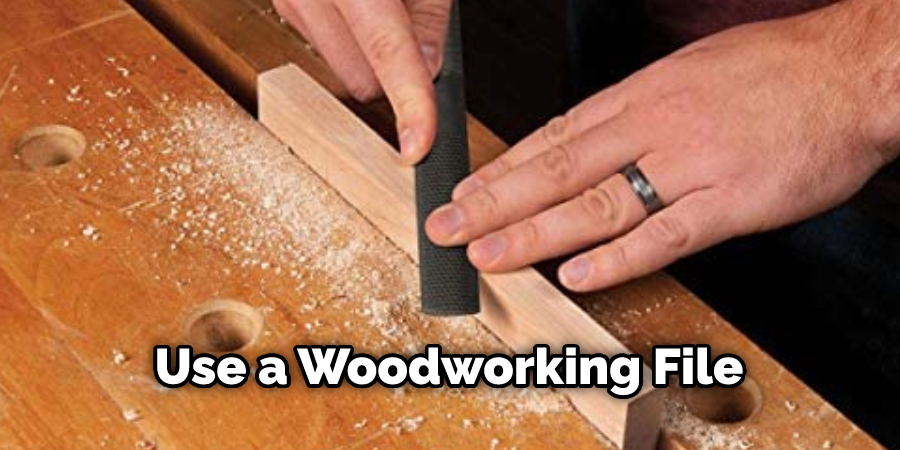
Make sure the workpiece is level before you start filing. Slowly lower the file onto the workpiece and apply pressure. Use a back-and-forth motion to file the material. Work slowly and carefully to avoid removing too much material. You can use fine-grit sandpaper to smooth the area after filing.
13. Using Curved Backers:
Curved backers are tools that are designed to sand curved surfaces. These tools can be very effective for sanding in tight spaces. You’ll need to secure the workpiece in a vise or clamp to use a curved backer. Make sure the workpiece is level before you start sanding.
Slowly lower the backer onto the workpiece’s surface and move it back and forth in a consistent motion. Be sure to keep the backer level so that you don’t create any unevenness on the surface. Check your work to ensure you’re not creating any gouges or scratches as you sand.
Do You Need to Use Professionals?
While sanding in tight spaces can be challenging, it is certainly possible to do it yourself with the right tools and techniques. However, if you are unsure or inexperienced in this type of work, it may be best to hire professionals for the job. They have the expertise and specialized equipment to ensure a smooth and even finish without damaging the wood.
Additionally, hiring professionals may save you time and effort in the long run. They can complete the task efficiently and effectively, leaving you with a professionally sanded surface without any potential mistakes or mishaps.
Ultimately, whether to hire professionals or not depends on your level of comfort and skill with sanding in tight spaces. If you are confident in your abilities and have the necessary tools, then go ahead and tackle the project yourself. But if you have any doubts, it may be better to leave it to the professionals for a flawless finish. So, consider your options carefully before making a decision. After all, the end result is what matters most.
How Much Will It Cost?
The cost of sanding in tight spaces will vary depending on the project’s size and complexity. If you choose to hire professionals, they will typically charge an hourly rate or a flat fee for the entire project.
If you decide to do it yourself, you’ll need to factor in the costs of purchasing or renting specialized tools and materials, such as sanders and various types of sandpaper. It may also be helpful to have a budget for any potential mistakes or mishaps that may occur during the process.
To get an accurate estimate, it’s best to consult with professionals and gather quotes from different sources before making a decision. This will give you a better idea of the overall cost and help you make an informed decision on how to proceed with your project.
Some Helpful Tips and Advice:
Here are a few tips on how to sand in grooves efficiently:
1. Use a lower speed setting when first starting out. This will help to avoid damaging the wood.
2. Keep the sander moving at all times. Do not stop in one spot for too long, as this will create a deep groove.
3. Use a finer grit paper as you progress to avoid damaging the wood.
4. Use a light touch when sanding. Do not apply too much pressure as this will damage the wood.
5. Wipe away any dust that accumulates on the sander frequently. This will help to avoid clogging the paper and making it difficult to sand.
6. When finished, vacuum up any dust that has accumulated on the surface.
With these tips in mind, sanding in grooves can be a simple and efficient process. Just take your time and be careful not to damage the wood. Good luck!
How to Use a Contour Belt Sander?
To use a contour belt sander, start by attaching the appropriate grit sandpaper to the sander. Next, place the sander on the workpiece so that the sanding belt is lined up with the groove.
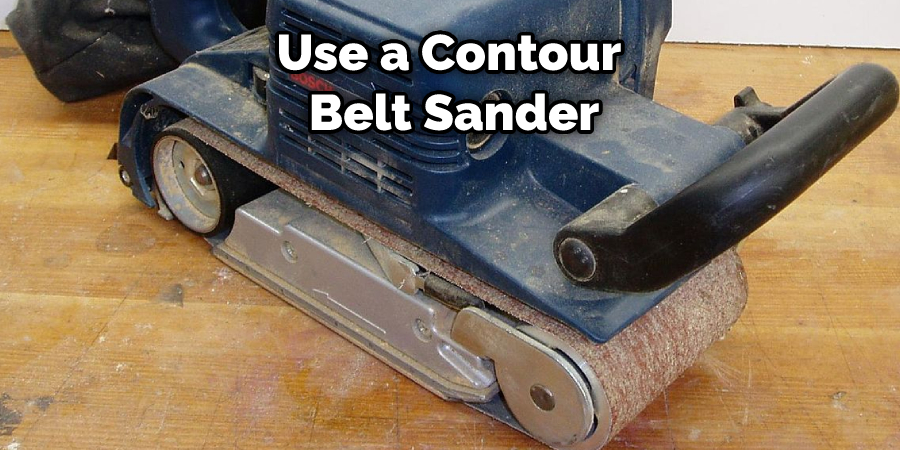
Apply light pressure and move the sander back and forth along the groove. Be sure to keep the sander moving to avoid creating gouges. If necessary, use a vacuum attachment to collect dust as you work. When finished, remove the sandpaper and clean up any remaining debris.
How Do You Sand Tight Crevices?
Whether you’re trying to repair a nick in your wood furniture or prep a piece for painting, sanding is an essential step. But when working with tight crevices and grooves, it can be difficult to get the sandpaper into the right position. So here’s a quick guide on how to sand in hard-to-reach places:
1. Choose the Right Sandpaper.
You’ll want to use fine-grit sandpaper (around 220) for most projects. But if your piece is particularly damaged or you’re trying to remove a lot of paint, you may need to start with coarse-grit paper (60-100).
2. Fold Your Sandpaper.
This will help you get a good grip on the paper and avoid tearing it. If you like to be extra-precise, you can even use scissors to cut a triangle out of the center of the paper.
3. Wet the Sandpaper.
This will help reduce dust and give you more control over sanding. Make sure the dusting cloth you’re using is also damp. If the wood is particularly delicate, you can use a vacuum attachment to suck up the dust as you work.
4. Sand in a Circular Motion.
Start with light pressure and gradually increase it until you’re satisfied with the results. Remember to sand both sides of the piece evenly. If you’re working on a large project, you may want to use an electric sander.
5. Vacuum or Brush Away the Debris.
Once you’re finished sanding, use a vacuum cleaner with a brush attachment to remove the dust from the crevices. You can also use a stiff-bristled brush, but be careful not to damage the wood.
6. Change Your Paper Regularly.
As the paper wears down, it will become less effective at removing debris. So check your paper often and change it out when necessary. When the paper starts to feel dull, it’s time for a new one. If you’re working with a power sander, the process will go much faster, but you’ll still need to change the paper regularly.
Frequently Asked Questions:
Q: Can I Use a Regular Sanding Block for Tight Spaces?
A: Yes, a regular sanding block can be used for tight spaces. However, it may not be as effective as other tools specifically designed for sanding in hard-to-reach areas. It’s best to use the appropriate tool for the job.
Q: How Do I Sand Between Tight Gaps?
A: One option is to use a sanding stick, which is a thin piece of wood with sandpaper attached. You can also wrap sandpaper around a small dowel or toothpick and use that to sand the gap. Just be careful not to apply too much pressure and damage the wood.
Q: Can I Sand in Tight Grooves Without Damaging the Wood?
A: Yes, as long as you use the proper tools and techniques. It’s important to go slow and be gentle when sanding in grooves to avoid damaging the wood. Using fine-grit sandpaper and keeping a light touch can help prevent any potential damage.
Q: Do I Need to Sand in the Direction of the Grain?
A: Yes, it’s best to sand in the direction of the grain. This will help prevent any scratches or damage to the wood. If you need to sand against the grain for a specific reason, be sure to use a fine-grit paper and apply light pressure.
Final Words
Sanding in grooves is a great way to sand evenly and avoid creating swirls. There are a few ways to do this, but we’ve shown you the easiest method. To start, set your belt sander to its lowest speed and put it into reverse. Then, hold the belt sander so that the edge of the sandpaper is facing down and place it against one side of the groove.
Apply pressure to the belt sander while moving it up and down along the length of the groove. Be sure to keep the sandpaper flat against the wood at all times. After you’ve gone over the entire groove, move to the other side and repeat the process. Once you’re finished, you should have a nice, even finish. We hope this guide on how to sand in grooves has been helpful to you! If you have any questions, feel free to ask us in the comments below. Thanks for reading!
You Can Visit To How to Sand Small Grooves

