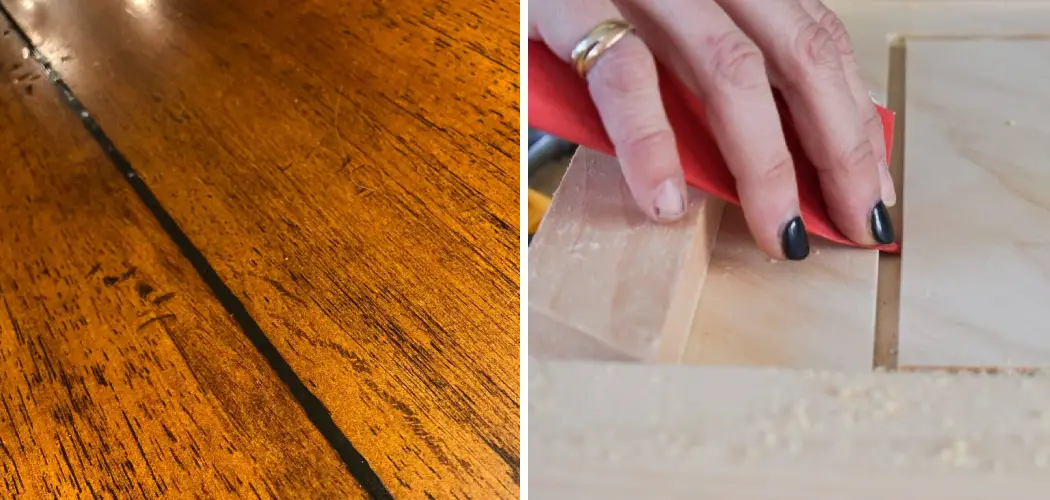
Small grooves can be a challenge to sand, but with the right technique, it can be done quickly and easily. In this blog post, we will show you how to sand small grooves using a few simple steps. We will also share some tips on how to get the best results. So, if you are looking for a way to sand small grooves like a pro, then keep reading!
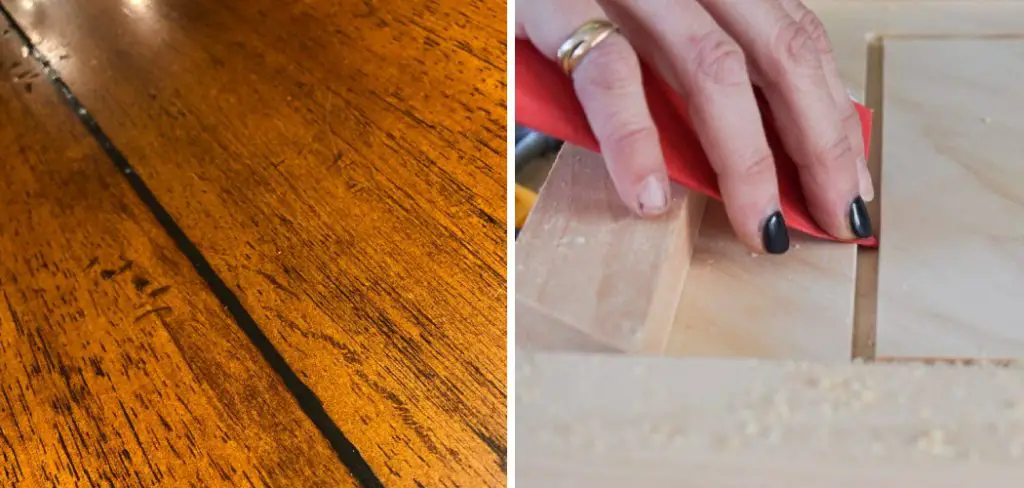
So you’ve got a project that involves some small grooves, and you’re not sure how to go about sanding them? Not to worry – it’s actually a pretty simple process. Here, we’ll walk you through the steps for sanding small grooves, so you can get your project done quickly and easily. Happy sanding!
Why is it Difficult to Sand in Grooves?
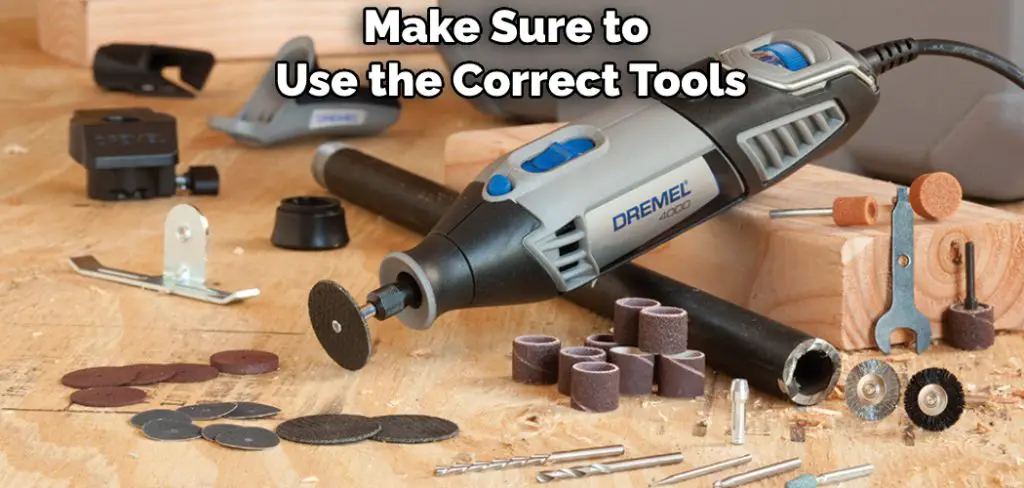
It can be tricky to sand in grooves because the area is small and hard to reach. You need a special tool like a small piece of sandpaper or an emery board to get into the tiny spaces. The best way to sand in grooves is to use a rotary tool with an abrasive bit attached.
This will allow you to get into the tight spaces and properly sand them without the risk of damaging the material you are working on. Make sure to wear safety glasses when using a rotary tool, as bits can fly off at high speeds!
When sanding in grooves, always sand with the grain of the material. Start by using a coarse grit and then progress to finer grits as needed for a smooth finish. If you are working on wood, make sure to use an oil-based lubricant to keep the bit from binding.
Why Do You Need to Sand Small Grooves?
1. To Remove Dirt and Grime
Small grooves, such as those found on the sides of doors or cabinets, tend to collect dirt and grime over time. Sanding these grooves can help remove built-up debris and make them look cleaner.
2. To Smooth Out Imperfections
Sanding small grooves can also smooth out any imperfections in the wood, such as dents or scratches. This can help improve the overall appearance and finish of your wood piece. So this can be another reason to sand small grooves.
3. As Part of the Finishing and Refinishing Process
Sanding is often a step in the finishing or refinishing process for wood pieces. This means that if you are looking to give your wood piece a new coat of stain or paint, sanding the small grooves can help prepare the surface for better adherence and a smoother finish.
4. To Prepare for Painting or Staining
Sanding small grooves before painting or staining can also help create a smoother surface, leading to a more even application and professional-looking finish. But make sure to sand in the direction of the wood grain to avoid causing damage.
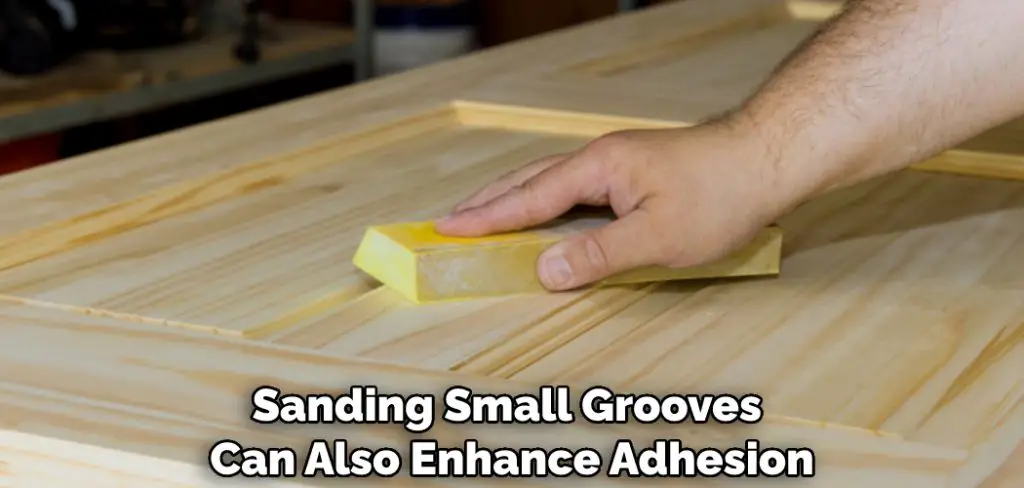
5. To Enhance Adhesion
In addition to preparing the surface for a smooth finish, sanding small grooves can also enhance adhesion when applying new coats of stain or paint. This can lead to a longer-lasting and more durable result.
Things You May Need to Sand Small Grooves
- Sandpaper in various grits (start with a coarse grit for removing material, then move to a finer grit for smoothing)
- Sanding block or tool specifically designed for getting into small grooves
- Safety goggles and mask to protect against airborne particles
How to Sand Small Grooves in 6 Easy Steps
Step 1: Start With Coarse Sandpaper
Begin with coarse sandpaper, around 100-120 grit. This will quickly remove any roughness in the groove and prepare it for finer sanding. Be careful not to apply too much pressure, as this can damage the wood.
Step 2: Work Your Way Up in Grit
Gradually work your way up in grit, from 120 to 150 to 180. This will smooth out the groove even more and make it ready for finishing. It will also help prevent visible sanding marks. So make sure to use light, even pressure, as you sand.
Step 3: Use a Sanding Block or Paddle
To ensure an even and smooth finish, use a sanding block or paddle to distribute pressure evenly along the groove. This will also make it easier to reach into tight corners and crevices. But you have to make sure the block or paddle fits snugly into the groove for the best results.
Step 4: Finish With Fine Grit Sandpaper
Finish off with fine-grit sandpaper, around 220-240 grit. This will give the groove a smooth and polished look. It will also help enhance the finish and adherence when painting or staining.So make sure to use light pressure and sand with the grain.
Step 5: Wipe Away Excess Sawdust
After sanding, use a clean cloth to wipe away any excess sawdust from the groove. This will help prevent any interference with the finishing process. You can also use a vacuum cleaner with a brush attachment for easy cleanup.
Step 6: Apply Your Finishing Touch
Now that your groove is smooth and ready, you can apply your desired finishing touch, such as stain or paint. Just make sure to let the wood fully dry before doing so. And remember to always follow the instructions on your chosen product for the best results.
Overall, sanding small grooves can help improve the appearance and finish of your wood piece. It can also enhance adhesion when applying new coats of stain or paint. Just make sure to use the correct tools and materials, and always work in the direction of the grain to avoid causing damage.
Some Essential Tips and Tricks to Sand Small Grooves
1. Use a Sanding Sponge
A sanding sponge is a great tool for getting into those small, hard-to-reach areas. It will also help you get more even sanding on the grooves. So if you want to sand small grooves, grab a sanding sponge and get to work.
2. Use a Drum Sander
Using a drum sander is another effective way to tackle small grooves. It’s important to select the right size for your project and go slow for the best results. But you have to be careful not to over-sand and create damage to the wood.
3. Use a Detail Sander
A detail sander is a smaller, more precise tool that allows for better control when sanding small grooves. It’s important to adjust the pressure as needed and go slowly for the best results. Make sure to also regularly clean off any build-up of sawdust to ensure a smooth sanding process.
4. Start with Coarser Grit Sandpaper
Starting out with coarser grit sandpaper will help remove excess material and make the groove more even before using finer grits for a smoother finish. Just be careful not to over-sand and damage the wood.
5. Use a Sanding Block
Using a sanding block or another tool to apply pressure will provide better control and prevent you from accidentally over-sanding in small grooves. It will also help create an even finish on the grooves.
6. Take Your Time
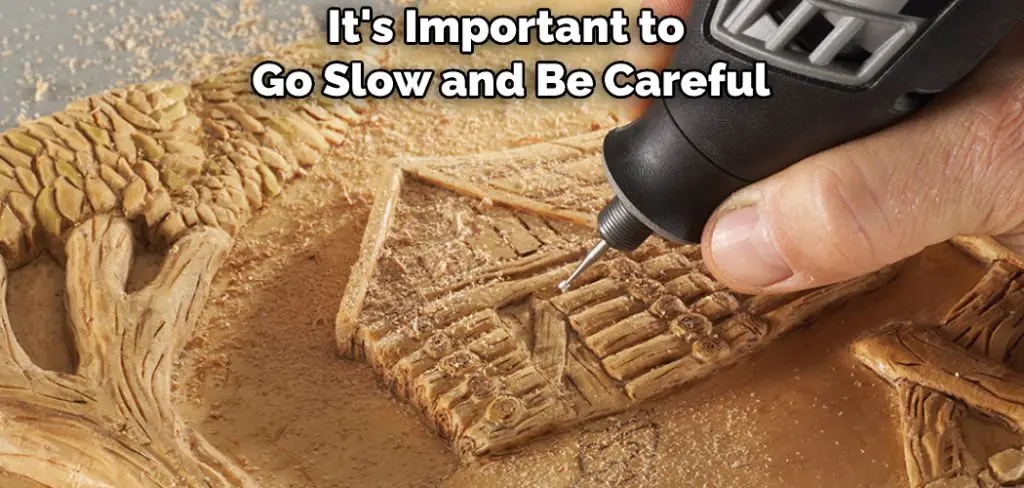
It’s important to go slow and be careful when sanding small grooves. Rushing through the process can lead to uneven results or accidentally damaging the wood. Taking your time will ensure a smooth, professional finish on those small grooves.
Frequently Asked Questions
How Often Should I Sand These Grooves?
This will depend on the level of wear and tear, but as a general rule, it is recommended to small sand grooves every 1-2 months. But you should keep it in mind to always check for smoothness and sand as necessary.
What Type of Sandpaper Should I Use?
For small grooves, it is best to use finer grit sandpaper, such as 220 or higher. If the grooves are especially deep or difficult to reach, you may want to try using a sanding sponge. But make sure to always test the sandpaper on a small, inconspicuous area first to ensure it won’t damage the surface.
Do I Need Any Special Tools?
In most cases, sanding by hand with the appropriate sandpaper will do the job. However, for difficult-to-reach or multiple grooves, a power sander may make the task easier and more efficient. Just be sure to use caution and follow all safety instructions when operating power tools.
Are There Any Safety Precautions I Should Take?
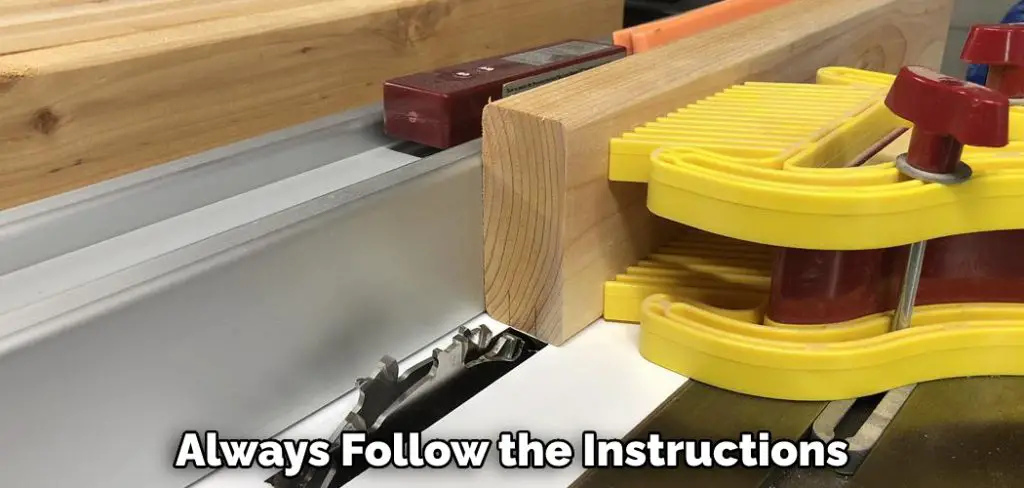
Always wear appropriate protective gear such as goggles or a face mask to prevent inhalation of dust particles. Keep the area well-ventilated, and clean up any excess dust after sanding. Additionally, be mindful of the surrounding area to avoid damaging nearby surfaces. And always follow the instructions and safety guidelines of any tools or products used.
Conclusion
Now that you know how to sand small grooves, put your new skills to the test! Whether you’re working on a woodworking project or refinishing furniture, this technique will come in handy. With a little practice, you’ll be able to sand those tiny grooves with ease. Whether you need to sand small grooves or flat surfaces, the proper technique will ensure a great result every time.
Remember to start with coarse-grit paper and work your way up to finer grits as needed. Moving the sander in different directions will help you achieve a smooth, even finish. And finally, always sand with the grain of wood for best results. With these tips in mind, you’ll be ready to take on any sanding project like a pro!

