Have you ever tried to sand a door by hand? It’s not easy. You need to take your time and be very careful, or you’ll end up with gouges and scratches all over the door. An electric sander is a much better option. Not only does it make the job easier, but it also gives you a more even finish. In this post, we’ll show you how to sand a door with an electric sander. Keep reading for tips and advice.

What Is an Electric Sander?
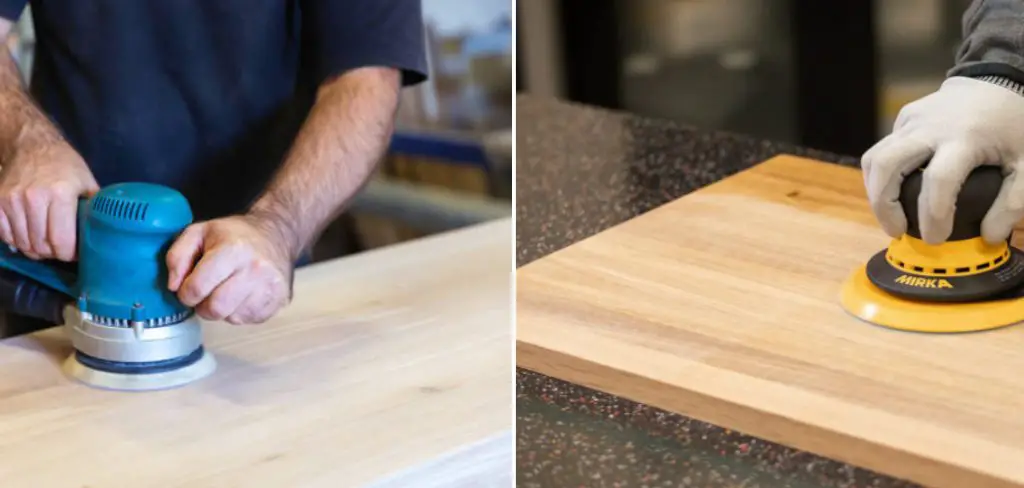
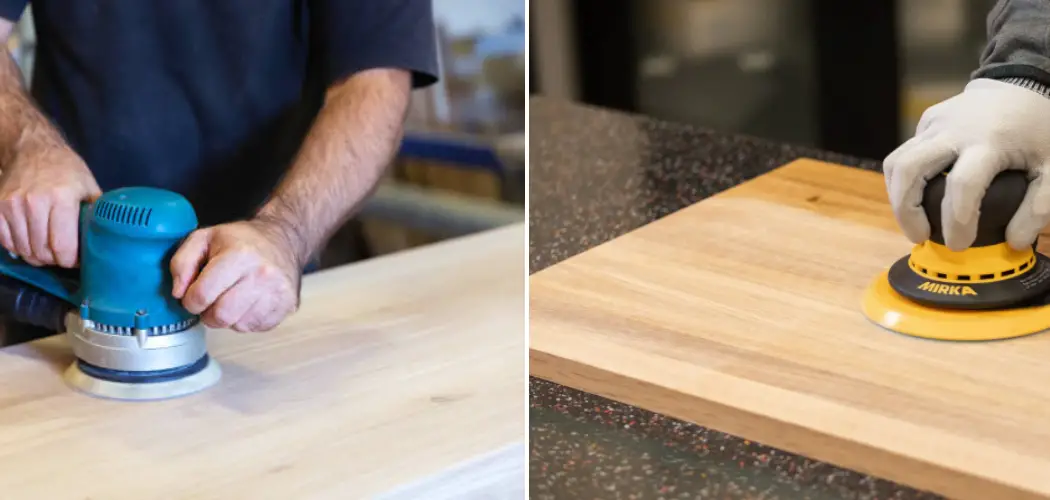
An electric sander is a power tool used to smooth surfaces by abrasive action. The most common type of electric sander is the orbital sander, which uses a circular motion to sand surfaces. Electric sanders are commonly used on wood, metal, and plastic surfaces.
They are also used on drywall and plaster to smooth out imperfections. Sanders come in various sizes and shapes and can be handheld or bench-mounted. The sander you use will depend on the material you are working with and the desired finish.
Why Should You Sand a Door with An Electric Sander?
If you’re looking to refinish a door, sanding is an essential step. And while it’s possible to sand by hand, using an electric sander will yield better results in less time. Here’s why: electric sanders provide a more consistent finish, thanks to their rotating action.
This consistent action also means you’re less likely to miss any spots, resulting in a smoother overall surface. In addition, electric sanders create less dust than hand-sanding, which can save you cleanup time later on. So, if you’re planning to refinish a door, reach for an electric sander and enjoy the faster, easier sanding experience.
How to Sand a Door with An Electric Sander in 10 Easy Steps
Sanding a door can seem like a daunting task, but with the help of an electric sander, it can be a breeze. Here are a few tips to help you get started:
1. Choose the Right Sander
There are many different types of sanders on the market, but you will need an electric sander for this project. For example, when sanding a door, you will want to use a palm sander, which is smaller and easier to maneuver than a traditional floor sander.

You will also need to purchase sandpaper in various grits. You will need coarse, medium, and fine grit sandpaper for this project. It would be best to begin sanding with the coarse grit and work your way down to the fine grit for a smooth finish.
2. Prep the Door
Before you begin sanding, you will need to remove the door from its hinges and lay it flat on a work surface. If the door is too large to lay flat, you can prop it up against a wall. Next, use a putty knife with wood filler to fill any holes or cracks in the door. Once the filler is dry, sand it down until it is flush with the rest of the door.
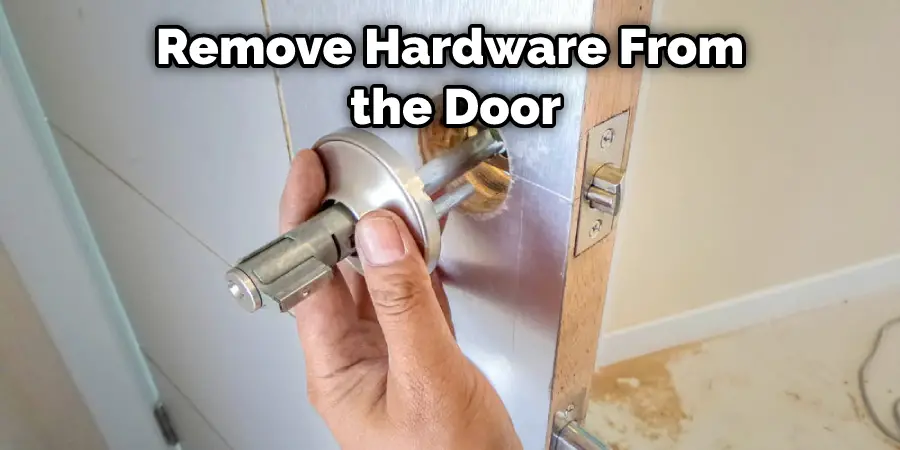
It’s also a good idea to remove any hardware, such as knobs or hinges, before sanding. The hardware can get in the way and become damaged during the sanding process.
3. Set Up Your Work Area
Sanding can create a lot of dust, so it’s important to set up your work area properly. Make sure you have plenty of space to move around and that the door is well-supported. Lay down a drop cloth or newspaper to collect the dust and debris. You may also want to wear a dust mask and safety goggles to protect yourself from any flying debris.
If you are sanding indoors, it’s a good idea to open windows for ventilation. You may also want to cover nearby furniture and surfaces with plastic to protect them from dust. But if possible, it’s best to do your sanding outdoors.
4. Start with Coarse Grit Sandpaper
Begin by attaching a coarse grit sandpaper to your electric sander. This will help remove any paint, varnish, or other coatings from the door. Move the sander in a circular motion over the surface of the door, being careful not to apply too much pressure. Let the sander do most of the work for you.
But be sure to sand evenly and cover all areas of the door. Pay extra attention to any rough or uneven spots. Once you have sanded the entire surface, wipe down the door with a damp cloth to remove any dust.
5. Switch to Medium Grit Sandpaper
Next, switch to a medium grit sandpaper and repeat the sanding process. This will help smooth out any scratches or rough spots left by the coarse grit sandpaper. Again, be sure to cover all areas of the door evenly.
Once you have finished sanding with the medium grit paper, wipe down the door again with a damp cloth. But be sure to let the door dry completely before moving on to the next step.
6. Finish with Fine Grit Sandpaper
Finally, switch to a fine grit sandpaper and repeat the sanding process one last time. This will help create a smooth finish and prepare the door for painting or staining. Be sure to cover all areas of the door evenly once again.
The final sanding with fine-grit paper will also remove any remaining dust or debris from the door. Wipe down the door one last time with a damp cloth and let it dry completely before proceeding.
7. Sand by Hand for Hard-to-Reach Areas
While an electric sander is great for most of the door, there may be some hard-to-reach areas that require hand-sanding. For example, the edges or corners may be difficult to reach with an electric sander.
Use a sanding block wrapped in fine grit sandpaper to carefully sand these areas by hand. Be sure not to apply too much pressure, as this can create gouges or scratches. Use a light touch and take your time to achieve a smooth finish. You can also use sandpaper wrapped around a dowel to sand curved surfaces.
8. Inspect the Door Surface
Once you have finished sanding, inspect the door surface for any remaining imperfections. If there are still rough spots or scratches, repeat the sanding process with fine-grit paper until you achieve a smooth finish. The surface should feel smooth to the touch and free of any bumps or imperfections.
It’s also important to make sure the door is completely dry before proceeding to the next step. You may want to wait a few hours or even overnight for the door to dry completely. You can use a fan or open windows to help expedite the drying process.
9. Clean and Prep for Finishing
Before you apply any paint or stain to your door, it’s crucial to clean off any remaining dust or debris. Use a vacuum or tack cloth to remove all traces of sanding dust from the surface of the door. This will ensure a clean and smooth finish for your final coat.
You may also want to lightly sand the surface with fine grit paper one more time just before finishing. This will help create an even smoother surface for painting or staining. The key is to remove any remaining dust and debris before applying the final coat.
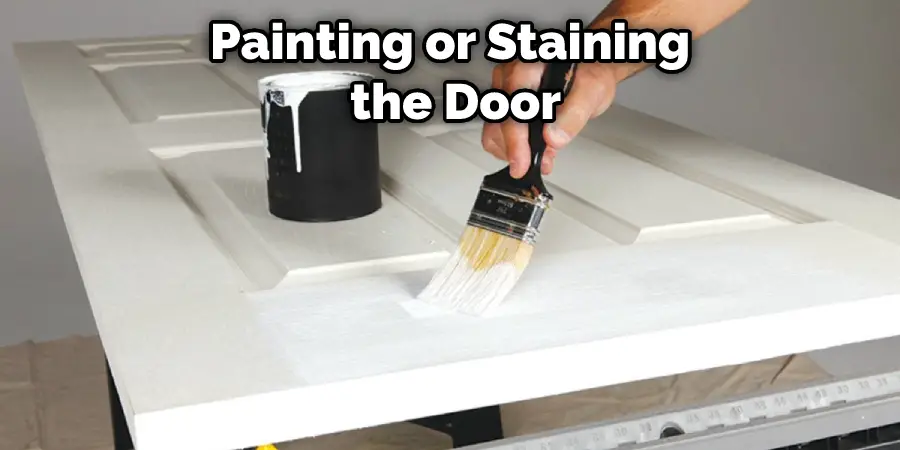
10. Apply Paint or Stain
Finally, it’s time to apply your chosen finish to the door. Use a brush or roller to apply paint or stain evenly over the entire surface of the door. Be sure to follow the manufacturer’s instructions and let each coat dry completely before applying another.
Once you have applied your final coat, allow it to dry completely before reattaching any hardware or hanging the door back on its hinges.
Sanding a door with an electric sander may seem like a daunting task, but by following these steps and taking your time, you can achieve a smooth finish that will make your door look brand new. Remember to always wear proper safety gear and take breaks as needed.
Electric sanders are a great tool for sanding doors quickly and easily. With these tips, you’ll be able to get the perfect finish on your next-door project.
What Do You Need Before You Start Sanding a Door?
Before you begin sanding your door, there are a few things you need to do to prepare. First, remove all hardware from the door, including hinges, knobs, and handles. Next, using a utility knife, score the paint along the edges of the door where it meets the frame.

This will help to prevent paint build-up on the sandpaper. Once the door is prepped, vacuum any dirt or dust off of the surface. Then, using a tack cloth, wipe down the door to remove any lingering debris. Now you’re ready to start sanding!
What to Do if The Door Is Warped or Has Other Problems
Warped doors are a common problem, but it is usually an easy fix. The first step is to remove the door from the hinges. Next, use a belt sander to sand down the raised portions of the door until it is flush with the rest of the surface.
If you don’t have a belt sander, you can use a hand sander, sandpaper, and elbow grease. Once you have sanded down the door, you will need to apply a new coat of paint or sealant. Finally, rehang the door and enjoy your new, smooth surface.
What Type of Sandpaper Should Be Used for Sanding a Door with An Electric Sander?
The type of sandpaper you use for sanding a door with an electric sander can make all the difference in the world. If you’re using the wrong type, you can end up with a door that’s sanded unevenly or, worse – with scratches and gouges. So, what’s the best type of sandpaper to use?
First, choosing a grit appropriate for the type of door you’re working with is important. For example, if you’re working with a softwood door, such as pine or fir, you’ll want to use coarse-grit sandpaper, such as 60-grit. On the other hand, for hardwoods, such as oak or maple, you’ll need to use finer-grit sandpaper, such as 100-grit.
Second, it’s important to choose sandpaper that’s compatible with your sander. Some sanders require special paper that’s designed not to clog up the machinery. Lastly, it’s important to consider the finish you’re going for. If you want a smooth, glossy finish, you’ll need to use finer-grit sandpaper; if you’re going for a more rustic look, you can use a coarser grit.
With so many factors to consider, it can be tricky to know what sandpaper to use for sanding a door with an electric sander. Luckily, we’ve got you covered. In this article, we’ll discuss the different types of sandpaper and how to choose the right one for your project.
What Are the Dangers of How to Sand a Door with An Electric Sander?
Electric sanders are very efficient at removing paint or varnish from doors, but there are some dangers associated with using them. One of the biggest dangers is the potential for kickbacks. This can occur when the sander gets caught on a raised piece of wood, causing it to spin out of control. If kickback occurs, it can be difficult to regain control of the sander and avoid injury.

In addition, electric sanders generate a lot of dust, which can be harmful to your lungs if inhaled. To avoid these dangers, always wear safety goggles and a dust mask when using an electric sander, and keep the sander moving to avoid kickback. Nevertheless, with proper precautions, electric sanders can be safe and effective tools for door refinishing projects.
What Are the Benefits of Sanding a Door with An Electric Sander?
If you’re looking to refinish a door, sanding is an essential step. And when it comes to sanding, an electric sander is the way to go. Here are just a few of the benefits of using an electric sander on your door project:
Electric sanders are much more powerful than manual sanders, so you can remove more of the old finish and prep the door more quickly.
An electric sander will also save you a lot of time and effort – you won’t have to sand by hand, so your arms and hands won’t get as tired.
Electric sanders also do a much better job of creating a smooth, even surface – something that’s particularly important if you’re planning on painting or staining the door. Finally, electric sanders create less dust than manual sanders, so there’s no need to worry about clean-up being a huge hassle.

So if you’re thinking about refinishing a door, be sure to consider using an electric sander. It’ll make the job easier and produce better results.
Frequently Asked Questions:
Q: Can I Sand My Door Without Removing It From the Hinges?
A: It’s best to remove the door from its hinges before sanding. This allows you to have better access to all sides of the door and prevents potential damage to your hinges. The extra step of removing and rehanging the door will result in a better finish.
Q: How Long Does It Typically Take to Sand a Door with an Electric Sander?
A: The time it takes to sand a door will vary depending on the size and condition of the door, as well as the type of electric sander being used. On average, it can take anywhere from 15 minutes to an hour.
Q: Can I Use My Electric Sander for Other Home Improvement Projects?
A: Yes! Electric sanders are versatile tools that can be used for a variety of home improvement projects, such as refinishing furniture, smoothing drywall seams, and even sanding down rough spots on hardwood floors. Just be sure to choose the right type of sandpaper for each project and follow all safety precautions. So, investing in an electric sander can be a good addition to your toolbox.
Q: How Often Should I Sand My Door?
A: It’s recommended to lightly sand your door every few years, even if it doesn’t appear to need it. This will help maintain the smooth surface and prevent any buildup of dirt or grime. However, you may want to sand more frequently if your door is exposed to harsh weather conditions or high-traffic areas.
Conclusion
Sanding a door is a relatively easy project that can be completed in just a few hours. With the right tools and some practice, you can create a smooth and polished surface on your door that will look great for years to come. We hope this guide has helped you learn how to sand a door with an electric sander. Please let us know in the comments section below if you have any questions or feedback.
You Can Check It Out To Repair Wood Door Frame Dog Chewed


