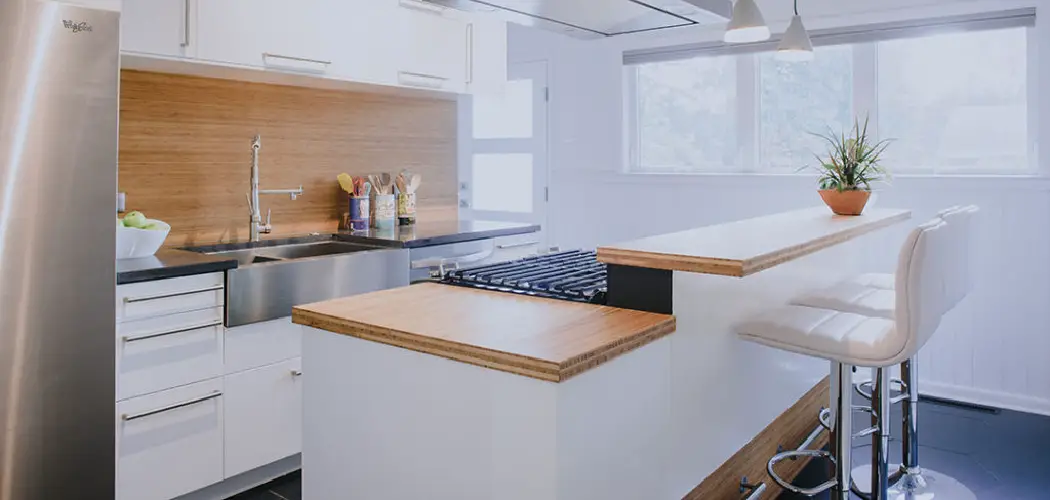
Installing a slab of wood as your countertop is a unique and beautiful way to customize your kitchen. It is important to know how to install wood slab countertop. Not only is it a great way to show off your personality, but it is also a functional surface that can withstand the demands of daily use.
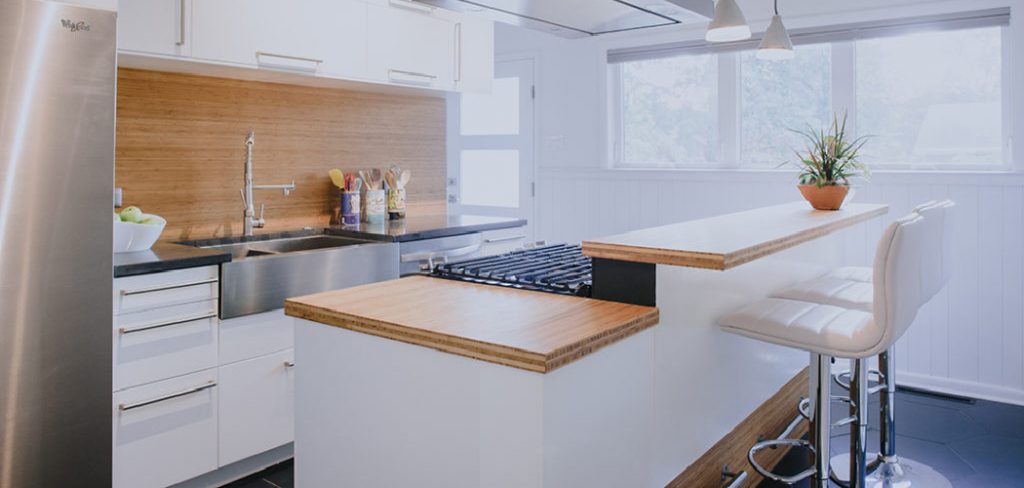
Whether you are installing wood slab countertops for the first time or are looking for tips on how to get the job done right, this article will provide you with everything you need to know. So read on to find out more!
Materials You Will Need
- Wood Slab
- Sandpaper
- Clamps
- Tape Measure
- Circular Saw
- Level
- Silicone Caulk
- Screws and Washers (optional)
How to Choose the Right Wood Slab for Your Countertop?
If you’re considering a wood slab countertop for your kitchen, the first step is to choose the right wood. Hardwoods like maple, oak, and cherry are good choices for countertops because they’re durable and easy to clean.
However, softer woods like pine can be more challenging to keep in good condition. When selecting a hardwood, keep in mind that darker woods will show scratches more easily than lighter woods. You should also consider the grain of the wood when making your selection.
Woods with a tight grain are less likely to show wear and tear, while woods with a loose grain can be more susceptible to damage. Once you’ve chosen the right wood, the next step is to select a thickness that will complement your kitchen’s design. If you have a modern kitchen, a thinner slab may be the best choice.
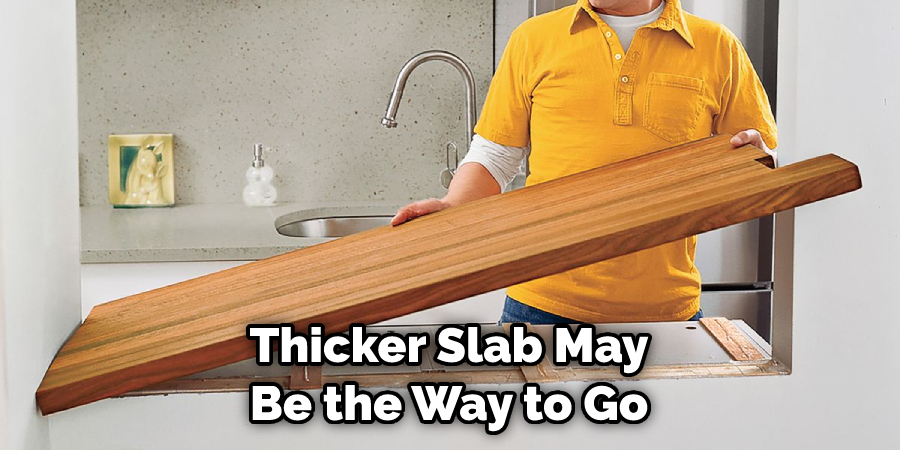
But if you’re going for a more rustic look, a thicker slab may be the way to go. No matter what style you’re going for, choosing the right wood slab for your countertop is an important decision that will have a lasting impact on your kitchen’s design.
7 Easy Steps on How to Install Wood Slab Countertop
Step 1: Measure and Cut the Slab
Wood slab countertops add a beautiful, natural element to any kitchen. If you’re thinking of installing one in your home, the first step is to measure and cut the slab. Measure the area where you’ll be installing the countertop. Be sure to account for any overhangs or other irregularities. Mark the dimensions of the countertop on the slab. Use a straightedge to draw a line around the perimeter.
Use a saw to cut along the line. A circular saw or jigsaw will work for this purpose. Just be sure to use a carbide-tipped blade to prevent chipping. With that, you’re ready to install your new wood slab countertop. Add some finish of your choice and enjoy the beauty of nature in your kitchen!
Step 2: Sand Down Any Rough Edges
Wood slab countertops are a beautiful and unique way to add character to your kitchen. Though they require more upkeep than other countertop materials, the natural grain and warm colors are well worth the extra effort. If you’re considering installing a wood slab countertop in your kitchen, there are a few things you should know. It’s important to sand down any rough edges on the wood before installation.
This will help create a smooth surface that is less likely to chip or crack over time. Wood slab countertops should be sealed with a food-grade sealant before use. This will protect the wood from water damage and stains. Be sure to wipe up spills promptly and avoid placing hot pots or pans directly on the surface of the countertop.
Step 3: Secure the Slab to the Base Cabinets
Installing a wood slab countertop is a great way to add a unique and natural element to your kitchen. While it may seem like a daunting task, with a little patience and the right tools, it is fairly easy to do. The most important step is to make sure that the slab is securely attached to the base cabinets.
You Can Check It Out to Fix a Leaning Shed
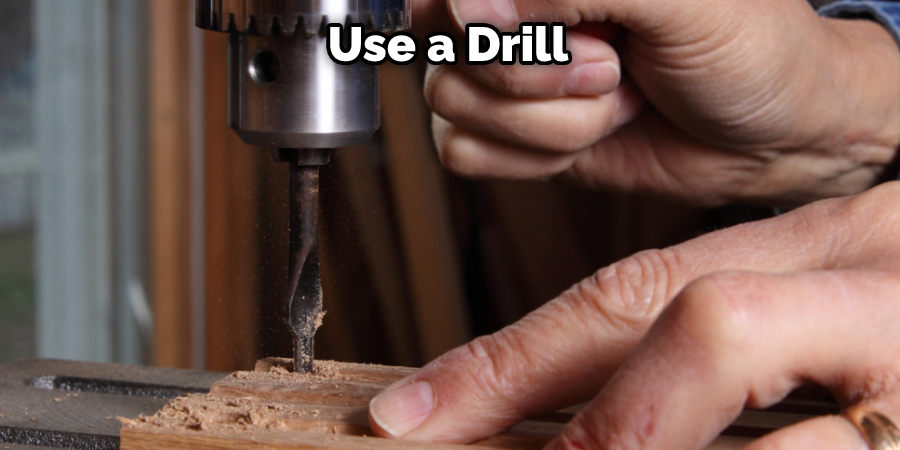
Use a drill to create pilot holes in the cabinet. Use screws or nails to attach the slab to the cabinet. Be sure to use screws or nails that are long enough to penetrate through the thickness of the slab and into the cabinet. Apply a generous amount of glue along the edges of the slab where it meets the cabinets. Allow the glue to dry for 24 hours before using the countertop.
Step 4: Mark and Drill Pilot Holes
Before you can install your wood slab countertop, you’ll need to mark and drill pilot holes. You should use a tape measure to find the center of the countertop. Use a pencil to mark the center point.
Use a drill bit that is slightly smaller than the diameter of your screws to drill a pilot hole at the center point. Once you have drilled the pilot hole, you are ready to install your wood slab countertop. To do this, simply line up the holes in the countertop with the pilot hole you just drilled. Then, insert the screws and tighten them until the countertop is secure.
Step 5: Secure with Screws and Washers
One of the most important aspects of a wood slab countertop is the installation. A properly installed countertop will last for many years, while an improperly installed one can start to come to lose almost immediately. The key to a secure installation is to use screws and washers.
The screws should be long enough to go through the thickness of the wood and into the supports below, and the washers should be wide enough to distribute the load evenly. This method may take a little longer than some others, but it is by far the most reliable way to install a wood slab countertop.
Step 6: Apply Silicone Caulk
Installing a wood slab countertop can add a touch of luxury to any kitchen. However, it’s important to properly install your countertop to ensure that it lasts for years to come. One crucial step in the installation process is applying silicone caulk.
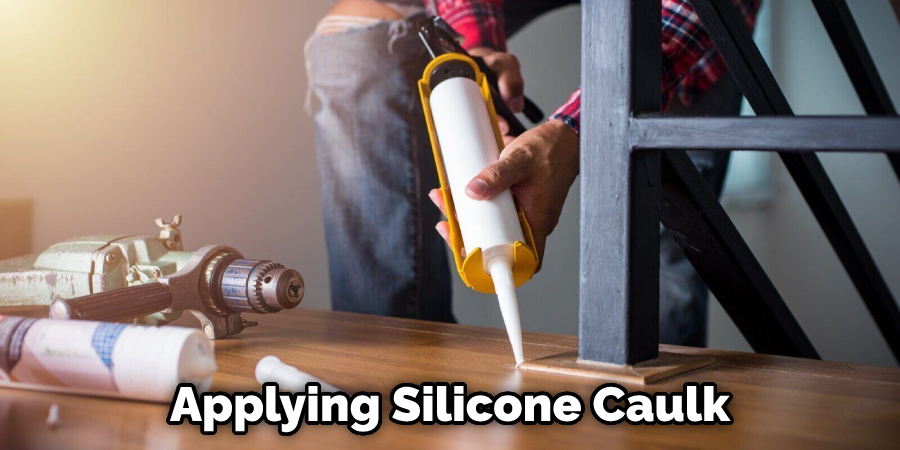
This seals the edge of the countertop and prevents moisture from seeping in, which could cause the wood to warp or rot. Applying caulk is a relatively simple process, but there are a few things to keep in mind.
You have to make sure that you use a high-quality silicone caulk specifically designed for countertops. Use a small amount of caulk and smooth it into place with your finger. Clean up any excess caulk with a damp cloth before it has a chance to dry.
With these tips in mind, you can be confident that your wood slab countertop will be installed correctly and look beautiful for years to come. Apply a bead of silicone caulk around the perimeter of the wood slab to ensure that there are no gaps between the slab and the base cabinets.
Step 7: Let Dry
Any good DIYer knows that the key to a successful home improvement project is attention to detail. And when it comes to installing a wood slab countertop, one of the most important details is caulk. Caulk is used to filling in the gaps between the countertop and the backsplash, and it helps to create a water-resistant seal.
If the caulk is not properly applied, water can seep behind the countertop and cause damage. For best results, allow the caulk to dry completely before using the countertop. This will ensure that the caulk has time to set properly and create a strong seal.
Enjoy Your New Countertop! After all this hard work, it’s time to enjoy your new wood slab countertop. Following these steps will help ensure that you have a beautiful and functional wood slab countertop in no time. Good luck!
How to Maintain a Wood Slab Countertop?
Wood slab countertops are becoming increasingly popular in home kitchens. Unlike traditional countertops made from tile or laminate, wood slabs add natural warmth and beauty to the room.
However, wood is also a porous material that can be easily damaged by spills and stains. With a little care and maintenance, your wood slab countertop can last for many years. Here are a few tips for keeping your countertop looking its best:
- Wipe up spills immediately. Water, coffee, and other liquids can quickly cause staining and discoloration.
- Use mats or coasters to protect the surface from heat damage. Hot pans and dishes can leave permanent marks on the wood.
- Avoid using harsh chemicals or abrasive cleaners. These can damage the finish and leave the wood susceptible to scratches and staining.

By following these simple tips, you can keep your wood slab countertop looking like new for years to come.
How to Find the Right Countertop for Your Kitchen?
When it comes to kitchen countertops, there are many options to choose from. Depending on your budget and style preferences, you can opt for materials like granite, marble, quartz, laminate, or even concrete.
However, with so many choices on the market, choosing the right countertop for your kitchen can feel like a daunting task. Here are a few tips to help you narrow down your options and find the perfect countertop for your home:
First, consider your budget. Countertops can vary widely in price, so it’s important to set a realistic budget before beginning your search. Once you have a price range in mind, you can start narrowing down your options based on material and style.
Next, think about the look you want to achieve in your kitchen. Are you going for a modern aesthetic or something more traditional? This will help you zero in on the right material for your counters. For example, granite and marble are classic choices that will never go out of style, while concrete and laminate are more contemporary options.
Finally, don’t forget to take functionality into account. Some materials are better suited for specific tasks than others. For instance, if you do a lot of cooking, you might want to choose a heat-resistant material like granite or quartz. And if you’re looking for an easy-to-care-for countertop, laminate or concrete might be the way to go.
By considering these factors, you can be sure to find the perfect countertop for your kitchen – one that not only looks great but also fits within your budget and meets your family’s needs.
Conclusion
This will be a very time-consuming and difficult process, but if you follow these steps carefully, you should have no problem installing your wood slab countertop. You should carefully determine how to install wood slab countertop.
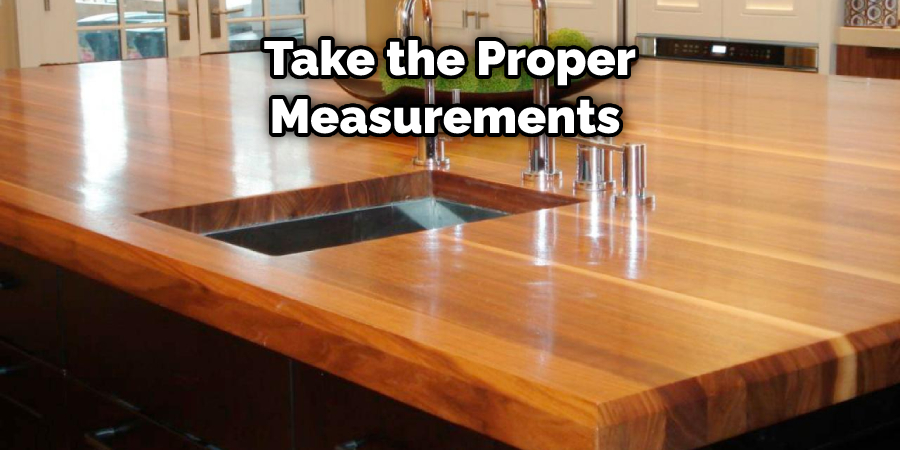
Be sure to take the proper measurements, use the right tools, and apply a generous amount of glue when attaching the Slab to the base. With patience and careful work, you’ll have a beautiful new addition in no time!

