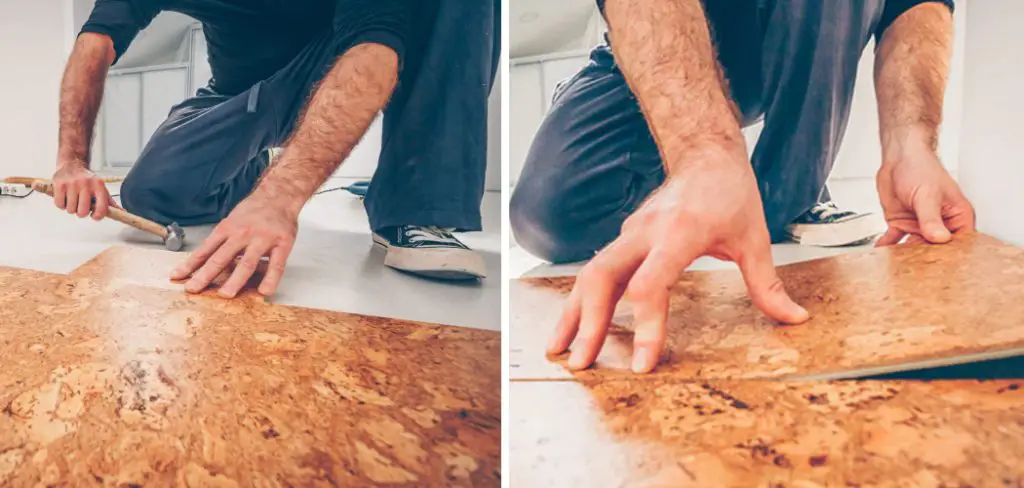
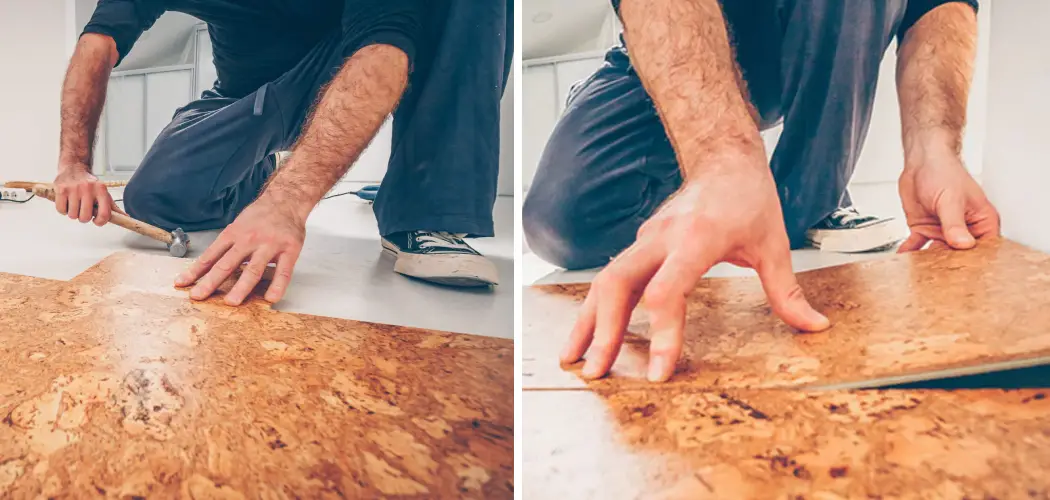
Cork flooring is a popular choice for many homeowners due to its numerous benefits. Not only is it eco-friendly, but it also offers unparalleled comfort and durability. It can withstand heavy foot traffic while providing a soft and cushioned surface to walk on. Additionally, cork flooring comes in various designs and patterns, making it suitable for any style of home decor.

The main advantage of installing cork flooring is that it is an environmentally friendly option. Unlike other types of flooring, cork comes from a renewable source and it does not require cutting down trees to obtain the material. This makes it an eco-friendly choice for those who are looking to reduce their carbon footprint. In this blog post, You will learn in detail how to install cork flooring.
Tools You Will Need
- Utility knife with a new blade
- Tape measure and ruler or carpenter’s square
- Tapping block (used to tap planks together)
- Hammer
- Chalk line (optional)
- Carpenter’s level (optional but recommended for accuracy)
- Straight edge tool (such as a yardstick)
- Pencil
Now that you know the tools you need, let’s get started with the installation process for cork flooring.
Step by Step Processes for How to Install Cork Flooring
Step 1: Inspect the Subfloor
Before you begin installation, make sure that your subfloor is level and free from any imperfections. You can use a piece of plywood to fill in any holes or dips.
Step 2: Gather Materials
You will need the following materials to install cork flooring: cork planks, handsaw or jigsaw, measuring tape, pencil, spacers, adhesive, and a trowel. Leave the cork flooring in the room where it will be installed for at least 72 hours to allow it to acclimate to the temperature and humidity of the space.
Step 3: Prepare the Cork Planks
Before installation, lay out your cork planks in the desired pattern to ensure a cohesive look. You may need to cut some planks to fit around corners or doorways. Start by applying adhesive to one corner of the room using a trowel. Then, place the first cork plank in the corner and press down firmly. Make sure to use spacers between planks to allow room for expansion.
Step 4: Continue Installing Planks
Continue applying adhesive and installing planks one row at a time, working towards the opposite wall of the room. Stagger the seams of each plank for a more natural look. If necessary, use a handsaw or jigsaw to cut planks to fit around corners or doorways. Remember to measure twice and cut once for accurate cuts.

Step 5: Apply Adhesive
For the final row of cork flooring, apply adhesive directly onto the subfloor and press the planks down firmly. Make sure there are no gaps or overlaps between planks. Once all the planks are installed, trim any excess cork around the edges using a utility knife. Then, install baseboards to cover the expansion gap and give your flooring a clean finish.
Step 6: Let it Set
Allow your newly installed cork flooring to set for at least 24 hours before walking on it or placing furniture on top. This will give the adhesive time to properly bond with the subfloor and ensure a secure installation.
By following these step-by-step processes, you can easily install cork flooring and give your room a warm and natural look. Remember to take your time, measure accurately, and use the right tools for a successful installation.
Tips for How to Install Cork Flooring
- Before you start the installation process, make sure to wear safety gear such as goggles, gloves, and dust masks to protect yourself from any potential hazards.
- The subfloor is an essential part of the installation process. Ensure that it is clean, dry, and level before laying down the cork flooring.
- Use proper tools and equipment such as a circular saw, pull bar, tapping block, and rubber mallet for an efficient installation.
- Read and follow the manufacturer’s instructions carefully to avoid any mistakes in the installation process.
- If you are using adhesive to install your cork flooring, choose one that is low in VOCs (volatile organic compounds) to ensure good air quality in your home.
- Allow the cork flooring to acclimate to the room temperature for at least 72 hours before installing to prevent any potential warping or buckling.
- If you are unsure about any step of the installation process, it is always best to consult a professional for guidance and assistance.
What is the Best Way to Cut Cork Flooring?
Installing cork flooring is a great way to bring warmth and natural beauty to any room in your home. Not only is it an eco-friendly choice, but it also provides excellent insulation and soundproofing. However, before you can start laying down your new floor, there are a few things you need to do to prepare the subfloor.
The first step in installing cork flooring is to make sure your subfloor is clean, dry, and level. Any dust, debris, or moisture on the subfloor can interfere with the adhesive and compromise the integrity of the cork tiles. Use a vacuum cleaner to remove any dirt or debris from the surface, and then use a damp cloth to wipe away any remaining residue.

Next, check for any uneven areas on the subfloor. Sand down any high spots and fill in any low spots with a leveling compound. It’s important to have a level surface for the cork tiles to adhere properly. Once your subfloor is clean and level, you can start installing the cork flooring. But before you do, you’ll need to decide on the best way to cut your cork tiles.
Are There Any Special Considerations for Installing Cork Flooring in a High-moisture Area?
When it comes to installing cork flooring, there are a few important considerations to keep in mind. One of the most crucial factors is the moisture level in the area where you plan to install the flooring.
Cork is a natural material and can be affected by changes in humidity and moisture. In high-moisture areas such as bathrooms or basements, special precautions must be taken to ensure the longevity and durability of your cork flooring. Here are some tips for installing cork flooring in a high-moisture area:
1. Use a Moisture Barrier
Before installing your cork flooring, it’s important to lay down a moisture barrier. This can be a simple plastic sheet or a more advanced vapor barrier specifically designed for this purpose. The moisture barrier will help prevent any moisture from seeping through to your cork flooring.
2. Leave a Gap Around the Edges
When installing cork flooring, it’s important to leave a small gap around the edges of the room. This allows for any expansion or contraction of the cork due to changes in humidity levels.
3. Use Waterproof Adhesive
Make sure to use a waterproof adhesive when installing cork flooring in a high-moisture area. This will help prevent any water from seeping through the seams and causing damage to the floor.
4. Seal the Edges
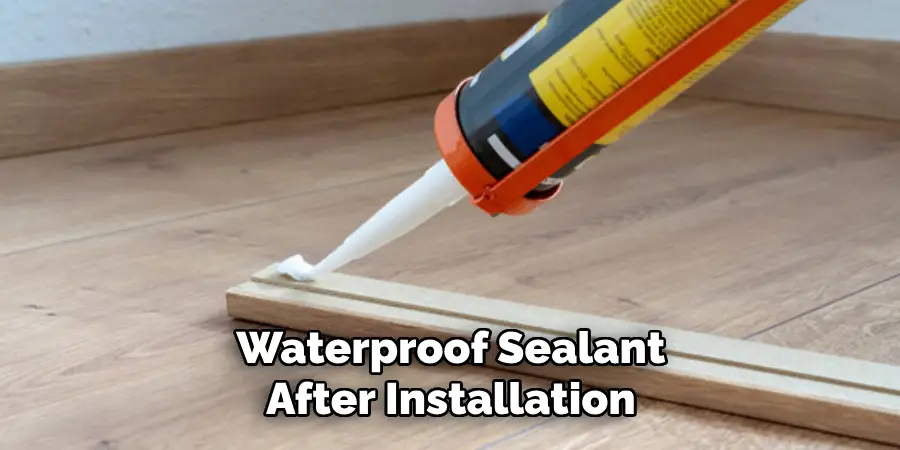
To further protect your cork flooring, it’s recommended to seal the edges with a waterproof sealant after installation. This will provide an extra layer of protection against moisture.

5. Monitor Humidity Levels
It’s important to properly monitor the humidity levels in the room where your cork flooring is installed. If the levels are consistently high, consider using a dehumidifier to help control them.
By following these tips and taking extra precautions, you can successfully install cork flooring in a high-moisture area without any issues. With proper installation and maintenance, your cork flooring will provide a beautiful and durable floor for years to come.
How Do You Maintain and Clean Your Cork Flooring After Installation?
After installing cork flooring, it is important to properly maintain and clean it in order to extend its lifespan and keep it looking beautiful. Here are some tips for maintaining and cleaning your cork flooring:
1. Sweep or Vacuum Regularly
Cork flooring can be easily scratched by dirt, sand, and other debris. To prevent this, make sure to sweep or vacuum your floors on a regular basis. Use a soft-bristled brush or a vacuum with a floor attachment to avoid damaging the cork surface.
2. Wipe Up Spills Immediately
Cork is naturally resistant to moisture, but it’s still important to clean up any spills as soon as possible. This will prevent the liquid from seeping into the seams and causing damage to the flooring.
3. Use a Damp Mop for Deeper Cleaning
For a more thorough clean, use a damp mop with mild soap and water. Avoid using excessive water as it can seep into the seams and damage the cork.
4. Avoid Harsh Cleaners
Harsh chemicals, abrasives, or oil-based soaps should not be used on cork flooring as they can cause damage.
5. Use Protective Pads on Furniture
To prevent scratches and dents, use protective pads under heavy furniture.
6. Re-seal Your Floors Periodically
Over time, the sealant on cork flooring can wear off. It’s important to check the manufacturer’s recommendations for when to re-seal your floors to keep them protected.
By following these tips, you can ensure that your cork flooring stays in good shape for years to come.

Conclusion
In conclusion, installing cork flooring is a great choice for anyone looking to upgrade their home or office space. Not only does it provide an aesthetically pleasing and unique look, but its many benefits make it a practical and versatile option. From reducing noise and providing insulation, to being eco-friendly and easy to maintain, there are plenty of reasons why cork flooring is gaining popularity.
Follow the steps outlined above and take your time with the installation process. With proper preparation and care, you can have a beautiful and durable cork floor that will last for years to come. Remember to always consult the manufacturer’s instructions and seek professional help if needed. I hope this article has been beneficial for learning how to install cork flooring. Make Sure the precautionary measures are followed chronologically.

