Shiplap panels have become a trending interior design choice for many people. Its rustic charm adds warmth and texture to any room. Not only does it add character, but it can also protect your walls from damage. However, cutting shiplap panels may seem like a daunting task, especially if you’re not familiar with woodworking tools. But don’t worry, learning to cut shiplap panels is easier than you think.

The main advantage of cutting shiplap panels is the ability to customize your own home decor. Whether you are using shiplap for a feature wall, wainscoting, or installing it on an entire room, being able to cut the panels yourself gives you more control over the final result. In this blog post, You will learn in detail how to cut shiplap panels.
Tools You Will Need
- Tape Measure
- Pencil
- Safety Glasses
- Dust Mask
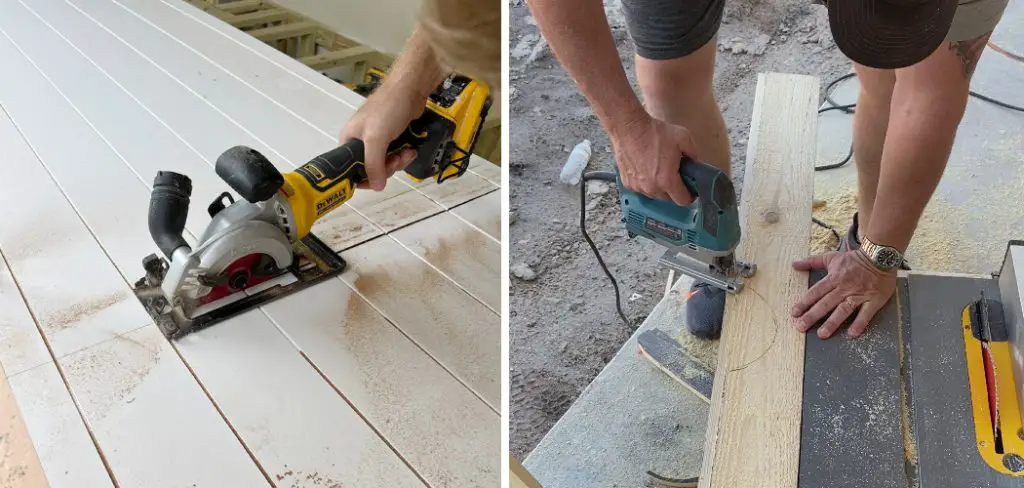
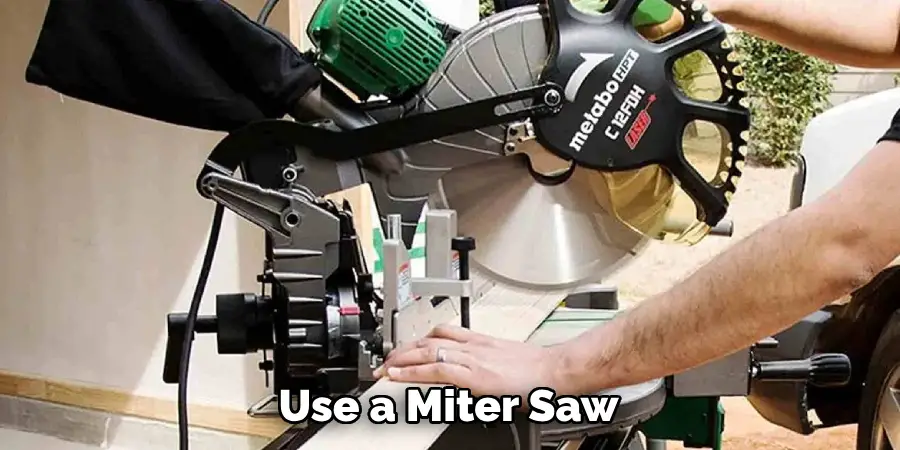
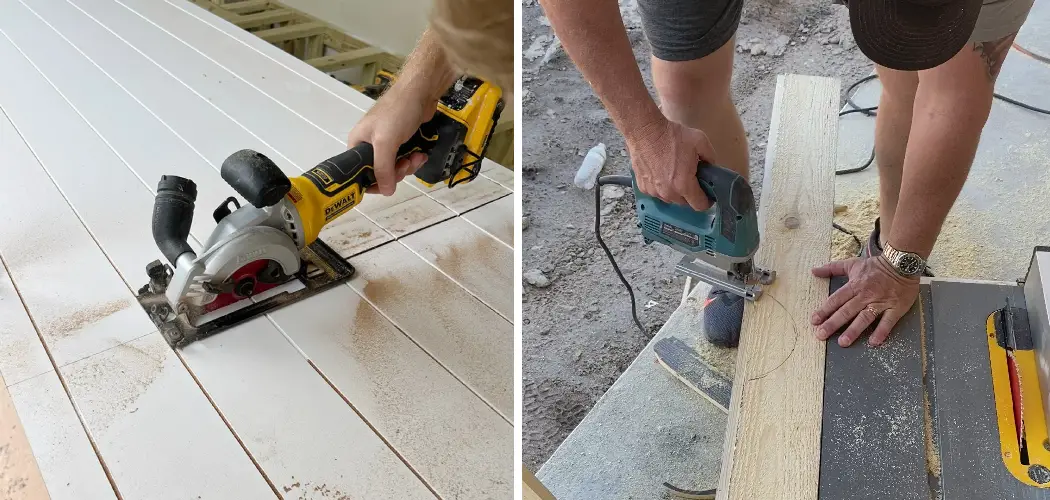
- Circular Saw or Miter Saw
- Table saw (optional)
- Jigsaw (if you need to cut around outlets or other obstacles)
- Brad Nailer and nails
- Earplugs (recommended when using power tools)
Step-by-step Instructions for How to Cut Shiplap Panels
Step 1: Inspect and Measure the Walls
Before you begin cutting shiplap panels, it’s important to inspect and measure the walls where the panels will be installed. This will help determine how many panels you need and how they should be cut to fit properly.
Step 2: Gather Your Materials
To successfully cut shiplap panels, you’ll need a few essential tools including a tape measure, circular saw or miter saw, and a level. It’s also helpful to have a workbench or table to make your cuts on. Shiplap panels come in various lengths and widths, so it’s important to choose the right panels for your project. Measure the walls again to determine the length and width of each panel needed.
Step 3: Mark Your Cut Lines
Using your measurements, mark the cut lines on each panel with a pencil or chalk. This will serve as a guide for making precise cuts. If using a circular saw, adjust the blade to the correct depth and angle for cutting shiplap panels. For miter saws, ensure the blade is set to a 90-degree angle.

Step 4: Make Your First Cut
Using your marked lines as a guide, make your first cut on the shiplap panel. Take caution and use proper safety equipment when operating power tools. Continue cutting each panel according to your measurements until you have enough panels to cover the desired area.
Step 5: Cut for Outlets and Corners
If you encounter outlets or corners, measure and mark where cuts need to be made in order to fit the panels around them. Use a jigsaw or coping saw for more precise cuts. After all the panels are cut, use sandpaper to smooth out any rough edges or imperfections on the cut pieces.
Step 6: Install the Panels
Once your panels are cut and ready, it’s time to install them using a brad nailer or adhesive. Take care to ensure they are level and fit snugly together for a professional finish.
By following these six simple steps, you’ll have a perfectly cut and installed shiplap panel wall in no time. Remember to always measure twice and cut once to avoid any mistakes.
Tips for How to Cut Shiplap Panels
- Before starting your project, make sure to wear proper PPE such as safety glasses, gloves and a dust mask. This will protect you from any potential accidents or injuries caused by flying debris or sawdust.
- The key to cutting shiplap panels effectively is using the right tools. A circular saw with a fine-toothed blade is the most commonly used tool for this project. Make sure the blade is sharp to ensure clean cuts and avoid splintering.
- Measure twice, cut once! This old adage holds true when it comes to cutting shiplap panels as well. Before making any cuts, take accurate measurements of your wall space and mark them on the panels.
- Always cut shiplap panels outdoors if possible. This will make it easier to clean up sawdust and debris, and also provide good ventilation to avoid inhaling any dust particles. If cutting indoors is necessary, cover your workspace with a drop cloth to protect your floors from damage.
- When making cuts, keep a firm grip on the panels at all times to avoid any slipping. This is especially important when using a circular saw as it can be difficult to control.
- If you need to make angled cuts, use a miter saw or table saw instead of a circular saw. These specialized tools will provide more accurate and precise cuts for angled edges.
- Lastly, always follow the manufacturer’s instructions for your specific shiplap panels. This will ensure that you are using the correct cutting techniques and tools for your particular product.

What is the Best Way to Cut Shiplap Panels for Installation on a Wall or Ceiling?
Shiplap panels have become a popular choice for wall and ceiling installations due to their rustic yet modern look. While these panels are relatively easy to install, cutting them to fit your space may seem like a daunting task. But fear not, with the right tools and techniques, you can easily cut shiplap panels to perfection.
The first step is to gather all the necessary tools. You will need a measuring tape, a pencil, a level, and most importantly, a saw. For shiplap panels made of wood, opt for a circular saw or miter saw. If you are working with vinyl or fiber cement shiplap panels, use a jigsaw.
Once you have all the tools ready, take accurate measurements of your wall or ceiling to determine the length of shiplap you need. Keep in mind that for interior installations, leave a small gap at the edges to allow room for expansion.
Next, mark your measurements on the back of the shiplap panel using a pencil and a level. This will ensure straight cuts and accurate installation. If your shiplap has tongue and groove edges, make sure to mark the edges where they will fit together.
What Are Some Common Mistakes to Avoid When Cutting Shiplap Panels?
When it comes to cutting shiplap panels, there are a few common mistakes that many people make. These mistakes can lead to uneven cuts, wasted material, or even injury. To ensure that your project goes smoothly and your shiplap panels turn out perfectly, here are some mistakes you should avoid when cutting shiplap panels:
1. Not Measuring Carefully
One of the most important steps when cutting shiplap panels is measuring accurately. This will ensure that your panels are all cut to the correct length and fit together seamlessly.
2. Using the Wrong Tools
While you don’t need any fancy or specialized tools to cut shiplap panels, using the wrong tools can make the process more difficult and lead to uneven cuts. Make sure to use a saw with fine teeth and a straight edge to ensure clean cuts.
3. Cutting Without Clamping
When cutting shiplap panels, it’s important to secure the panel firmly in place before making any cuts. This will prevent the panel from shifting or splintering during the cutting process.
4. Rushing Through the Cut
It can be tempting to try and rush through cutting your shiplap panels, especially if you have a lot to cut. However, taking your time and making slow, precise cuts will lead to better results and prevent mistakes.
5. Not Wearing Protective Gear
Whenever using power tools or cutting materials like wood or PVC, it’s important to wear the appropriate protective gear. This includes safety glasses and gloves to protect your eyes and hands from any potential debris or splinters.

By avoiding these common mistakes, you can ensure that your shiplap panels are cut accurately and smoothly for a professional-looking finish. So before you begin cutting, make sure to measure carefully, use the right tools, clamp down your panel, take your time, and wear protective gear.
Are There Any Special Considerations for Cutting Shiplap Panels With Pre-applied Finishes or Paints?
When cutting shiplap panels, there are a few additional considerations to keep in mind if the panels come with pre-applied finishes or paints. Firstly, it is important to ensure that the blade being used is appropriate for the type of finish on the shiplap panel.
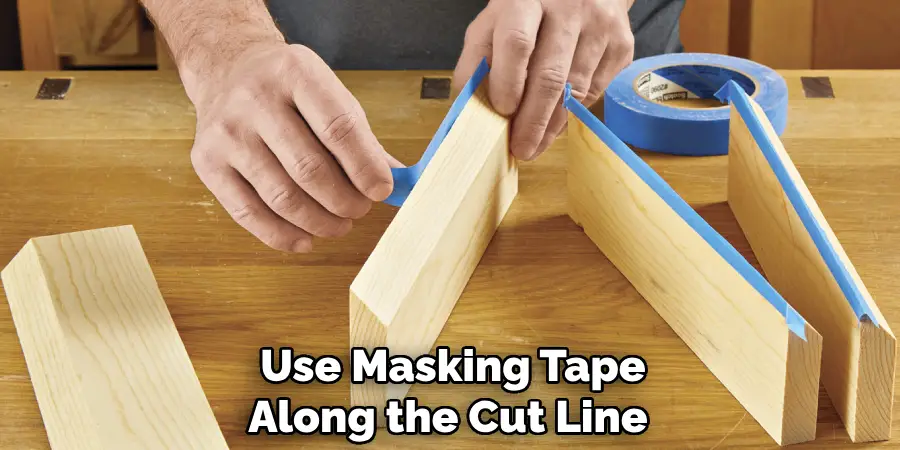
For example, a traditional wood-cutting blade may not be suitable for cutting through a panel with a glossy paint finish. Additionally, it may be beneficial to use masking tape along the cut line to prevent any potential chipping or damage to the finish.
Another consideration is the possibility of dust and debris from cutting affecting the finish on the panel. To minimize this risk, it is recommended to cut outdoors or in a well-ventilated area and to clean off any dust or debris from the panel after cutting.

Some pre-finished shiplap panels may also come with specific instructions for cutting, so it is always a good idea to check with the manufacturer’s recommendations before proceeding. This can help ensure that the finished product maintains its desired appearance and quality after being cut.
Conclusion
In conclusion, learning to cut shiplap panels can be a valuable skill for any homeowner or DIY enthusiast. It allows you to create beautiful and unique accent walls, ceilings, or other decorative elements in your home with ease. However, like any other woodworking project, there are some disadvantages to consider when cutting shiplap panels. These include the potential for splintering and chipping, as well as the need for specialized equipment and skills.
But with proper preparation and care, these challenges can easily be overcome. By following the steps outlined in this guide, you can confidently tackle your shiplap panel cutting project and enjoy the stunning results for years to come. I hope this article has been beneficial for learning how to cut shiplap panels. Make Sure the precautionary measures are followed chronologically.

