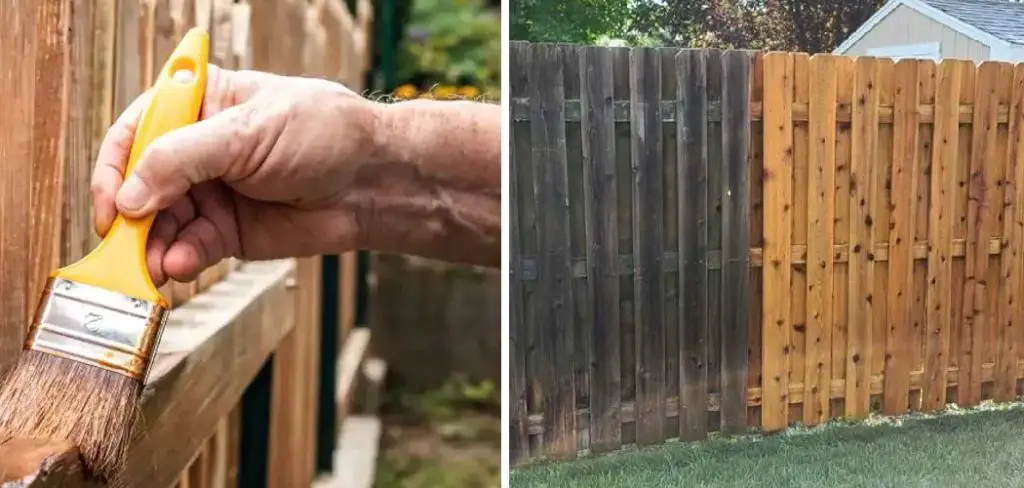
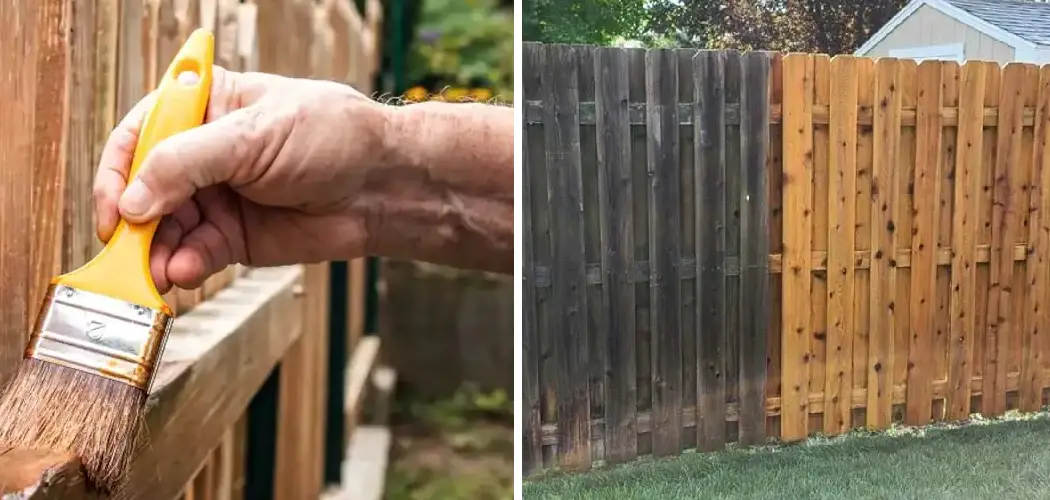
If you’re like many homeowners, your first instinct when faced with a damaged wood fence is to tear it down and buy new materials. But before you take the plunge of costly demolition and installation, consider an easier option: restoring your existing fence.

Not only can it save you time and money, but also the efforts are sure to give your outdoor space a brightened look in no time. In this blog post, we’ll discuss some tips for how to restore wood fence that need just a little TLC—and if done well—can be as good as new!
The Importance of Taking Care of Your Wood Fence
First things first, let’s address the importance of keeping your wood fence in good condition. By now, you probably know that outdoor elements can take a toll on even the most durable materials. The same holds for wooden fences; exposure to harsh weather conditions (such as extreme temperatures, high humidity levels, and UV rays), pests, and rotting can all contribute to a degraded structure over time.
Aside from being an eyesore, a damaged fence can be a safety hazard for children and pets or attract unwanted critters. Keeping it in good condition is essential for your family’s safety and the overall look of your property.
Step-by-step Guidelines on How to Restore Wood Fence
Step 1: Clean Your Fence Thoroughly
The first step to restoring your wood fence is to give it a good clean. Ensure that there aren’t any sharp objects, like nails or screws sticking out, and remove any debris around the area. Then, using a power washer (or regular hose with a high-pressure nozzle), start spraying from the top of your fence, working downward.
This way, you’ll get rid of any dirt buildup and make sure the wood is entirely soaked without causing damage to it. Make sure to cover every part of your fence, including posts and rails.
Step 2: Repair Any Damaged Areas
Once your fence is cleaned and dried, inspect it for any cracks, rotting, or insect damage. If you find any damaged areas, you can easily fix them with a wood filler or putty knife (for small cracks) or by replacing the damaged panels entirely. If there are minor scratches and nicks, sanding the area may help restore its look.
Step 3: Brighten Your Fence
As wood ages, it may lose its color and look dull. To make your fence look as good as new, try using a brightener that can remove gray or green tones from the wood’s surface. Apply according to the product’s instructions and let it soak before rinsing off. You’ll see an instant improvement in how your fence looks!
Step 4: Stain or Seal Your Fence
The final step to restoring your wooden fence is protecting it. If you’re looking to preserve the natural wood color, use a clear sealant. For a darker finish that blends in with your outdoor space, consider using a stain. In either case, make sure to apply the topcoat evenly and let it dry for at least 24 hours before use.

Following these steps on how to restore wood fences can help you save money while keeping your property looking its best. With a little bit of elbow grease and some basic tools, your wooden fence will look like it just got installed! So what are you waiting for? Roll up those sleeves and get started on restoring your wood fence today! Happy restoring!
Additional Tips and Tricks to Restore Wood Fence
1. Before you begin any restoration work, make sure to clean the fence thoroughly. Use a pressure washer or a scrub brush and mild soap to remove any dirt, grime, or mold that has accumulated on the wood surface.
2. If your fence has rough patches or splintered areas, sanding is essential to restore it back to its original smoothness. Use an electric sander or sandpaper to remove any imperfections and create a smooth surface for staining or painting.
3. Inspect the wood fence for any damage, such as rotting, warping, or loose boards. Replace any damaged parts before moving on with the restoration process.
4. Apply a wood preservative to protect the fence from future damage caused by moisture, insects, or UV rays. This step is crucial for maintaining the integrity of your wood fence.
5. Use a high-quality stain or paint to enhance the appearance of your wood fence and provide long-lasting protection against weather elements. Choose a color that complements your outdoor space and consider using a sealant for extra durability.
6. Regular maintenance is key to extending the lifespan of your fence and keeping it in top condition. Inspect the fence at least twice a year and touch up any areas that may need attention, such as adding a fresh coat of paint or reapplying wood preservatives.
7. Avoid using harsh chemicals or power washing on your wood fence, as they can damage the wood fibers and cause discoloration. Stick to milder cleaning methods, such as soap and water, for routine maintenance.
8. If your fence is located in a high-moisture area or prone to mildew growth, consider installing a trellis or climbing plants along the fence line to provide extra protection and add a decorative touch.

9. Consider adding a protective layer of gravel or stones along the base of your fence to prevent soil from splashing onto the wood and causing damage.
Following these tips and tricks will not only help you restore your wood fence to its former glory but also maintain its beauty and functionality for years to come. Remember, a well-maintained wood fence can add value to your property and serve as a charming backdrop for your outdoor space. So, don’t neglect your fence and give it the care it deserves. Happy restoring!
Precautions Need to Be Followed for Restoring Wood Fence
1. First and foremost, make sure to wear appropriate protective gear when working on your fence. This includes gloves, safety goggles, and a face mask.
2. Before starting the restoration process, ensure that your fence is clean of any debris or dirt. Use a broom or pressure washer to remove any loose dirt and grime.
3. Check for any signs of rot or damage on the wood. If there are areas that are severely damaged, it may be necessary to replace those sections before proceeding with the restoration.
4. Next, sand down the entire surface of the fence using a sander or sandpaper. This will help to remove any rough spots and create a smooth surface for staining or painting.

5. If you plan on staining your fence, it is important to choose a stain that is specifically designed for outdoor use and can withstand exposure to sunlight and weather conditions.
6. Before applying the stain, make sure to protect any nearby plants or surfaces by using drop cloths or sheets of plastic.
7. When staining, use a brush or roller to apply the stain in the direction of the wood grain. Be sure to cover all areas and use multiple coats if necessary for your desired color.
8. Allow the stain to fully dry before applying a sealant. The sealant will help to protect your fence from moisture and UV rays.
Following these precautions will help ensure that your wood fence is properly restored and protected for years to come. Remember to regularly maintain and clean your fence to prolong its lifespan and keep it looking beautiful. So, make sure to inspect your fence periodically for any signs of damage or wear and tear, and address any issues as soon as possible.

This will not only keep your fence in good condition but also save you time and money in the long run. With proper care, your wood fence can continue to add beauty and value to your property for many years. Happy restoring!
Frequently Asked Questions
What is the Best Way to Clean a Wood Fence?
Cleaning a wood fence can be done in several ways, but the most effective method is by using a pressure washer. This powerful tool can easily remove dirt, grime, and stains from your fence without causing any damage to the wood.
If you do not have access to a pressure washer, you can also use a mixture of soap and water to scrub the fence with a brush. It is important to avoid using harsh chemicals or bleach, as they can discolor or damage the wood.
How Often Should I Clean My Wood Fence?
It is recommended to clean your wood fence at least once a year, preferably in the spring. This will help remove any built-up dirt and grime from the winter months. However, if you live in an area with harsh weather conditions or have a lot of trees surrounding your fence, it may be necessary to clean it more frequently.
Can I Use a Power Sander to Clean My Wood Fence?
While a power sander may seem like a quick and easy way to clean your wood fence, it is not recommended. The high speed and pressure can cause damage to the wood, resulting in a rough and uneven surface. It is best to stick with a pressure washer or cleaning solution and brush for a gentle yet effective clean.
How Do I Remove Stubborn Stains from My Wood Fence?
For tough stains such as rust or mildew, it may be necessary to use a specialized cleaner. These can be found at most hardware stores and are specifically designed for wood fences. Follow the instructions carefully and test the product on a small, inconspicuous area of the fence first to ensure it does not cause any damage.

Conclusion
With the above outlined you can easily understand how to restore wood fence. Remember to always follow safety precautions and use the proper tools and products for the best results. Regular maintenance and cleaning will not only keep your wood fence looking beautiful, but it will also prolong its lifespan.
By following these tips, you can ensure that your wood fence remains a sturdy and attractive addition to your property for years to come. So, go ahead and give your wood fence the care and attention it deserves! Happy restoring!

