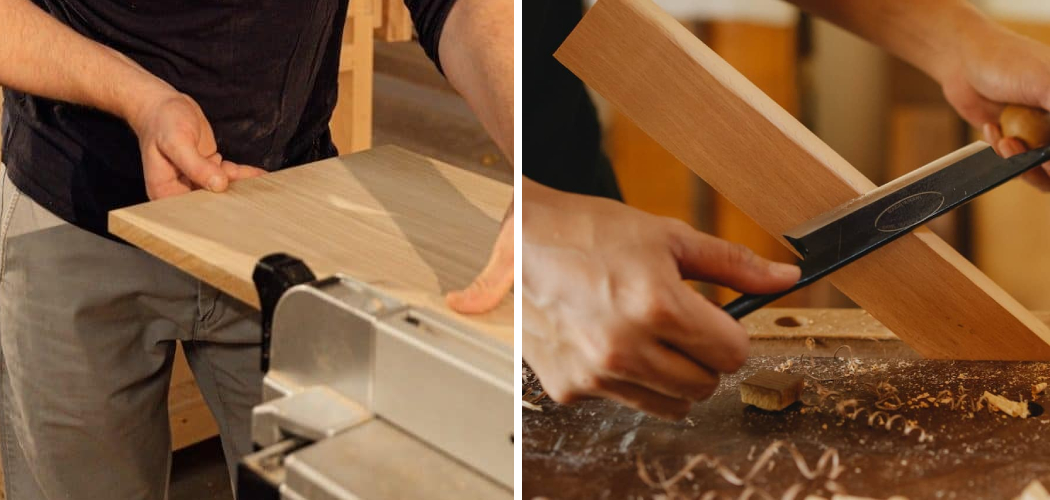
Uneven woodcuts can be a problem for novice and experienced woodworkers alike, making it difficult to create pieces that fit together snugly. Fixing uneven cuts is an essential skill for all levels of woodworking, and understanding the different methods to do so can help you avoid costly mistakes and frustration.
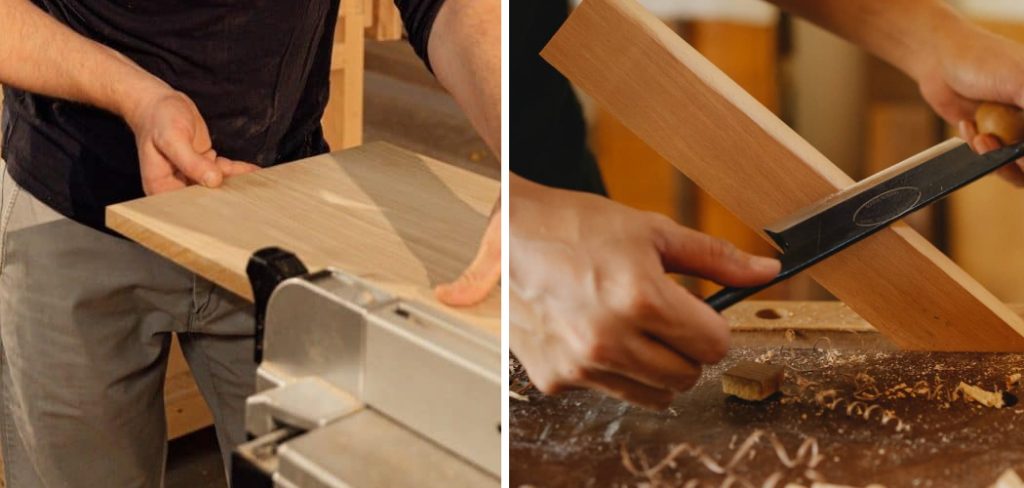
One of the advantages of knowing to fix uneven woodcuts is that you can save money. If a piece of wood is cut incorrectly and needs to be re-cut, it can cost more than if the original cut had been even. Knowing how to fix this issue ensures that your budget isn’t overspent and you get the most out of your materials. In this blog post, You will learn in detail how to fix uneven wood cuts.
Step-by-Step Processes for How to Fix Uneven Wood Cuts
Step 1: Inspect the Uneven Cut
Before beginning the repair process, examining the uneven cut closely is important. Check for any chips or cracks in the wood, as these can cause further damage and require additional repairs. Use an electric sander for sanding down the edges of the uneven cut until they are flush with each other.
Step 2: Use a File to Even Out the Cut
Once the uneven cut edges have been sanded down, use a file to smooth out any jagged edges or further irregularities. Be sure to file in only one direction and avoid sawing back and forth. Apply a strong adhesive, such as wood glue or epoxy, to the cut and use clamps to hold it in place until the glue has dried.
Step 3: Finish the Glue Job
Once fully dries the glue is done, sand down any excess with an electric sander. Make sure all of the glued areas are smooth and even. If there are any small gaps or holes in the cut, use a putty knife to fill them with wood filler. Ensure the wood filler is flush with the surface and let it dry completely before proceeding.
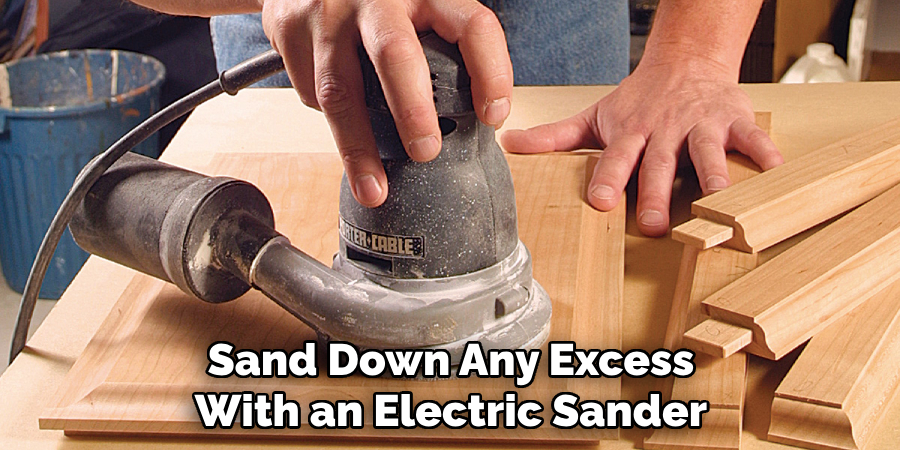
Step 4: Sand Down The Filler
After the wood filler has dried, sand down any excess with an electric sander, use a router to smooth out any remaining irregularities and ensure that the edges of the cut are perfectly even. After all repair work is complete, you can apply a wood stain or paint to the cut in order to add color and protect the surface from further damage.
Step 5: Seal The Cut
To complete the repair process, seal the cut with a clear coat of varnish or shellac. This will help to preserve and protect the wood for years to come. By following these steps, you can successfully fix an uneven woodcut and ensure that your furniture or other woodworking projects look their best.
Tips for How to Fix Uneven Wood Cuts
- Wear safety goggles and a dust mask when sanding, sawing, or using any type of power tools.
- Never approach a saw blade with your hands, and keep all body parts away from the rotating blade at all times to avoid injury.
- Always use push sticks when feeding material into the saw blades or cutting narrow pieces of material.
- Ensure the saw blade is sharp and properly aligned before using it, as dull blades can cause uneven cuts and splintering.
- Secure the wood with clamps on a stable surface to help keep it from moving when being cut or sanded.
- Use a sturdy ladder for stability and security when working with wood in elevated areas.
- Ensure the workplace is free from any hazards, such as wet floors or sharp objects that could cause injury.
Are You Following Manufacturer Instructions for Use With the Specific Saw Type Being Used?
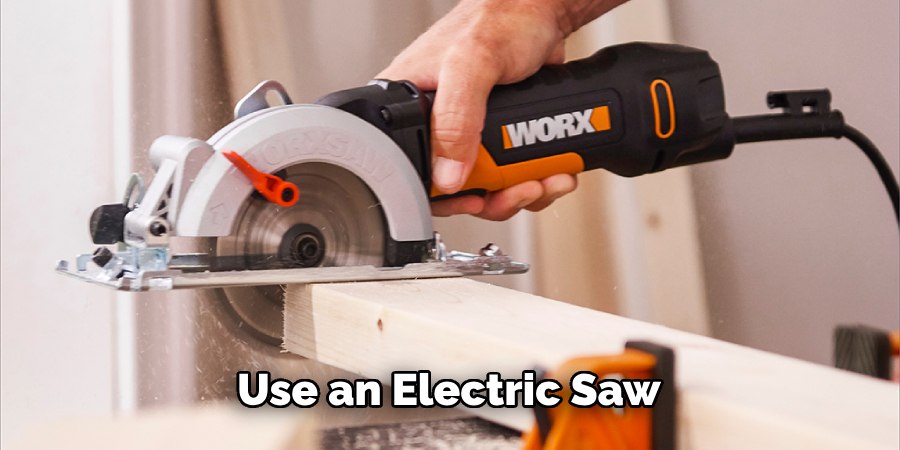
When cutting wood, it’s important always to follow the manufacturer’s instructions for use with the specific saw type being used. If a different type of saw is used than recommended, this could be one of the main causes of uneven woodcuts. Additionally, not following any safety instructions or using parts that are not designed for the same saw type can cause safety concerns, as well as the resulting woodcut not being even.
Before beginning a project involving wood cutting, it is recommended to inspect all saw parts and read through all manufacturer instructions to ensure safety and accuracy. Additionally, make sure that you have the right blade size and material for the job at hand, as this can make a difference in how well the job is done. Additionally, if you use an electric saw, ensure it has been properly wired and connected to a power outlet before beginning work.
Are You Allowing Enough Time for the Blade to Cool Down Between Cuts?
One of the most common causes of uneven woodcuts is the saw blade getting too hot. When a saw blade heats up, it can cause the teeth of the blade to stretch, resulting in an uneven cut. To avoid this issue, be sure to allow your saw blade to cool down for at least five minutes between cuts. This will ensure that the blade is cool enough to make a precise cut.
In addition, be sure to use a sharp saw blade when making cuts. A dull or worn-out blade can result in a less-than-ideal finish and uneven edges, so keeping your blades sharp and clean for optimal results is important.
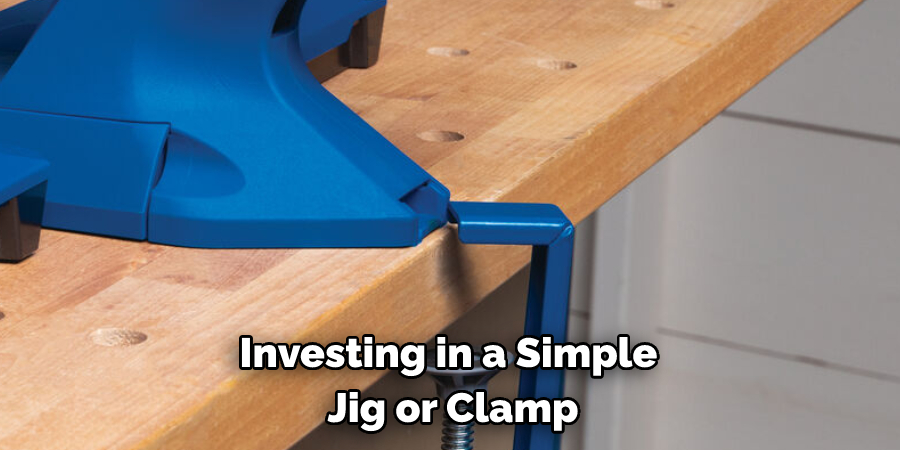
Cleaning your blades regularly with an old toothbrush will help keep them in good condition and ensure that your cuts are precise and accurate. Finally, try to use a guide when making cuts. A guide helps to keep the blade steady and on track, resulting in even and consistent cuts each time. Investing in a simple jig or clamp-on guide can be very helpful for making precise, even cuts.
Why Should You Use a Guide to Make Sure the Cuts Are Straight?
Making sure that woodcuts are even is very important because it ensures the pieces fit together properly. When wood pieces have uneven cuts, they won’t line up and may require additional time and effort to correct. A guide can help you make perfectly straight and even cuts every time.
There are a number of ways to use a guide when cutting wood. One of the simplest is to use a straight edge and clamps. Clamp the straight edge along the line you plan to cut, then make your cuts with a saw. This ensures that all of your cuts are perfectly straight and even. You can also use guides such as jigs or templates if you need more precise measurements or curves.
Using a guide can also help to make sure the cuts are the same depth. When making angled cuts, use a guide set at the angle you need and clamped securely. This will ensure that your cuts are all even and of equal depth. Finally, using a sharp blade or bit for cutting can also help to make sure your cuts are even and straight. Dull blades and bits won’t cut as cleanly, which can lead to uneven edges. Ensure your saw blade or bit is sharp before cutting for the best results.

Why do You need to Push Down on the Saw Gently and Evenly, Not Too Hard or Too Lightly?
When working with a saw, it is important to remember that the blade needs to move even and consistently. If you apply too much pressure on one side of the blade or push down too hard on the saw, the cut will not be even and can create uneven woodcuts. The same goes for using to light of a pressure which can create an equally uneven cut.
To ensure that you are making even woodcuts with your saw, it is important to apply the correct amount of downward pressure on the saw and keep it steady as you move it through the wood.
Pushing down too hard or too lightly will create an uneven cut and cause you to fix the wood later. When cutting with a saw, it is important to make sure that you are applying even pressure throughout the entire cut. This will help ensure that your cuts are straight and even rather than uneven or wavy.
Conclusion
In conclusion, fixing uneven woodcuts is possible with some patience and the right tools. Using a chisel to shave off excess material, using sandpaper to smooth out rough edges, and using a belt sander or power sander to make quick work of troublespots are all methods for rectifying uneven cuts.
Richly colored wood stains and sealants can also help make cuts appear even, allowing you to finish your project with a beautiful and professional look. I hope this article has been beneficial in learning how to fix uneven wood cuts. Make Sure the precautionary measures are followed chronologically.

