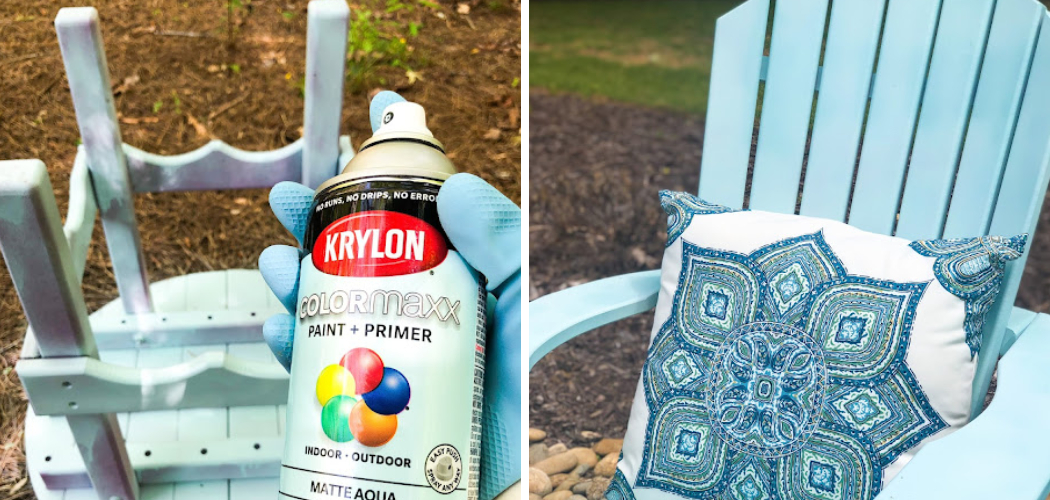
Painting Polywood can give it a new look and extend its life. Applying paint to Polywood is not as difficult as traditional wood, but it still requires preparation of the material. Taking the time to prepare and paint your Polywood properly will ensure you get the best possible results. The painting also adds an additional layer of protection against the elements, helping preserve your furniture for years.
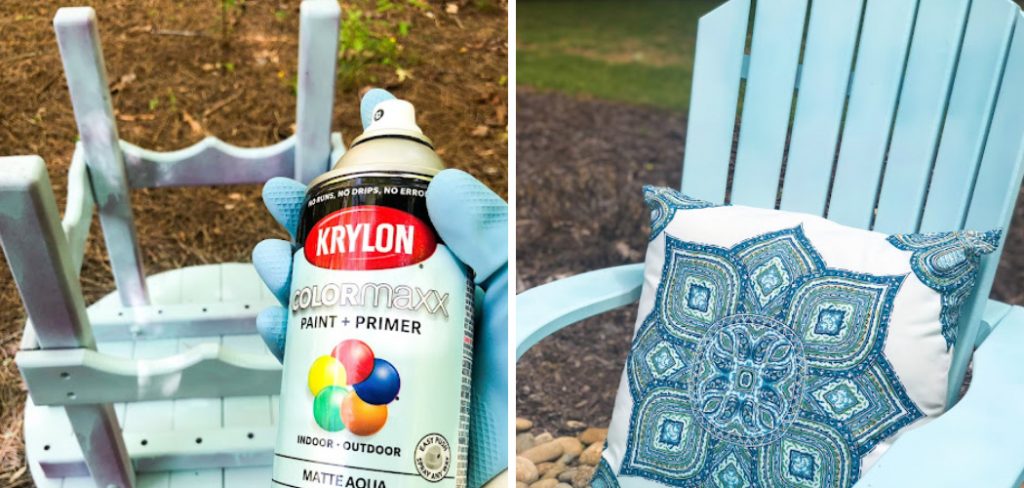
The advantages of painting polywood are its resistance to decay, strong UV protection, and low maintenance requirements. Polywood is a type of synthetic lumber made from recycled plastics. It is designed to resemble real wood in appearance but is far more durable and requires less upkeep than natural timber.
Painting polywood allows for an easy way to customize the look of a structure while still maintaining the plywood’s durability and protection from the elements. In this blog post, You will learn in detail how to paint polywood.
Step-by-Step Processes for How to Paint Polywood
Step 1: Inspect the Poly Surface
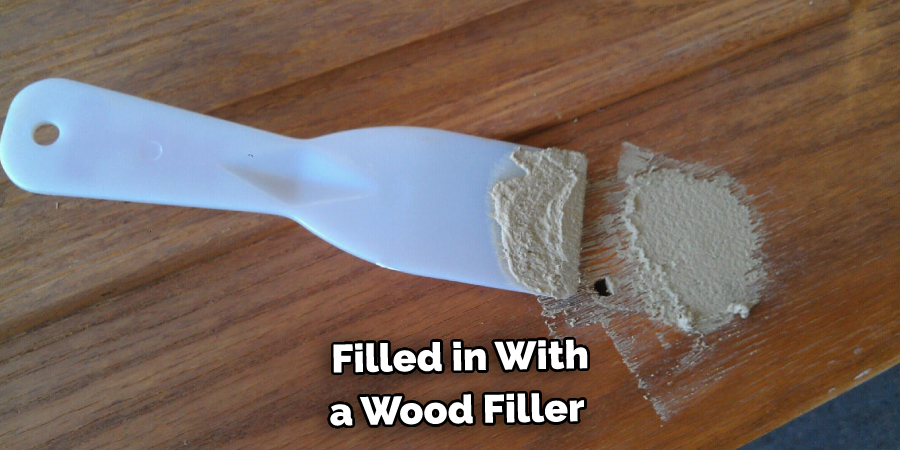
Before you begin painting Polywood, it’s important to inspect the surface for any cracks, chips or rough areas that need to be sanded before painting. If there are any deep scratches or gouges in the material, these will need to be filled in with a wood filler before proceeding.
Step 2: Clean the Surface
Once the surface has been inspected and any needed repairs are completed, it’s time to clean the Polywood. Start by wiping away any dirt or debris with a dry cloth. Next, mix a solution of mild soap and warm water (a few drops of dishwashing liquid is fine). Using a soft brush, scrub the entire surface until it is free of dirt and grime.
Step 3: Rinse off the Soap
After scrubbing the surface, use a garden hose or pressure washer to rinse any remaining soap residue. Be sure to spray from top to bottom so that all soap is flushed from the material. Allow the surface to dry completely before you begin painting.
Step 4: Sand the Surface
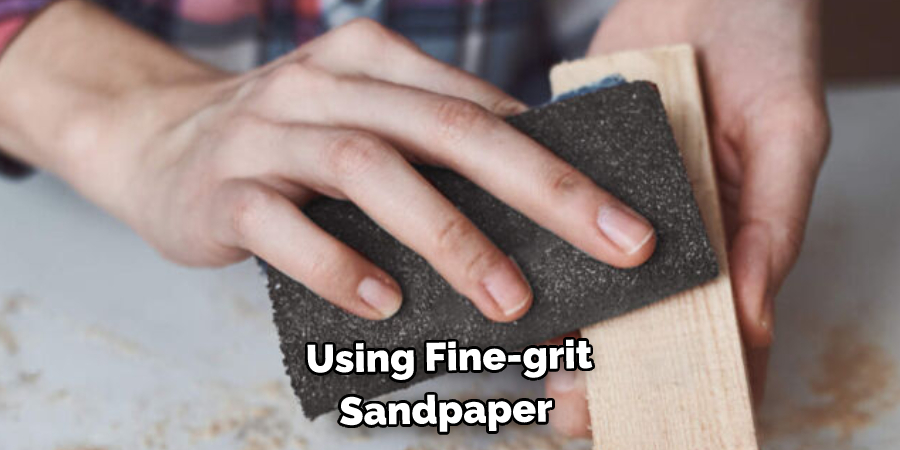
Once your Polywood is dry, it’s time to sand. Using fine-grit sandpaper, gently scuff the entire surface to ensure that there are no imperfections in the material before you start painting. Before you can paint your Polywood, you’ll need to apply a primer. Use a high-quality oil-based exterior primer specifically designed for plastic or metal surfaces for the best results.
Step 5: Allow the Primer to Dry
It’s important that you allow the primer to dry completely before moving on. Be sure to read the instructions on the can to determine how long you should wait before proceeding. After completely drying the primer, use fine-grit sandpaper and sand the entire surface again. This will ensure a smooth finish for your painted Polywood.
Step 6: Apply Finish Paint
Now that your surface is prepped and ready, it’s time to apply the finish paint. Use a high-quality exterior-grade acrylic paint specifically designed for plastic or metal surfaces. Once again, be sure to read the directions on your can of paint so you know how long to wait before applying a second coat.
Step 7: Add a Clear Coat
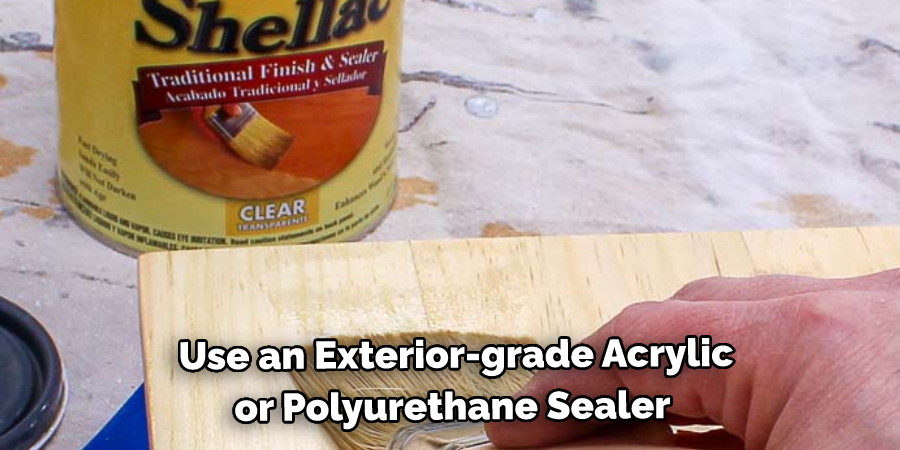
Apply a clear topcoat to protect your Polywood and make it look its best. Use an exterior-grade acrylic or polyurethane sealer specifically designed for plastic or metal surfaces. Allow the sealer to dry completely before using your newly painted Polywood. Following these steps will help ensure that your Polywood is properly and effectively painted.
Safety Precautions for How to Paint Polywood
- Always wear proper protective gear when using harsh chemicals or sanding Polywood® surfaces. This includes gloves, respirators, eye protection, and long-sleeved clothing that covers your skin.
- Use wood finishing products specifically designed for Polywood® furniture to ensure the best results with a lasting finish.
- Sand the Polywood® surface with medium-grit sandpaper before painting to ensure the paint adheres well.
- If you will use latex or oil-based paints, make sure they are suitable for outdoor furniture.
- Before painting on Polywood®, clean the surface with a degreaser and rinse it off with water.
- Use multiple coats of paint to build a thicker finish, and let each coat dry properly before applying the next one.
- Always wait at least 24 hours for the paint to cure before using the furniture. This will ensure that it is completely safe for use.
By following these safety precautions, you can successfully paint Polywood® furniture and enjoy its beauty for years to come.
What is the Best Way to Clean and Prepare Polywood Before Painting?
The best way to clean and prepare Polywood before painting is to use a solution of mild detergent and warm water. Scrub the Polywood using a soft-bristled brush, taking extra care not to damage the wood. Once you have scrubbed the surface of the wood, rinse it off with fresh water and allow it to air dry.
If there are any existing stains on the Polywood, you can use a soft cloth and a mild bleach solution to remove them. Be sure to rinse off all of the cleaning solutions thoroughly before beginning your painting project.
Before starting your painting project, it is important to use a high-quality primer. This will ensure that the paint sticks to the Polywood and provides a uniform finish that looks great for years to come. Be sure to apply multiple coats of primer, allowing each coat to dry completely before adding the next one. Once you have applied all the necessary coats, you can move on to painting the Polywood.
Are There Any Common Mistakes to Avoid While Painting Polywood?
When painting Polywood, it is important to remember these common mistakes. First, make sure you always use an appropriate primer that adheres well to the material. This will ensure that your paint has something to grip onto and will last longer. It’s also a good idea to sand the surface of your project before painting with medium grit sandpaper. This will help the paint adhere better and provide a smoother finish.
Another mistake to avoid is using too much paint at once. Applying multiple thin layers of paint instead of one thick layer will provide a more even finish. You should also take care not to put too much pressure when painting, or you may end up with an uneven finish. Finally, make sure to properly clean your brushes and roller covers between coats for the best results.
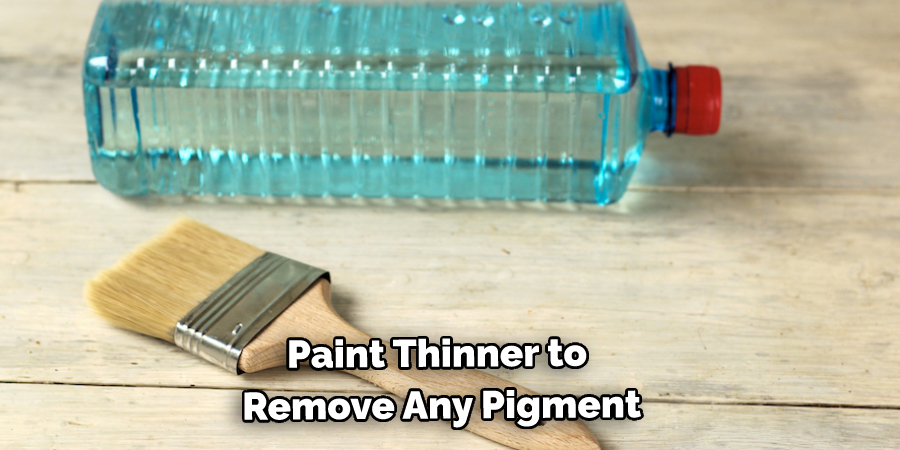
If you use a brush, dip it in paint thinner to remove any pigment that may be stuck on the bristles. Then rinse with warm soapy water and let them dry thoroughly before using them again.
What Are the Benefits of Using a Clear Topcoat on Polywood?
A clear topcoat on Polywood can offer many benefits, including added protection from the elements, increased durability, and improved appearance. The clear finish will form a protective barrier that shields the material from moisture and UV exposure.
A topcoat will also add extra wear and tear resistance to your Polywood furniture or structure, making it less likely to scratch or become damaged. Applying a clear topcoat also has aesthetic benefits, as it can give the item a finished, polished look and help to enhance the color of the material beneath.
Adding a clear topcoat is highly recommended for maximum protection and durability when painting Polywood. To ensure the best results, be sure to use an outdoor-grade topcoat that is specially formulated for use with Polywood. This will help to ensure a long-lasting, beautiful finish. By finishing your Polywood project with a clear protective topcoat, you can enjoy maximum performance and protection for years to come.
How Do You Choose the Best Color for Your Project When Painting Polywood?
When painting Polywood, you want to choose the best color option for your project. You can choose a color that complements your outdoor space and reflects your personal style. To help narrow down the choices, it’s important to consider the type of project you’re working on. If you are refinishing furniture or decking, select a color that will withstand weather and wear and tear.
For outdoor furniture, you may want to consider using darker colors that won’t fade as quickly in the sun. You also want to take into account the material of Polywood itself—darker colors generally work better on textured surfaces such as wood grain or plastic.
When you select a color, make sure that it provides the right level of contrast against other furniture and surfaces in your outdoor space. You also want to be mindful of the sheen you choose. For example, if your Polywood project is intended for an area with frequent foot traffic, a semi-gloss or gloss finish may be best as it is more resistant to wear.
Conclusion
In conclusion, painting polywood is a straightforward process that can be done with minimal materials and tools. All you need is a quality primer, paintbrush, roller or sprayer, and a high-quality exterior paint. The key is to ensure the furniture is properly cleaned before applying the coating to adhere well and look great when finished.
With some preparation and a bit of patience, painting polywood furniture can be an easy and fun project that will yield lasting results. I hope this article has been beneficial for learning how to paint polywood. Make Sure the precautionary measures are followed chronologically.

