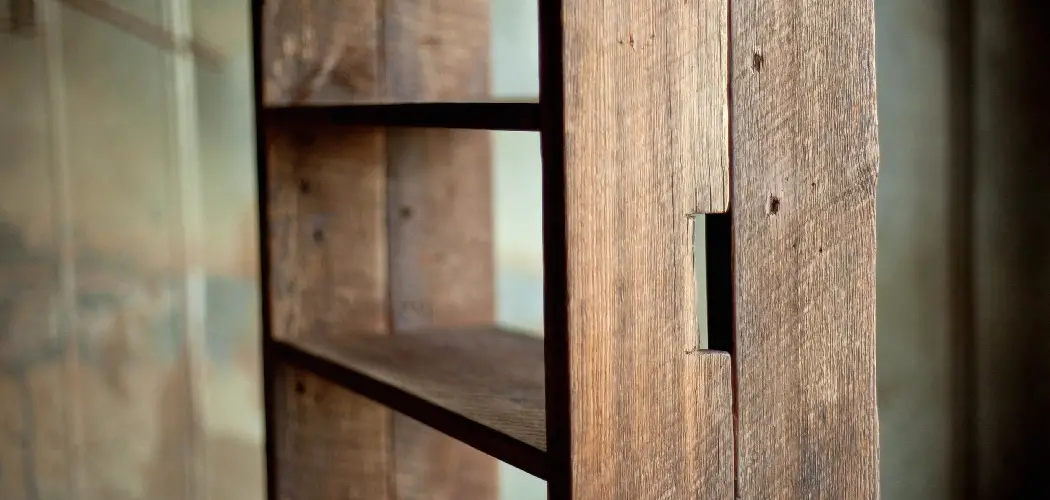
If you have wooden shelves in your home, you may wonder how to stain them to get the perfect look. Wood furniture can add a touch of elegance to any room, but it can be tricky to get the right color.
However, staining your wood shelves will be a breeze with a little preparation and the right tools. Follow these simple steps, and you’ll have beautiful stained shelves in no time. In this blog post, you will learn in detail how to stain wood shelves.
Materials You Need
- Fine-grit sandpaper
- Tack cloth
- The stain of your choice
- Foam brush
- Old rags
Step-by-Step Processes for How to Stain Wood Shelves
Step 1: Choose the Right Stain
The first step in staining wood shelves is to choose the right stain. There are many different stains on the market, so selecting one that will work well with the type of wood you’re working with is important. If you’re not sure which stain to use, it’s always best to consult with a professional.
Step 2: Prepare the Wood
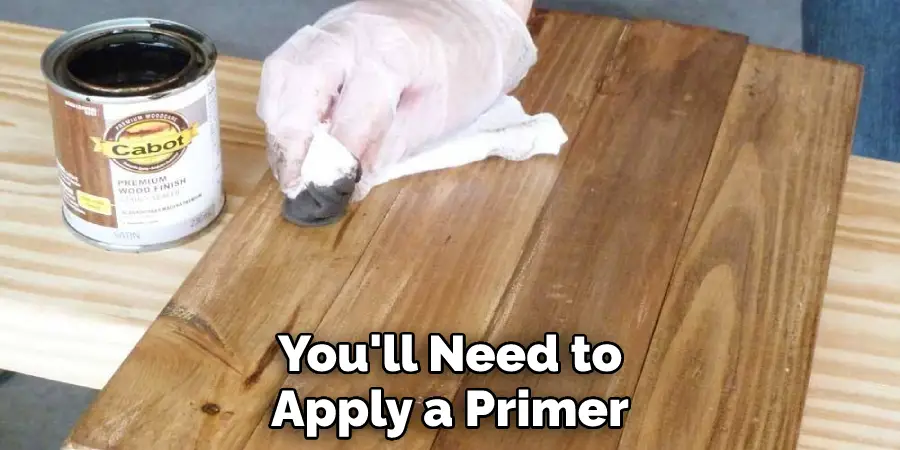
Once you’ve selected the right stain, it’s time to prepare the wood. This involves sanding down the surface of the wood to create a smooth finish. If you’re not sure how to do this, it’s best to consult with a professional. Once the wood is sanded, you’ll need to apply a primer. This will help the stain adhere to the surface of the wood and prevent it from peeling or flaking off.
Step 3: Apply the Stain
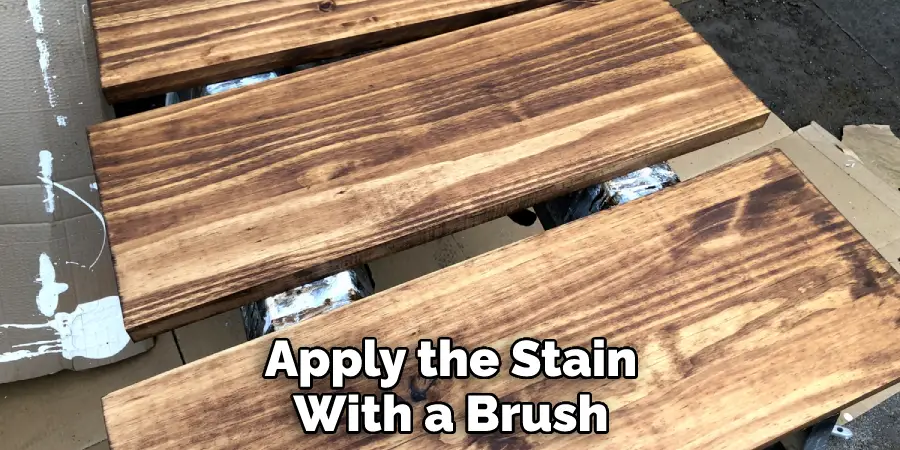
Once the wood is prepared, it’s time to apply the stain. It’s important to follow the manufacturer’s instructions when doing this. You’ll most likely need to apply the stain with a brush or rag and then wipe off any excess. Be sure to work in a well-ventilated area, as some stains can be quite pungent.
If you’re using a brush, apply the stain in long, even strokes. For best results, work with the grain of wood. If you’re using a rag, simply dab it onto the surface of the wood. Again, be sure to work with the grain.
Once you’ve applied the stain, let it sit for a few minutes before wiping off any excess. You can use a clean cloth or paper towel for this. Be sure to dispose of any rags or brushes that have been used to apply the stain properly.
You Can Check It Out to Stain Orange Wood Grey
Step 4: Let the Stain Dry
After you’ve applied the stain, it’s important to let it dry. This usually takes about 24 hours. Once the stain is dry, you can apply a topcoat if desired. A topcoat will protect the stain and help it to last longer.
Step 5: Apply a Topcoat (Optional)
If you want to, you can apply a topcoat over the stain. This will help to protect the stain and make it last longer. Depending on your preferences, you can use a clear topcoat or a colored one.
Depending on the type of stain you use, you may not need to apply a topcoat. If you’re unsure, it’s always best to check with the manufacturer’s instructions.
You Can Check It Out to Stagger Wood Plank Wall
Safety Tips for How to Stain Wood Shelves
- Always sand your wood shelves before staining to create a smooth surface.
- Wear gloves and a dust mask when sanding and staining to avoid particles in your lungs or skin.
- Use a damp cloth to wipe off the dust from sanding before beginning to stain.
- Apply the stain with a brush, working in the grain direction. Avoid over-saturating the brush with stains to avoid dripping and making a mess.
- Wipe off any excess stains immediately with a clean cloth. Let the first coat of stain dry completely before applying a second coat if desired.
- When you are finished staining, dispose of all rags and brushes properly.
- Do not leave any flammable materials near your wood shelves while they are drying. Ensure adequate ventilation in the room where the shelves are drying.
- Keep children and pets away from the area until the stain is completely dry. Do not place anything on the shelves until the stain is completely dry.
- Do not move the shelves until the stain is completely dry. Once the stain is dry, you may want to apply a clear coat of polyurethane for extra protection.
- Let the polyurethane dry completely before using the shelves.
How Many Coats of Stain Should Be Applied?
The general rule of thumb is to apply as many coats of stain as necessary to achieve the desired color. You may only need one coat if you are trying to achieve a very light color. You may need several coats if you are trying to achieve a very dark color.
Applying stain to wood shelves is a relatively easy process, but there are a few things you need to keep in mind to get the best results. First, ensure that the shelves are clean and dust-free before you start. You can use a soft cloth or brush to remove any dust or dirt.
Next, decide what type of stain you want to use. There are two main types of stains: oil-based and water-based. Oil-based stains will penetrate the wood more deeply, but they can be more difficult to work with. Water-based stains are easier to apply and remove but may not penetrate the wood as deeply.

Once you have decided on the type of stain you want to use, it is time to apply it to the shelves. If you use an oil-based stain, apply it with a brush or cloth and work it into the wood in a circular motion. If you are using a water-based stain, apply it with a sponge or brush and work it into the wood in a back-and-forth motion.
Allow the stain to sit on the shelves for the amount of time recommended by the manufacturer. This will allow the stain to penetrate the wood and achieve the desired color.
How Long Does a Stained Wood Shelf Last?
Stained wood shelves can last many years if properly cared for. Dust and dirt can build up on the surface of the wood, causing it to become dull and lackluster. To keep your stained wood shelves looking their best, dust them regularly with a soft cloth or vacuum with the soft brush attachment. If necessary, you can also wipe them down with a damp cloth.
You should also give them a good cleaning every few months with a mild soap and water solution. Be sure to rinse the shelves well and dry them completely before applying a new coat of stain. When it comes time to re-stain your shelves, be sure to use a stain that is compatible with the type of wood you are working with. Some woods, like pine, are very absorbent and will require a heavier-bodied stain. Other woods, like maple, can be stained with a lighter-bodied stain.
Stained wood shelves are a beautiful addition to any home, but they require regular maintenance to keep them looking their best. With a little care and attention, your shelves will provide you with many years of use and enjoyment.
Is It Necessary to Call Any Professional for Stain Wood Shelves?
If you have wood shelves in your home, you may wonder if it’s necessary to call a professional to have them stained. The answer is that it depends on the severity of the staining and the extent of the damage. If the shelves are only lightly stained, you may be able to remove the stains yourself using a mild detergent and a soft cloth.
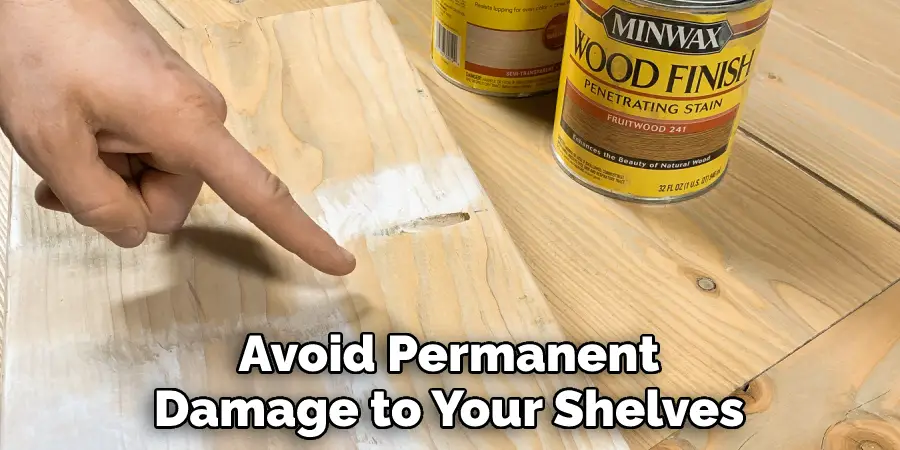
However, if the stains are more deeply ingrained, you may need to call a professional for advice on how to proceed. In either case, acting quickly is important to avoid permanent damage to your shelves.
How Will It Cost to Staining Wood Shelves?
The cost of staining wood shelves will vary depending on the size and type of shelves you have. You may only need a few ounces of stain if you have a small shelf. Larger shelves or those made of harder wood may require a pint or more. The average cost of a high-quality wood stain is about $30 per quart.
Conclusion
Staining wood shelves is a great way to add color and character to your home. There are a few things to remember when staining wood shelves, but you can achieve beautiful results with a little care and attention. Choose the right stain for your project, and take the time to prep and sand the wood before beginning.
Work in a well-ventilated area, and be sure to apply the stain evenly. With a little patience and effort, you can create stunning stained wood shelves that will add personality and charm to your home. I hope this blog is beneficial to anyone who is looking how to stain wood shelves. Always ensure you first test the stain in an inconspicuous area to gauge the color and opacity.

