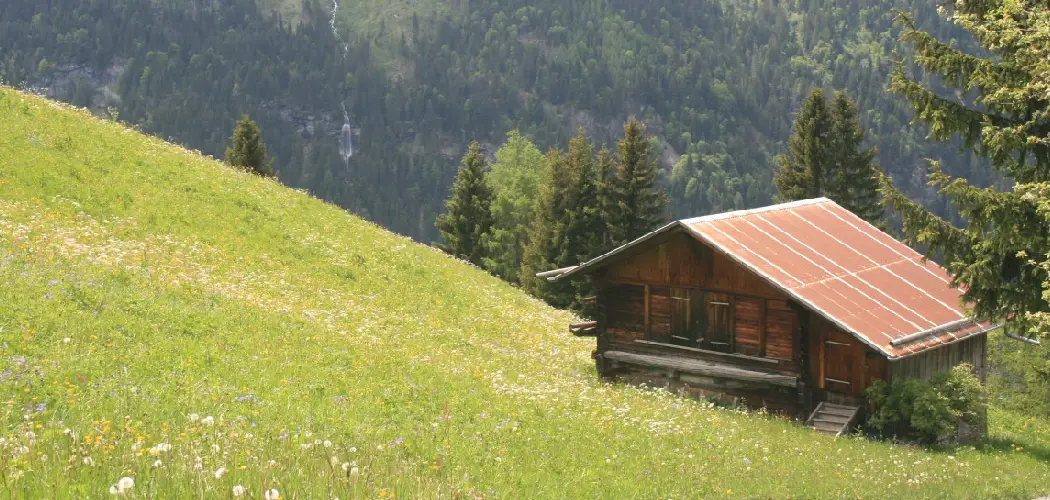
Building a shed on a hillside can be a great way to save some space and get creative with your backyard. But it’s not as simple as assembling the shed on the slope. You need to consider a few things to ensure it’s safe and stable.
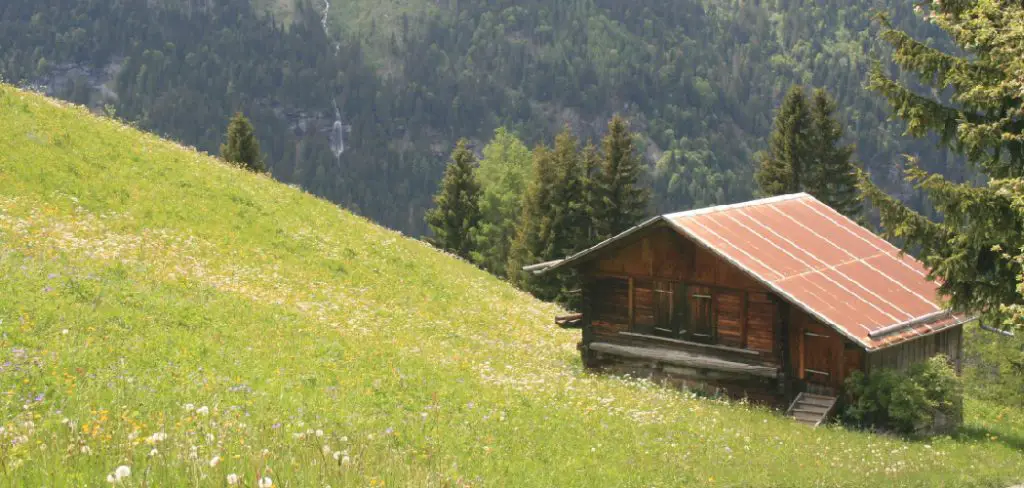
If you’re like me, you probably have a lot of stuff. So where do you put all of it? If you’re lucky, you have a garage. But if you don’t, or your garage is already packed to the brim, a shed comes in handy. So what do you do if your yard has no level ground to put a shed on?
Follow these simple instructions on how to build a shed into a hillside.
Summary: In this creative short summary, we learn how to turn a shed into a hillside by creating a natural look with plants and rocks. By doing this, we create a space that is both functional and beautiful.
10 Instructions on How to Build a Shed Into a Hillside
Building a shed on a hillside can be a great way to add extra storage space to your property. However, it can also be a challenge, as you’ll need to account for the slope of the land when planning and constructing your shed. But with careful planning and execution, building a shed into a hillside can be a successful project.
Here are 10 instructions to help you build a shed on a hillside
1. Choose the Right Location:
When selecting a location for your shed, make sure to take into account the slope of the land. You’ll need to level the ground before constructing your shed, so pick a spot that’s easily accessible and has enough space to work.
2. Excavate the Area:
Using a shovel, excavate the area where your shed will be built. The depth of the excavation will depend on the height of your shed. You’ll need to ensure the hole is deep enough so the shed will be level when completed.
3. Build a Foundation:
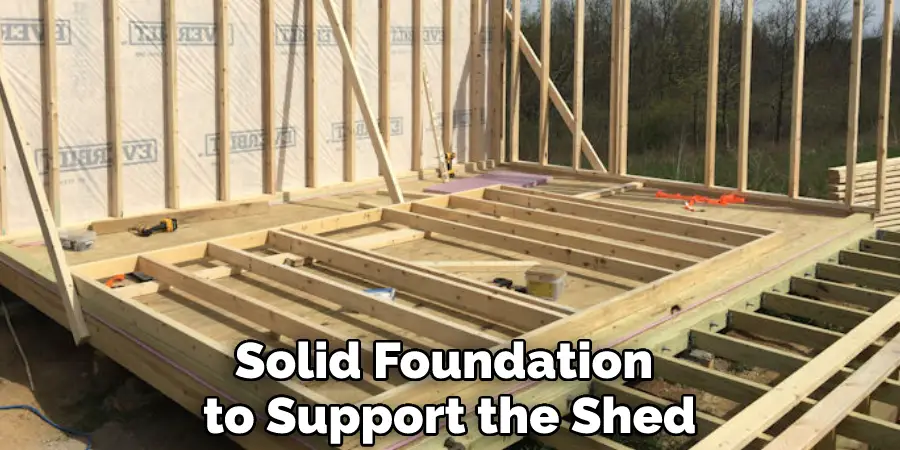
Building a shed on a hillside can be challenging. First, you need a solid foundation to support the shed walls and roof. One option is to make a concrete pad. Another option is to create a wooden platform supported by piers or posts.
If you build a wooden platform, ensure the posts are securely anchored. The platform should be level with the shed floor. If you have a slope, you may need to cut the positions to different lengths so they are all the same height.
You Can Check It Out to Build a Curved Wooden Walkway
4. Install Shed Walls:
After the foundation is complete, it’s time to install the shed walls. If you are using prefabricated walls, follow the manufacturer’s instructions. If you are building shed walls from scratch, use 2×4 lumber for the framing. Make sure the wall studs are correctly spaced and aligned before attaching the wall sheathing.
5. Install Framing:
After the floor joists are in place, it’s time to install the shed’s framing. Begin by attaching the top and bottom plates to the walls. Then, add studs to the dishes to create the frame. When connecting the studs, ensure they’re level and plumb so the walls will be straight.
6. Add the Walls:
Add the walls one section at a time. Begin with the bottom plate and end with the top plate. Nail the leaves to the studs using 16d nails. Make sure the walls are plumb and level before nailing them together.
7. Add the Roof:
Put up the roof trusses one at a time. Nail them to the top plate using 16d nails. Ensure the trusses are evenly spaced and level before nailing them.
8. Add the Shingles:
Start at the bottom of the roof and work your way up, nailing the shingles in place with 8d nails. Make sure to overlap each row of shingles by at least 2 inches (5cm).
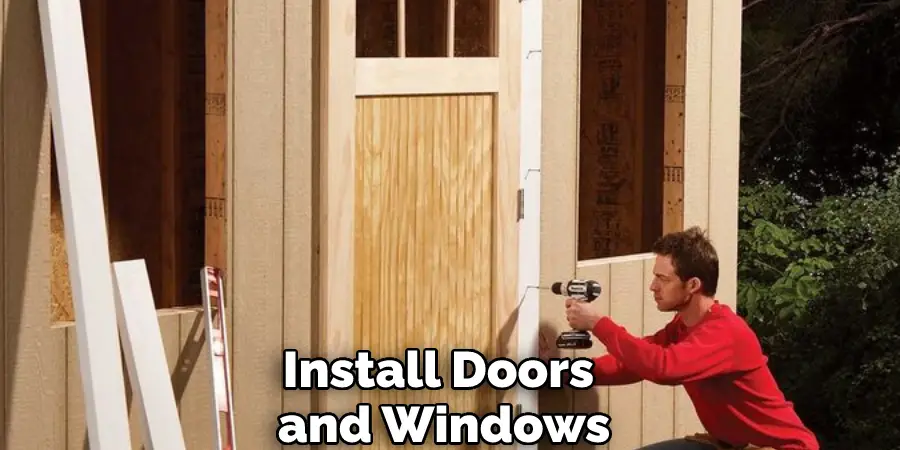
9. Install Doors and Windows:
To complete the shed, install doors and windows. Make sure they’re adequately sealed to keep out moisture. Doors and windows are essential for ventilation and light. Make sure to fill them in to keep out the weather properly.
You Can Check It Out to Build Cascading Box Steps
10. Finish the Interior:
You can finish the interior of your shed however you like. For example, you may want to add shelves, insulation, or other features.
To keep your shed in good condition, inspect it regularly for damage. This is especially important to finish the shed by adding trim around the doors and windows. Paint or stain the shed as desired. Add other finishing touches, such as a weather vane or flower box. for severe weather.
Following these instructions, you can build a shed that will last for years.
What Tools Are Needed to Build a Shed Into a Hillside?
If you’re planning on building a shed on a hillside, there are a few tools that you’ll need to get the job done. First, you’ll need a shovel to excavate where the shed will be built. You’ll also need a level to ensure the shed is built on a level surface. Additionally, you’ll need a tape measure to ensure that the shed is the correct size. Finally, you’ll need some wood to build the actual shed. With these tools, you’ll be able to make a shed into a hillside in no time!
Why Building a Shed Into a Hillside is Important?
You might want to build a shed on a hillside for many reasons. First, it can be a great way to add extra storage space if you have a lot of lands. It can also be a great way to create a workshop or office space that is separate from your home.
Building a shed on a hillside can also be a great way to add value to your property. If you ever decide to sell, potential buyers will see the shed as a bonus.
What Are the Best Pattern to Build a Shed Into a Hillside?
The reverse gable pattern is the best way to build a hillside shed. This will allow you to create a shed that looks great and functions well. You can use this pattern to build a garage, workshop, or even a tiny home. The reverse gable pattern is solid and can withstand high winds and heavy snow loads. It is also relatively easy to build and is an excellent pattern for the do-it-yourselfer. Another great thing about this pattern is that it can be easily adapted to any size shed you might need.
If you are unfamiliar with the reverse gable pattern, it is simply a shed with the door and window placed in the gable end. This gives you a vital structure that can withstand high winds and heavy snow loads. It also looks great and can be easily adapted to any size shed you might need.
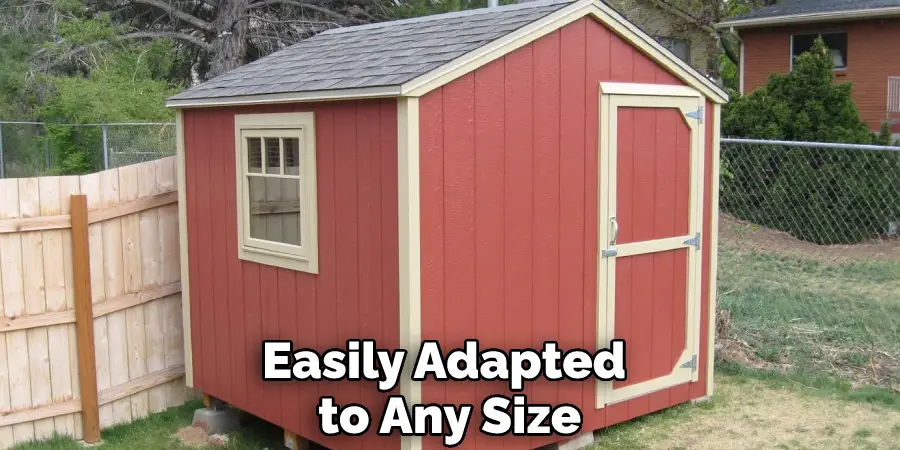
The reverse gable pattern is not the only pattern you can use to build a shed into a hillside, but it is by far the strongest and most popular. If you are unfamiliar with all the different patterns, you should take time to look at the other options before deciding which one is right for you. There are many different pattern books available that will show you all the different patterns available.
Building a shed on a hillside can be a great way to add storage space to your home. It can also be a great way to protect your belongings from the elements. If you use the reverse gable pattern, you will be able to build a shed that is strong and looks great too. This is the best pattern for building a shed on a hillside.
Precautions Before Building a Shed Into a Hillside
Building a shed on a hillside can be a great way to add extra storage space to your home. However, there are some things you should take into consideration before starting such a project. Here are some essential precautions to keep in mind:
- Make sure the hill is stable. You don’t want your shed collapsing due to a landslide.
- Make sure the shed is anchored correctly. This will help prevent it from being swept away in flood.
- Make sure the roof is adequately ventilated. The shed could become a hotbed for mold and mildew without proper ventilation.
- Make sure the doors and windows are properly sealed. This will help keep out moisture, pests, and extreme temperatures.
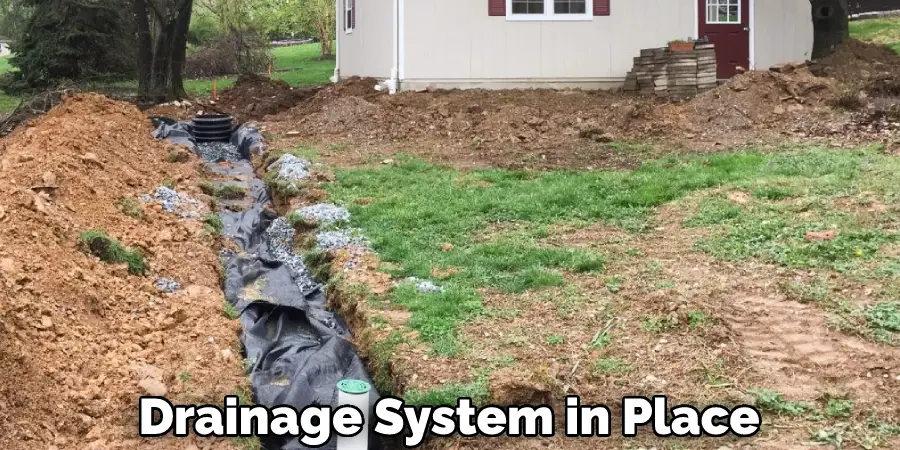
- Make sure you have a sound drainage system in place. Water could pool around the shed without proper drainage and cause severe damage.
Following these necessary precautions, you can rest assured that your shed will be safe and secure for years to come.
Conclusion
Building a shed on a hillside can be a profitable project for homeowners. It can add value to the home, provide storage space, and is a relatively easy project to complete. However, if you’re looking to build a shed and want to do it on a hillside, there are some things you’ll need to consider.
If you read the whole thing, you must have gotten a clear idea of how to build a shed into a hillside also, you’ll see that there are a few key considerations to think about before starting this project. But with careful planning, you can successfully build a shed into a hillside. So make sure to research and get started on the right foot.
Happy shed building!

