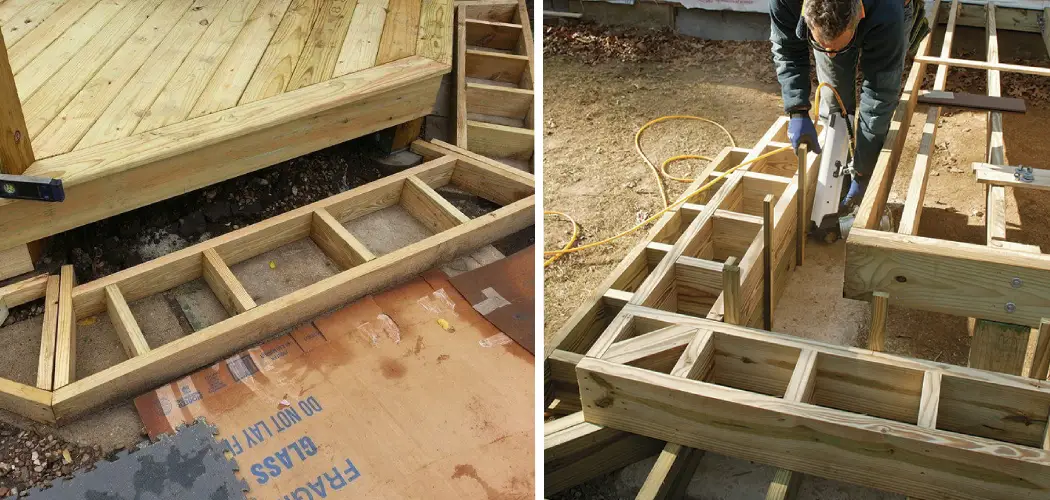
Are you looking for a way to add some style, character, and visual appeal to your outdoor living space? If so, consider building cascading box steps! Not only will cascading box steps provide an attractive touch to any garden or patio, but they can also make it much easier and more enjoyable to travel from one area of your yard or garden to another.
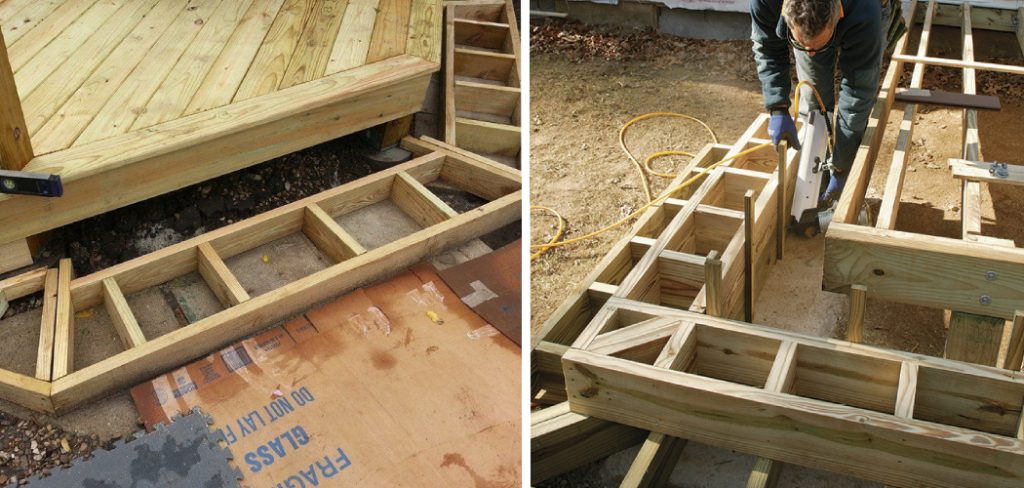
In this blog post, we’ll explain how to build cascading box steps in no time at all. We’ll guide you through each step of the construction process – including choosing materials, determining measurements, and cutting the boards – all while offering expert tips along the way. So if you’re ready to breathe new life into your outdoor living space with these beautiful stairs, let’s get started!
Can You Build Steps Without Stringers?
The short answer is yes; you can build steps without stringers, but it’s not recommended. Stringers are the structural supports that run along each side of a staircase, and they provide much more strength and stability than steps built without them.
Therefore, if safety is a priority (as it should be), then we strongly recommend building your cascading box steps with stringers. Additionally, it is generally much easier and quicker to build stairs with stringers than without.
Picking Out Materials and Determining Measurements
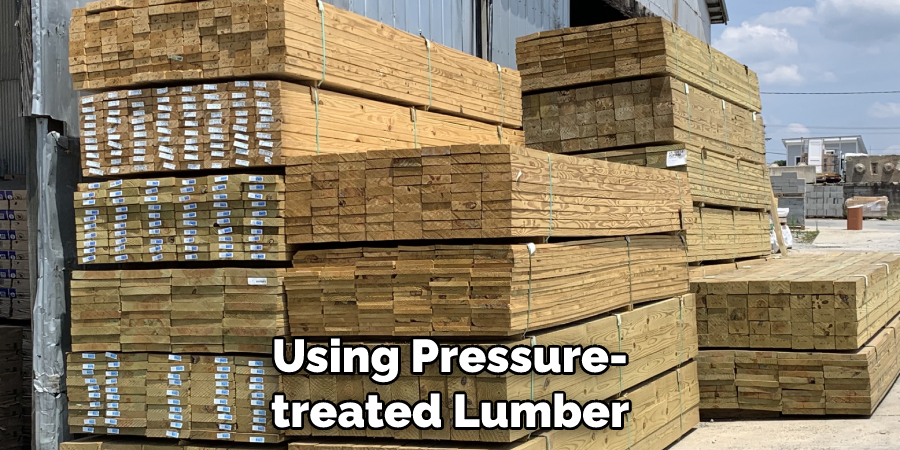
Now that you’ve decided to go with stringers, the next step is to pick out the right materials for your project. We recommend using pressure-treated lumber that’s rated for outdoor use, such as cedar or redwood. Pressure-treated lumber is more resistant to rot, decay, and insect damage – making it an ideal choice for outdoor projects like this one.
Once you have the materials in hand, you’ll need to determine the measurements of your stairs. To do this, you’ll need to measure the distance between the two points where the cascading box steps will meet (e.g., a patio and a garden). You should also measure the rise (the total vertical height of each step) and the run (the horizontal length of each step). For safety reasons, we recommend that each tread have a maximum rise of 8 inches and a minimum run of 10 inches.
9 Methods How to Build Cascading Box Steps
1. Use Shims to Level It Out.
Once you have your materials and measurements, you’re ready to start building. Begin by laying out the stringers on a flat surface and checking for level with a carpenter’s level. If the stringers are not level, use shims beneath them until they are as close to perfectly level as possible. If you have any gaps between the stringers and the surface they are sitting on, you should use shims to fill those as well. This will help ensure that your steps are level even when you start building.
2. Cut the Treads and Risers.
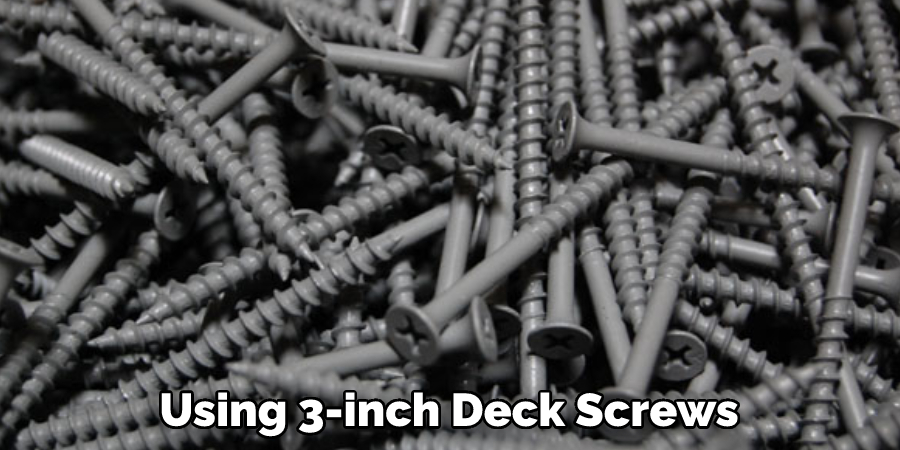
Once the stringers are in place, it’s time to cut the treads (the horizontal boards) and risers (the vertical boards) for each step of your staircase. Make sure that each tread has a minimum depth of 10 inches and is attached securely to both sides of the stringer using 3-inch deck screws. For safety reasons, all stairs should have a minimum tread depth of 10 inches. Similarly, the risers should be attached securely to both sides of the stringer with 3-inch deck screws and have a minimum height of 7 inches.
3. Nail or Screw Your Risers to the Stringers.
Once you have cut all of the treads and risers for your staircase, it’s time to attach them securely to the stringers. To do this, use either 3-inch deck screws or 16d finishing nails. Make sure that each riser is mounted flush against the stringer and secured tightly in place.
Although you can use other types of fasteners, the deck screws or 16d nails should be strong enough to do the job properly. Keep in mind that the risers and treads need to be attached securely in order for the staircase to be safe. Once you have finished attaching all of the risers and treads, you can move on to the next step.
4. Make Sure Each Step is Level.
Once all of the treads and risers are attached to the stringers, double-check that each step is level with a carpenter’s level. If any steps are not perfectly level, use shims beneath them until they are as close to perfect as possible. Once the steps are level, use a drill to attach them securely to the stringers. However, ensure the screws are not too long, as this could cause damage to the steps. When all of the stairs are properly and securely attached, the stairs are ready for use.
5. Assemble the Steps.
Now it’s time to assemble the steps! Begin by attaching two risers together (on either side of the stringer) using 3-inch deck screws and making sure that each riser is level with the next one.
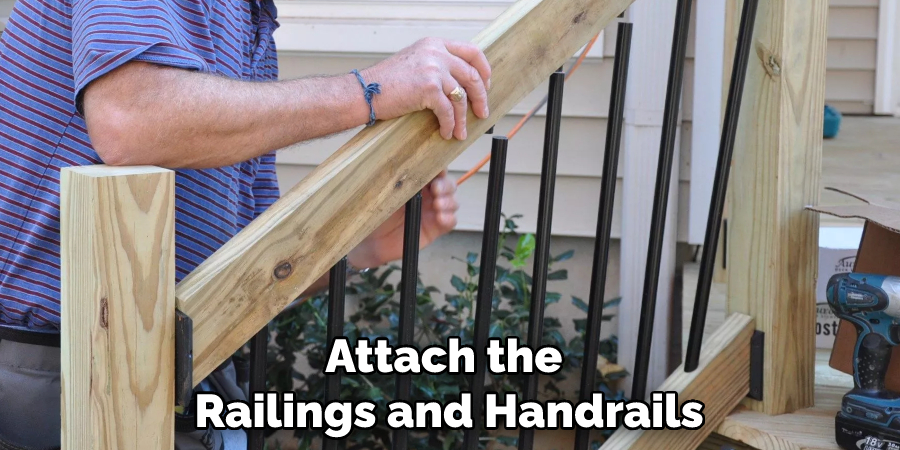
Once you’ve attached all the risers, attach each tread board to them with 3-inch deck screws, starting from the bottom and working your way up. To finish up, attach the railings and handrails to the stringer with 2-inch deck screws. Make sure to check all your measurements and angles to ensure that your staircase is level and sturdy.
6. Sand the Entire Surface Smooth
Once all of the steps are assembled, sand down the entire surface with medium-grit sandpaper to smooth out any rough edges or splinters. This will help make your cascading box steps look more professional and polished.
Once all of the standings are complete, wipe off any dust that may have accumulated on the stairs and give them a final coat of stain or paint. With these steps, you have now successfully built a set of cascading box stairs. Enjoy your new staircase and the beauty it brings to your home!
7. Install Handrails and Balusters.
When all of your steps are assembled and installed, you can move on to installing handrails and balusters for safety purposes. Make sure that your handrail is firmly secured to the stringers on either side and is of the proper height (typically between 34-38 inches).
Additionally, balusters should be spaced no more than 4 inches apart for safety. Although you can choose a wide variety of materials for your handrails and balusters, wooden options are the most popular. If you’re feeling ambitious, you can even choose to paint or stain your handrails and balusters for a more decorative appearance. For extra safety, you may want to consider installing a landing at the top of your stairs.
8. Paint or Stain the Steps as Desired.
Now that the stairs are assembled and sanded down, it’s time to finish them off with a nice coat of paint or stain – whichever you prefer. Staining is a popular choice since it offers a beautiful natural look to outdoor staircases. However, painting can also be effective if you choose a color that complements your home’s exterior. While you’re at it, don’t forget to seal the wood with a waterproof sealant. This will help protect your stairs from the elements and ensure they last for years to come. With all the hard work you’ve put into this project, it’s important to take the time to protect your investment.
9. Apply Finishing Touches.
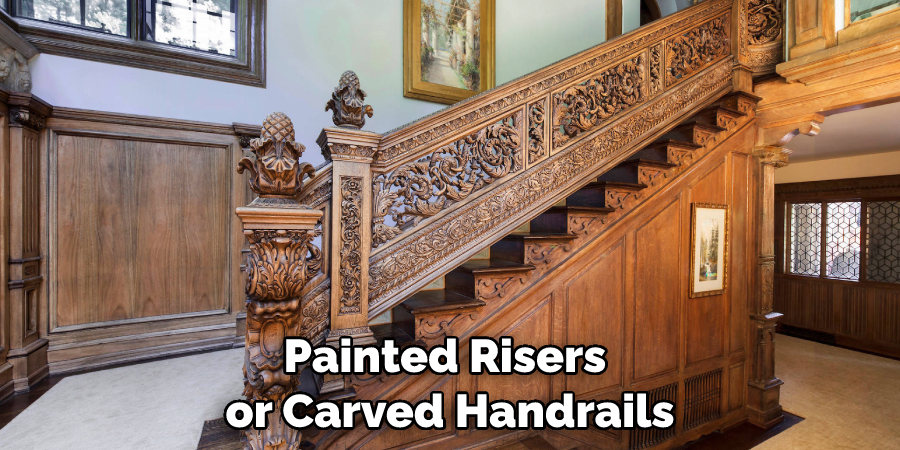
Now that your steps are assembled, it’s time to give them a bit of personal flair! If you want, you can add decorative details like painted risers or carved handrails to make your stairs truly unique.
You can also finish off the project with outdoor sealant or paint for even more protection from the elements. Try to match the colors of your stairs to other elements in your yard or home for a cohesive look. Once you’re done, it’s time to sit back and admire your work—you’ve just built a beautiful set of stairs!
Things to Consider When Building Cascading Box Steps
1. Location:
When building cascading box steps, it is important to consider the location of the structure. It needs to be placed in an area where it will not be in the way of other structures or landscaping elements. You also want to make sure there is ample space for people to walk up and down the steps.
2. Materials:
The type of materials you choose for your box steps will depend on the style and design of your space. Popular materials for cascading box steps include wood, concrete, stone, brick, and metal. Each type of material has its own unique qualities that can add a different look and feel to your landscape.
3. Layout:
Cascading box steps have many different layouts available depending on the space you have available and what aesthetic you are trying to achieve. It’s important to consider all possible layouts before deciding which one is the best fit for your needs.
4. Safety:
The safety of your guests should always be taken into consideration when building any structure. Cascading box steps can be a bit tricky to navigate, so make sure to place handrails and non-slip surfaces if necessary.
Conclusion
Cascading box steps are a great way to add interest and dimension to your landscaping. With a little time and effort, you can have professional-looking box steps for your home. By following these simple instructions, you can add value to your home while adding some extra curb appeal.
These box steps are an easy way to change the look of your home without breaking the bank. Thanks for reading our blog post on how to build cascading box steps! We hope you found it helpful and informative.

