Do you want to maximize space and turn your shed into a comfortable living area? Building a loft in your shed can be an excellent way to do just that! Not only will a loft help make better use of the available space, but it also adds extra storage and even provides additional sleeping quarters if needed.
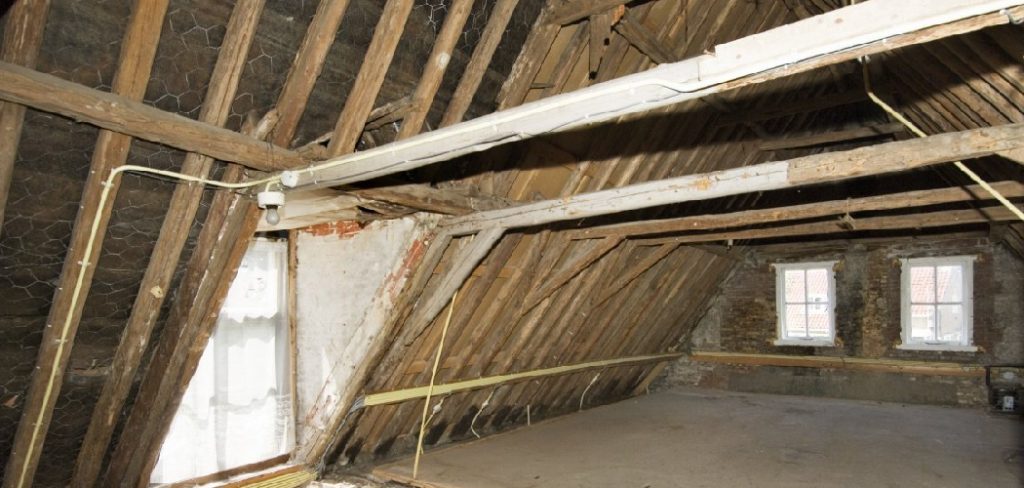
It is important to know how to build a loft in a shed. In this blog post, we’ll dive deep into understanding how to build a successful loft in your garden shed. From deciding which materials are best for the job, to getting measurements right for safety and comfort—we will cover it all.
So keep reading to find out what it takes to transform your shed into something spectacular!
Tools You Will Need
Before you get started, you should have the following tools at hand. This list isn’t exhaustive so make sure to double-check what else you will need for your specific shed:
- Hammer
- Drill and drill bits
- Tape Measure
- Level
- Saw (for cutting wood)
- Lumber (treated 2x4s or 4x4s)
- Joist Hangers
- Plywood Sheet or OSB
- Screws
- Nail Gun
8 Steps Guide on How to Build a Loft in a Shed
1. Measure the Area
Take into consideration any beams or posts in the space and make sure to leave enough room for movement.
Before you begin building a loft in your shed, it is important to accurately measure the area of the shed where you plan on installing it. This will ensure that all of your measurements for building the loft fit correctly and match up appropriately.
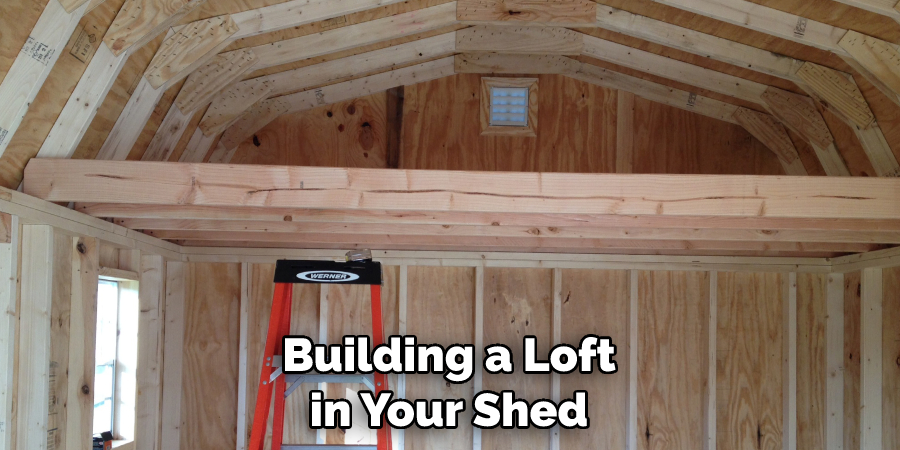
You should also take into consideration any beams or posts that could obstruct the space and make sure to leave enough room for movement inside the shed. Even if you have a bit of extra room to work with, be aware that any additional features in the loft may limit your walking space.
Therefore, careful planning beforehand can help to prevent unwanted complications during construction.
2. Decide on Which Materials You Will Need
When deciding which materials to use for your build, you should consider load-bearing capacity, safety, and comfortability. Generally, treated lumber like 2x4s and 4x4s are the best materials for framing a structure as they are sturdy and can bear weight.
For the platform of the structure, plywood sheets or oriented strand board (OSB) are both great options and tend to provide better insulation. Keep in mind that different materials shed water and resist decay differently, depending on your desired outcome.
You may need to choose the material accordingly. Remember too that it is always best to consult a specialist if you’re feeling unprepared or uneasy about making a decision involving safety.
3. Calculate the Size of Your Loft Opening
Calculating the size of your loft opening is an important step when updating your attic space. Make sure to measure both width and height to accurately assess what your new window should be. Additionally, you’ll need to calculate any joists as they will provide support and security for the window.
Keep in mind that you’ll also need to factor in a safe access point such as a ladder or staircase so that people can enter the loft easily. To get started right, make sure you have all dimensions mapped out and everything measured before starting the process.
4. Cut and Assemble the Frame Structure
Building a loft can be a great way to add valuable space and extra storage to your home without an expensive remodeling experience. The first step in this process is to cut and assemble the frame structure of your loft, which means cutting wood according to measurements and piecing them together.
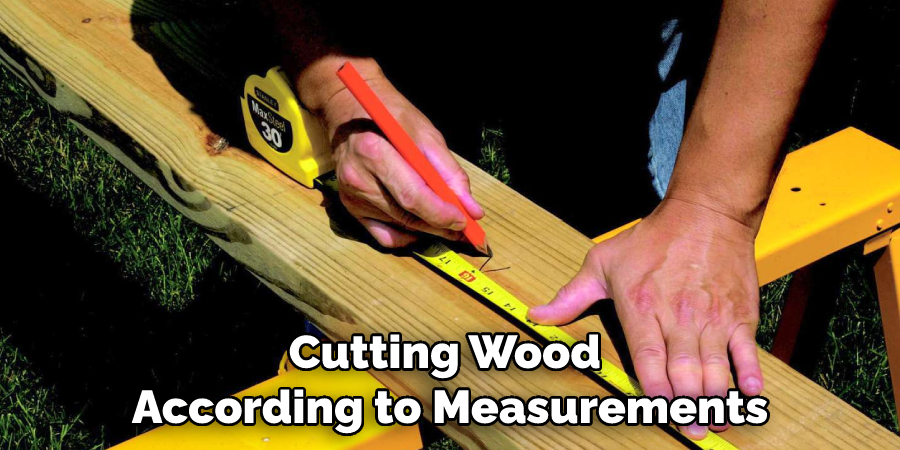
To ensure that your loft is built safely and securely, it’s very important to use joist hangers as needed for added support. With these joist hangers installed correctly, you can trust in the safety of your brand-new loft!
5. Measure and Cut Your Platform Pieces
Building a platform frame can be surprisingly straightforward if you have the right pieces and tools. First, measure your platform dimensions and decide how many pieces of wood you need. After that, cut your desired pieces according to those measurements.
Attach them firmly to the frame using either screws or a nail gun for an even stronger connection. Once complete, your platform will be sturdier and more structurally sound, guaranteeing that it meets all safety standards.
6. Add Balusters
Balusters are vertical posts used both indoors and outdoors that add to a space’s safety and attractiveness. They can be made of a variety of materials, from wood to metal, to stone. You can choose short ones or tall ones if desired, with intricate designs for the added benefit of turning your stair railings into an art piece.
Not only do they create a barrier between those going up and down the stairs for safer movements, but also provide an extra layer of beauty that takes your space up a few notches.
When considering balusters for your property, think about what kind of look you want as well as what materials would suit your home best to ensure optimal safety and aesthetics.
7. Install Either a Ladder or Staircase
Installing either a ladder or staircase in your loft is an excellent way to make it more accessible. Ladder installations are ideal for those who want a cost-effective solution as they involve minimal installation and materials.
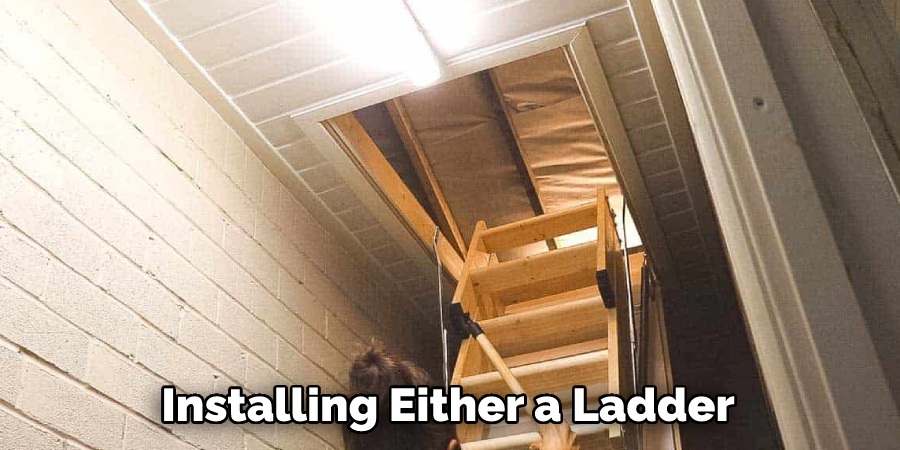
Staircase installations, on the other hand, can require more carpentry and planning but can offer convenience and ease of use in the long run. Whichever option you choose, adding either a ladder or staircase will help ensure that you get the maximum benefit out of your loft space.
8. Add Trim Around the Frame
Finishing a project can be gratifying, particularly when it involves adding the final touches like trim around the frame and platform. This is an easy yet effective way to finish off the job with a polished look! You’ll be able to see the transformation right away as the trim adds an extra sparkle to both the frame and platform.
With each piece in place, you can happily stand back and appreciate how great this project looks. Enjoy seeing the fruits of your hard labor!
And there you have it—a comprehensive guide on how to build a loft in a shed! Keep in mind that this is just a general guide and you may need to make adjustments depending on the size of your shed and the materials you are using.
Good luck!
10 Tips for Building a Loft in a Shed
- Decide if you need a permit.
- Choose the right location for your shed.
- Build the floor of your shed.
- Frame the walls of your shed.
- Install the roof of your shed.
- Insulate the shed.
- Install windows and doors.
- Finish the interior of the shed.
- Paint or stain the shed.
- Add any final touches.
What Type of Budget Requires to Build a Loft in a Shed?
Building a loft in your shed can be a great way to save money while creating extra space. The biggest challenge is often budgeting – it’s easy to overspend. Here are a few tips to construct a functional, quality loft on a budget. Start by measuring the dimensions of your shed and mapping out the potential loft layout.
Choose materials carefully, and stick to basic building supplies like pressure-treated wood that you can pick up for a good price at most home improvement stores.
Don’t skimp on necessary parts like quality hinges – invest in high-quality products that will last rather than trying to find used supplies from tag sales or thrift store finds.
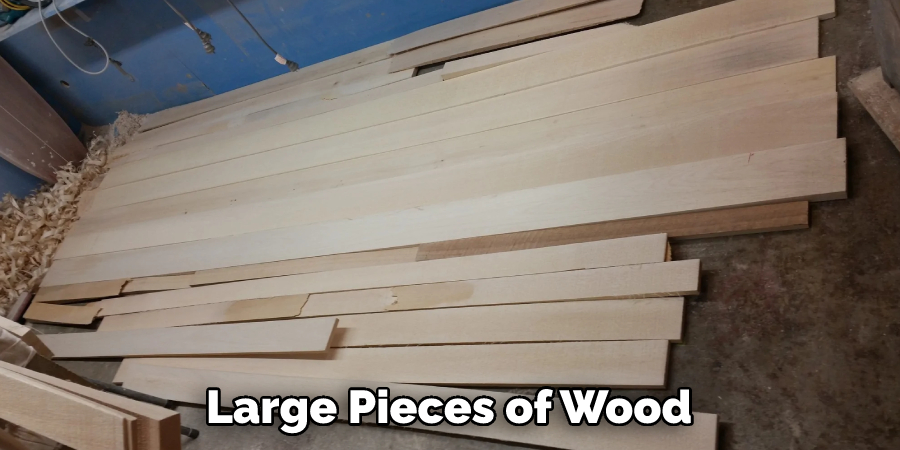
If you don’t feel comfortable tackling the project on your own, consider hiring help for specific steps like cutting and installing large pieces of wood instead of relying on someone for the entire job. Following these steps will allow you to create a functional, sturdy loft quickly and stay within budget.
How Much Limited Space Requires to Build a Loft in a Shed
Building a loft in your shed can be a great way to maximize space and make use of some of the extra headroom. While the requirements will vary depending on the size of your shed, there are two main approaches to building a loft: using shelves or using supports.
If you have limited space or height restrictions, getting creative with shelves can help provide extra storage without making it feel cramped. With this approach, use shelving boards along with brackets and joists to create a structure under the loft.
On the other hand, if you have more room, then you can build up some additional support beams that carry more weight while still allowing for extra space. Be sure to factor in any local codes or regulations when installing either type of lofting system so that your new addition works safely and reliably!
Conclusion
Building a loft in your shed is a great way to add some extra storage space. You should carefully determine how to build a loft in a shed. It’s also a relatively easy project that you can complete over a weekend. Before you start, make sure you have all of the necessary supplies and tools. Once you have everything, follow these simple steps and you’ll have a new loft in no time!
You Can Check It Out to Decorate an Old Wooden Sled for Christmas

