

A drafting table is more than a piece of furniture. It’s a workspace built for creativity, precision, and comfort. Whether you’re an architect sketching blueprints, an artist working on detailed illustrations, or a hobbyist who loves designing, a good drafting table can change the way you work. The angled surface reduces strain on your neck and back, while the sturdy build gives you a reliable place to bring ideas to life.

Buying a quality drafting table can cost a small fortune. That’s where building your own comes in. With a bit of planning, some basic tools, and a free weekend, you can craft a table that fits your exact needs. You get to choose the size, the height, the tilt of the surface, and the finish.
This guide on how to build a drafting table walks you through everything. From the benefits and materials to a clear 10-step process, common mistakes, and answers to popular questions, you’ll have all the information you need to get started. Let’s dig in and build a drafting table you’ll be proud of.
What Are the Benefits?
Building your own drafting table comes with plenty of upsides. Here are the main reasons why it’s worth the effort.
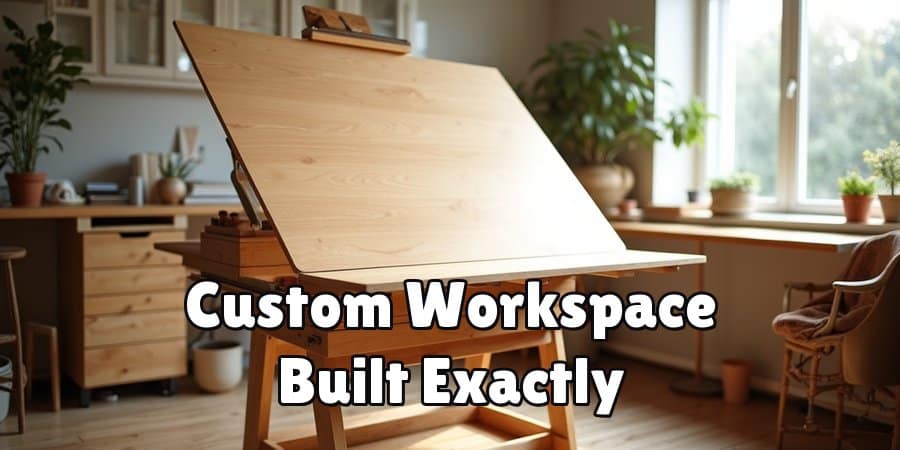
- Cost savings. Store-bought drafting tables often carry a hefty price tag. When you build your own, you only pay for materials, which usually cost a fraction of the retail price.
- Custom sizing. Not everyone has the same workspace. Building your own lets you match the table to your room, your height, and the type of projects you tackle.
- Adjustable design. You control how the surface tilts and how tall the table stands. This means better posture and less fatigue during long sessions.
- Quality materials. When you pick the wood and hardware yourself, you know exactly what goes into your table. You can choose durable, long-lasting parts instead of cheap particleboard.
- A rewarding project. There’s real pride in using something you built. Every time you sit down to work, you’ll remember the effort you put into creating your own space.
- Room for upgrades. Since you built it, you can modify it later. Want to add a drawer, a paper roll holder, or extra storage? It’s easy when you understand how the table came together.
What Will You Need?
Before you start, gather your tools and materials. Having everything ready makes the build smoother and faster.
Tools:
Materials:
Feel free to swap materials based on what you have on hand. The key is choosing sturdy wood that can hold weight without wobbling.
- Measuring tape
- Pencil
- Circular saw or handsaw
- Drill with drill bits
- Screwdriver
- Sandpaper (medium and fine grit)
- Clamps
- Level
- Wood glue
- Safety glasses and gloves
- Plywood or MDF board for the tabletop (about ¾ inch thick)
- Four wooden legs (2×2 lumber works well)
- Support rails (1×4 lumber)
- Piano hinge or heavy-duty hinges for the tilt
- Wood screws (various sizes)
- Corner brackets
- A folding shelf bracket or adjustable support arm
- Wood finish or paint
- Felt pads for the feet
10 Easy Steps on How to Build a Drafting Table
Step 1: Plan Your Design and Measurements
Start with a clear plan. Decide how big you want your table and how tall it should stand. A common tabletop size is about 30 by 40 inches, but you can adjust to fit your space. Standing desks usually reach 36 to 42 inches tall, while sitting tables run around 29 to 30 inches. Sketch your design on paper and write down every measurement. Think about the tilt angle too. Most drafting tables adjust between flat and roughly 45 degrees. Having a solid plan now saves you from costly mistakes later. Take your time here because good planning shapes the whole project.
Step 2: Cut the Tabletop
Grab your plywood or MDF board and mark the dimensions from your plan. Use a straight edge to draw clean, accurate lines. Put on your safety glasses, then cut the board with a circular saw. Move slowly and follow your lines closely for a smooth edge. If the cut isn’t perfect, don’t worry. You’ll sand it later. Once you finish the main top, check that all corners are square using a carpenter’s square. A square tabletop makes the rest of the build much easier.
Step 3: Cut the Legs and Support Rails
Now measure and cut your four legs from the 2×2 lumber. Make sure all four are exactly the same length so your table won’t wobble. Next, cut the support rails from the 1×4 lumber. These rails connect the legs and add stability. You’ll need pieces for the top frame and possibly a lower shelf or stretcher. Label each piece with your pencil so you don’t mix them up during assembly. Double-check every measurement before moving on.

Step 4: Build the Leg Frame
Lay out two legs and connect them with a short rail near the top and another near the bottom. Apply wood glue at each joint, then secure with screws. Repeat this to create a second matching leg pair. These two frames form the sides of your table. Use clamps to hold everything steady while the glue sets. Check that each frame is square and flat. A wobbly frame now means a wobbly table later, so take care with this step.
Step 5: Connect the Two Leg Frames
Stand both leg frames upright and connect them with longer rails across the front and back. Again, use glue and screws for strong joints. This creates the full base of your drafting table. Set the base on a flat surface and press down on each corner to test for stability. If it rocks, adjust the joints until all four legs touch the ground evenly. A level base is key to comfortable working.
Step 6: Sand All Surfaces
Before assembly goes further, sand every wooden piece. Start with medium-grit sandpaper to remove rough spots and splinters. Then switch to fine grit for a smooth finish. Pay extra attention to the tabletop, since your hands and arms will rest on it often. Wipe away all dust with a damp cloth. Smooth wood not only feels better but also takes paint or finish more evenly. Don’t rush this step, as it makes a big difference in the final look.

Step 7: Attach the Tilt Mechanism
This step gives your table its drafting function. Attach a piano hinge or heavy-duty hinges along the back edge where the tabletop meets the base frame. The hinge lets the top lift and tilt. Screw it firmly into both the tabletop and the frame. Test the movement to make sure the top swings up and down smoothly. This mechanism turns a plain table into a true drafting surface, so align it carefully.
Step 8: Add the Adjustable Support
To hold the tilt in place, install a folding shelf bracket or adjustable support arm under the tabletop. This support props up the front edge at your chosen angle. Mount it so you can change the tilt easily whenever you need. Test a few different angles to confirm the support locks securely. A reliable support keeps your work steady no matter how steep you set the surface.
Step 9: Attach the Tabletop to the Base
With the hinge and support in place, secure the tabletop to the base. Make sure the top sits centered and even. Tighten all screws and check that nothing shifts when you press on the surface. Lift and lower the top a few times to confirm the tilt works without sticking. This is the moment your table really takes shape. Stand back and admire your progress before the final touches.
Step 10: Finish and Protect the Table
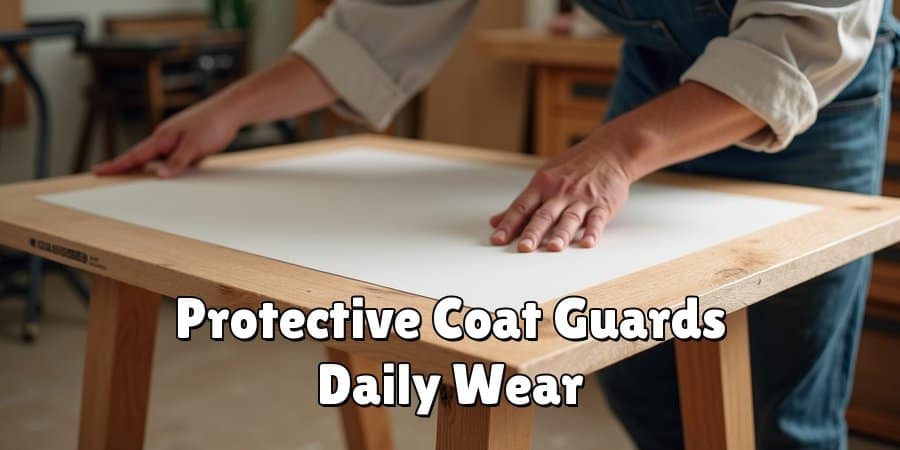
The last step is finishing. Apply paint, stain, or a clear protective coat to the entire table. This protects the wood from scratches, moisture, and daily wear. Let each coat dry fully before adding another. Once dry, stick felt pads under each leg to protect your floor and reduce noise. Give everything one final check for loose screws or rough edges. Now your drafting table is ready for years of creative work.
5 Things You Should Avoid
- Skipping the planning stage. Jumping straight into cutting without measurements leads to wasted wood and frustration. Always plan first.
- Using weak materials. Cheap, thin boards may sag under pressure. Choose sturdy plywood or hardwood so your table lasts.
- Uneven legs. If your legs aren’t cut to the same length, your table will wobble. Measure twice and cut once.
- Ignoring the tilt support. A tabletop that tilts but won’t lock in place is useless. Make sure your support arm holds firm at every angle.
- Rushing the finish. Applying paint or stain too fast, or skipping the protective coat, leaves your table vulnerable to damage. Give it time to dry properly.
Conclusion
How to build a drafting table is a project worth every bit of effort. You save money, gain a custom workspace, and end up with something built exactly the way you like it. From planning and cutting to adding the tilt mechanism and finishing touches, each step brings you closer to a table designed around your needs.
Don’t be afraid to make it your own. Add a drawer, choose a bold color, or tweak the size to fit your space. The beauty of building it yourself is total freedom. So gather your tools, follow these steps, and start creating.
Soon you’ll have a sturdy, personalized drafting table ready to support your best ideas for years to come.
