Are you looking for a way to make your bookcase more unique and add some extra storage? Adding legs to a bookcase is an easy DIY project that can transform the look of your furniture.

This guide will provide all the steps necessary to get started on this fun craft, as well as tips and tricks for making sure your legs are sturdy and secure. Whether it’s giving height to an old five-shelf piece or sprucing up any custom shelving unit, you’ll find everything you need in this post!
Adding legs to a bookcase is an easy and affordable way to instantly upgrade your furniture. Whether you’re looking for a real statement piece or just want to spruce up your existing bookshelf, adding legs will not only elevate the look of your space but can also help with maximizing storage and organization.
Here, we’ll be taking you through all the necessary steps on how to add legs to a bookcase so that you can create the piece of furniture that works best for you!
Why May You Want to Add Legs to a Bookcase?
1 . To Give Your Bookcase More Height
If you have a low-lying bookcase, adding legs can give it the necessary height to stand out in a room. This not only makes the bookcase look better but also adds an illusion of space, making the room feel bigger.
2 . To Make It Easier to Clean Underneath
Without legs, a bookcase sits directly on the ground, making it difficult to clean underneath. By adding legs, you create a gap between the bookcase and the floor, allowing for easy cleaning of dust and debris.
3 . To Add a Personalized Touch
Adding legs can completely transform the look of your bookcase. You can choose from various styles such as tapered, straight or angled legs to match your personal style and add a unique touch to your bookcase.

4 . To Create a More Versatile Piece of Furniture
By adding legs, you can turn your bookcase into a more versatile piece of furniture. With the added height and space underneath, you can use it as a room divider or display shelf for decorative pieces.
5 . To Make It Easier to Move
If you ever need to rearrange your furniture or move, having legs on your bookcase can make it easier to lift and transport. This is especially useful if you have a heavy bookcase that would otherwise be difficult to move without causing damage.
6 . To Increase Air Circulation
Bookcases that sit directly on the ground can block air circulation, leading to musty and damp conditions. By adding legs, you allow for better air flow and help prevent mold growth on your books or other items stored in the bookcase.
7 . To Protect Your Floors
Without legs, a bookcase can potentially scratch or damage your floors. Adding legs with protective felt pads can prevent any scratches or marks from occurring, keeping your floors in good condition.
How to Add Legs to a Bookcase in 6 Easy Steps
Step 1: Gather All The Tools
The very first step is to make sure that you have all the necessary tools and materials before starting your project. This includes a measuring tape, level, drill, screws, wood glue and of course, the legs themselves.
Step 2: Prepare Your Bookcase
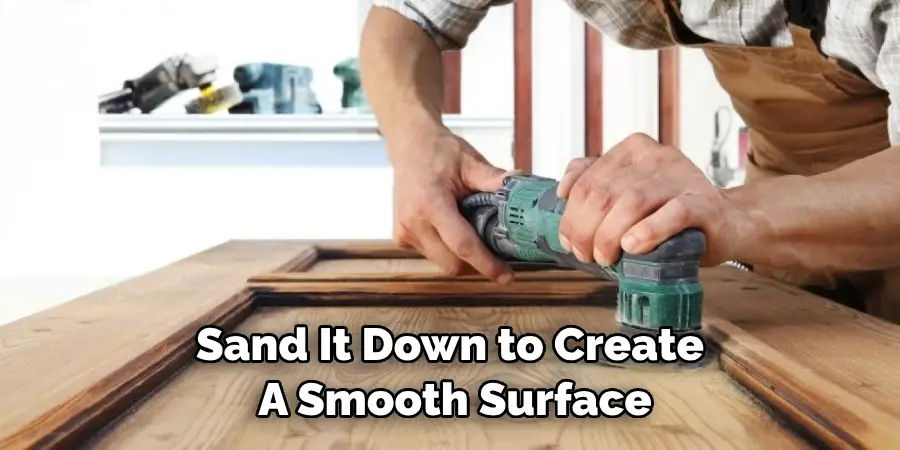
Before adding the legs, it is important to prepare your bookcase for the installation process. This includes cleaning it thoroughly and removing any debris or dust. If your bookcase is made of wood, you can also sand it down to create a smooth surface for attaching the legs.

Step 3: Measure and Mark Your Bookcase
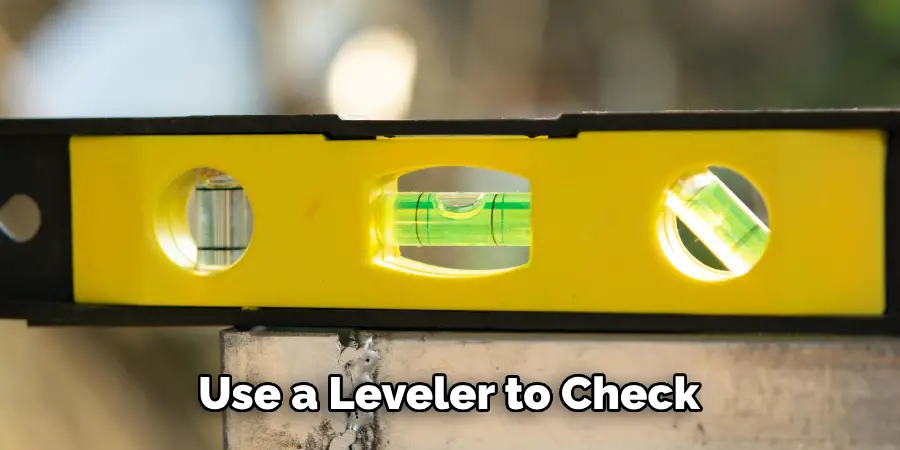
Using a measuring tape and level, mark the desired height for your bookcase legs on each corner of the bookcase. Make sure to measure twice to ensure accuracy.
Step 4: Pre-drill Holes
Using a drill, pre-drill holes on each of the marked spots. This will help prevent any splitting or cracking when attaching the legs.
Step 5: Attach Legs to Bookcase
Apply wood glue to the top of each leg and place it in position on the pre-drilled holes. Secure them in place with screws.
Step 6: Let it Dry and Enjoy!
Allow the legs to dry for at least 24 hours before placing any weight on the bookcase. Once fully dried, you can now proudly display your newly elevated bookcase in your home.
Some Other Ways to Add Legs to a Bookcase
1 . Do Not Just Screw in The Legs
Adding legs to a bookcase can be as simple as screwing them into the bottom of the bookcase. However, this method is often not the most secure or long-lasting solution. Instead, consider attaching metal brackets to both the bookcase and the legs. This will provide additional support and ensure that your bookcase stays sturdy for years to come.
2 . Use Dowels and Glue

Another option for attaching legs to a bookcase is by using dowels and glue. This method involves drilling holes into both the bookcase and the legs, then inserting dowels and gluing them together. The added strength from the dowels will ensure that your bookcase stays standing even with heavy items placed on it.
3 . Consider Adding a Baseboard
If you want to add legs to your bookcase but do not want them to be visible, consider adding a baseboard. This is a piece of wood that is attached to the bottom of the bookcase and supports the weight of the books without being seen. It also adds an elegant touch to your bookcase by covering the legs.
4 . Stain or Paint Before Attaching Legs
Before attaching legs to your bookcase, consider staining or painting them first. This will give you a more professional and cohesive look for your bookcase. Additionally, it is much easier to stain or paint the legs before they are attached as you have more control over the process.
5 . Use Adhesive Pads
If you do not want to drill holes or use brackets, adhesive pads can be a great alternative for attaching legs to your bookcase. These pads come in various sizes and strengths and are designed to stick onto both the bookcase and the legs, providing a strong bond without any additional tools or hardware needed.
Frequently Asked Questions
What Precautions Should I Take Before Adding Legs to a Bookcase?
Before adding legs to your bookcase, make sure that you have the right tools and materials. You will need a drill, wood screws, and a leveler among other basic carpentry tools. Additionally, it is important to measure the height of your bookcase and determine the ideal leg size beforehand. This will ensure that your bookcase is properly supported and stable after adding the legs.
How Do I Measure the Ideal Leg Size for My Bookcase?
To measure the ideal leg size for your bookcase, you should first determine the desired height of your bookcase. This will depend on personal preference and practicality – consider factors such as the location of your bookcase and how high you want it to be. Once you have the desired height, subtract the current height of your bookcase (without legs) from the desired height. This will give you the ideal leg size needed for your bookcase.
Can I Add Legs to Any Type of Bookcase?
Yes, you can add legs to any type of bookcase as long as it is made of solid wood or sturdy material. If your bookcase is made of particle board or other flimsy materials, it may not be able to support the weight of the legs and books. Additionally, make sure that your bookcase has a solid back panel – adding legs can cause instability if the back panel is weak or missing.

What Are Some Creative Ways to Add Legs to a Bookcase?
Adding legs to a bookcase not only adds height and stability, but it can also add visual interest and style. Some creative ways to add legs to a bookcase include using decorative or unique leg designs, painting the legs in a contrasting color, or even adding wheels for mobility. You can also mix and match different types of legs for a more eclectic look. Get creative and have fun with it!
How Do I Ensure That My Bookcase is Stable After Adding Legs?
To ensure that your bookcase is stable after adding legs, make sure to evenly distribute the weight of the books on the shelves. You can also use a leveler to check that the bookcase is balanced and adjust the placement of the legs if necessary.
Conclusion
After completing this project, you should be proud of yourself – the end result is very rewarding! You can now marvel in the strength and beauty of your reinforced bookcase that provides stronger support. Remember to always be aware of proper ladder safety when reaching higher levels, as gravity can easily take a toll on those who aren’t careful.
Now you know how to add legs to a bookcase. With just an afternoon’s worth of work, and a few resources, you get rid of any weak spots or wobbles so that often matters more than having a beautiful piece. Congratulations on creating a safe and secure home for your favorite bookshelf that won’t need to be replaced anytime soon!

