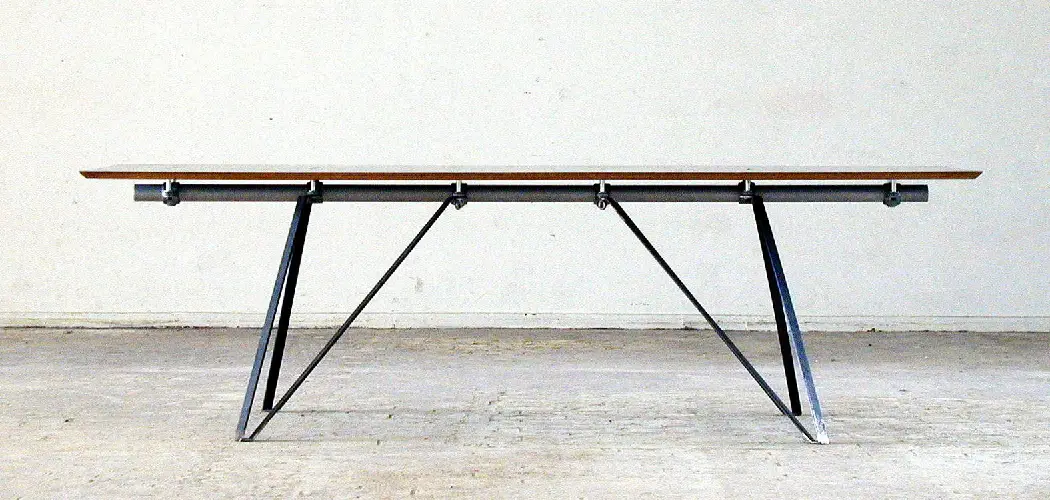
Are you frustrated by your furniture’s wobbly legs? Maybe you’re looking for something a little more unique and interesting than just your average four legged table or chair. Well, have you ever considered using hairpin legs?
Hairpin legs can add a lot of interest and style to your furniture and are surprisingly easy to attach. In this post, we will show you how to do it.
Adding hairpin legs to furniture is a simple way to add personality and change the look of a piece. This guide will show you how to attach hairpin legs and includes tips on sizing and choosing the right legs for your project. So if you’re looking for an easy way to give your furniture a fresh new look, read on for some ideas!
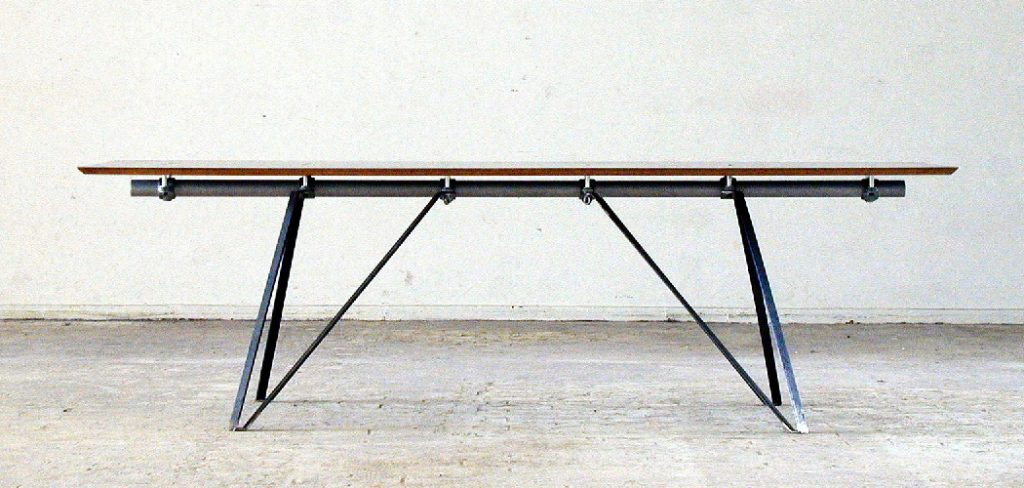
Why Are Hairpin Legs So Popular?
Hairpin legs are popular because they can add a modern or industrial touch to furniture without requiring much work or specialized tools. They are also affordable, easy to install, and come in various styles and sizes, making them a great choice for DIYers of all skill levels.
If you’re interested in adding some personality to your furniture using hairpin legs, this guide will walk you through the process step by step. Whether you’re upgrading an old piece that needs some fresh flair or starting from scratch with new materials, attaching hairpin legs is simple and fun! So let’s get started.
Are Hairpin Legs Strong Enough?
One common concern with using hairpin legs is whether they are strong enough to support the weight of your furniture. In general, hairpin legs are made from quality materials and are designed to withstand the weight of most types of furniture.
When choosing hairpin legs for a project, it’s important to consider both the size and design of the legs. This will help ensure that you pick out a set with the right strength and support for your needs.
However, if you do have any concerns about whether or not hairpin legs can safely hold up your furniture, always err on the side of caution and do some additional research before proceeding with your project.
10 Easy Steps on How to Attach Hairpin Legs
Step 1: Gather Your Materials
For this project, you will need the furniture piece that you want to attach hairpin legs to, as well as a set of hairpin legs in the size and style that you prefer. You will also need basic hand tools, such as a drill, screwdriver, or Allen wrench. You can get everything you need from your local hardware store or online.
You Can Check It Out to Attach Wood Table Top to Metal Frame
Step 2: Prepare Your Furniture Piece
Before attaching the hairpin legs, you will need to do some basic prep work on your furniture piece. This may include removing any existing legs, sanding the piece’s surface, or drilling holes for the new legs. Make sure to follow any instructions that come with your hairpin legs and furniture piece to ensure that everything is properly prepared.
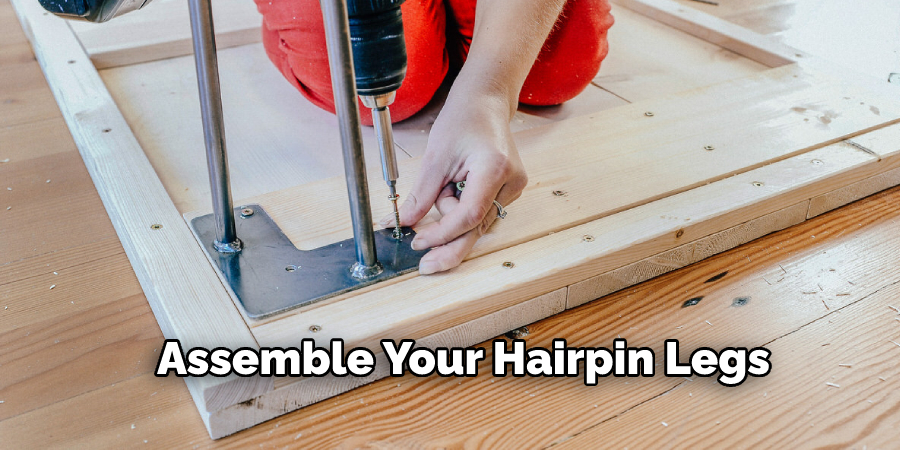
Step 3: Assemble Your Hairpin Legs
Next, you will need to assemble your hairpin legs according to the instructions provided with your leg set. This may involve using screws or bolts to connect each leg together. So make sure you have all of your tools on hand.
Step 4: Position and Attach Your Legs
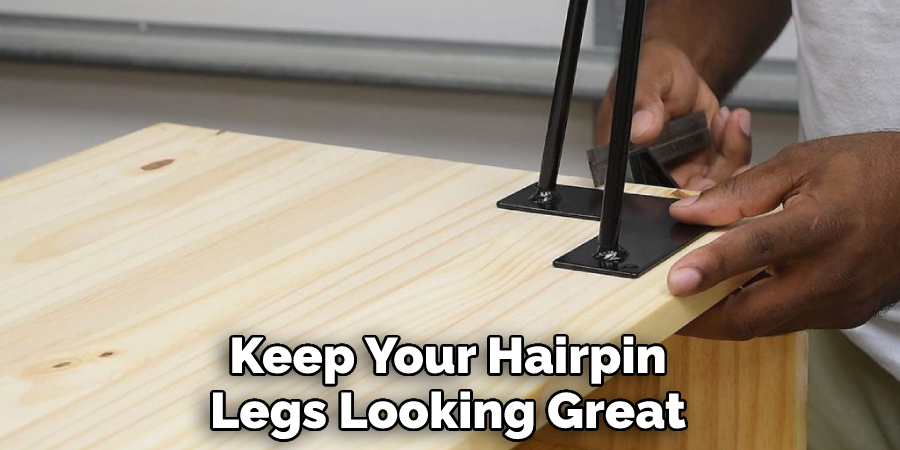
Once your hairpin legs are assembled, it’s time to position them on your furniture piece and attach them securely in place. How you do this will depend on your furniture piece and the style of hairpin legs, so be sure to follow any instructions with your leg set for precise placement and attachment.
Step 5: Test the Stability of Your Furniture
Once your hairpin legs are firmly attached, it’s a good idea to do a quick test to ensure they are holding up your furniture properly. Give the furniture piece a little shake, or try sitting on it to see if everything feels secure. If there is any wobbling or movement, you may need to adjust one or more legs slightly until they feel firm and sturdy.
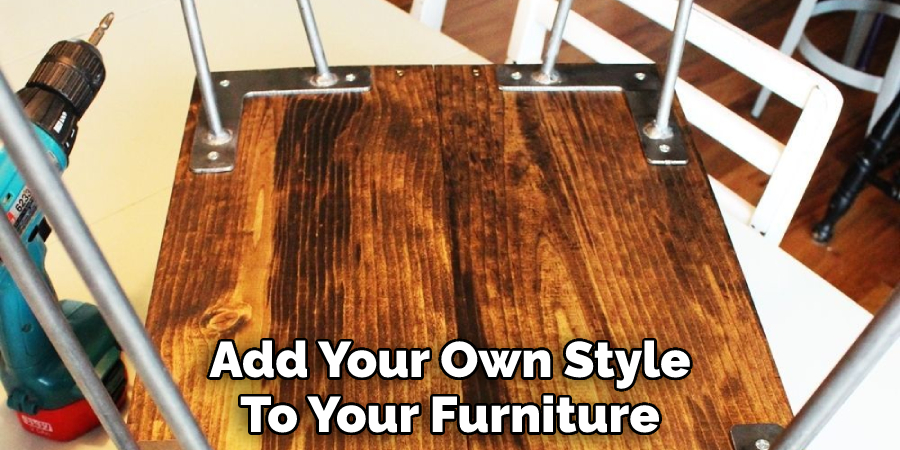
Step 6: Give a Cozy Finish
Once your new hairpin legs safely support your furniture piece, you may want to give it a cozy and polished finish. This may involve adding cushions or upholstery, painting the furniture piece a different color, or adding any other decorative touches that you prefer. You can add your own style to your furniture piece and make it unique!
Step 7: Apply a Protective Finish
To help protect your furniture piece from the wear and tear of daily use, it’s a good idea to apply a protective finish or sealant. This will help keep your hairpin legs looking great for years to come. Be careful, as some sealants may affect the finish of your hairpin legs.
Step 8: Place Your Furniture in a High Traffic Area
To keep your furniture piece looking great over time, it’s a good idea to make sure that you place it in an area where it will get plenty of use. This may be the living room, entryway, or even just your bedroom, as long as people frequently walk by and use it. Make sure to keep your hairpin legs clean and well-maintained as you would with any other furniture piece.
Step 9: Add Accessories and Enjoy!
Once your furniture piece is attached to hairpin legs and placed in a high-traffic area, it’s ready for use. Feel free to add accessories such as throw pillows or blankets, or simply enjoy the inviting new look of your furniture piece! Many different styles and types of hairpin legs are available, so you can experiment with different looks and find the perfect combination to suit your taste.
Step 10: Maintain Your Hairpin Legs
In order to keep your hairpin legs looking great over time, it’s important to maintain them with regular cleaning and care. This may involve dusting and polishing the legs periodically using specialized products or even reattaching loose screws as needed. With proper care and maintenance, your hairpin legs can last for years to come.
Following these steps, you can easily attach hairpin legs to your furniture piece and enjoy a stylish and modern new look in your home.
Whether you are updating an outdated piece or adding some extra style to a new one, these simple steps make it easy to get the look you want. So why wait? Go out today and start adding those beautiful hairpin legs!
5 Precautions You Can Take
- Make sure that the surface you are attaching your hairpin legs to is clean and free of any dirt or debris.
- Measure the width of your hairpin legs carefully before attaching them, to ensure a snug fit.
- Use screws specifically designed for hairpin legs, as these will be able to hold the weight of your furniture without becoming loose or wobbly over time.
- Use a drill to make evenly spaced holes for your screws, leaving enough clearance between each hole so that the screw heads don’t interfere with each other.
- Attach straps, clamps, or adhesive pads underneath your hairpin legs to help secure them in place and prevent them from wobbling.
If you follow these simple precautions, you can be sure that your new hairpin legs will attach easily and securely, giving your furniture a modern and professional look that is sure to impress.
Do Hairpin Legs Rust?
There is no definitive answer to this question, as the rate of rusting for hairpin legs will depend on several different factors. Factors contributing to the rusting of hairpin legs include moisture levels in your environment, exposure to direct sunlight or other harsh weather conditions, and the type and quality of materials used in their construction.
To help prevent rusting, it is generally recommended that you regularly clean and maintains your hairpin legs using specialized products. You can also try applying a protective sealant or coat of paint to help seal out moisture and protect against corrosion.
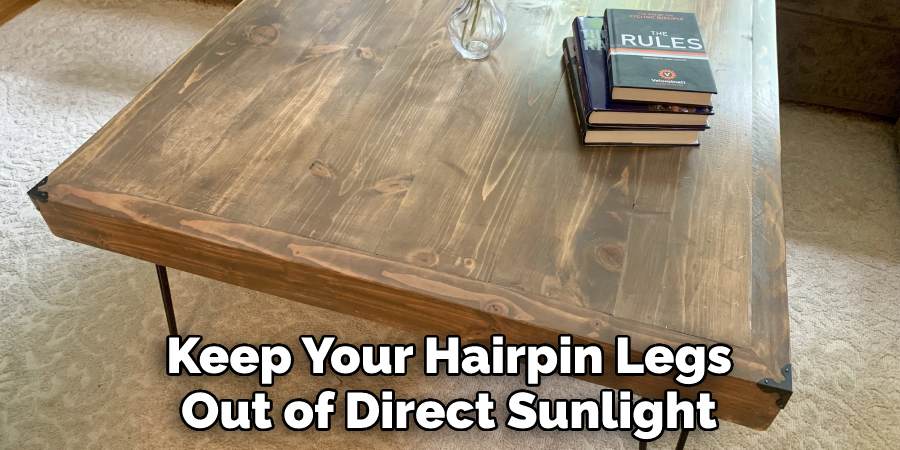
Also, try to keep your hairpin legs out of direct sunlight or other harsh weather conditions if possible. Ultimately, whether or not your hairpin legs will rust largely depends on the individual factors listed above.
Conclusion
Now that you know how to attach hairpin legs, there’s no excuse not to get started on your next project! With a few supplies and some simple instructions, you can add these stylish touches to any piece of furniture. Whether you’re looking for a mid-century modern look or updating an old favorite, hairpin legs are the way to go. So what are you waiting for? Get out there and start creating!
Hopefully, this information has helped to answer your questions about attaching hairpin legs. If you have any other questions or concerns, be sure to speak with an experienced furniture expert for further guidance and support. Good luck!

