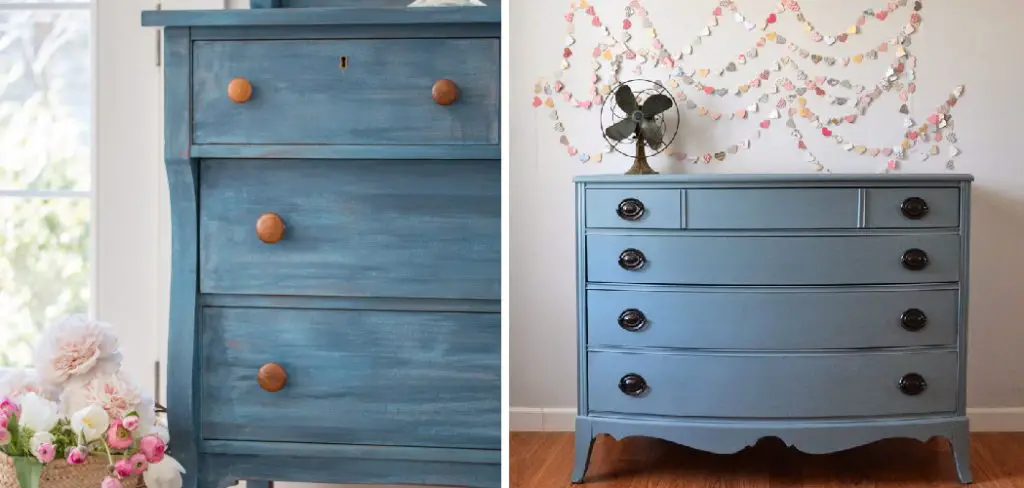
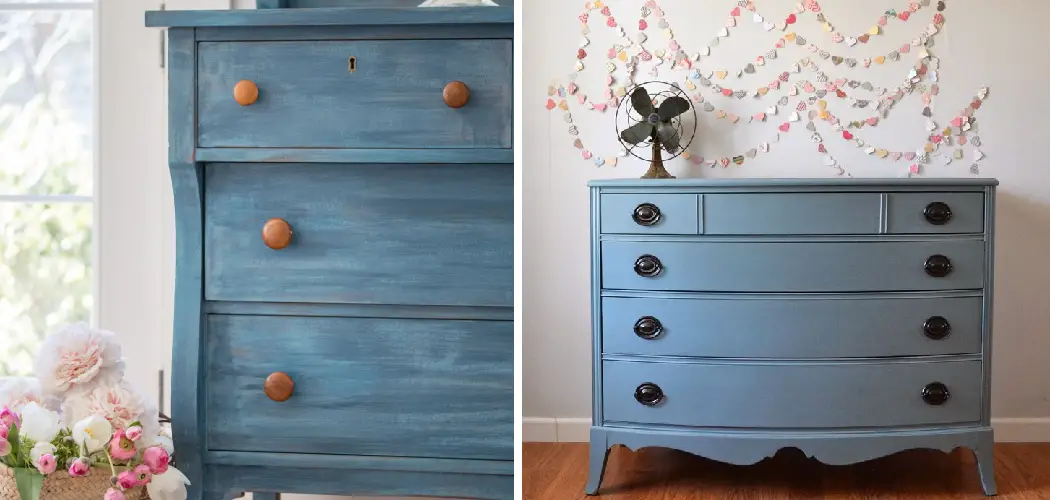
Do you want to start a furniture makeover project but don’t know where to begin? Milk paint is an easy and fun medium that can be used when creating custom masterpieces. Unlike other paints, it dries quickly, is non-toxic, and doesn’t need sanding or primer before use. Here, we’ll explore the various ways milk paint can help you achieve truly unique results on any piece of wood furniture!

If you’re looking for a unique way to give your wood furniture a one-of-a-kind look, using milk paint is the perfect option. Milk paint has been around since ancient times and offers an antique or rustic charm that no other type of paint can provide. Not only does it give your furniture a beautiful finish but it also provides protection from wear and tear for years to come. Read on to learn more about how to use milk paint on furniture!
Why May You Want to Use Milk Paint on Furniture?
1 . To Create a Vintage Look
If you are someone who loves vintage furniture, then milk paint is the perfect choice for you. This type of paint has been in use since ancient times and it will give your furniture an aged look that you won’t be able to achieve with any other type of paint.
2 . To Enhance the Wood’s Natural Beauty
Milk paint is a translucent type of paint, which means that it allows the natural beauty of the wood to shine through. This makes it perfect for use on wooden furniture since you’ll be able to see all the intricate details and patterns in the wood grain.
3 . To Avoid Toxic Chemicals
Unlike other types of paint, milk paint does not contain any harsh chemicals or toxins. It is made from natural ingredients such as milk protein, lime, and earth pigments, making it a safe and eco-friendly choice for your furniture.
4 . To Create Unique Finishes
One of the greatest benefits of using milk paint on furniture is that it allows you to create unique finishes with ease. You can use different techniques like layering, distressing, and glazing to achieve your desired look. And since milk paint is water-based, you can easily mix and match colors to create custom shades.

5 . To Save Time and Money
Milk paint is incredibly easy to use and dries quickly, which means that you’ll spend less time painting and more time enjoying your newly transformed furniture. It also doesn’t require any special primers or sealers, making it a cost-effective choice for furniture painting.
How to Use Milk Paint on Furniture in 5 Easy Steps
Now that you know why you may want to use milk paint on your furniture, let’s discuss how to use it. Follow these simple steps and you’ll have beautifully painted furniture in no time:
Step 1: Prepare the Surface
The first step in using milk paint on your furniture is to prepare the surface. This involves cleaning the furniture and sanding it down if necessary. Milk paint adheres best to clean, smooth surfaces, so make sure you remove any dirt, dust, or previous finishes before proceeding.
Step 2: Mix the Paint
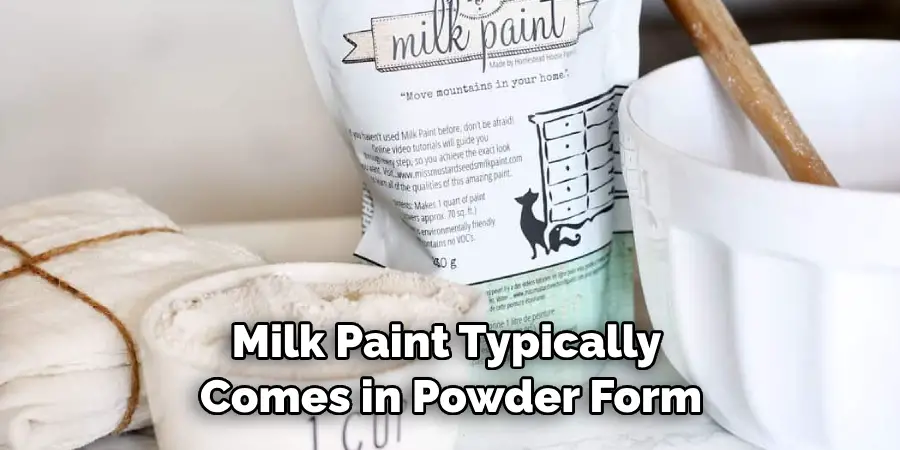
Milk paint comes in powder form and needs to be mixed with water before use. Follow the instructions on the package to mix the paint in a separate container. You can adjust the thickness of the paint by adding more or less water, depending on your desired look.
Step 3: Apply the First Coat
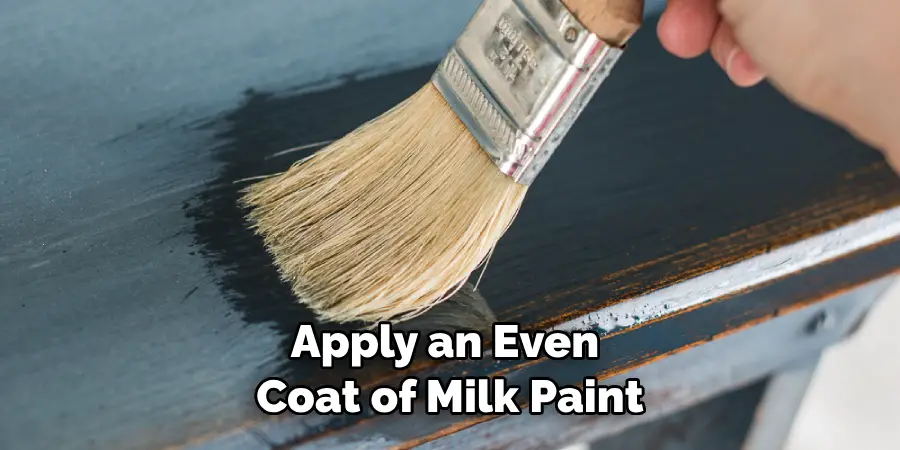
Using a brush, apply an even coat of milk paint to your furniture. Avoid overloading your brush with paint as this can lead to drips. If you want a distressed look, you can sand down parts of the first coat before proceeding.

Step 4: Sand and Apply Second Coat (Optional)
Once the first coat is dry, you can lightly sand down any rough areas before applying a second coat. This step is optional but recommended if you want a smoother finish or a more vibrant color.
Step 5: Seal the Paint (Optional)
If you want to seal your milk-painted furniture, wait for it to dry completely and then apply a topcoat. This can be wax, hemp oil, or any other finishing product of your choice. Be sure to follow the instructions on the package for best results.
Some Extra Tips to Use Milk Paint on Furniture
1 . Do Not Over Sand The Furniture
When using milk paint, it is important to avoid over-sanding the furniture. This can cause the wood to become too smooth and prevent the milk paint from properly adhering to the surface. Instead, lightly sand the furniture with a fine-grit sandpaper just enough to remove any dirt or imperfections.
2 . Use a Primer or Bonding Agent
If you are working with a piece of furniture that has a glossy finish or is made from non-porous material, it is recommended to use a primer or bonding agent before applying the milk paint. This will help the paint adhere better to the surface and prevent chipping or peeling.
3 . Mix The Milk Paint Thoroughly
Before using milk paint, it is important to mix it thoroughly. This will ensure that the pigment and binder are evenly distributed throughout the paint. To mix milk paint, use a whisk or stir stick and mix until there are no visible clumps.

4 . Apply Thin Coats
When applying milk paint, it is better to apply thin coats rather than thick ones. This will help the paint dry evenly and prevent cracking or bubbling. Multiple thin coats can also help achieve a more smooth and even finish.
5 . Use a Lightly Damp Cloth for Distressing
To achieve a distressed look with milk paint, it is best to use a lightly damp cloth instead of sandpaper. This will help control the amount of distress and prevent any damage to the underlying wood.
6 . Seal The Paint
After the milk paint has fully dried, it is important to seal it with a topcoat. This will protect the paint and add a glossy or matte finish depending on the type of topcoat used. Wax or polyurethane are popular choices for sealing milk paint.
Frequently Asked Questions
What Precautions Should I Take When Using Milk Paint on Furniture?
When using milk paint on furniture, there are a few precautions to keep in mind. First, make sure the surface you are painting is clean and free of any dirt or debris. This will ensure that the milk paint adheres properly and provides a smooth finish.
It’s also important to note that milk paint may have a different reaction on certain types of wood, so it’s always a good idea to do a test patch before painting the entire piece. Additionally, it’s recommended to wear gloves and protective eyewear when handling milk paint.
How Do I Prepare My Furniture for Milk Painting?
To prepare your furniture for milk painting, start by cleaning the surface with a damp cloth to remove any dirt or residue. If the piece has a glossy finish, lightly sand it to create a rough surface that will help the milk paint adhere better. You can also use a bonding agent for better adherence, especially on pieces with a previously painted or sealed finish.
How Do I Apply Milk Paint?
Milk paint typically comes in powder form and needs to be mixed with water to create a paint. Follow the instructions on the packaging to mix the correct ratio of powder to water. Once mixed, use a brush or roller to apply the milk paint in thin and even coats. For a distressed look, you can sand certain areas of the furniture after painting to reveal the wood underneath. Allow each coat of milk paint to dry thoroughly before applying additional coats.

How Do I Seal Milk Paint on Furniture?
Milk paint does not require a sealant, but if you want added protection or a different finish, you can use a wax or oil-based sealer. Apply the sealer in thin and even coats with a brush or cloth, following the manufacturer’s instructions. You can also distress the sealed furniture for a more vintage look by sanding certain areas.
Conclusion
Ultimately, using milk paint on furniture is an excellent way to add a unique touch to any room or living space. It’s easy to apply, clean up, and refresh with multiple layers without a long wait time. Milk paint also has the advantage of not spreading toxic VOCs into the air like other paints. However, it is important to remember that milk paint can be unpredictable due to its natural ingredients.
Now you know how to use milk paint on furniture! The benefit though is that it gives an interesting aged effect that adds a rustic aesthetic which can’t be achieved through synthetic paints. No matter which color you choose, even if you haven’t painted before, if you stick to these guidelines and take your time when prepping furniture for painting, then you should achieve stunning results with your homemade furniture masterpiece!

