

If you’ve dreamed of crafting a masterpiece with your own hands, learning how to build a wooden canoe can be one of the most fulfilling projects to tackle. A handcrafted wooden canoe doesn’t just serve as a method of transportation; it’s a work of art on water. With its timeless design and natural beauty, a wooden canoe connects you to traditional craftsmanship while serving as a functional, durable piece of equipment for lakes and rivers alike.
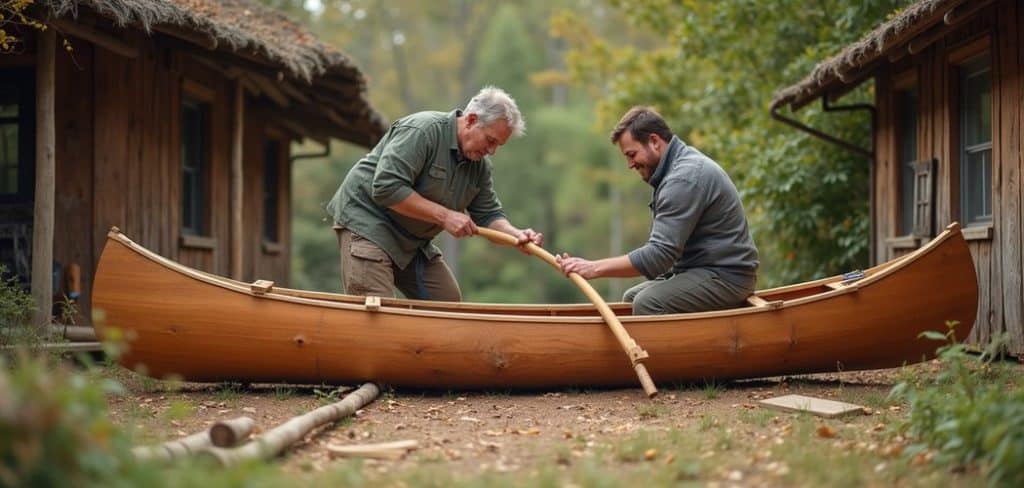
Building a wooden canoe may sound daunting, but with the right guidance, even beginners can take on the challenge. Whether you’re an experienced woodworker or someone ready to dip their toes into DIY projects, this guide will take you step by step through the process. From selecting materials to fine-tuning the finishing touches, every detail will bring you closer to paddling away in something you created from scratch.
Why Build a Wooden Canoe?
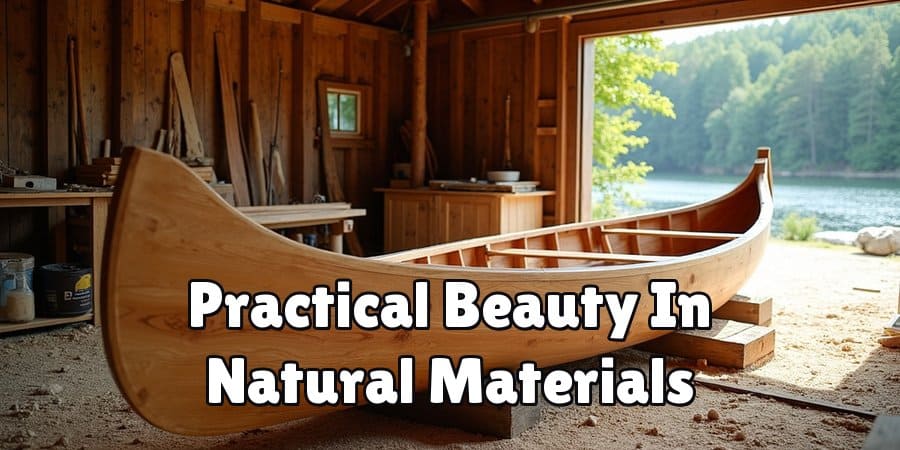
Wooden canoes have a beauty and charm that sets them apart from modern aluminum or fiberglass versions. There’s something inherently satisfying about working with natural materials to create a product that is both practical and aesthetically stunning. Building a wooden canoe not only teaches you traditional woodworking skills, but it also allows for a deeper appreciation of craftsmanship and history, as these boats date back centuries.
Owning a wooden canoe isn’t just about its looks. Wooden canoes are lightweight, making them easy to transport and maneuver. Their natural buoyancy ensures smooth rides across the water, whether on calm lakes or gentle rivers. Furthermore, building your own canoe means you can customize it to your specifications, choosing the size, design, and type of wood that suits your needs and tastes.
Finally, there’s the personal connection to your creation. Every hour spent shaping, sanding, and sealing brings you closer to completing something truly unique that you can be proud of. It’s more than just building a canoe—it’s creating a story and memory to share with family and friends each time you take it out on the water.
Step-by-Step Guide: How to Build a Wooden Canoe
Step 1: Choose the Right Design
The first step in how to build a wooden canoe is selecting a design that meets your needs and skill level. Canoes come in varying styles, from solo to tandem, each with different shapes, lengths, and uses. For beginners, a simple canoe design with a symmetrical shape is ideal, as it ensures easier construction and consistent performance on the water.
Research canoe plans from reputable sources or purchase pre-made patterns that include detailed instructions and measurements. Decide whether you’ll use solid wood strips or marine-grade plywood for your build, as these materials influence the design options available. Taking time to find the right design ensures your canoe will perform as intended while aligning with your woodworking abilities.
Step 2: Gather Materials and Tools
Once you’ve settled on a design, the next step is to gather all the necessary materials and tools. Use a tack cloth for finer particles that are hard to spot. If the surface has cracks or imperfections, fill them with wood putty and sand again once it has dried. A well-prepared surface ensures that the lacquer adheres evenly and creates a professional finish.
Common materials for canoe construction include cedar or mahogany wood for strips, marine-grade plywood for frames, and epoxy resin for bonding and sealing. Additional supplies like fiberglass cloth and waterproof finish ensure the canoe stays durable and water-ready.
Prepare your tools, which may include a jigsaw, plane, clamps, and a sanding block. If your plan requires precise curves, having a heat gun for bending wood may also be helpful. Double-check that you have all the supplies needed before beginning, since leaving a project halfway completed can slow your progress. Proper preparation keeps the workflow efficient and enjoyable.
Step 3: Assemble the Canoe Frame
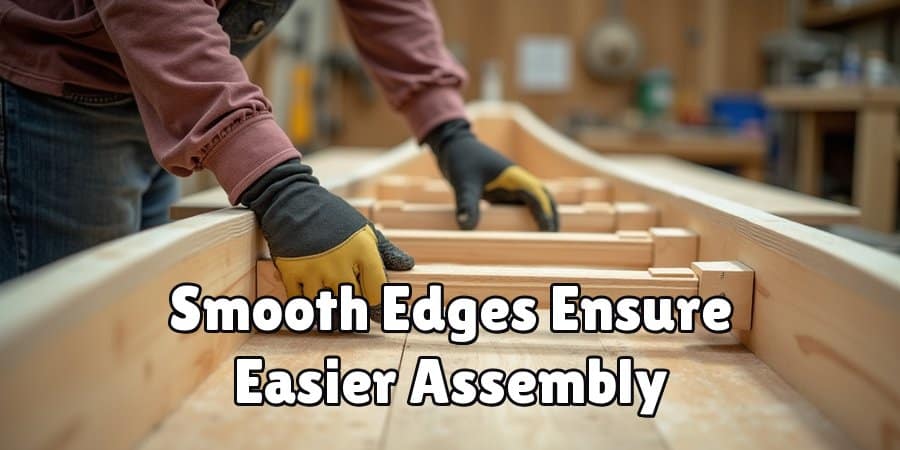
The canoe frame, usually made from marine-grade plywood, serves as the skeleton of your wooden canoe. Carefully cut out the frame components using your jigsaw, following the patterns provided in your design plan. Sand down the edges to ensure they are smooth and splinter-free, which will make later assembly easier.
Position the frame pieces on a flat surface and temporarily secure them in place with clamps to confirm proper alignment. Screw or nail the components together, ensuring the frame forms a symmetrical base. A well-assembled frame provides the foundation for the wooden strips or panels, so take your time during this step to achieve accuracy and stability.
Step 4: Attach the Wood Strips or Panels
With the frame in place, it’s time to add the wooden strips or panels that will form the hull. If you’re using strips, begin attaching them at the keel (the central spine) and work outward, fastening them securely to the frame. For panel construction, fit the plywood panels to the frame and glue or screw them in place.
Each strip or panel should be slightly overlapped or tightly joined to ensure a watertight seal. Use clamps or weights to hold the wood in place while the adhesive cures. When working with curves, gradually mold the wood strips using gentle pressure or heat if necessary. A smooth and even layering ensures the canoe’s hull will glide efficiently across the water.
Step 5: Apply Epoxy Resin and Fiberglass
Epoxy resin is a key part of building a wooden canoe, as it strengthens the structure and makes it waterproof. Once the strips or panels are secured, coat the entire hull with a layer of epoxy using a brush or roller. This adhesive bonds the wood and provides a smooth surface for the fiberglass application.
Lay fiberglass cloth over the hull while the epoxy is still tacky, smoothing out wrinkles for an even finish. Apply additional layers of epoxy to fully embed the fiberglass, sealing the surface and increasing durability. Allow the resin to cure completely before proceeding to the next step. Proper application of epoxy resin ensures your canoe will withstand years of use on the water.
Step 6: Sand and Smooth the Canoe
After the epoxy has cured, it’s essential to sand the canoe’s surface for a flawless finish. Use fine-grit sandpaper to remove any lumps or imperfections, focusing on achieving an even texture across the hull. A smooth finish improves the canoe’s hydrodynamics, making it glide effortlessly through the water.
Run your hands over the surface to identify rough spots or areas that need additional attention. Sanding may require some patience, but it’s a crucial step for both the canoe’s appearance and performance. Once completed, the canoe will be ready for its final protective coatings.
Step 7: Add a Waterproof Finish
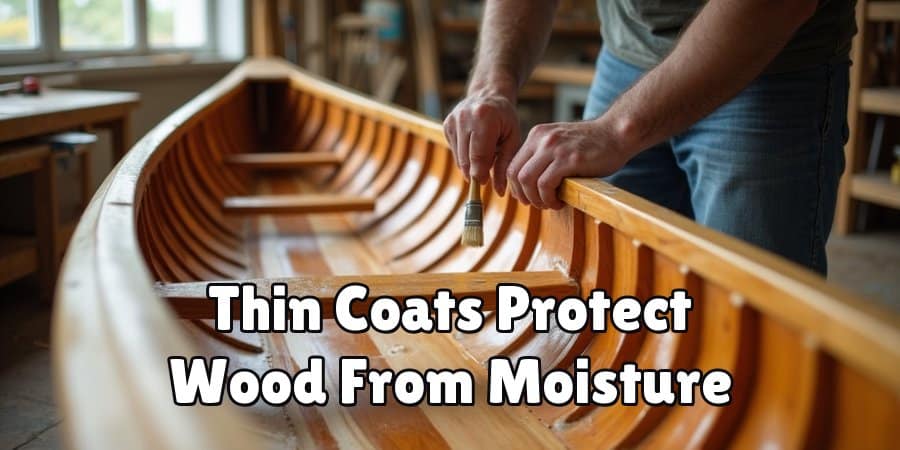
Applying a waterproof finish is the final touch in how to build a wooden canoe. Choose a high-quality marine varnish or polyurethane sealant to protect the wood from moisture and UV rays. Multiple thin coats are recommended, allowing each layer to dry completely before applying the next.
Brush the finish evenly across the hull, carefully covering every surface to ensure full protection. This step not only preserves the beauty of the wood grain but also extends the life of your canoe, keeping it water-ready for years. With the finish applied, the canoe is ready for the water—and your next adventure.
Step 8: Install Seats and Accessories
No canoe is complete without functional seating and accessories. Use your design plan to measure and position the seats, which may be made of wood slats, cane, or comfortable webbing. Securely attach the seats to the frame, ensuring they can support weight and remain stable on the water.
Additional features like carrying handles, thwart bars, or tie-down loops can be added to enhance functionality. Once everything is installed, your canoe is officially ready for launch. Adding these finishing details personalizes your craft and ensures it meets your specific needs.
Step 9: Test the Canoe on Water
Before setting off on a full expedition, test your wooden canoe in a controlled environment, such as a calm lake or pond. Check for any leaks, instability, or design flaws, and make adjustments as needed. This is your moment to admire how your craftsmanship has come together as a functional boat.
Feel the satisfaction as the canoe glides through the water, showcasing the talent and effort you put into its construction. Testing solidifies your confidence in the canoe’s performance and prepares you for future adventures.
Common Building Challenges
Building a wooden canoe comes with its share of challenges, many of which are part of the learning process. One common issue is ensuring precise measurements and cuts. Even small inaccuracies can lead to poor alignment and fitting, affecting the canoe’s symmetry and performance on the water. Another challenge is selecting the right type of wood, as it must be lightweight, durable, and resistant to water damage.
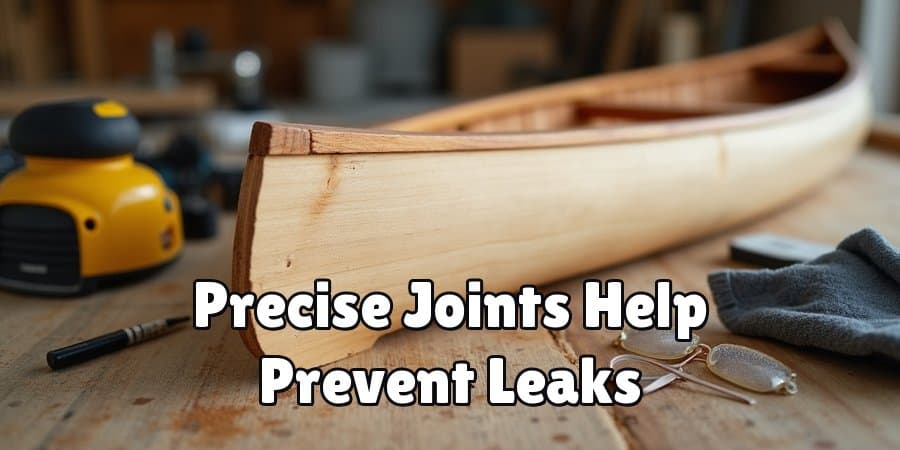
Additionally, achieving smooth joints and properly sealing them to prevent leaks can test one’s patience and attention to detail. Sanding and finishing also require careful effort to create a surface that is not only aesthetically pleasing but functional and long-lasting. Overcoming these challenges requires persistence, careful planning, and sometimes trial and error, but each step ultimately contributes to a rewarding and successful build.
FAQ
How long does it take to build a wooden canoe?
Building a wooden canoe typically takes 4–8 weeks, depending on the complexity of the design and the time you dedicate to the project. Beginners may take longer, but patience ensures better results.
Can I use any type of wood to build a canoe?
No, it’s best to use lightweight, durable woods like cedar or mahogany. These woods are easy to work with, resist rot, and provide the strength needed for a canoe.
Do I need experience to build a wooden canoe?
While woodworking experience helps, beginners can successfully build a wooden canoe with detailed plans and guidance. Starting with simpler designs makes the project more manageable.
How do I maintain a wooden canoe?
Regularly inspect your canoe for signs of wear. Sand and reapply the protective finish every few years, and store the canoe in a dry, cool environment to prevent warping or moisture damage.
Is it cheaper to build a wooden canoe or buy one?
Building a wooden canoe is often more cost-effective if you have access to tools and materials. Additionally, crafting your own canoe adds immeasurable personal value and satisfaction.
Conclusion
Understanding how to build a wooden canoe opens the door to a rewarding and timeless craft. From selecting the perfect design to feeling that first glide across the water, every step in the process brings you closer to a stunning final product.
Whether you’re a seasoned builder or a first-time DIY enthusiast, the experience of creating your own wooden canoe is both empowering and enjoyable. Take on the challenge today and discover the joy of paddling in a boat crafted by your very own hands!
