

Learning how to build a wooden kayak can be one of the most rewarding DIY projects you’ll ever undertake. Wooden kayaks are not only visually striking, but they also offer smooth gliding performance on water. Whether you’re an experienced woodworker or someone looking to take on a fun and challenging project, crafting your own kayak allows you to combine craftsmanship with functionality.

Building a wooden kayak may sound intimidating at first, but with patience and the right tools, the process is accessible even to beginners. This detailed guide will walk you through assembling an elegant wooden kayak, from choosing your design to paddling out on the water with pride. With basic woodworking skills, some creativity, and time, you can craft a kayak that both looks and performs beautifully.
Why Building a Wooden Kayak is Worth It
Creating your own wooden kayak has benefits that go far beyond the satisfaction of building something with your hands. Wooden kayaks are not only aesthetically pleasing but are also lighter, faster, and more environmentally friendly than many plastic alternatives. Their sleek design and polished finish make them a standout choice for adventurers, providing stability and performance without compromising on beauty.
On a personal level, building a wooden kayak fosters a sense of accomplishment as you transform raw materials into a functional work of art. The process encourages creativity and problem-solving as you customize each detail to suit your style and needs. Plus, a handcrafted kayak often garners admiration from onlookers when you’re out on the water, adding an extra layer of pride to your workmanship.
For those who are eco-conscious, crafting a wooden kayak is a sustainable choice. By selecting high-quality materials like marine plywood and investing in proper maintenance, you contribute to reducing waste and ensuring your kayak has a long lifespan. It’s an opportunity to build something timeless and practical, while also forming a closer connection to nature and the water.

Step-by-Step Guide: How to Build a Wooden Kayak
Step 1: Choose Your Kayak Design
The first step in how to build a wooden kayak is selecting a design that meets your preferences and skill level. Wooden kayaks generally fall into two categories—stitch-and-glue kayaks and strip-built kayaks. Stitch-and-glue designs are ideal for beginners as they involve fewer complex steps and require fewer tools. On the other hand, strip-built kayaks offer enhanced customization and a beautiful finish but demand more time and expertise.
Consider how you’ll use your kayak. A sleek, lightweight model is best for long-distance paddling, while a wider, more stable design suits fishing and casual trips. Kayak plans or kits are available online, providing detailed instructions and pre-cut pieces for easier assembly. Choosing the right design ensures your project fits your needs and abilities.
Step 2: Gather the Materials and Tools
To build a wooden kayak, you’ll need specific materials such as marine-grade plywood or wood strips, epoxy resin, fiberglass cloth, and a waterproof finishing coat. High-quality materials are essential to ensure the longevity and durability of your kayak. Gather tools like a jigsaw, clamps, sandpaper, a sander, and mixing supplies for adhesives or sealants.
Having all supplies ready before starting saves time and keeps the process smooth. Double-check your kayak plans or design kit to confirm the exact quantities of each material required. With everything prepared, you’ll be ready to focus on crafting without interruptions.
Step 3: Construct the Frame
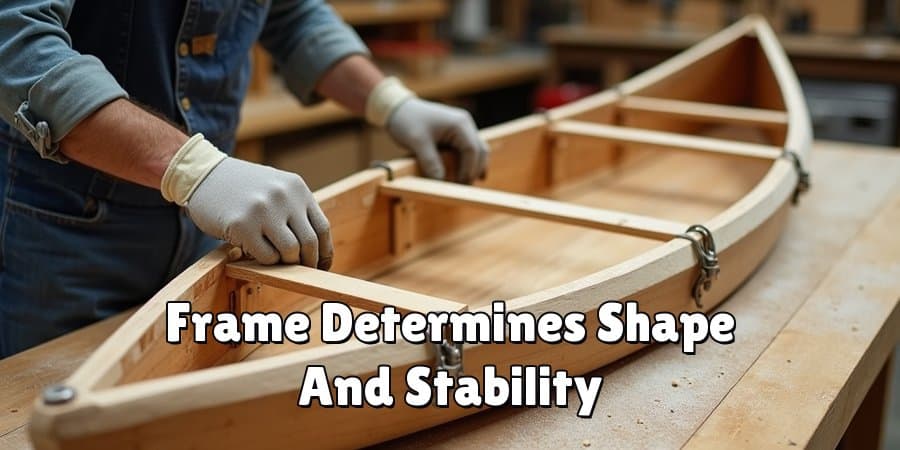
The foundation of your wooden kayak is its frame, which determines its shape and stability. Begin by cutting the wooden pieces based on your kayak design pattern. These pieces will form bulkheads and stringers, which are then assembled into the kayak’s structure. For stitch-and-glue designs, you’ll use wire or zip ties to hold plywood panels together, creating the hull’s shape.
Ensure the frame is balanced and symmetrical, as any misalignments at this stage could result in instability on the water. Use clamps or weights to hold the structure steady while applying epoxy resin to secure joints. Constructing a strong frame gives your kayak its shape and durability.
Step 4: Assemble the Hull
Once your frame is complete, it’s time to build the hull. Attach the pre-cut plywood panels or wood strips along the frame, curving them into place to create the kayak’s body. For stitch-and-glue kayaks, this involves stitching the edges of panels together temporarily before bonding and sealing them with epoxy. Strip-built kayaks require carefully fitting each strip side by side, gluing them together to form a seamless surface.
Regularly check that the hull aligns properly with the frame, using a level or straight edge as needed. Sand the edges smooth once the hull is in place to eliminate roughness and create a uniform surface. A precisely assembled hull is crucial for achieving a watertight and efficient kayak.
Step 5: Apply Fiberglass and Epoxy
To strengthen your wooden kayak and protect it against water damage, apply a layer of fiberglass cloth over the hull and saturate it with epoxy resin. Begin by laying the fiberglass cloth smoothly across the surface, ensuring there are no wrinkles or gaps. Using a brush or squeegee, spread the epoxy evenly to bond the cloth to the wood.
Allow the first layer to cure completely before adding additional coats of epoxy for enhanced durability. Sand each cured layer lightly to remove imperfections and ensure a smooth finish. This step is vital for waterproofing your kayak and maintaining its structural integrity over time.
Step 6: Install the Deck
The deck is the top part of your kayak and requires careful attachment to the hull. For strip-built designs, you will glue and sand wood strips into place to form the deck’s curvature. Stitch-and-glue designs often utilize pre-measured panels that are epoxied along the seams to the hull.
Once secured, sand the deck surface and edges until perfectly smooth. Deck hatches and cockpit openings can be cut out at this stage using a jigsaw. Taking your time with the deck ensures a polished and functional design.
Step 7: Add Finishing Touches
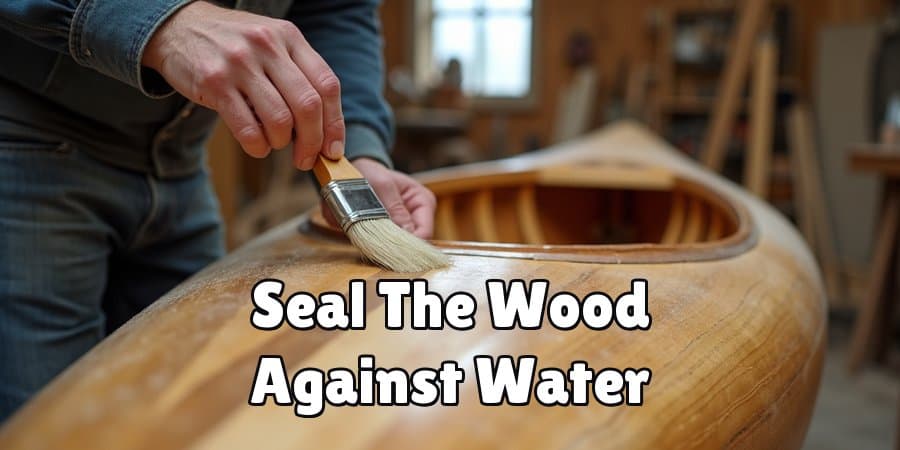
With construction complete, it’s time to personalize and protect your wooden kayak. Sand the entire structure thoroughly to make it smooth and prepare it for a waterproof finish. Apply a marine-grade varnish or paint to seal the wood, enhancing its longevity while providing a glossy, weather-resistant coat.
For added functionality, install footrests, seats, and handles. Double-check that every joint is secure and coated to prevent water leaks. Finishing touches not only improve performance but also showcase the beauty of your craftsmanship.
Step 8: Test Your Kayak
Before embarking on an adventure, take your kayak for a test run on calm water. Check for any leaks, imbalances, or performance issues. If problems arise, address them by sealing gaps or making adjustments to improve balance and maneuverability.
Testing helps ensure that your kayak is safe, stable, and ready to use confidently. It’s better to identify and fix any issues now before embarking on longer journeys.
Step 9: Maintain Your Kayak
Regular maintenance is crucial for extending the life of your wooden kayak. After each use, rinse it with fresh water to remove any salt or debris. Store it in a cool, dry place, and periodically reapply waterproof coatings to protect the wood from wear and exposure.
Caring for your kayak not only increases its lifespan but also preserves its beauty for years. Taking these simple steps ensures you make the most of your handcrafted creation.
Step 10: Share Your Passion
Once you’ve mastered the art of building wooden kayaks, share your passion with others. You can join online communities and forums to connect with other builders and exchange tips and techniques. Additionally, consider offering workshops or classes in your community to teach others how to build their own wooden kayak. Not only will you pass on your skills and knowledge, but you’ll also inspire others to discover this unique craft.
FAQ
How long does it take to build a wooden kayak?
Depending on experience and design complexity, building a wooden kayak can take anywhere from 40 to 120 hours. Beginners may need more time to complete detailed steps like sanding and fiberglass application.
What size kayak should I build?
The size of your kayak depends on your purpose. For recreational use, a 10–14-foot kayak works well. Longer designs, around 16–18 feet, are better suited for speed and long-distance paddling.
Can I build a wooden kayak without prior woodworking experience?
Yes, most kayak kits or detailed plans are beginner-friendly. Start with a stitch-and-glue design, which simplifies the process using pre-cut panels and requires only basic tools.
How durable is a wooden kayak?
With proper construction and maintenance, wooden kayaks are highly durable. Epoxy and fiberglass provide a waterproof, protective layer that ensures sturdiness and resistance to wear.
What is the cost of building a wooden kayak?
The cost varies based on materials and design, averaging $800–$1,200. Choosing high-quality marine-grade plywood and tools can increase costs but ensures better durability and aesthetics.
Conclusion
Understanding how to build a wooden kayak offers a fulfilling way to combine creativity and functionality while crafting a beautiful watercraft. By following these nine steps, you’ll gain the skills to design, construct, and care for a personalized kayak that reflects your hard work and craftsmanship.
Building a wooden kayak is not just about constructing a vessel; it’s about connecting with the water through something you’ve created with your own hands. The process requires patience and attention to detail, but the reward of paddling a kayak you built yourself is unparalleled. The knowledge and experience gained during this process can spark a deeper appreciation for craftsmanship and the art of woodworking, making every stroke on the water feel even more fulfilling.
Don’t wait to start this rewarding project. Gather your materials, dedicate time to learning, and soon you’ll glide gracefully across the water in your custom-built wooden kayak!
