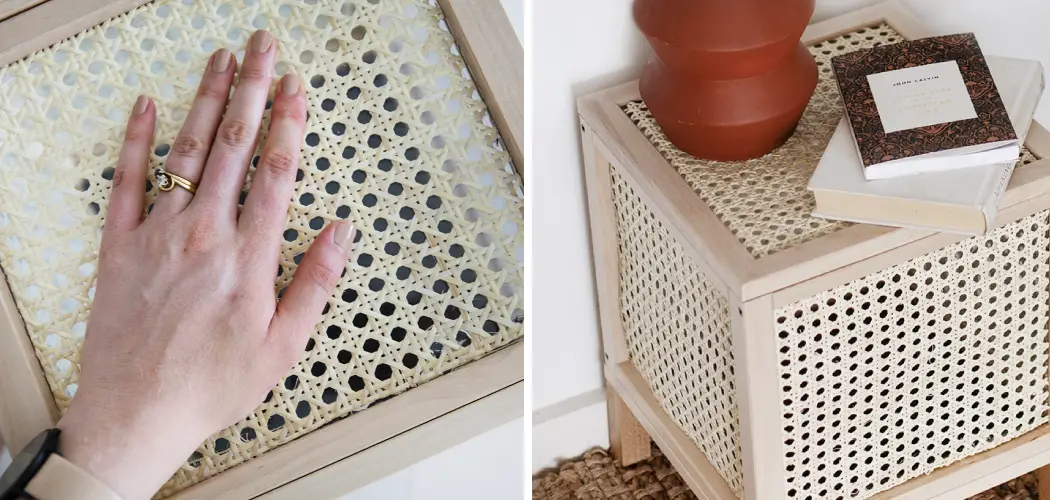
Cane webbing is an excellent way to add a decorative touch to furniture and other wood projects. It can be used to upholster chairs, stools, headboards, ottomans, and more. Attaching cane webbing is a simple process that only requires basic tools and materials such as leather tacks or staples and a mallet or hammer. With the right instructions, anyone can learn to attach cane webbing to wood and create beautiful pieces of furniture.
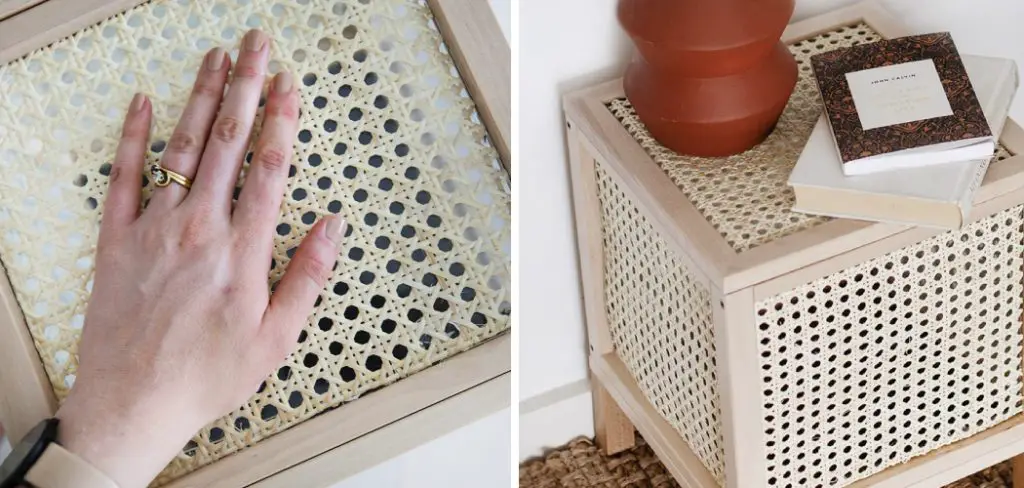
The advantage of attaching cane webbing to wood is two-fold. First, a sturdy connection will hold the cane webbing in place. Second, this type of attachment method provides a decorative element that adds visual interest to furniture and other projects. While there are several ways to attach cane webbing to wood, here we will cover the most common method. In this blog post, You will learn how to attach cane webbing to wood in detail.
Tools You Will Need
- Cane webbing
- Dowel rods
- Hammer
- Drill or screwdriver
- Sandpaper or sanding block
- Nails or wood screws
- Tacks, staples, or hot glue gun (optional)
- Pencil and ruler
- Pliers and wire cutters
- Clamps (optional)
Step by Step Processes for How to Attach Cane Webbing to Wood
Step 1: Inspect Your Cane Webbing
Before you begin attaching the cane webbing to the wood, inspect it for any damages or flaws. Make sure there are no broken strands or frayed areas that could make the job more difficult.
Step 2: Sand the Wood Surface
Using fine-grit sandpaper, lightly sand the surface of the wood to ensure that it is even and smooth. This will also help make sure that the cane webbing adheres properly when you attach it to the wood. Using strong wood glue, apply a thin layer over the entire surface of the wood. Make sure to cover all areas that will be in contact with the cane webbing.
Step 3: Secure the Cane Webbing to the Wood
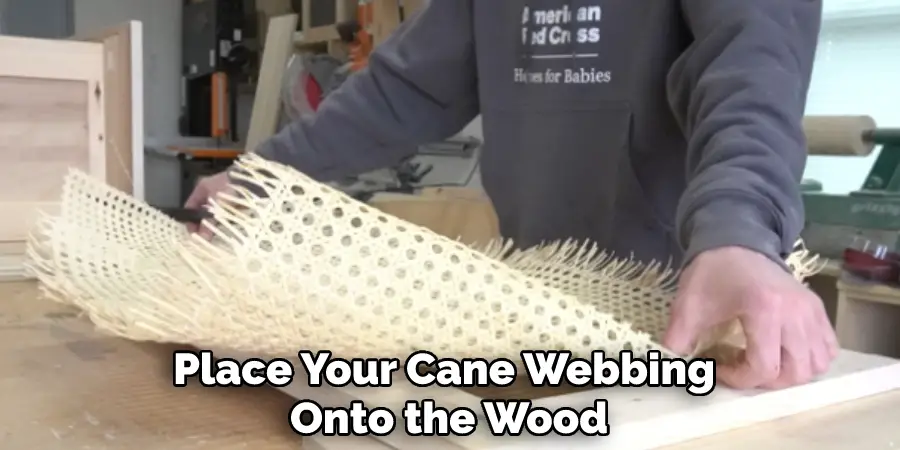
Once you have applied enough glue to both surfaces, place your cane webbing onto the wood. Press down firmly to make sure it is secured to the glue. Allow the glue to dry completely before you move on to the next step. This could take up to 24 hours, depending on what type of wood and glue you are using.
Step 4: Hammer in Staples
Once the glue has dried, use a hammer to gently tap in staples around the edge of the cane webbing. Make sure to space them evenly, as this will help keep it secure even further. If you have any excess cane webbing that is sticking out from the edges, use sharp scissors to trim it off. This will help keep the piece neat and tidy.
Step 5: Apply a Stain or Varnish
Once you have finished attaching the cane webbing, you can apply a stain or varnish to the wood if desired. This will help protect it from wear and tear over time. Let the stain or varnish dry completely before proceeding with the next step. This could take up to 24 hours, depending on what type of product you are using.
Step 6: Enjoy Your Handiwork
Once everything has dried, you can now admire your handiwork and enjoy the beauty of your cane webbing wood piece. You have successfully attached cane webbing to wood. Working with cane webbing can be tricky, but following these steps will help ensure that you get the perfect result every time. With a bit of patience and practice, you’ll be a pro in no time.
Safety Tips for How to Attach Cane Webbing to Wood
- Wear protective eyewear and gloves when attaching cane webbing to wood. This will help protect your eyes from dust, splinters, and any other debris that may come up while hammering in the nails or staples.
- Carefully measure the area where you plan to attach the cane webbing before beginning the task. This will ensure that you are attaching the webbing in the correct size and shape and avoiding unnecessary waste of materials.
- Use a miter box to cut any angles needed for the cane webbing to fit snugly onto the wood surface. Make sure to measure twice before cutting once, ensuring accurate measurements and precision during the cutting process.
- When attaching cane webbing to wood, use quality materials, such as nails and staples. This will ensure that your webbing is securely attached for a long-lasting result.
- Hammer in any nails or staples with caution, hitting them straight so they stay securely locked into the wood surface.
- If using an electric stapler, be sure to wear protective eyewear and gloves while working with the tool. Also, do not damage the wood surface when stapling in place.
- Lastly, inspect your work carefully once you have finished attaching your cane webbing to make sure it is secure and looks great.

By following these simple safety tips when attaching cane webbing to wood, you can ensure that your finished project will look professional and last for years.
How Do You Fix Any Mistakes or Gaps in the Cane Webbing That May Occur During the Application Process?
Any mistakes or gaps that occur during the application process can be corrected. The best way to do this is to use a rattan cane spline, which should fit snugly into the webbing and hold it firmly in place.
Care must be taken when applying the spline, as too much pressure may cause damage to the wood frame. After the spline is in place, it can be secured with a few dots of wood glue. After the glue has dried, you should sand any excess glue and then apply a finish to protect your work.
With this method, attaching cane webbing to wood securely and accurately will be possible. If done correctly, it can look as good as any professionally finished piece of furniture. Ensuring that your work is done correctly will give your furniture a professional look and make it last for many years.
Are There Any Special Considerations to Keep in Mind When Working With Different Wood or Cane Webbing Types?
Yes, it is important to keep some factors in mind when attaching cane webbing to wood. Firstly, the type of wood used will determine how best to attach the webbing, as different woods may require different approaches or materials.
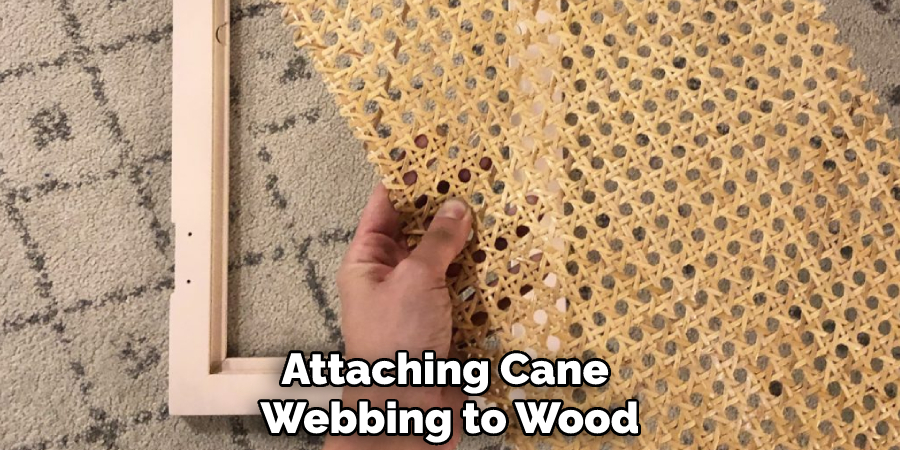
Secondly, if the cane webbing is particularly old and delicate, then special care should be taken not to damage it during attachment. Lastly, adhesives may be required to ensure a secure hold depending on the cane webbing’s purpose. It is best to research thoroughly before attempting any type of cane webbing installation onto wood surfaces to avoid costly mistakes or damage.
In general, attaching cane webbing to wood is relatively straightforward and requires very few tools or materials. It is a simple process that, when done properly, can provide great results that last for years to come. With careful planning, research, and patience, anyone can easily attach cane webbing to wood with minimal effort.
How Do You Repair a Damaged Cane Webbing Joint on Wood?
If you have a piece of furniture with cane webbing that needs repair, here are some tips on attaching cane webbing to wood.
- First, remove any dirt and debris from the area where the cane webbing will be attached.
- Next, apply an adhesive suitable for both the wood and the cane webbing. Popular adhesives for attaching cane webbing to wood include PVA (polyvinyl acetate), contact cement, and epoxy.
- Once the adhesive has been applied, carefully place the cane webbing into position on the wood. Use either a roller or a soft brush to press down firmly in order to ensure a good bond.
- Allow the adhesive to dry before using the furniture.
If the cane webbing joint is damaged, you may need to replace it to restore the furniture’s integrity. To do this, use a sharp knife or scissors to cut away any loose strands and apply an adhesive suitable for the wood and the cane webbing.
What Maintenance is Required to Keep Attached Cane Webbing Looking Its Best?
Cane webbing is a stylish and classic material to use when upholstering furniture, but it requires a bit of maintenance if you want it to last. Regular cleaning with warm water and mild soap will help keep the cane webbing looking its best. It’s also important to make sure that any spills are quickly wiped up before they can cause damage. When not in use, it’s best to store cane webbing away from direct sunlight and extreme temperatures to prevent fading or cracking. Cane webbing should also be kept away from areas of high humidity, as this can cause mold and mildew growth.
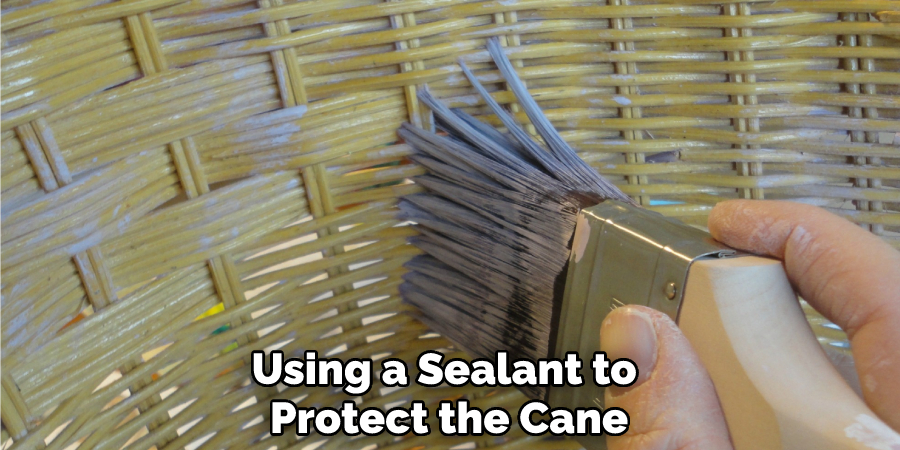
Finally, avoid using harsh chemicals when cleaning cane webbing, as this can cause discoloration and damage. With the right care and maintenance, attached cane webbing looks great for years to come. Following the tips above will help ensure that your furniture retains its classic beauty. Additionally, using a sealant to protect the cane webbing from moisture can help extend its life. With a little effort and time, you can keep your attached cane webbing looking as good as new.
Conclusion
One of the biggest disadvantages of using wood with cane webbing is its vulnerability to moisture. If exposed to wet weather, the cane webbing will absorb moisture and become weak and brittle. This can cause webbing and wood deterioration, weakening structures that won’t hold up over time. Additionally, this combination is unsuitable for outdoor furniture as the moisture quickly breaks down both materials.
In conclusion, attaching cane webbing to wood is an easy and affordable way to add a classic, stylish touch to any piece of furniture. You can easily complete this project by using the right materials and tools and following all the necessary steps. This technique will also help ensure that your furniture looks great for years without worrying about wear and tear. I hope this article has been beneficial for learning how to attach cane webbing to wood. Make Sure the precautionary measures are followed chronologically.

