Wooden gears are a beautiful way to add some mechanical detail to a project. However, they can also be delicate and need a bit of special care to keep them looking their best. In this post, we’ll show you how to wax wooden gears, so they stay in good condition for years to come. Read on to learn more!

What Are Wooden Gears?
Gears are an essential part of many machines, and they come in various materials, including wood. Wooden gears have several advantages over their metal counterparts. For one thing, they’re quieter and don’t require lubrication. Wood is also an environmentally friendly material, and it’s easier to work with than metal.
That means wooden gears can be made more quickly and cheaply than metal ones. One downside of wooden gears is that they’re not as strong as metal ones, so they’re not suited for applications with high loads. But for most purposes, wooden gears are an excellent choice.
Why Should You Wax Wooden Gears?
If you’ve ever seen wooden gear in action, you know that they’re pretty amazing. They can be used to create all kinds of mechanisms, from simple clockwork movements to complex machines. However, wooden gears are also notorious for being difficult to keep in good working order. One way to help extend the life of your wooden gear is to wax them regularly.
Waxing helps to protect the wood from moisture and humidity, both of which can cause the wood to swell and warp. It also helps lubricate the gear teeth, reducing friction and making it more efficient. In addition, waxing gives the wood a nice shine, making it look better and helping to prevent dirt and grime from building up.
So, if you want your wooden gears to last, regularly give them a good coat of wax.
How to Wax Wooden Gears in 10 Easy Steps
If you have wooden gears in your home, it’s important to wax them regularly to keep them in good condition. Here’s how to do it:
1. Choose the Right Type of Wax
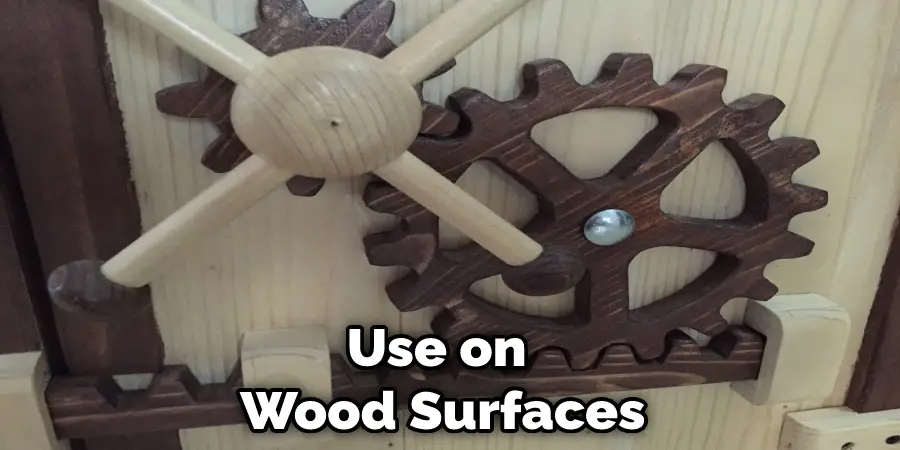
The first step is to choose the right type of wax for your project. Many types of wax are on the market, but not all are suitable for wood use. You’ll need to find a wax that is specifically designed for use on wood surfaces.

If you’re not sure what type of wax to use, ask for recommendations at your local hardware store. The staff there should be able to point you in the right direction. It’s also a good idea to do some research online to find the best wax for your specific type of wood.
2. Prepare the Surface
Once you’ve selected the right wax, it’s time to prep the surface of your wooden gears. If the gear is new, start by sanding it down with medium-grit sandpaper until the entire surface is smooth.
For old gear, begin by cleaning it with soapy water and a soft cloth. Once it’s dry, sand down any rough or raised areas until the surface is even. You may also want to remove any old wax residue with a scraper or putty knife.
3. Apply the Wax
Now, it’s time to apply the wax. If you’re using a solid block of wax, start by rubbing it directly onto the gear with a clean, soft cloth. Next, work in small sections and rub the wax in a circular motion until the entire surface is covered. If you’re using liquid wax, apply it to the gear with a clean cloth or brush. Finally, work in small sections and wipe the excess wax away with a clean, dry cloth.
The key is to apply a thin, even coat of wax. Don’t worry if it looks slightly cloudy or streaky at first; this will even out as the wax dries. You can also use a buffing wheel or cloth to give your wooden gears an extra shine.
4. Allow the Wax to Dry
After you’ve applied the wax, allow it to dry for at least 24 hours. This will give the wax time to harden and protect the wood. You can then buff the waxed surface with a soft cloth to give it a shine. The longer you wait, the harder and more durable the wax will become.
It’s also essential to note that if you’re using a wax with a color tint, the 24-hour drying time may be longer. This is because it takes more time for the pigment to dry. You may want to test a small area first and see how long it takes for the color to fully dry.
5. Buff the Gears
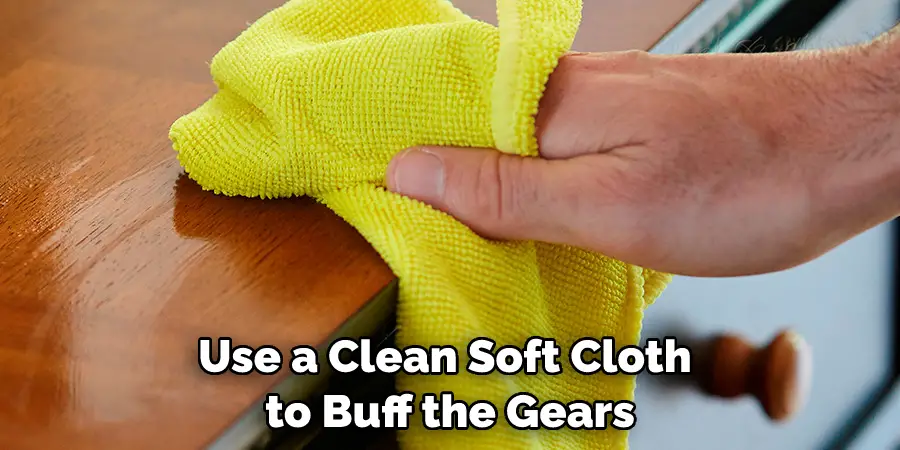
Use a clean, soft cloth to buff the gears until they shine. This will help to protect the wood further and keep the gears looking new.

Waxing your wooden gears is a simple process that only takes a few minutes. But by doing it regularly, you can extend the life of your gear and keep it looking its best. It’s a small investment of time for the beauty and function that wooden gears bring to your projects.
6. Re-Wax as Needed
You’ll need to re-wax your gears as needed, depending on how often you use them. If you notice the wood starting to look dry or feel rough, it’s time to add more wax. Be sure to wax both sides of each gear, and don’t forget to get into all the crevices and nooks! With a little care, your wooden gear will last for years to come.
Always use the right type of wax for your wooden gears to get the best results. It’s essential to read the instructions on the wax label and follow them carefully. Using too much or too little wax can cause problems with the finish or durability.
7. Store Gears Properly
When not in use, it’s essential to store your wooden gears properly to prevent damage. Make sure they are kept in a dry, temperature-controlled environment to avoid moisture buildup. You can also cover them with a cloth or place them in a sealed container to protect them from dust and other debris.
It’s also a good idea to periodically check on your stored gears and give them a touch-up waxing if necessary. This will help keep them in top shape and ready for use whenever you need them.
8. Avoid Exposure to Direct Sunlight
Direct sunlight can cause wooden gears to fade and become brittle over time. If possible, store your gears away from windows or cover them when not in use. The same goes for other sources of heat, such as radiators or heaters. Keeping your wooden gears out of direct sunlight will help preserve their color and strength.
It’s also a good idea to rotate your gears regularly if they are displayed in a bright area. This will help prevent any one side from being exposed to sunlight for extended periods. You can also protect your gears by applying a UV-resistant finish or wax.
9. Clean Gears Regularly
In addition to waxing, it’s important to clean your wooden gear regularly. Use a soft cloth or brush to remove any dust or dirt buildup that may occur. Avoid using harsh chemicals or abrasive cleaners, as these can damage the wood. You can also use a mild soap and water solution for tougher dirt. Just be sure to dry the gears thoroughly afterward.
It’s also a good idea to check for any cracks or damage during cleaning. Catching these issues early on can help prevent more significant problems down the line.
10. Use Gears for Their Intended Purpose
Finally, it’s essential to use your wooden gears for their intended purpose and avoid putting them under undue stress. Overloading or using gears in ways they were not designed for can cause them to break or wear out faster. Respect the limitations of your wooden gears, as they will last longer.
It’s also important to periodically check the gears for any signs of wear and tear. If you notice any cracks or damage, it may be time to replace them before they fail completely.
Now that you know how to wax wooden gears, you can keep them in good condition for years to come. By regularly waxing and buffing your gears, you’ll ensure that they stay smooth and function properly. So don’t neglect your wooden gears – give them the care they deserve!
How to Tell if Your Wooden Gears Need Waxing
Like any other machinery, your wooden gears will eventually need some maintenance. The most important part of upkeep for wooden gears is waxing, which helps to protect the wood from moisture and wear. But how can you tell when it’s time to wax your gears? There are a few key signs to look for.
First, if you notice the gears starting to squeak or stick when you turn them, that’s a good indication that they need to be waxed. Second, if the wood feels dry or rough to the touch, that’s another sure sign that it’s time for a new coat of wax. Finally, if the color of the wood starts to fade or change, that means the wax has worn down and needs to be replaced.
By taking these simple steps, you can keep your wooden gears in top condition for years to come.
What Kind of Wax to Use on Wooden Gears
There are a few different types of wax that can be used on wooden gears, but beeswax is the best type of wax to use. Beeswax is naturally anti-bacterial and anti-fungal, so it helps to protect the wood from mold and mildew. In addition, beeswax is water-resistant, so it helps to keep the wood from warping or cracking.

The other type of wax that can be used on wooden gears is petroleum jelly. Petroleum jelly is cheaper than beeswax, but it does not provide as much protection. Therefore, it is important to reapply wax regularly to keep the wood in good condition.
What to Do if Your Wooden Gears Start Smoking
If your wooden gears start smoking, there’s no need to panic. This is a common problem that can be easily fixed. First, check to see if the gears are properly lubricated. If they’re not, simply add some oil or grease to the affected area. Next, inspect the gears for any signs of wear or damage. If you see any damaged teeth, replace the gear immediately.
Finally, make sure that the gears are meshing correctly. If they’re not, realign them so that they mesh smoothly. By following these simple steps, you can quickly fix the problem and get your gears running smoothly again. Keep reading for more information about how to wax wooden gears.
How to Prevent Wooden Gears From Rusting
Without proper care, even the strongest and most durable wooden gears can become damaged by rust. To prevent your gears from rusting, follow these simple tips:
-Keep your gears clean and dry. Remove any dirt or debris that could potentially cause rust.
-Apply a thin layer of oil to your gears. This will create a barrier that will help to prevent moisture from causing rust.
-Store your gears in a cool, dry place. Excess moisture and heat can accelerate the rusting process, so keeping your gears in a safe environment is important.
By following these simple steps, you can help to ensure that your wooden gears will remain in good condition for years to come.
The Benefits of Waxing Wooden Gears
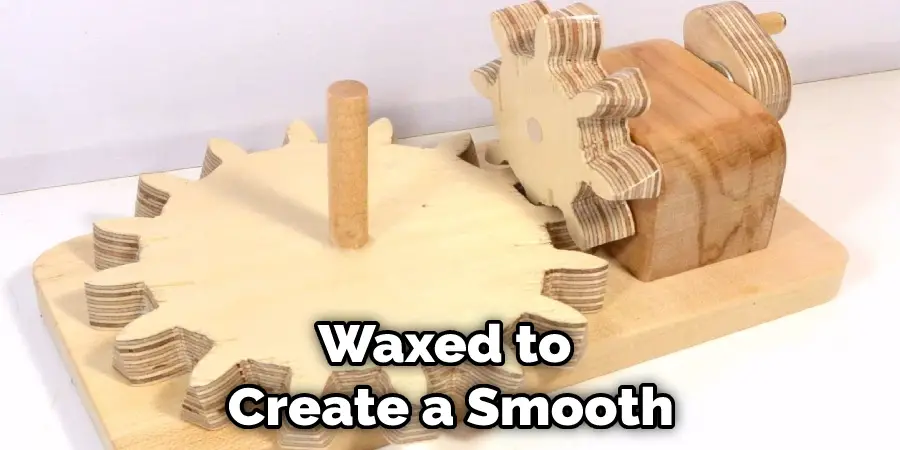
Wood is a durable and long-lasting material that has been used for centuries in various applications. One of the most common uses for wood is in the construction of gears, which are an essential component of many machines. Unlike metal gears, wooden gears can be waxed to create a smooth, frictionless surface.

This reduces wear and tear on the gears and allows them to operate more smoothly and efficiently. In addition, waxing helps to protect the wood from moisture and other sources of damage. As a result, waxing is an effective way to extend the lifespan of wooden gears.
Tips for Keeping Your Gears Well-Waxed
Though often overlooked, gears are essential components in many machines and devices. Gears work by meshing together to transmit power from one rotating shaft to another. Unfortunately, without proper lubrication, gears can become dry, and friction can cause them to wear down or even break. For this reason, it is important to wax your wooden gear regularly.
Wax helps to reduce friction and keep the gears running smoothly. Furthermore, it protects the wood from moisture and dirt, which can cause the wood to swell and warp. To properly wax your gears, start by applying a thin layer of wax to the surface of the gear. Then, use a soft cloth to buff the wax into the gear until it has a nice sheen.
Finally, wipe away any excess wax with a clean cloth. By following these simple steps, you can help ensure that your gears will continue to run smoothly for years to come.
Frequently Asked Questions:
Q: How Often Should I Wax My Wooden Gears?
A: It is recommended to wax your wooden gears every 3-6 months, depending on usage and environmental conditions. You may also need to wax them more frequently if you notice any signs of wear or damage.
Q: Can I Use Any Type of Wax?
A: While there are a few different types of wax that can be used on wooden gears, beeswax is generally the best option. It is important to use high-quality and natural wax to ensure the best protection for your gears.
Q: Can I Wax Gears While They Are Still Attached to a Machine?
A: Yes, you can wax gears while they are still attached to a machine. However, make sure to use caution and avoid getting any wax on other components of the machine. You may also need to wax smaller or harder-to-reach areas by hand.
Q: How Do I Know When It’s Time to Replace My Wooden Gears?
A: The lifespan of wooden gears can vary depending on usage and maintenance. However, if you notice significant wear or damage, it is important to replace them immediately. Additionally, if your gears start smoking or making unusual noises, it may be a sign that they need to be replaced.
Conclusion
So, there you have it! Everything you need to know to wax your wooden gears. By following the simple steps outlined in this post, you can keep your gears running smoothly for years to come. Have fun, and be sure to let us know how it goes! Thanks for reading our post about how to wax wooden gears.

